
Please note, this post contains affiliate links. All such links are clearly marked.
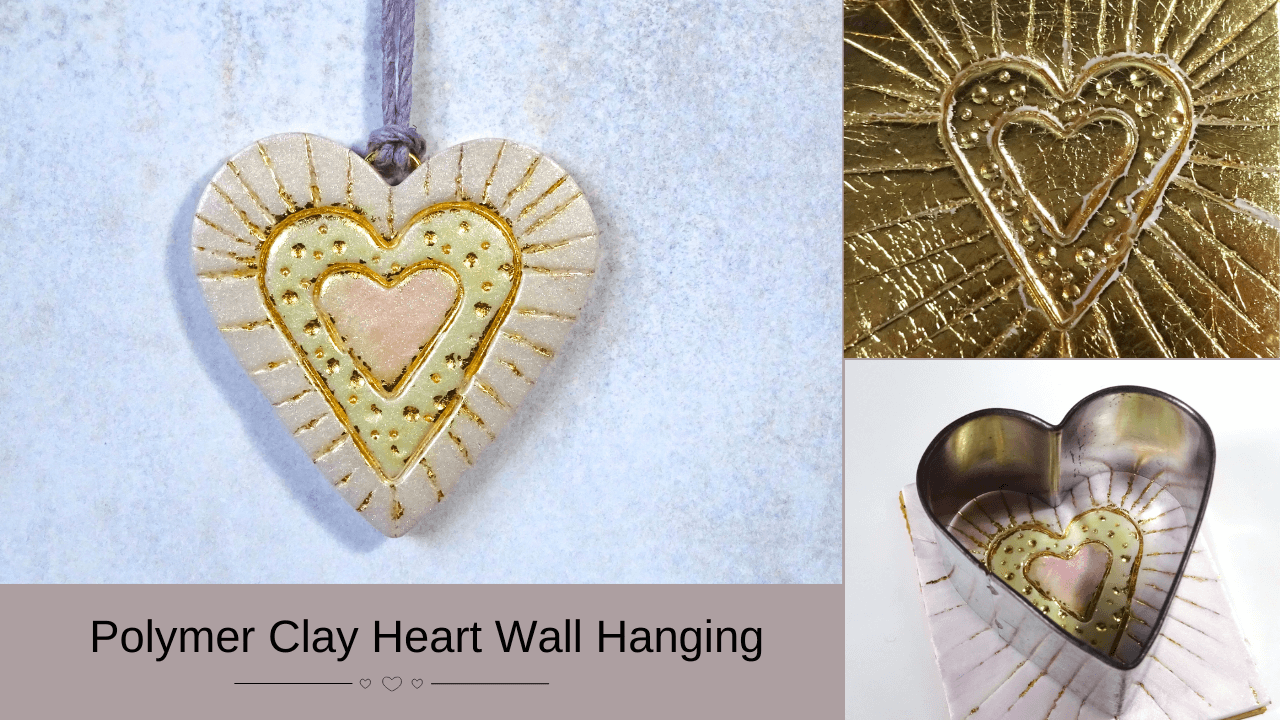
Are you ready to unleash your creativity and transform a simple piece of polymer clay into a stunning work of art? Get ready to embark on a journey of artistic expression as we delve into the world of crafting a one-of-a-kind polymer clay heart wall hanging with intricate gold embossed details. Whether you’re a seasoned clay artist looking for a new challenge or a beginner eager to explore your artistic talents, this project will push your skills to the next level and leave you with a breathtaking decorative piece for your home or a heartfelt gift for someone special.
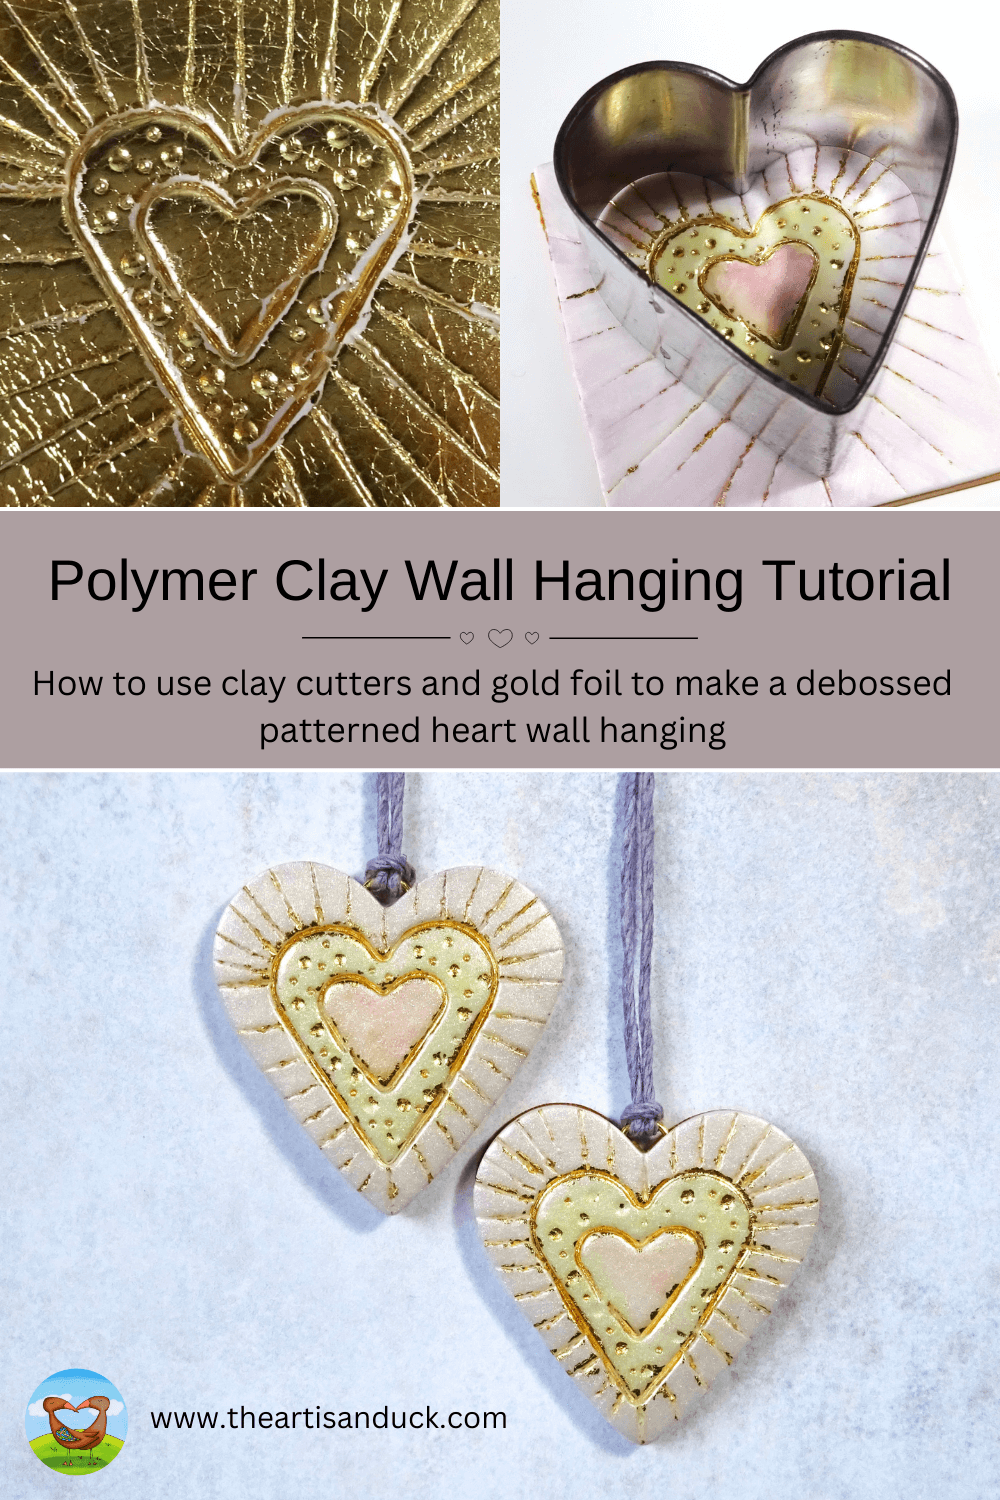
In this article, we will take you through each step of the process, from gathering your supplies to adding the final finishing touches. You’ll learn how to prepare the polymer clay, use cutting shapes to emboss and sculpt the heart, and create delicate gold embossed details that will truly elevate your creation. Along the way, I’ll provide you with tips and tricks to ensure your project turns out flawlessly.
So, gather your supplies, and join me on this creative journey as we craft a polymer clay heart wall hanging.

Gathering Your Supplies
First and foremost, you’ll need polymer clay in various colors, I have used gold and mother of pearl which has a lovey pearlescent shimmer. It’s always a good idea to choose colors that resonate with your personal style and complement the overall theme of your wall hanging. Don’t be afraid to mix and match colors to create unique and eye-catching patterns.
Next, you’ll need a few basic tools to work with the polymer clay. A clay roller or pasta machine will help you achieve an even thickness and texture for your clay. You’ll also need a sharp blade or craft knife for precise cutting and shaping. A set of sculpting tools will come in handy for adding intricate details and textures to your clay heart and a set of three heart cutting shapes. You will also need a little sticky tape.
In addition to the clay and tools, you’ll need a clean and flat work surface to create your masterpiece. A smooth, non-stick surface like a tile, baking sheet or silicone mat works well. This will prevent your clay from sticking and make it easier to handle.
To add a touch of elegance and sophistication to your wall hanging, you’ll also need some gold foil. This gold foil will create a beautiful metallic effect when applied to the clay. Make sure to choose a high-quality brand to achieve the best results.
To add a wash of color to your clay, you will need some alcohol inks or alcohol ink pens. I used Promarker pens in pastel shades of pink, yellow and lilac.
Lastly, don’t forget about the finishing touches. You will need to varnish your finished piece to protect the gold foil from rubbing off and a ribbon or string to attach to the top of your heart so you can hang your decoration up.
With all your supplies gathered and at the ready, you’re now fully prepared to explore the next step – preparing the polymer clay. So let’s dive in and discover the techniques that will bring your imagination to life!,
Preparing the Polymer Clay
Before you begin shaping and sculpting the heart, it’s important to properly prepare the polymer clay.
To start, make sure your work surface is clean and free of any debris. Polymer clay can easily pick up dust and dirt, which can affect the final appearance of your project.
Next, take a moment to condition the clay. Conditioning involves softening the clay to make it pliable and easy to work with. You can do this by kneading the clay in your hands or using a pasta machine to roll and flatten it. This process not only makes the clay easier to shape, but also removes any air bubbles that may be trapped inside.
How To Make A Polymer Clay Heart Wall Hanging with Gold Embossed Details

1 – With your gold and pearlscent white clay conditioned will, roll both colors out on a number 3 on your clay machine. If you don’t have a clay machine then ensure that each clay color is no more than a few mm thick and are of an even thickness. Layer the white on top of the gold clay and roll over with an acrylic roller to ensure that the two colors are adhered well to each other and that there are no air bubbles trapped between the layers.
2 – Layer a gold foil all over the white layer of clay and use your finger to rub over it to ensure it is sticking to the clay. Take your smallest of three heart cutting shapes and turn it upside down so you are using the blunt side of the shape. Position the heart in the middle of the clay and gently press down, being careful of your fingers if your cutter is sharp. The aim here is to leave an impression but not cut through the clay.
3 – Once you lift the heart cutting shape up you will have the outline of the heart imprinted in your clay.
4 – Position the heart cutter the next size up on your clay so that the smaller heart is in the center. Gently press the clay cutter down, blunt side towards the clay and being careful of your fingers, so that if leaves an impression in the clay but does not cut it.

1 – Use ball tools to add dots to the middle size heart only.
2 – Use a blunt edge straight tool to add lines around the outside of the middle size heart.
3 – Add as much detail as you wish around your middle size heart.
4 – Take a length of sticky tape and gently lay it on your clay. Rub over it with your finger and then lift up. It will lift the gold foil from the surface of the clay but will leave the foil pressed down into the clay.

1 – Once you have taken most of the foil off the flat surface of the clay your details should be in gold and clear.
2 – Take your alcohol ink pens and color in your shapes. I found it necessary to have some scrap paper off to one side so I could scribble the pen occasionally to remove any clay that had lifted whilst I colored.
3 – I colored each heart a different pastel shade.
4 – Take your largest heart cutter and cut your heart shape out.

Before putting your polymer clay heart into the oven, you will need to add a jump ring to the top so you can hang it up. Gently cut into the clay with a craft knife where the two clay colors meet and add the jump ring. Press the clay back together to secure in place whilst being careful not to distort the details at the front of the heart.
Baking and Finishing Touches
You are now ready to move on to the final steps of your project, which involve baking your creation and adding any finishing touches. In the next section, we will delve into the process of bringing your masterpiece to life through careful baking and adding those final embellishments that will make your heart wall hanging truly shine.
Baking polymer clay is a crucial step in the creation process. Not only does it solidify your design, but it also intensifies the colors and strengthens the overall structure of your piece. Preheat your oven to the recommended temperature indicated on your polymer clay packaging, ensuring that it’s set to the correct temperature for optimal results.
Once your oven has reached the desired temperature, carefully place your polymer clay heart in the oven and follow the recommended baking time indicated on your clay packaging, allowing it to cool completely before moving on to the next step.
With the baking complete, it’s time to add those final details that will take your polymer clay heart wall hanging to the next level. You will need to apply a glossy or matte finish to enhance the visual appeal and protect the gold foil on your masterpiece. Simply brush the chosen finish over your baked clay heart, following the instructions on the product packaging.
Once your varnish is completely dry, add a ribbon or string to the jump ring at the top of the heart, ensuring there is enough length so that the heart can hang comfortably.

As you can see in the above picture, using the pearlescent mother of pearl clay along with light washes of pastel alcohol ink means the shimmer from the clay can still be seen easily. The gold foil shines as the light catches it.
Step back and admire your creation – you have not only created a beautiful decorative piece for your home but a heartfelt token that can be given to a loved one.
Links below for products used are Affiliate links for Amazon (UK and United States). This just means that if you use my link to buy a product I earn a very small commission, at no extra expense to you (you pay the same regardless how you find the item). Every little extra helps me to offer free tutorials.
Affiliate Links –
UK –
Polymer Clay – Fimo Effects Gold and Mother of Pearl
Gold Foil
Dotting Tools Cutting Shapes
Cutting Blades
Gloss Varnish
USA –
Polymer Clay – Fimo Effects Gold and Mother of Pearl
Gold Foil
Dotting Tools Cutting Shapes
Clay Machine
Cutting Blades
Gloss Varnish


Leave a comment