

Please note, this post contains affiliate links. All links are clearly marked as such.

Are you looking to add a touch of nature-inspired charm to your home décor? Look no further than creating your own unique green man wall art piece using polymer clay. This DIY project will not only transform your plain walls into a statement piece but also allow you to express your creativity and love of nature in a fun and rewarding way.
In this post, we will delve into the world of the Green Man and what he signifies, explore the materials needed for this project, walk you through the process of moulding and adding details to your green man sculpture, guide you on baking and adding finishing touches, and finally, help you display your masterpiece with pride. Get ready to elevate your home décor with a handmade green man wall art.
I will admit that sculping something as detailed as this Green Man is a little out of my skill set so I bought a silicone mould to help me and I have added clear Quartz points and Aventurine beads to add to the nature and mystical theme of the piece.
If you would like your own Green Man silicone mould then he is available on Amazon –
Green Man Silicone Mould (UK Affiliate Link)
Green Man Silicone Mould (US Affiliate Link)
The bonus with this mould is that it comes with a Green Woman mould so once you have completed your Green Man you can complete your wall decoration by adding the Green Woman too.
What is the Green Man and What Does He Signify
The Green Man is a mystical and mythical figure often depicted in art and architecture throughout history. He is typically portrayed as a face surrounded by leaves, vines, or foliage, symbolizing the connection between humans and nature. The Green Man signifies rebirth, growth, and the cycle of life, making him a powerful and symbolic addition to any home décor.
If you wish to read more about the Green Man then Wikipedia has a lot more information with pictures.
Now, let’s take a look at the materials you will need to bring your Green Man wall art piece to life.
What Materials You Will Need
To bring your Green Man wall art piece to life, you will need a few materials. First, you will need a block of polymer clay in various shades of green or other earthy tones to capture the essence of the Green Man’s connection to nature. Additionally, you will need the silicone mould the features of the Green Man’s face and foliage. To add extra detail and texture, you can add chalk or mica powder gently brushed over the surface of the face and leafy details. I used metallic cream chalks for this. You will also need an extruder and liquid clay. Finally, you will need a baking tray and an oven to cure the polymer clay and set your finished Green Man creation.
You will also need some copper wire to make loops from which to hang your Green Man and to add Crystals if you wish. I used 0.8mm wire for the loops embedded into the clay and to add the Aventurine beads and 0.4mm to wrap around the crystal points.
Moulding Your Green Man
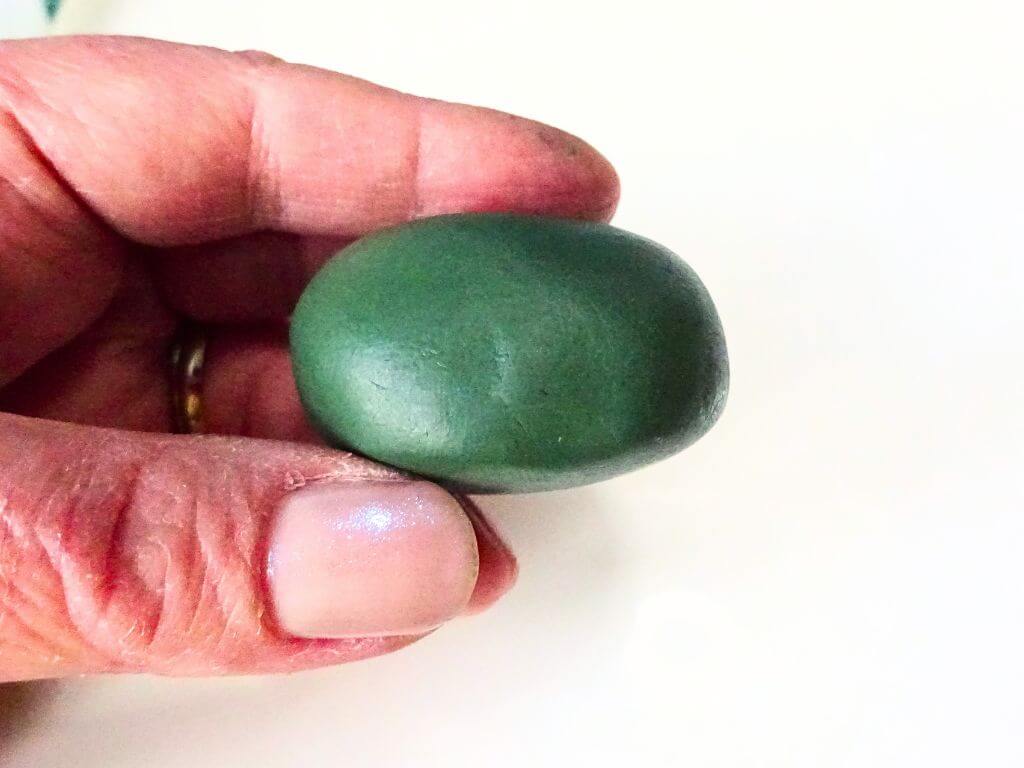
Step 1 – Mix your clay to your desired colour and condition it well. It needs to be soft enough to press into the mould and capture all the details. This may seem like a basic step and photo to cover but I wanted to show how I shaped the clay to a flatter circle and made sure that the clay was smooth so that no creases were left when I de-moulded the clay.
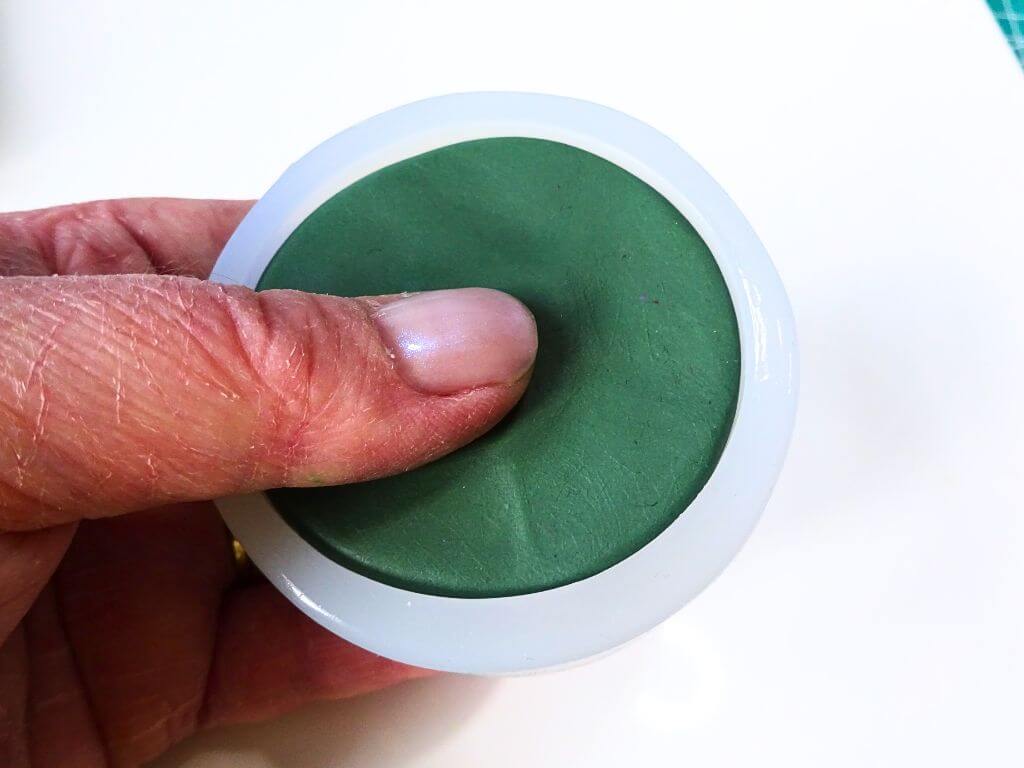
Step 2 – Press your clay into the mould, making sure to press it all over to ensure that the clay gets into every part of the mould.

Step 3 – I found that using my acrylic roller over the top helped to smooth and flatten the back of the clay. You can only do this if your clay reaches to top of the mould so it is worth adding clay so that the whole mould is filled.

Step 4 – Carefully remove the clay from the mould and your Green Man face should look some thing like this.
Adding The Details
Now that you have crafted the basic shape of your Green Man and added in the intricate details of the foliage, it’s time to focus on bringing out the finer elements that will truly make your wall art piece come alive. From the delicate veins on the leaves to the subtle contours of the vines, every detail plays a crucial role in capturing the essence of the Green Man.

Step 5 – Make some large jump rings from copper wire and embed then into the clay by cutting the clay with the sharp point of a craft knife and the pushing the rings in. Gently push the clay around them closed.
Rest your clay back on a flat surface and, using a finger tip, add some chalk, mica power or cream chalk over the surface to bring out all the details on the Green Man’s face. The aim here is just to get the high points so that the darker clay is left in the recesses to add contrast. I played around with adding green and gold cream chalk here.

Step 6 – Use the 0.4mm wire to wrap around the top of the crystal points making sure to have a loop at the top. There is no set way to do this, I just made a loop in the middle of the wire and then took both lengths of wire on either side and wrapped then around the crystal. We are going to be adding clay so these don’t need to be perfect.
Take more of your polymer clay and push it through your extruder to make long snakes of clay.
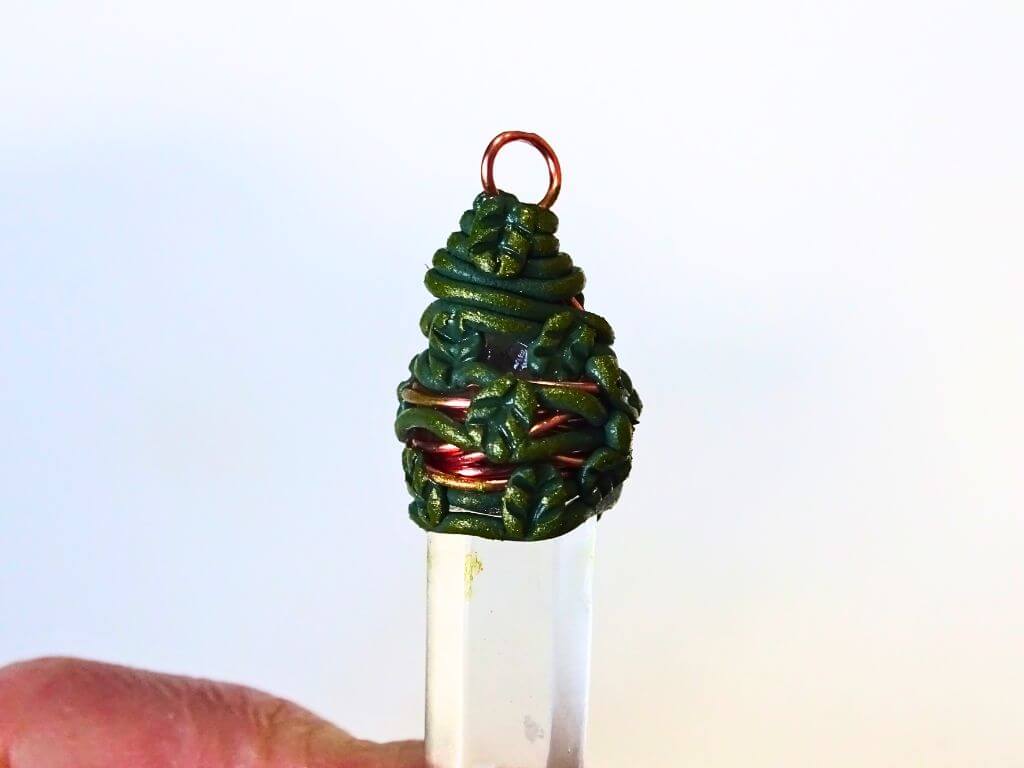
Step 7 – Brush some liquid clay around the copper wire and a little of the crystal below it and wrap the green snake of clay around the crystal and wire. The liquid clay will act as a glue and without it your crystal risk slipping after baking. I allowed the wire copper to show through the clay to give the impression that the ‘vines and leaves’ have grown around the wire and crystal.
Made leaves with small dots of clay and add some veining details. Add the chalk or mica on these to bring out the details. Put the point down into a cupcake case filled with rice so that they stay upright, ready for the oven.
Baking and Finishing Touches

Step 8 – Bake your pieces in the oven using the instructions on your packet of clay. The crystal points can go in the oven pushed into a bed of rice to help hold them up.
Once your clay is out of the oven and cooled down, give it two coats of varnish and put the pieces together as you see fit. I have made wrapped loops with green Aventurine beads to link the crystal points to the larger Green Man piece.
Displaying Your Green Man Wall Hanging
When it comes to displaying your masterpiece, consider the best location in your home to showcase your Green Man wall art. Whether it’s a focal point in your living room or a serene addition to your bedroom, the placement of your artwork can significantly impact the overall aesthetic of the space. I plan on hanging mine in my bedroom where it will be surrounded by my collection of crystals.
Additionally, pay attention to the lighting in the chosen area. Natural light can enhance the colours and details of your polymer clay creation, while strategically placed artificial lighting can create a dramatic effect. Experiment with different lighting options to find the perfect balance that highlights the intricacies of your Green Man design.
I am a keen beginner gardener so I couldn’t resist taking a photo of my wall hanging in my greenhouse with my cucumber and tomato plants in the background. The lighting in there was just perfect to capture it.

Here is a quick video showing the process of making this Green Man.
Hannah x


Awesome. Love it!
Thank you so much 😊