
Please note, this post contains affiliate links. All such links are clearly marked as such.
Step into a world where creativity knows no bounds and the smallest details can make the biggest impact. In this post, we’ll explore the art of crafting a charming polymer clay pumpkin picture, where miniature magic comes to life in the palm of your hand. From selecting the perfect colours to adding personal touches, get ready to embark on a journey of whimsy and wonder.
For some time I have been keen to move beyond just making jewellery with polymer clay and to make unique items to decorate my home. I have had success Christmas after Christmas with my tree decorations on my Etsy shop and have really enjoyed sculpting my animal shaped keyrings but I really lean towards magical, whimsical artwork.
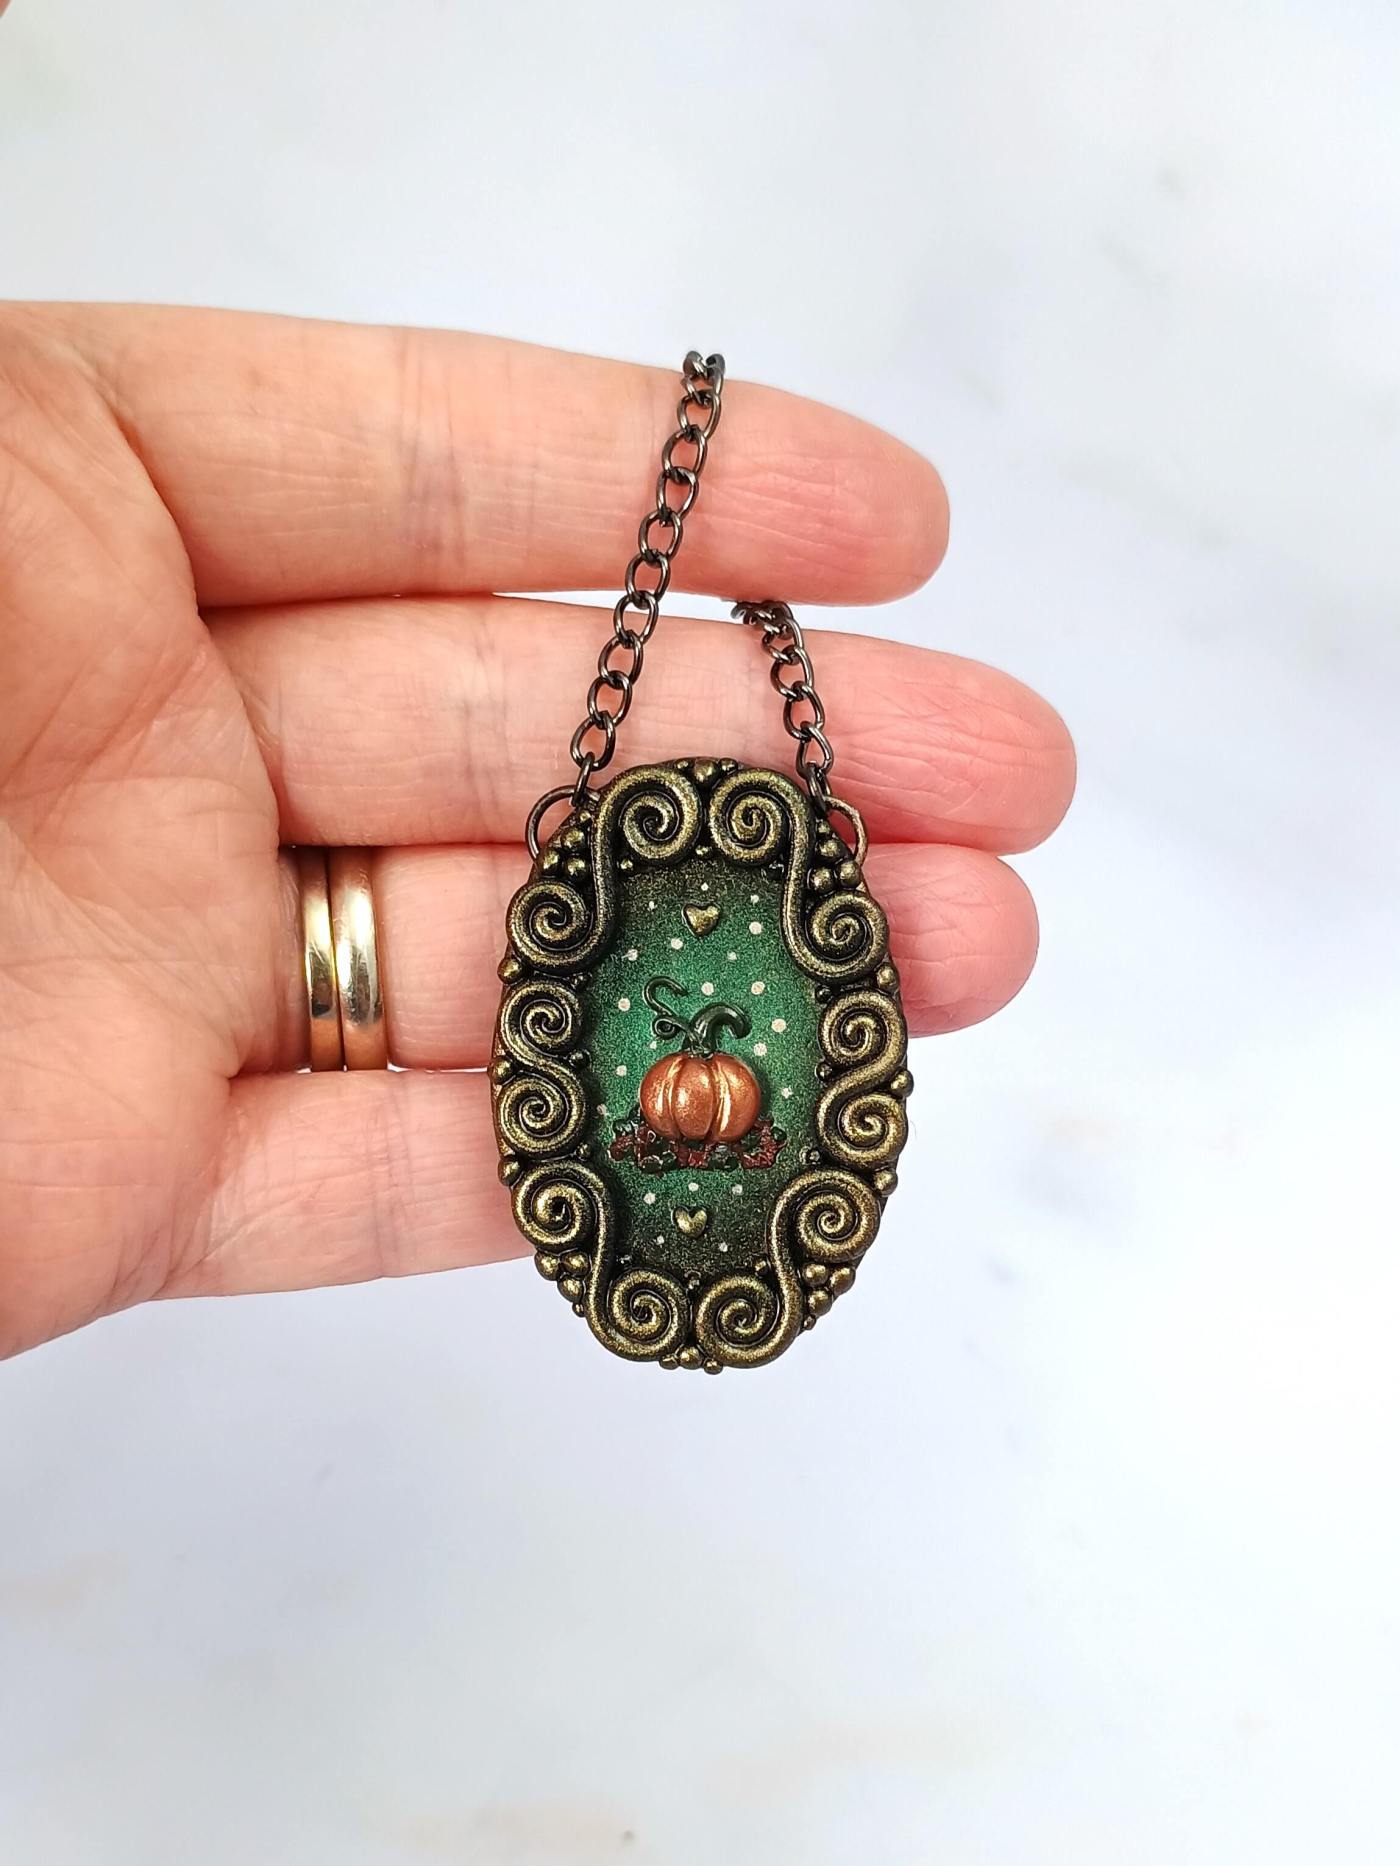
I have combined my love of crystals and nature with this Green Man Wall Hanging but for this piece I wanted to have an overall more dainty, whimsical look whilst also being seasonally appropriate. With us tipping over in to Autumn and Halloween just around the corner, a pumpkin on a bed of leaves seemed fitting.
There is a video at the end of this post that shows me making this piece but before we dive in to that I’ll cover some of the basics first.
Tools and Supplies
To bring your polymer clay pumpkin picture to life, you’ll need a few key tools and supplies on hand. The first thing you need for any polymer clay project is clay. I have used Fimo Professional in black, terracotta and leaf green. I then used a range of perfect pearls to add shimmer to the project as well as an eerie green glow to the centre of the picture. For added details around my pumpkin, I used fine tipped Posca pens in white and gold.
You will also need an acrylic roller or clay machine to condition and roll out your clay, a clay extruder, craft knife, an oval cutting shape, some sort of pointed tool and soft tipped tool, liquid polymer clay, clay varnish, jump rings and chain.

Selecting the Perfect Colours for Your Pumpkin
When it comes to selecting the perfect colours for your polymer clay pumpkin, consider choosing a mix of warm oranges, deep greens, and rich browns to capture the essence of autumn. Don’t be afraid to add pops of unexpected colours like a touch of metallic gold or a hint of shimmering copper to make your creation truly stand out. By carefully selecting your colours, you’ll be able to bring depth and dimension to your miniature masterpiece.
Shaping and Detailing Your Polymer Clay Masterpiece
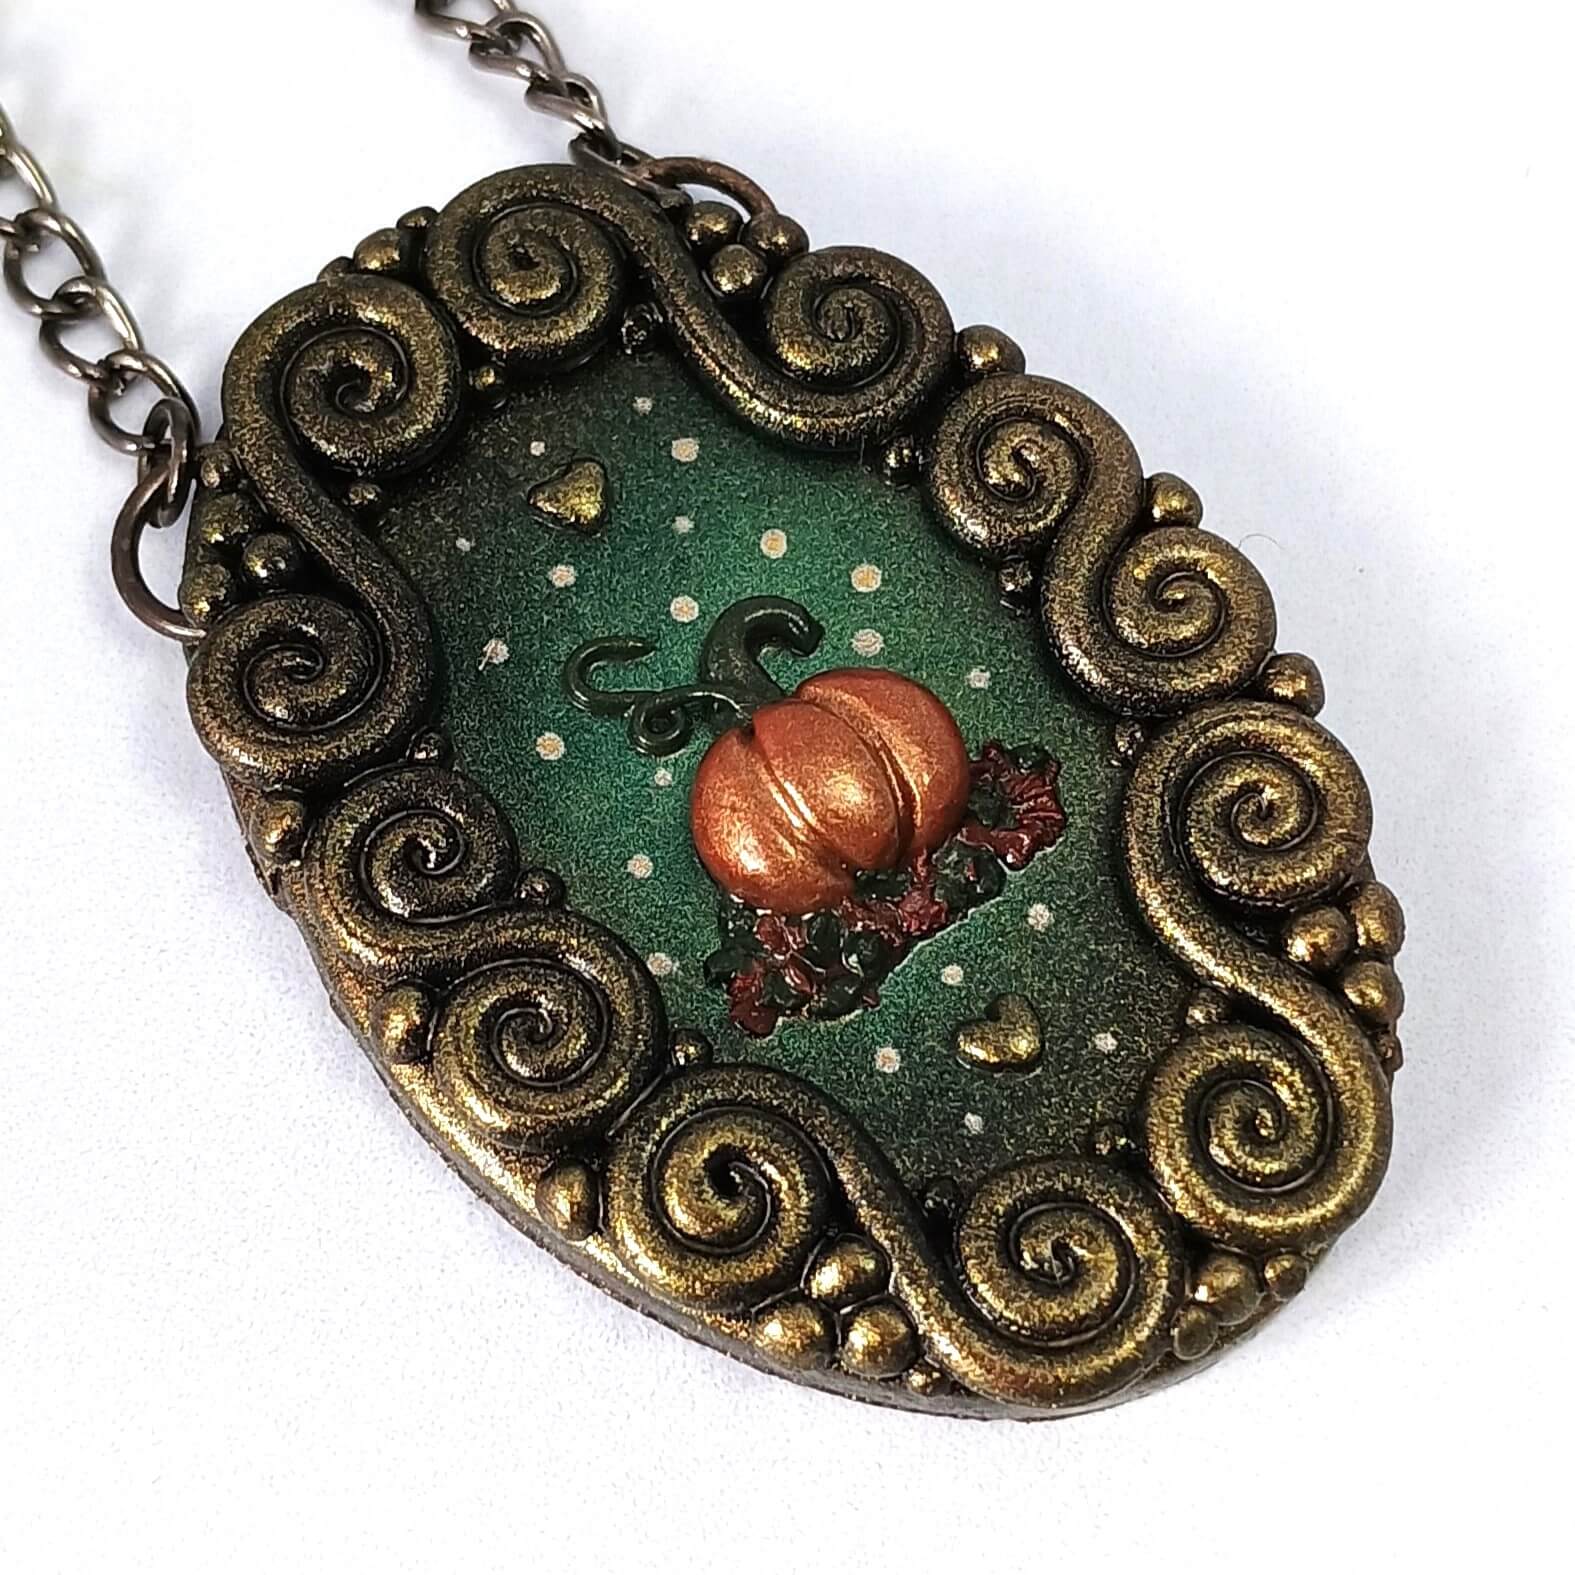
I am not going to lie, this is probably one of the most fiddly polymer clay projects I have ever made. Shaping and adding that clay vine was so tricky as the clay was extremely thin was tricky but I also feel as though it really helped to pull the piece together.
It is essential for a project like this to use all the tools you can to help move and shape the clay as finger tips will always be a little too big. I also used liquid clay as a glue for adding all elements onto the base oval as I could then use a tool to slide the clay around a little so the placement was perfect.
Adding Personal Touches to Make Your Pumpkin Picture Unique
Once you have meticulously shaped and detailed your polymer clay pumpkin picture, it’s time to add those special personal touches that will truly make it stand out. Consider incorporating elements that reflect your own style and personality, whether it’s a subtle swirl pattern, a tiny ladybug hidden among the leaves, or a miniature sign with a whimsical saying. These small additions will not only make your creation one-of-a-kind but will also showcase your creativity and attention to detail.
For this reason, I added tiny gold hearts (black clay with a dusting of gold mica powder) above and below the pumpkin and then at the end I felt that it need a little something extra to get the magical look I was going for so, before baking, I added small dots of gold and white paint with Posca pens
Baking and Finishing Your Polymer Clay Artwork
After you have infused your pumpkin picture with personal flair, you’ll be ready to move on to the final step of baking and finishing your polymer clay artwork, bringing it to completion. Once you are satisfied with the design and details of your creation, carefully transfer it to a baking sheet and follow the instructions on your polymer clay package for baking. Make sure to monitor the baking process closely to prevent any overcooking or burning of your artwork.
After your polymer clay pumpkin picture has finished baking and has cooled, it’s time to add the finishing touches. You will need to seal your artwork with a clear varnish to protect the mica powder and give it a polished finish. You can also experiment with different techniques, such as painting accents or adding additional embellishments, to further enhance the overall look of your pumpkin picture.
Taking the time to bake and finish your polymer clay artwork properly will not only ensure its durability but will also elevate its appearance.
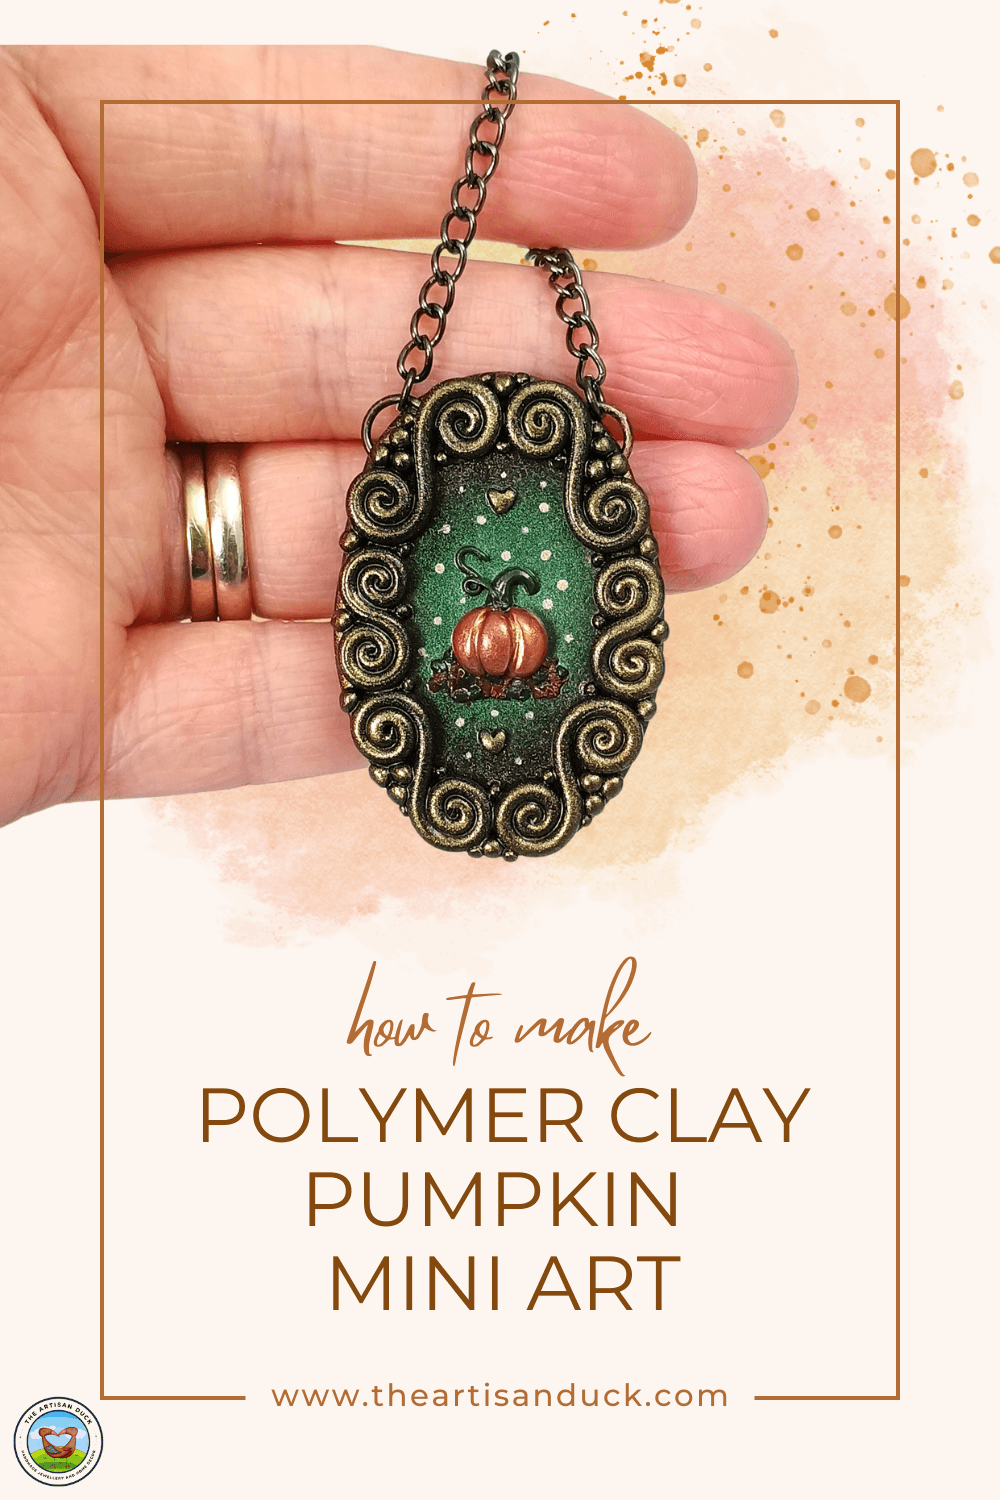
The Art of Miniature Magic: Crafting a Charming Polymer Clay Pumpkin Picture
Links below for products used are Affiliate links for Amazon (UK and United States). This just means that if you use my link to buy a product I earn a very small commission, at no extra expense to you (you pay the same regardless how you find the item). Every little extra helps me to offer free tutorials.
Affiliate Links –
UK –
USA
- Fimo Professional Black
- Fimo Professional Leaf Green
- Dotting Tools
- Oval Cutting Shapes
- Clay Machine
- Cutting Blades
- Gloss Varnish
Do you have any Halloween or Autumnal project to try?
Thanks for reading
Hannah x


Leave a comment