

Are you ready to dive into the enchanting world of bead weaving and ignite your passion for creating stunning jewelry? Look no further than the entwined hearts brick stitch pattern – a captivating design that will capture your imagination and push your creativity to new heights. In this comprehensive tutorial, we will guide you through the intricacies of this beautiful pattern, equipping you with the tools and techniques needed to bring your jewelry visions to life. Get ready to embark on a creative journey that will leave you inspired and fulfilled. Let’s explore the entwined hearts brick stitch pattern and unleash your inner bead weaving artist.
The entwined hearts brick stitch pattern features two intertwined hearts, symbolizing love, passion, and unity. The design showcases the versatility of the brick stitch technique.
Beading Pattern
Gathering the Necessary Materials and Tools
To successfully bring the entwined hearts brick stitch pattern to life, it’s essential to gather all the necessary materials and tools before starting your beading journey. Having these essentials at your fingertips will not only ensure a smooth and enjoyable experience but also allow your creativity to flourish.
To begin, you’ll need a selection of beads in your desired colors. You can choose from various bead sizes and shapes, depending on the look you want to achieve. Delica beads are often preferred for their uniformity and ability to create intricate patterns. For my hearts I have used size 11 Delica beads is four different colours ; Transparent Metallic Rose Gold (DB115) to line the outer first heart with Matte Metallic Galvanised Silver (DB335) for the inner colour and Opaque Jujube (DB2119) to surround the second heart with Matte Red AB (DB362) fill the heart in. It is essential to find beads with a good contrast so that the hearts are easily differentiated between and that the detail of the hearts entwining can be clearly seen.
Additionally, consider selecting a thread that complements your chosen beads, ensuring a harmonious blend. I have used Wildfire in grey.
In terms of tools, a beading needle is a must-have. Look for a needle specifically designed for beading, as they are thinner and more flexible than regular sewing needles. This will make it easier to thread through the small bead holes without damaging them. I have used a size 11 beading needle.
A beading mat or tray is also essential to keep your beads organized and prevent them from rolling away. These mats are usually made of a soft, non-slip material that helps keep your beads in place while you work.
Lastly, a pair of beading scissors or thread snips will come in handy for cutting your thread cleanly. Avoid using regular household scissors, as they may leave jagged edges or fray the thread.
Now that you have gathered all the necessary materials and tools, you are ready to dive into the world of the entwined hearts brick stitch pattern. With your creativity ignited and everything prepared, let’s explore the intricacies of this beautiful design.
What Is Brick Stitch?
Brick stitch is a bead weaving technique which creates a neat, uniform pattern resembling bricks stacked in rows.
The brick stitch technique is a fundamental beading technique that provides a solid foundation for creating intricate designs. It involves weaving beads together by passing the needle through the previous row or individual beads, creating a secure and flexible structure. The simplicity of the technique allows for endless creative possibilities, enabling you to experiment with different patterns, sizes, and colors of beads.
To achieve this pattern, you will begin by creating a foundation row which sets the framework for the entwined hearts to come to life. Next, you will meticulously weave rows of beads onto the foundation, following a specific pattern that forms the shape of the intertwined hearts.
As you weave each row, keep in mind the importance of maintaining tension in your thread. Consistent tension ensures that the beads align perfectly, resulting in a polished and professional-looking finished piece. Take your time and pay attention to each stitch, allowing yourself to become fully immersed in the process.
The entwined hearts brick stitch pattern is not only visually stunning but also offers a sense of accomplishment and satisfaction as you witness the pattern gradually taking shape. With each completed row, you will gain a deeper understanding of the brick stitch technique, becoming more comfortable and proficient in its execution.
As you become more proficient in the brick stitch technique, you will find yourself exploring more intricate patterns and experimenting with different bead combinations. So let’s dive in and discover the joy of creating stunning jewelry with the entwined hearts pattern, using the mastered brick stitch technique.
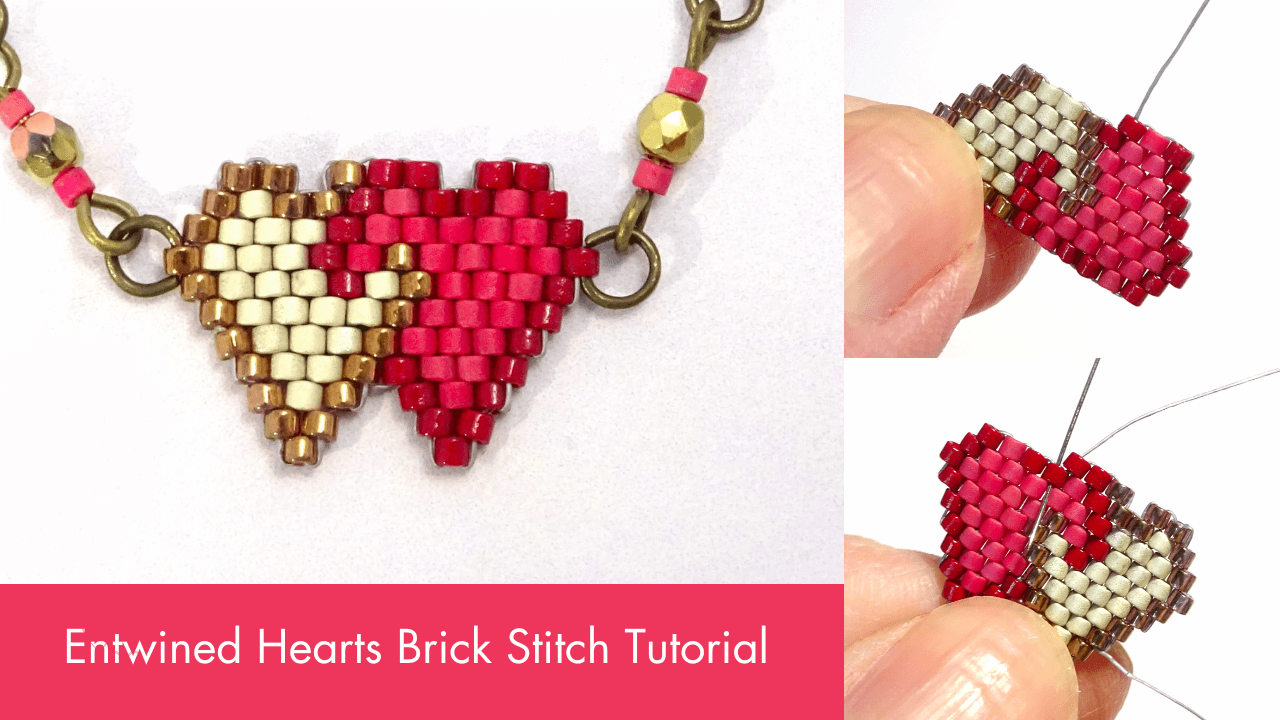
Entwined Hearts Brick Stitch Tutorial

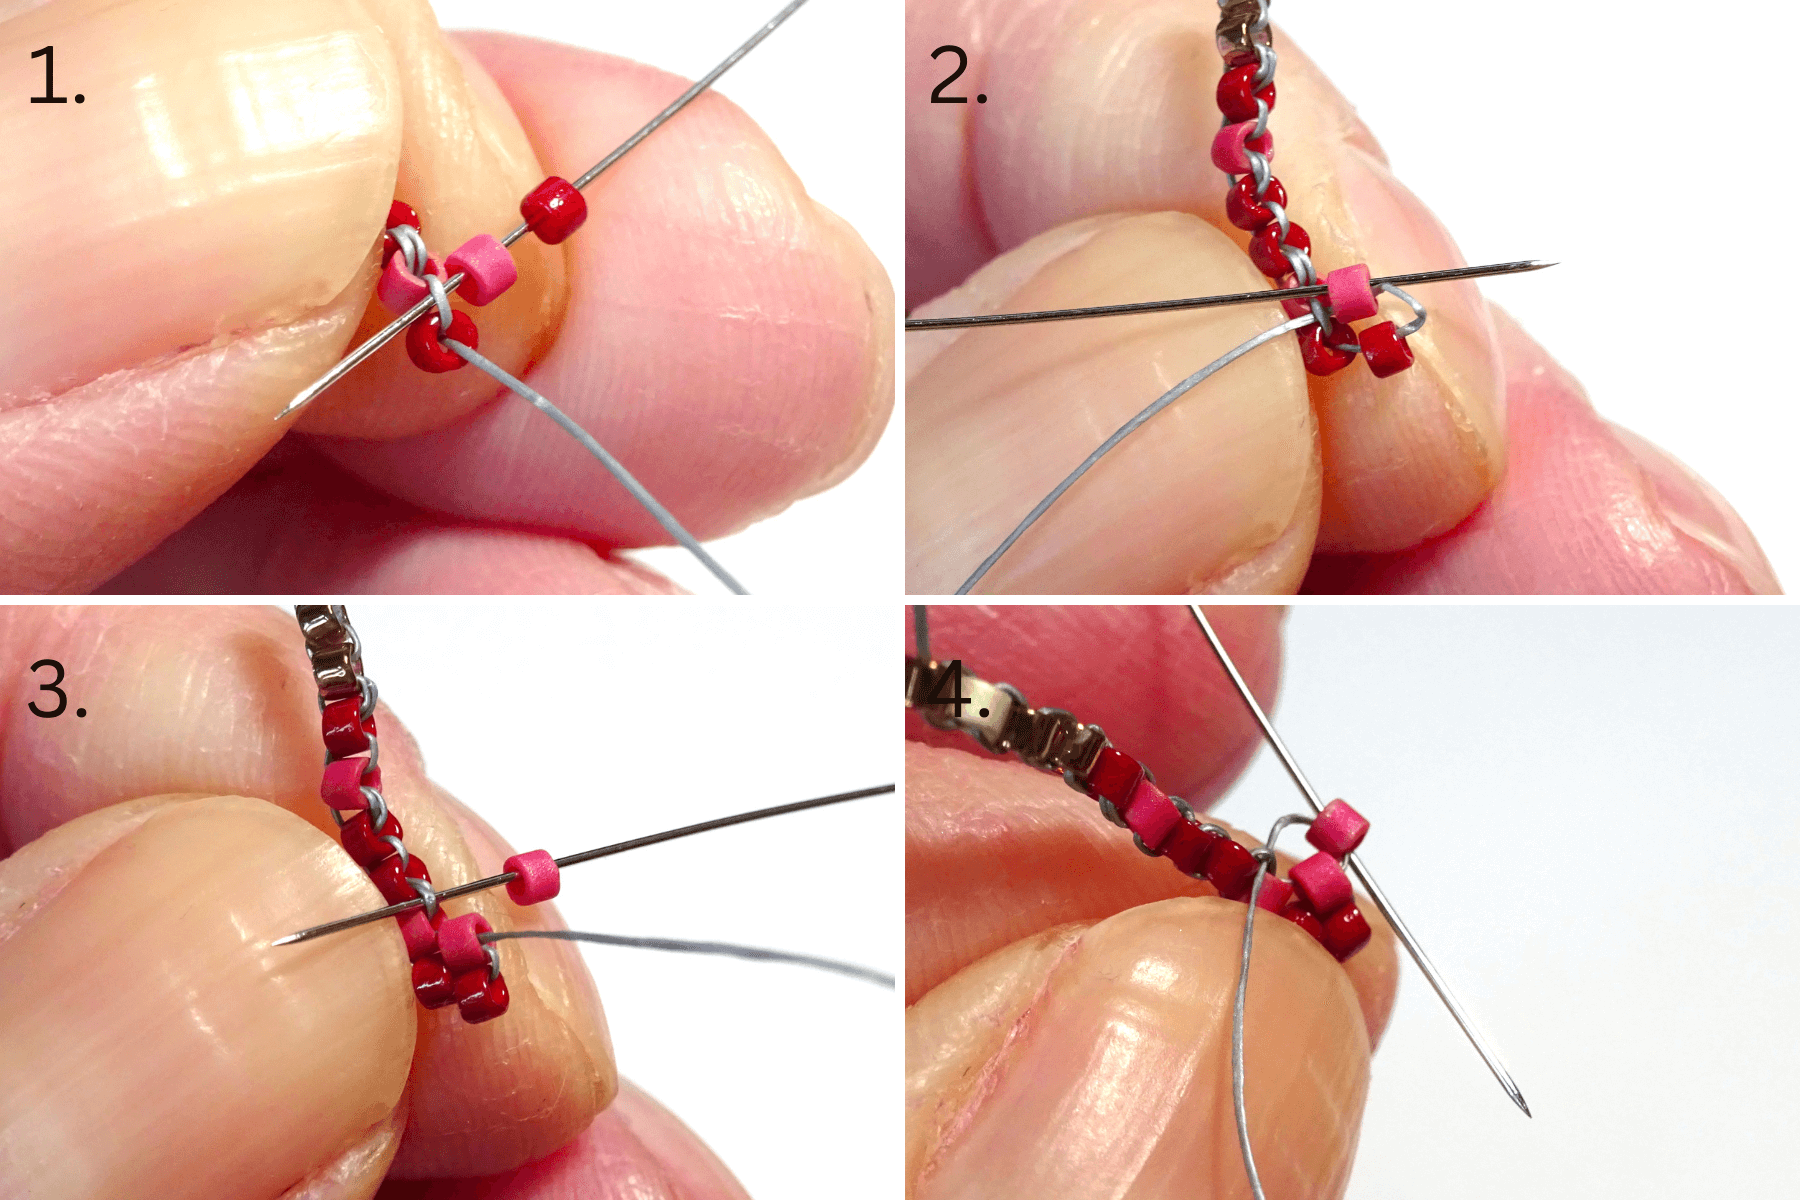
1, Cut 31″ of beading thread and add a beading needle to one end. Pick up one Transparent Rose Gold (I will refer to it as bronze from now on as it’s far easier!) and one Galvanised Silver (cream) bead.
2, Take the beads down the thread, leaving a 10″ tail thread, and take the needle back up the bronze bead.
3, Pull the thread tight and the two beads will sit side by side.
4, Take the needle back into the cream bead so that you are in the right position to add the next bead.

1, Pick up another bronze bead and take the needle back into the cream bead from the opposite side that you exited from. This will form a loop so when you pull the thread tight the bronze bead will sit along side the cream bead.
2, Take the needle back up the bronze bead again so you are in a position to add more beads.
3, Continue adding beads in this way. You will need to add one more bronze bead, one Jujube (dark red), one Matte red AB (light red), two dark red, one light red and one dark red. This foundation row of beading is now complete.
4, Pick up one dark red and one light red bead on your needle.
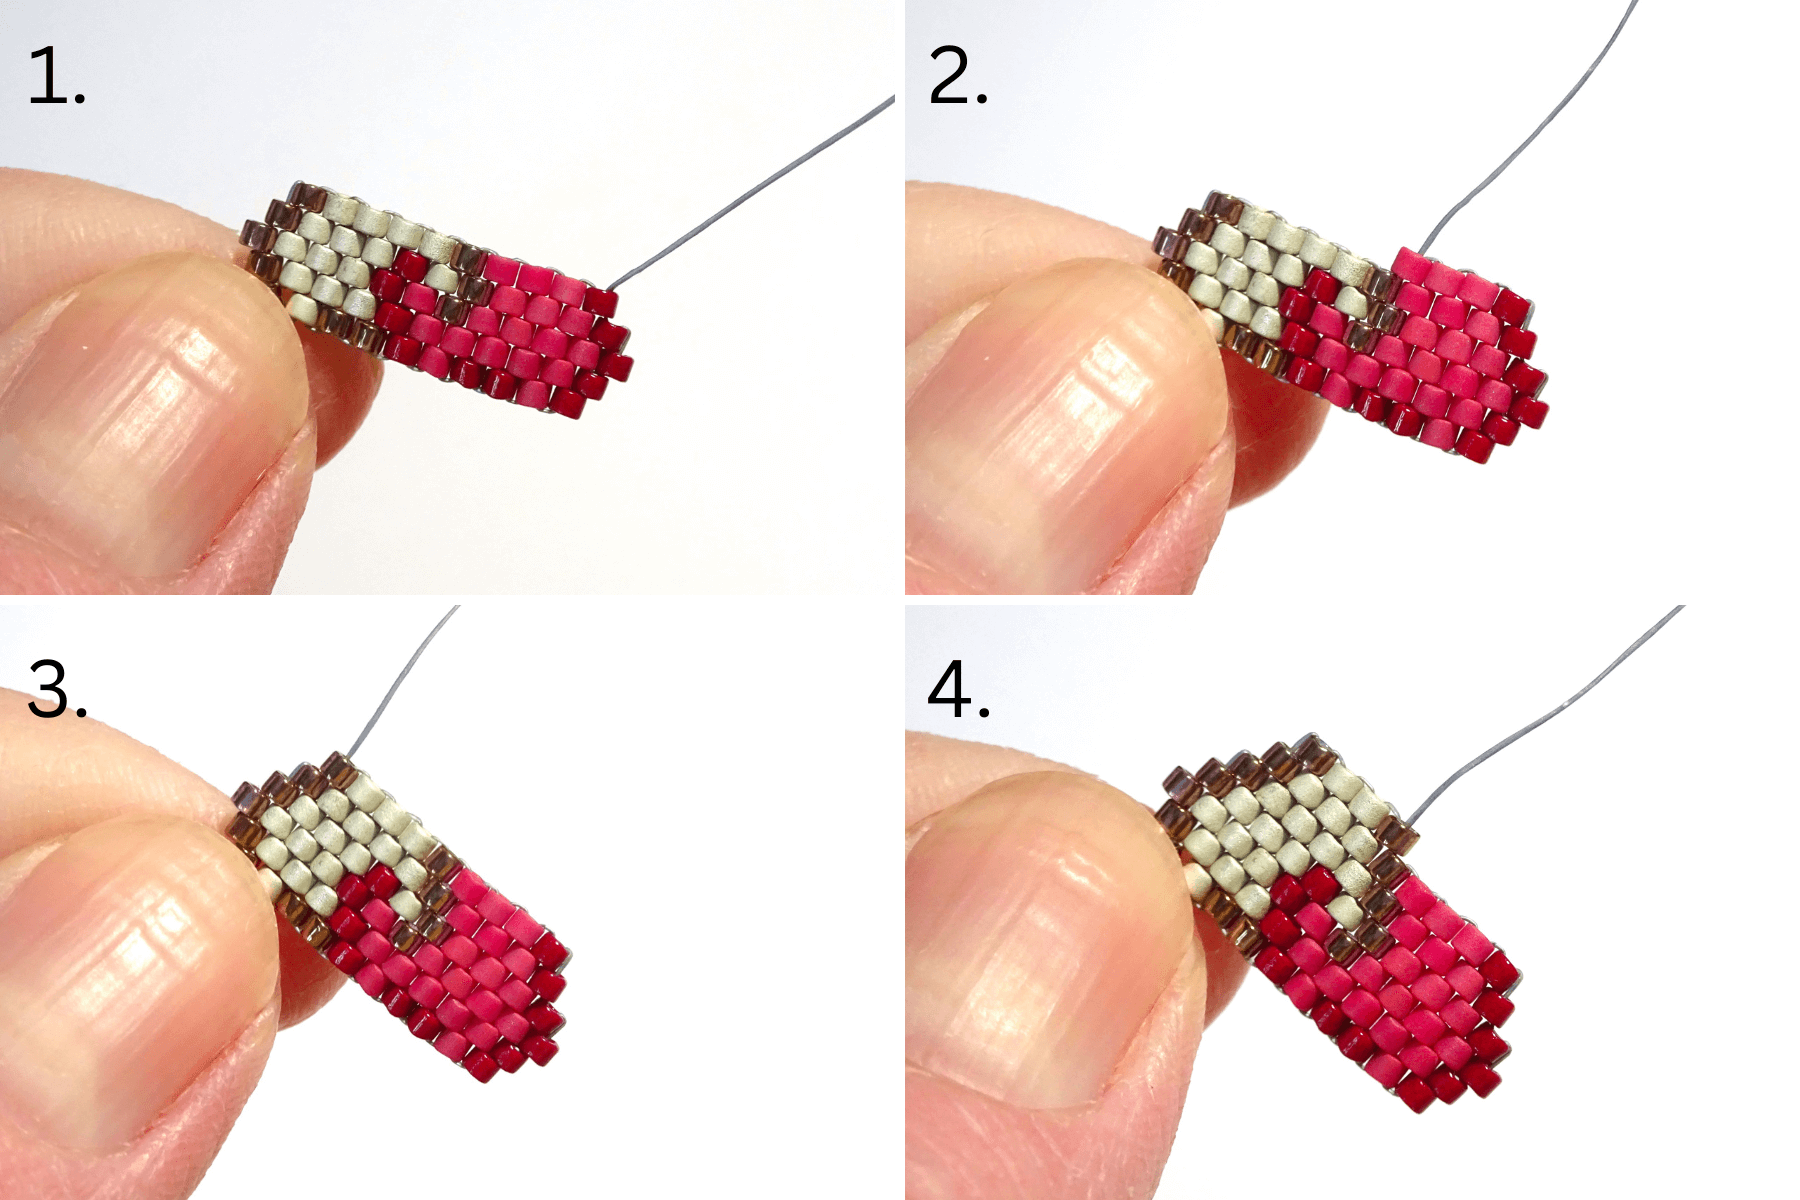
1, Take the needle under the bridging thread that is sitting across the last two beads on the previous row. We are picking up two beads to begin this row as the row length is increasing.
2, Take the needle back up the light red bead to secure in place and pull the thread tight so the beads sit firmly on the foundation row of beading.
3. Pick up one light red bead and take the needle under the next bridging thread along.
4, Take the needle back up the light red bead to secure in place.

1, Add 3 more light red beads, one at a time, and a dark red bead using the bridging threads. (Please note, the first picture shows the beading upside down. I turn it back around in the other photos)
2, Add three cream beads, one at a time.
3, The tail thread will be in the way, so take it back up the bronze bead on the top row. There are two threads holding these beads together so the beading will hold it’s shape.
4, Pick up your needle and hold onto the tail thread firmly. Pick up one bronze bead and take the needle under the thread that runs into the last cream bead. Take the needle back up into the bronze bead to secure in place.

1, To start the next row, pick up one bronze bead and one cream bead and add them onto the first bridging thread on the previous row. Add two more cream bead, one at a time.
2, Add one dark red, one light red and one bronze bead.
3, Finish the row with 4 light red beads and one dark red bead.
4, To start the next row, pick up one dark red bead and attach it using the bridging thread on the previous row. We are only picking up one bead now as the row length is decreasing.

1, To continue the row, add 3 light red beads.
2, Add one bronze bead, one cream bead and one dark red bead.
3, Finish the row by adding three more cream beads and one bronze bead. Because the row is not increasing we finish using the last bridging thread and do not need to add any extra beads at the side.
4, The next row starts with picking up a single bronze bead. From there add four cream beads and another single bronze bead.
1, C0mplete the row by adding three light red beads and one dark red.
2, Start the next row by adding one dark red bead and three light red beads.
3, Finish the row with one bronze bead, three cream beads and another bronze bead.
4, Start the next row with one bronze bead, two cream beads and another bronze bead.

1, Add one dark red, two light red and another dark red bead to finish the row.
2. The next row is one dark red bead, one light red bead and another dark red. This row is short and does not connect to the other heart.
3, The next row is two dark red beads added one at a time.
4, Finish the bottom point of the heart with a single dark red bead.

1, Take the needle down the other side of the dark red bead and into the dark red bead on the row below. This will help hold this bead in place and will also aid us in moving through the bead work so we are in a position to finish the other heart.
2, Take the needle down the next dark red bead on the row below.
3, Continue moving down the outer red beads.
4, Take the needle across into the next bead along. This is a bronze bead.

1, Add the point onto the second heart in exactly the same manner as you did the first heart.
2, Take the needle into the bronze bead on the row below on the other side to help secure the top bead.
3, Take your needle off your working thread and add it to your tail thread. Pick up on bronze bead and add it using the bridging thread at the end of the row.
2, Take the needle down the outer edge of the new bead and into the bronze bead on the row below.

1, Take the needle across and up into the cream bead and the bronze bead on the top row.
2, Pick up one bronze bead and add it onto the next bridging thread along.
3, Move your needle down into the bronze bead directly below.
4, Move the needle up into the next bronze bead along/

1, Add one bronze bead and two dark red beads.
2, Take the needle down into the dark red bead on the row below.
3, Take your needle back up into the next dark red bead along.
4, Finish your heart by adding two bronze beads.
Creating Beautiful Jewelry with the Entwined Hearts Pattern

If you haven’t already, you need to consider how you are going to use your brick stitch entwined hearts in your jewellery making before tying knots in your threads as you may wish to add beaded loops or other details before knotting and cutting your threads (information on how to tie knots is in the video below). I decided to add small jump rings to the outer edges of my hearts so I could link them together with eye pins.
Creating beautiful jewelry is a rewarding and fulfilling experience. One of the key aspects to consider when creating jewelry with the entwined hearts pattern is colour selection. The colours you choose can greatly enhance the overall impact of your design. You can opt for a monochromatic scheme, with shades of one colour, for an elegant and sophisticated look. Alternatively, you can experiment with contrasting colours to create a bold and eye-catching piece. Whichever colour palette you choose, ensure it complements the style and occasion for which the jewelry is intended.
Additionally, paying attention to the placement of your beads is crucial for achieving a professional-looking result. Take care to align each bead neatly, ensuring that they sit flush against one another. This attention to detail will greatly enhance the overall visual impact of your beaded creations.
To further elevate your jewelry, consider incorporating different bead textures. Playing with different textures, such as matte, metallic, lined or AB, can create a captivating contrast and bring your entwined hearts pattern to life.
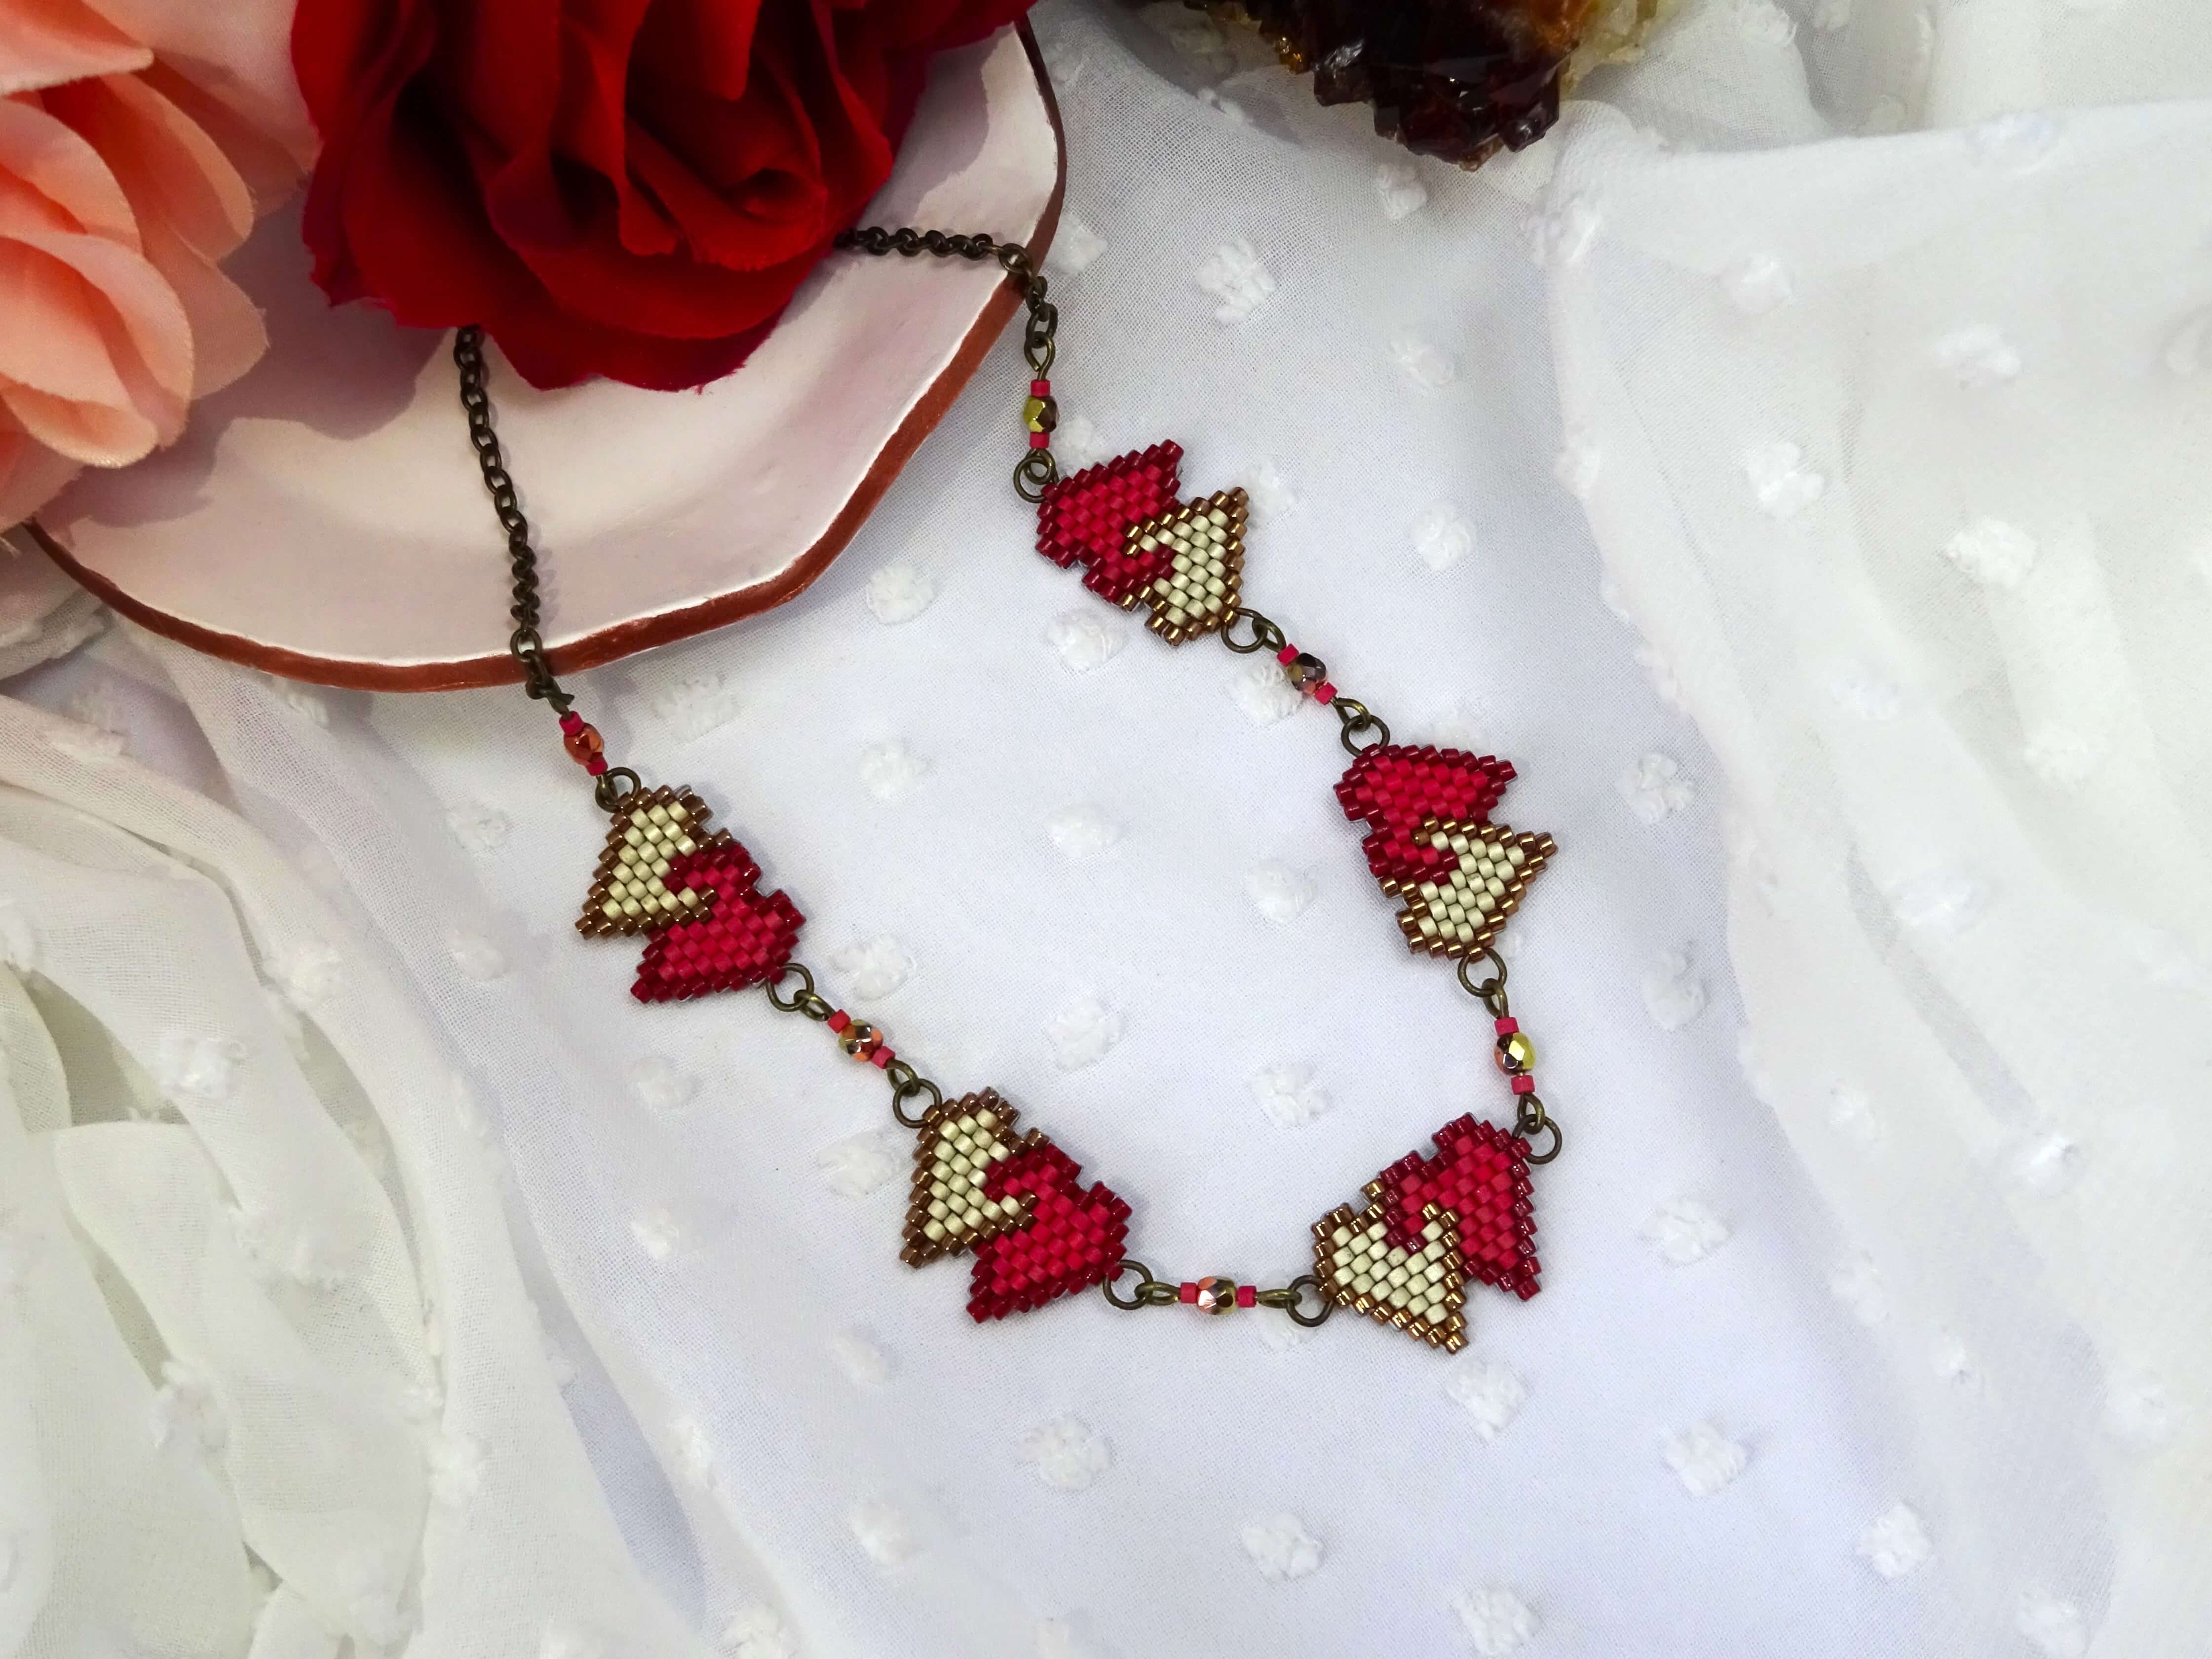
I have made five entwined brick stitch hearts and linked them together with eye pins accented with bronze fire polish beads and light red Delica beads. I have kept warmth in the project be using antique gold colour chain and findings.
As you continue to explore the entwined hearts pattern, you’ll find an endless array of possibilities to create stunning jewelry that reflects your own unique creativity.
Now that you have a solid understanding of how to create beautiful jewelry with the entwined hearts pattern you can check out my other brick stitch tutorials and patterns. Here I show how to make a single brick stitch heart elasticated bracelet and, if you fancy another project with multiple hearts, here is a trio of hearts brick stitch necklace tutorial.
In the words of Maya Angelou, “You can’t use up creativity. The more you use, the more you have.” So, embrace the art of bead weaving and let your creativity flow freely. Discover the joy and fulfilment that comes from transforming a handful of beads into a work of art. Start weaving, start creating, and ignite your passion for beading.
Hannah x


Leave a comment