

This blog post contains affiliate links – the products I have used plus their links are all listed at the bottom of this post.
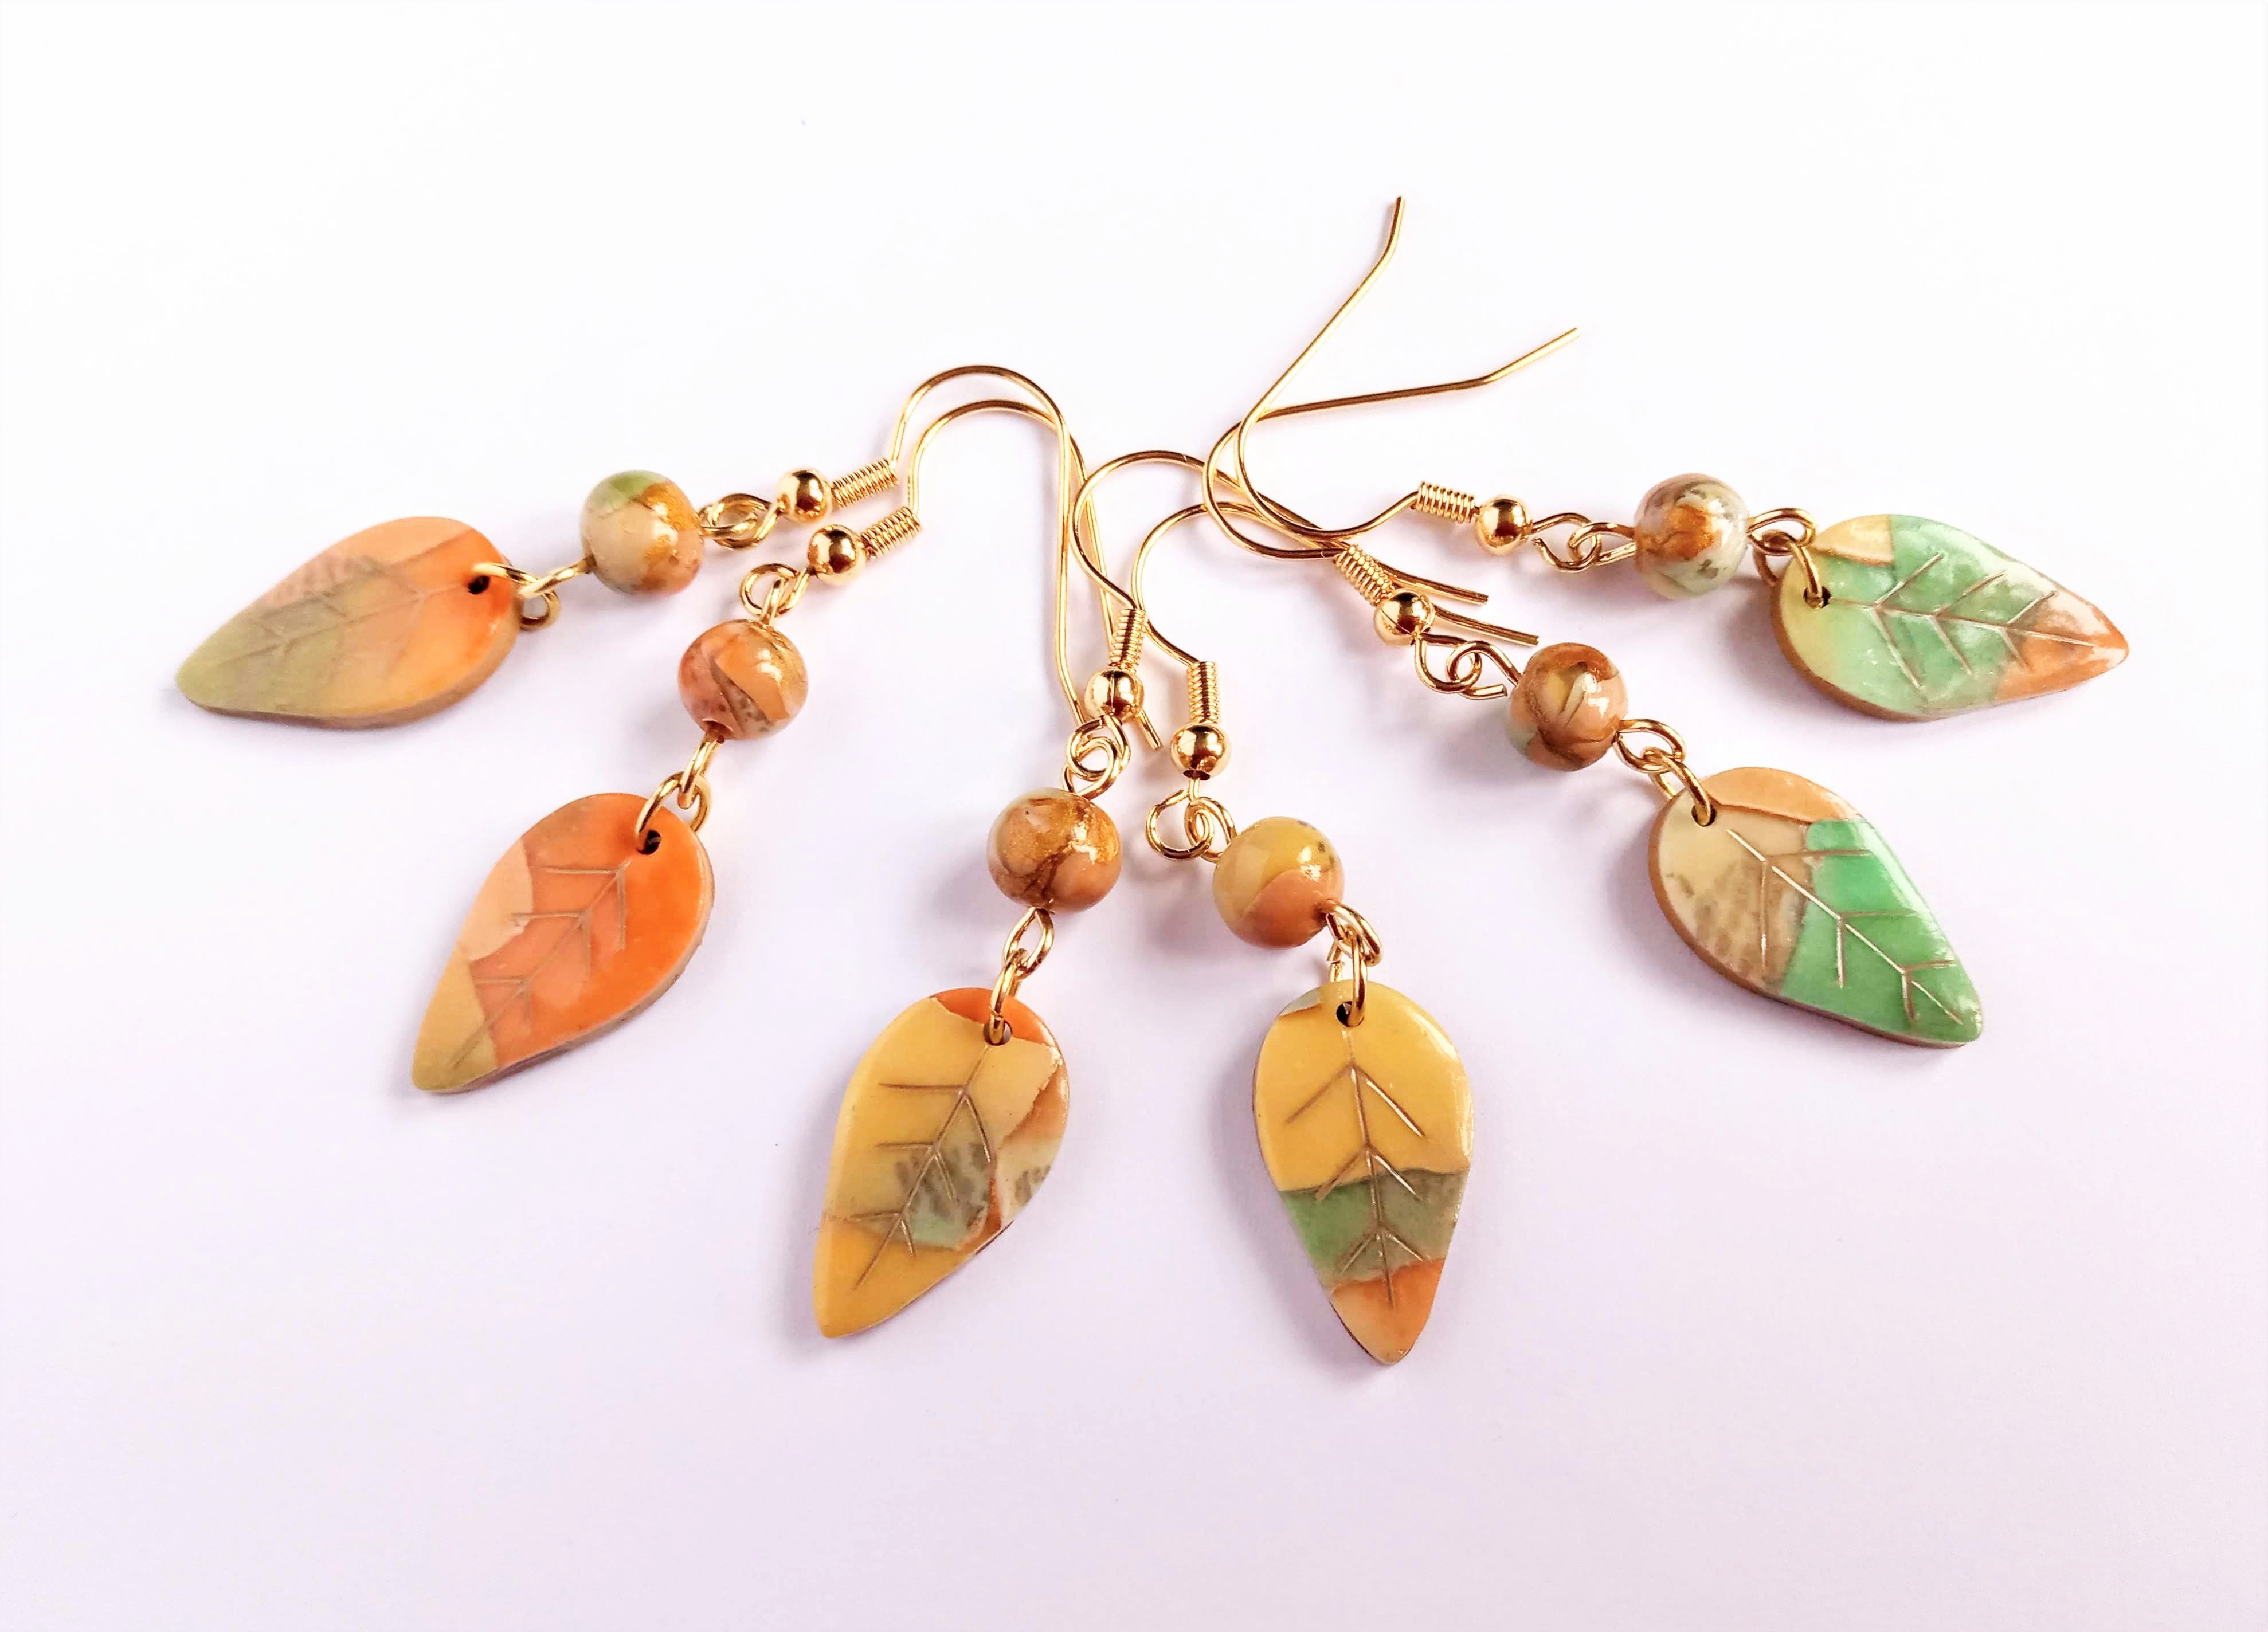
I’m back with another polymer clay tutorial. I made these leaf earrings a few years ago for a craft fair and they were so popular I made them again this year for my Christmas craft fairs. I stopped along the way to snap some photographs to show how I use the watercolour technique.

Watercolour Clay Technique – Step By Step
You will need –
- Polymer clay in white, gold and translucent (I use Fimo professional and effects)
- Gold foil (again I use Fimo gold foil)
- Craft chalk
- Acrylic paint
- Gloss varnish
Step 1

Condition the white and gold clay and roll each through on the clay machine on a number 3 (number 1 is my thickest setting)
Step 2

Lay the white on top of the gold. Gently roll to push out any air bubbles between the layer and cut them to make the same size.
Step 3
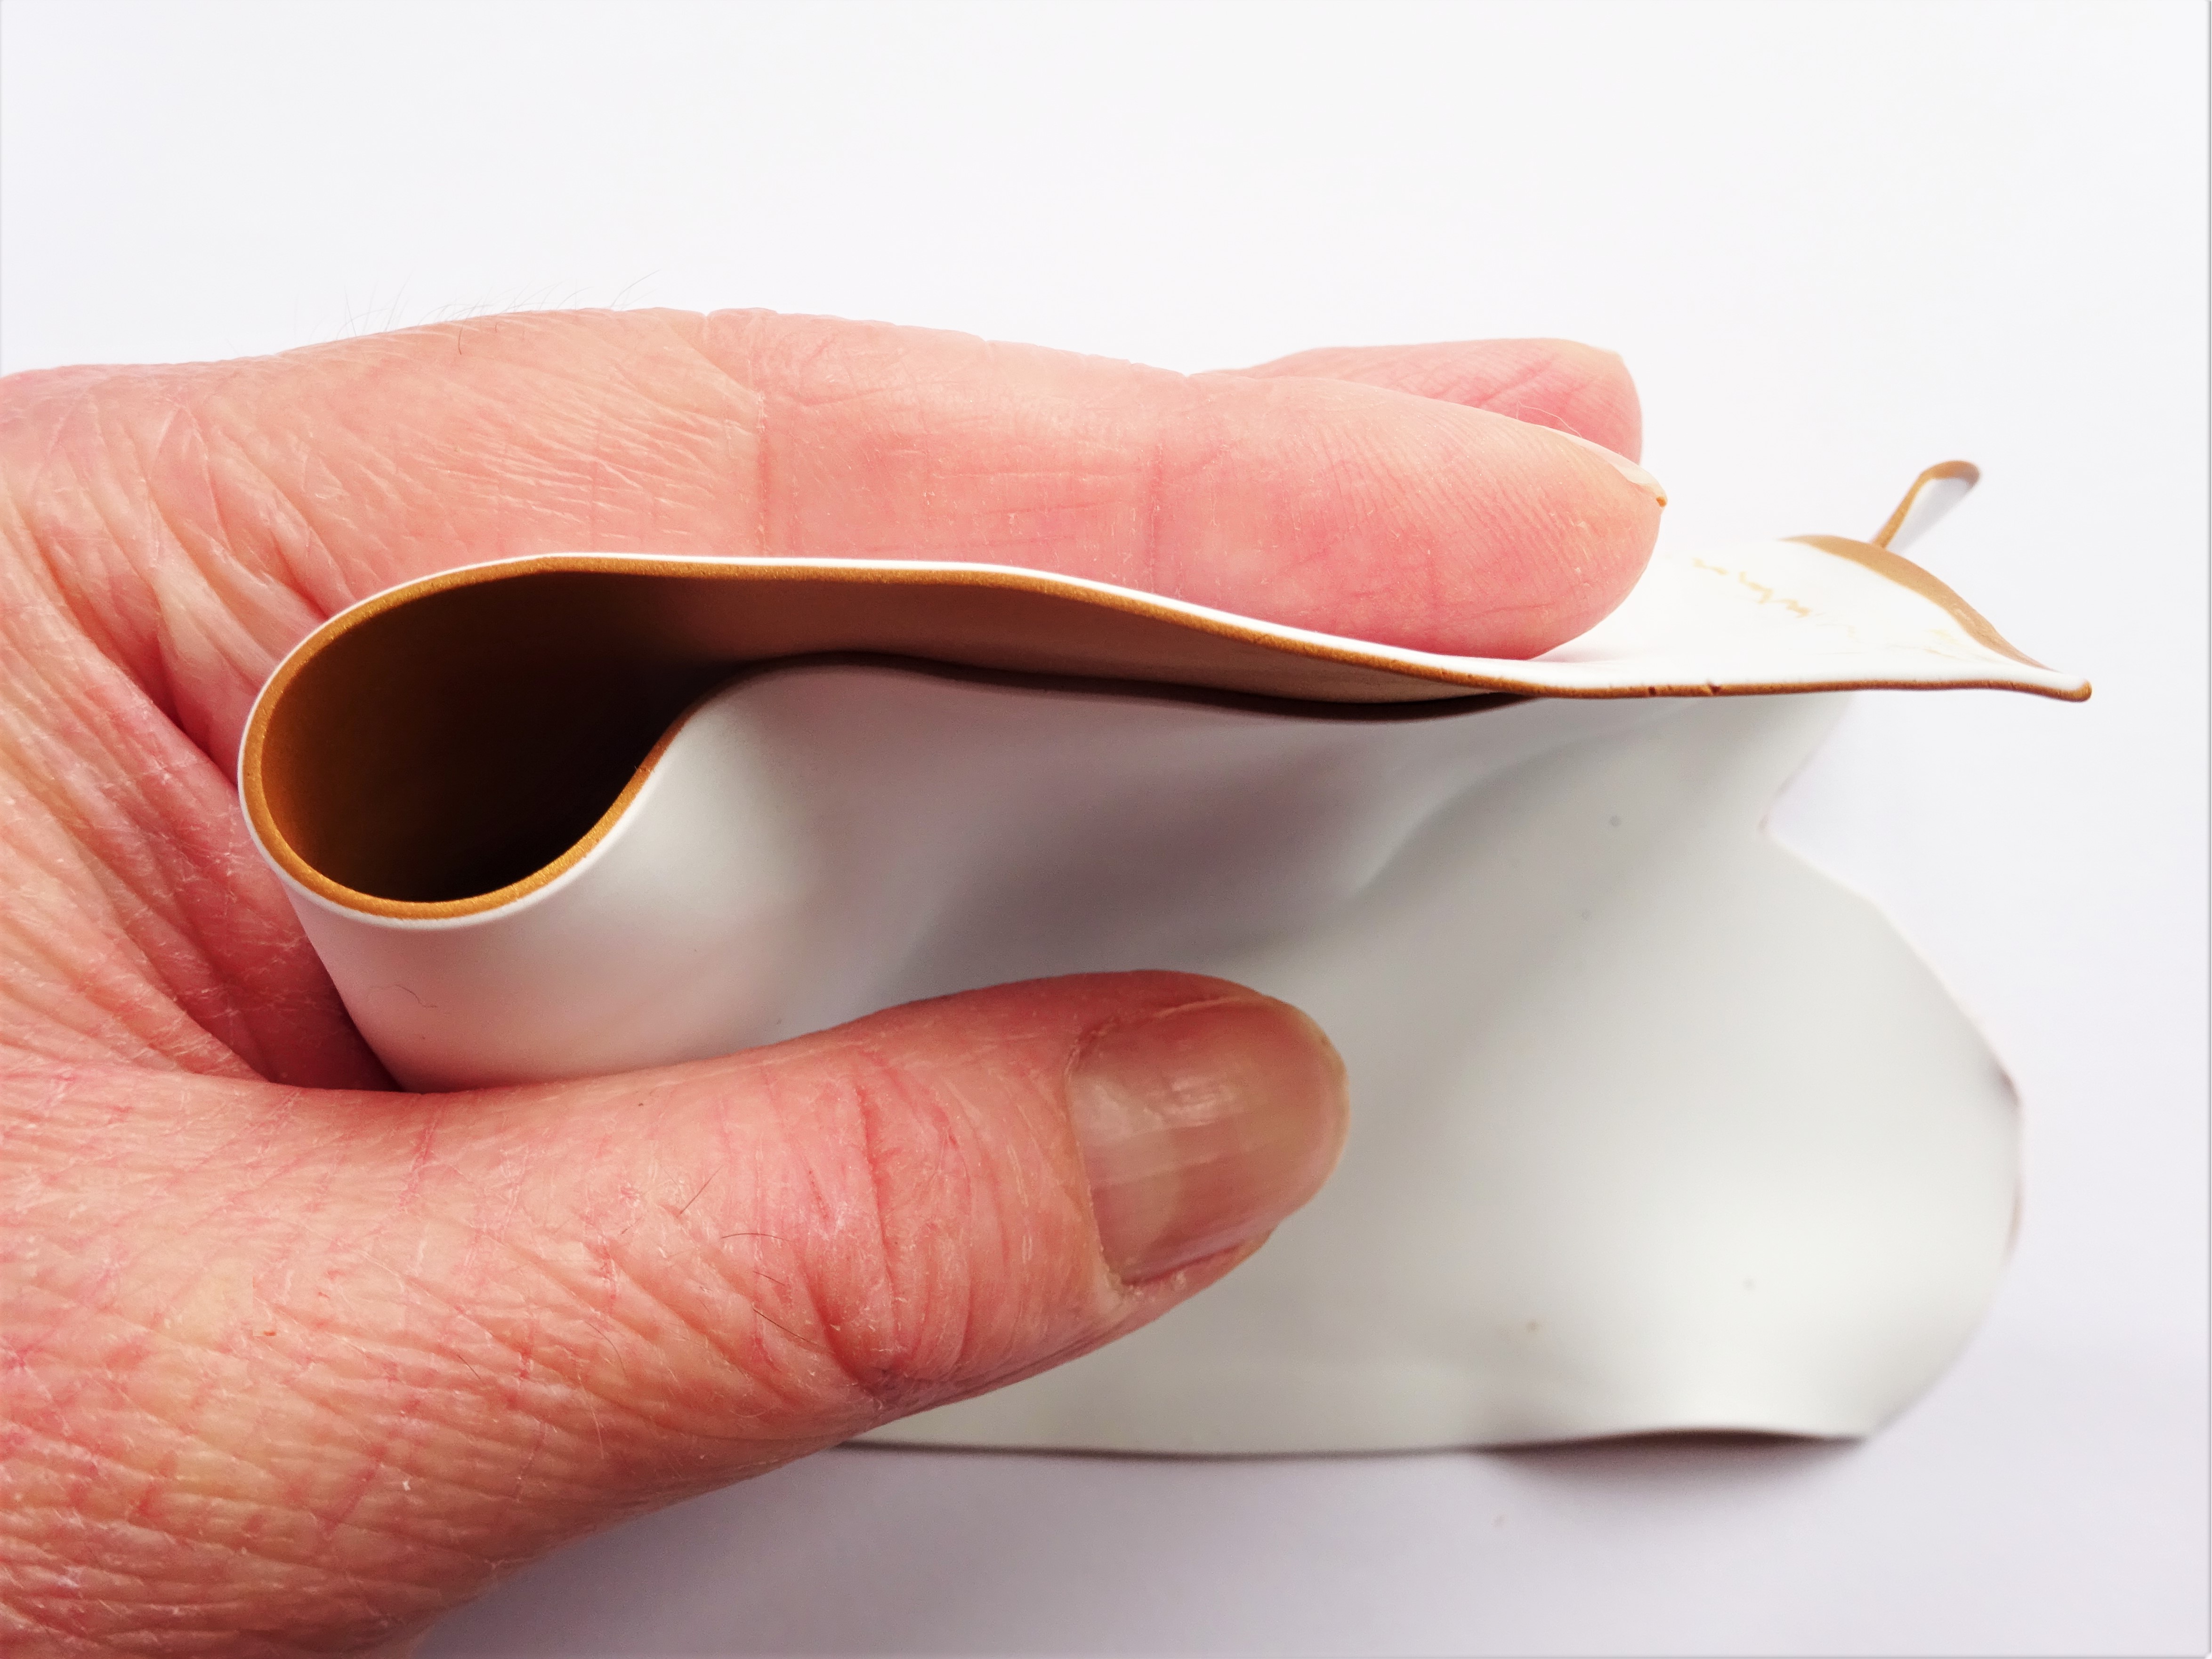
Roll the gold and white stack through the clay machine on number 5.
Step 4
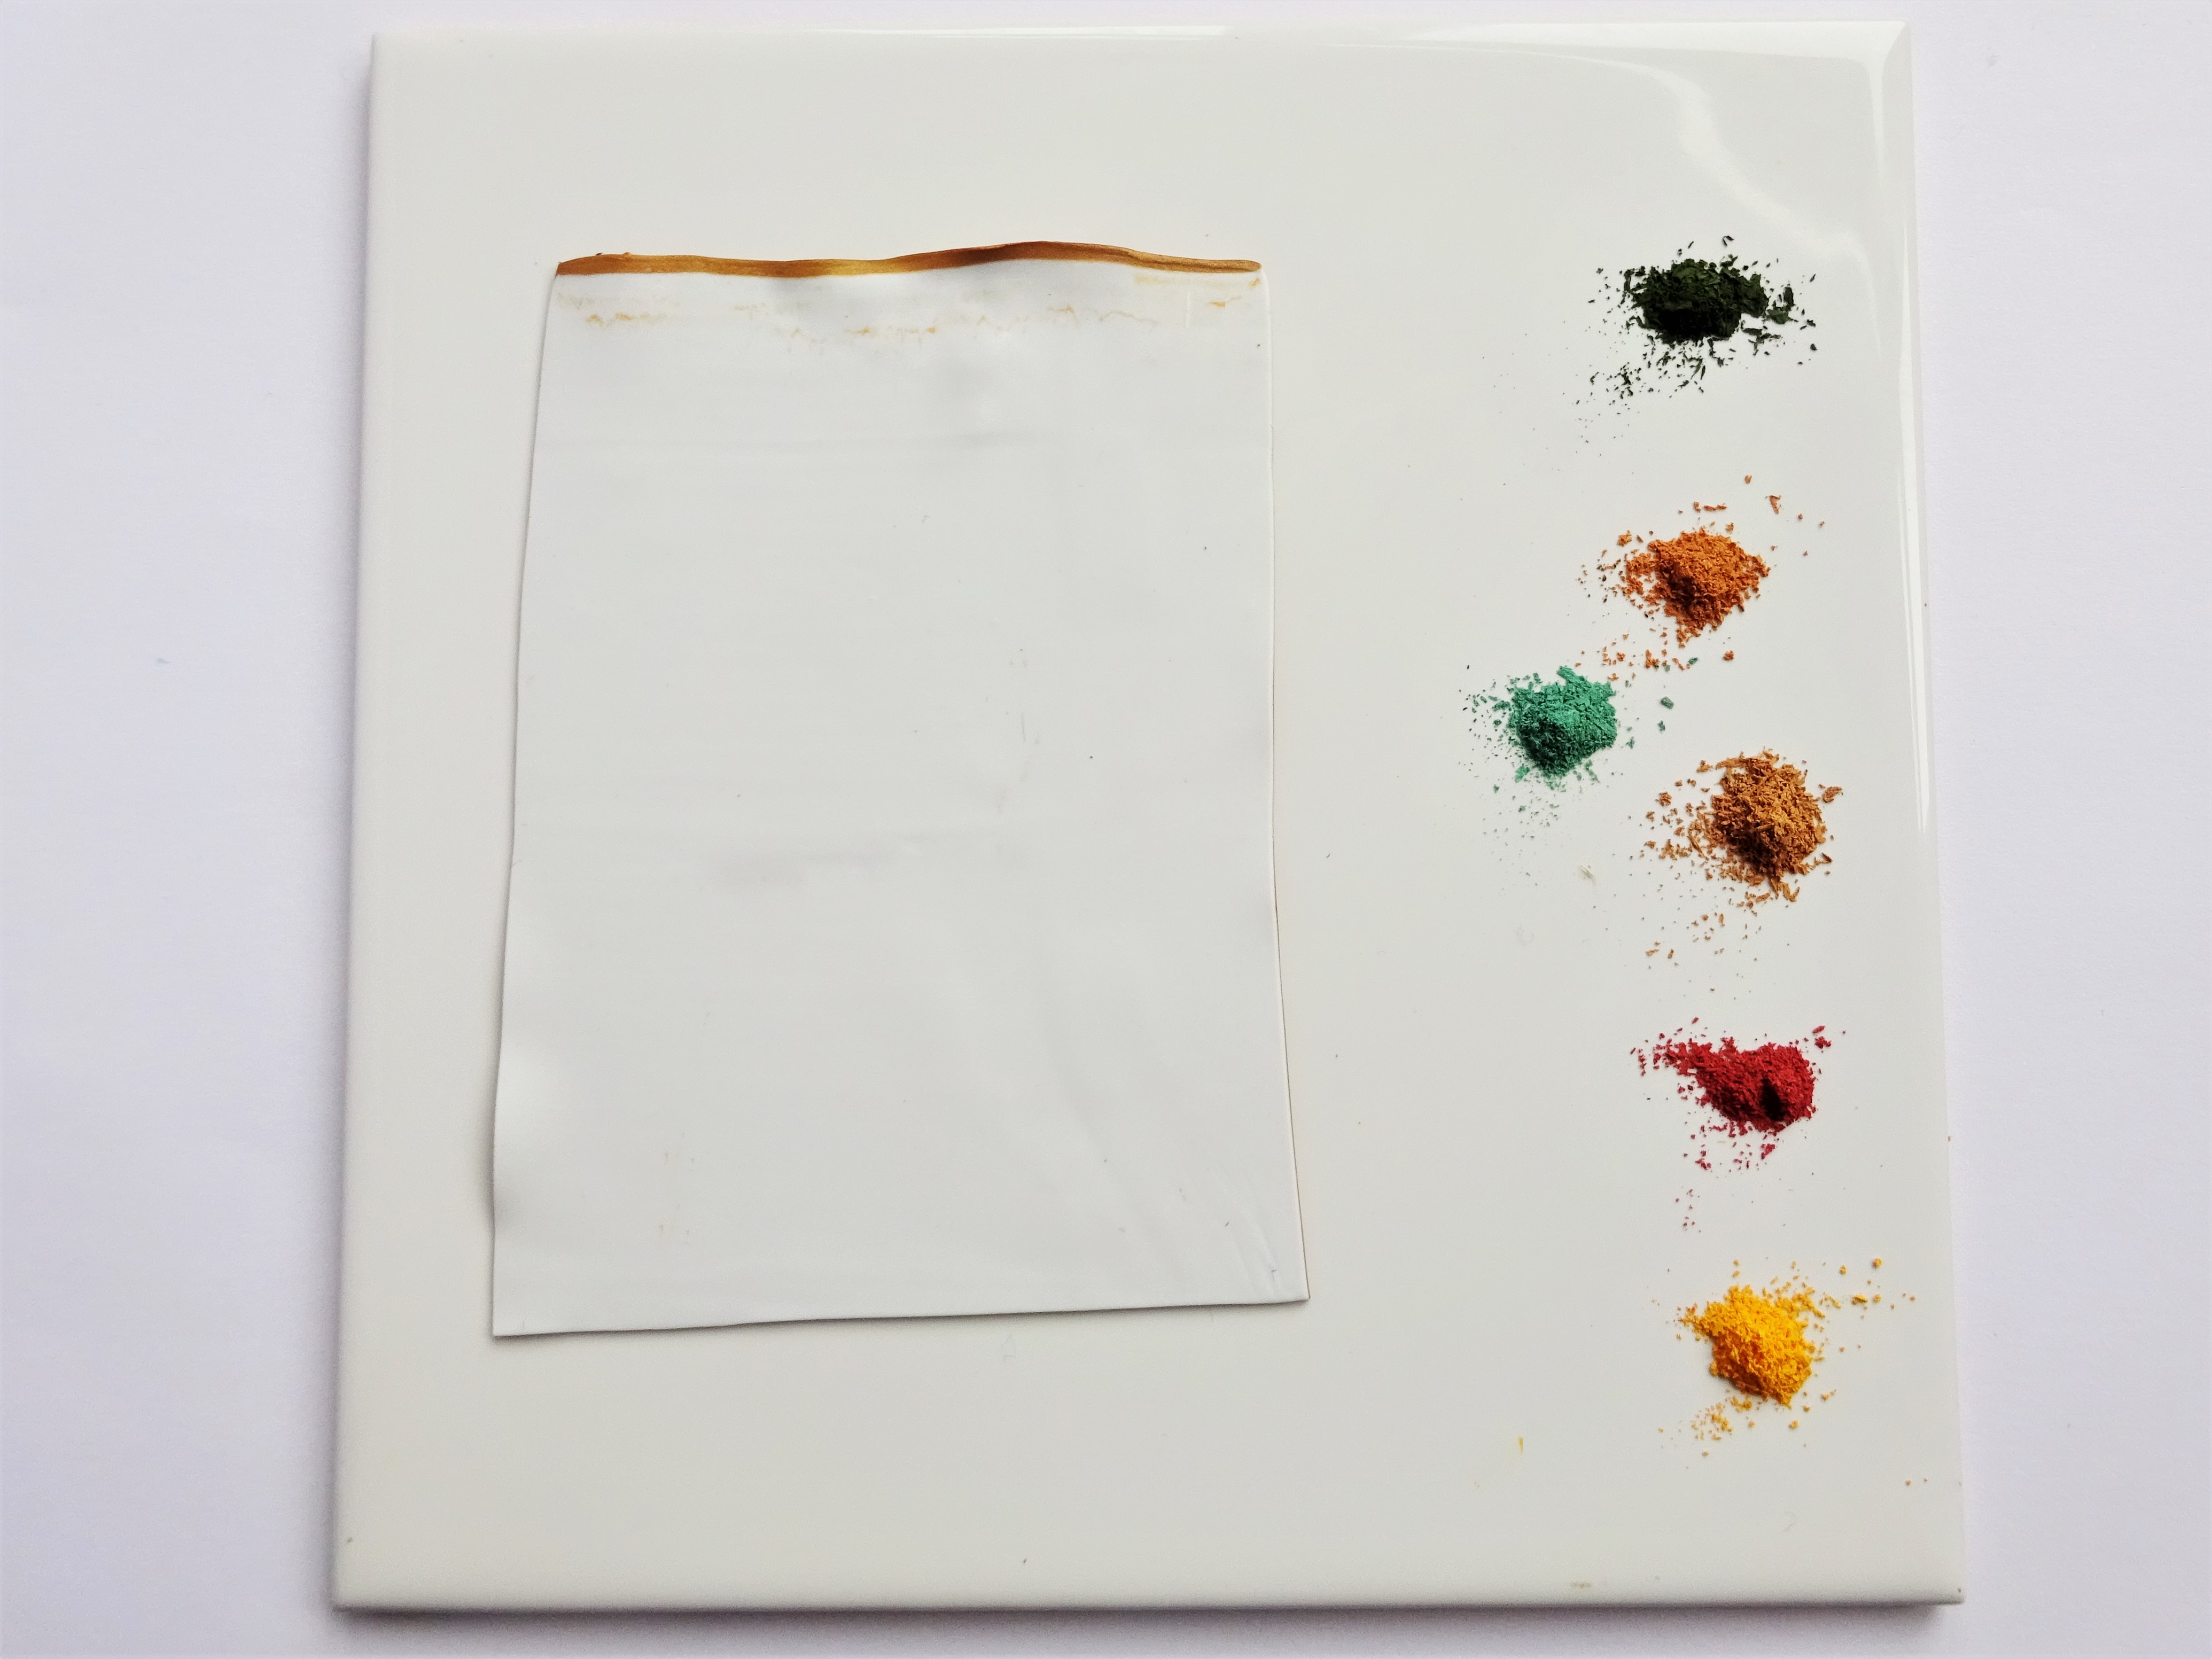
If you are using cheap blocks of craft chalk use a sharp knife to scrape some of the chalk into fine dust. I have used a variety of greens, yellow, light brown and orange/red,
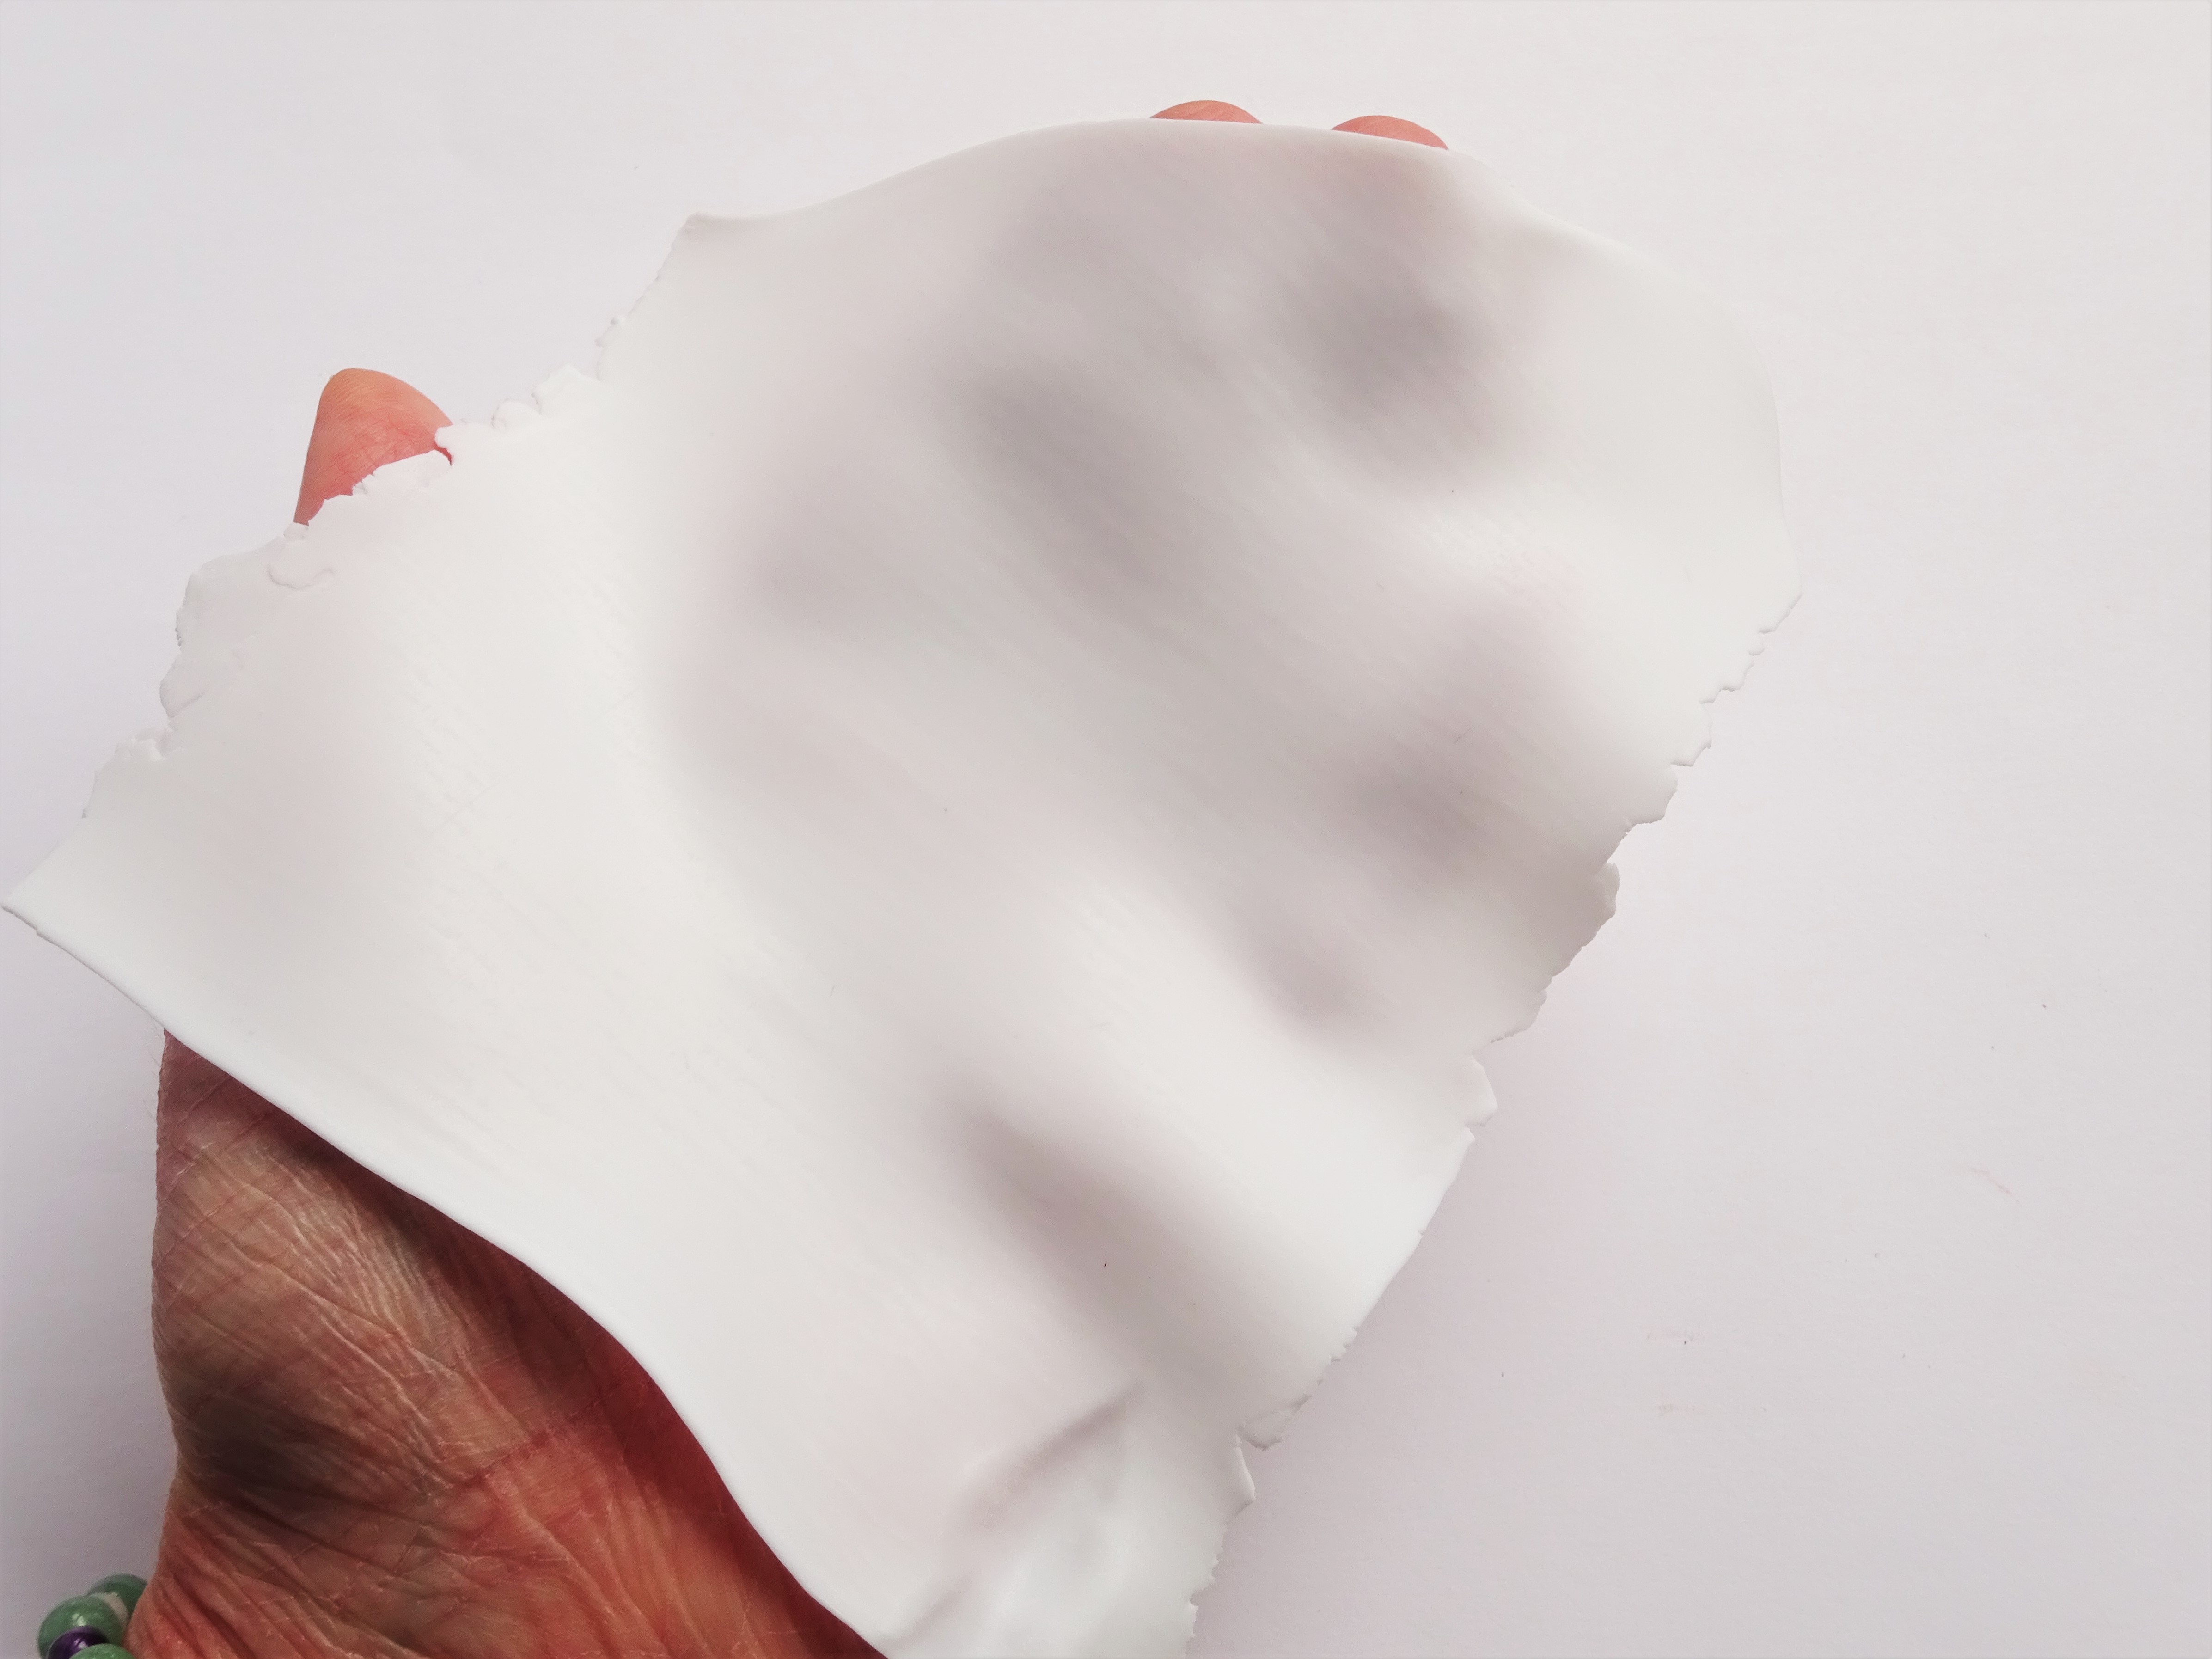
Step 5

Using your finger spread the chalk around on the white clay.
Step 6

Tear off small bit of gold foil and press it onto the clay.
Step 7
Condition the translucent clay and roll it on the clay machine as thin as possible (I rolled mine on a number 7).
Step 8

Lay the translucent clay on top of the decorated clay and gently roll with a roller to remove any air bubbles. Remove the excess clay from around the edges.
Step 9

Roll through the clay machine, starting and number 3 and down to number 5.
Step 10

Tear the clay into pieces. The more irregular the shapes the more interesting the end result.
Step 11
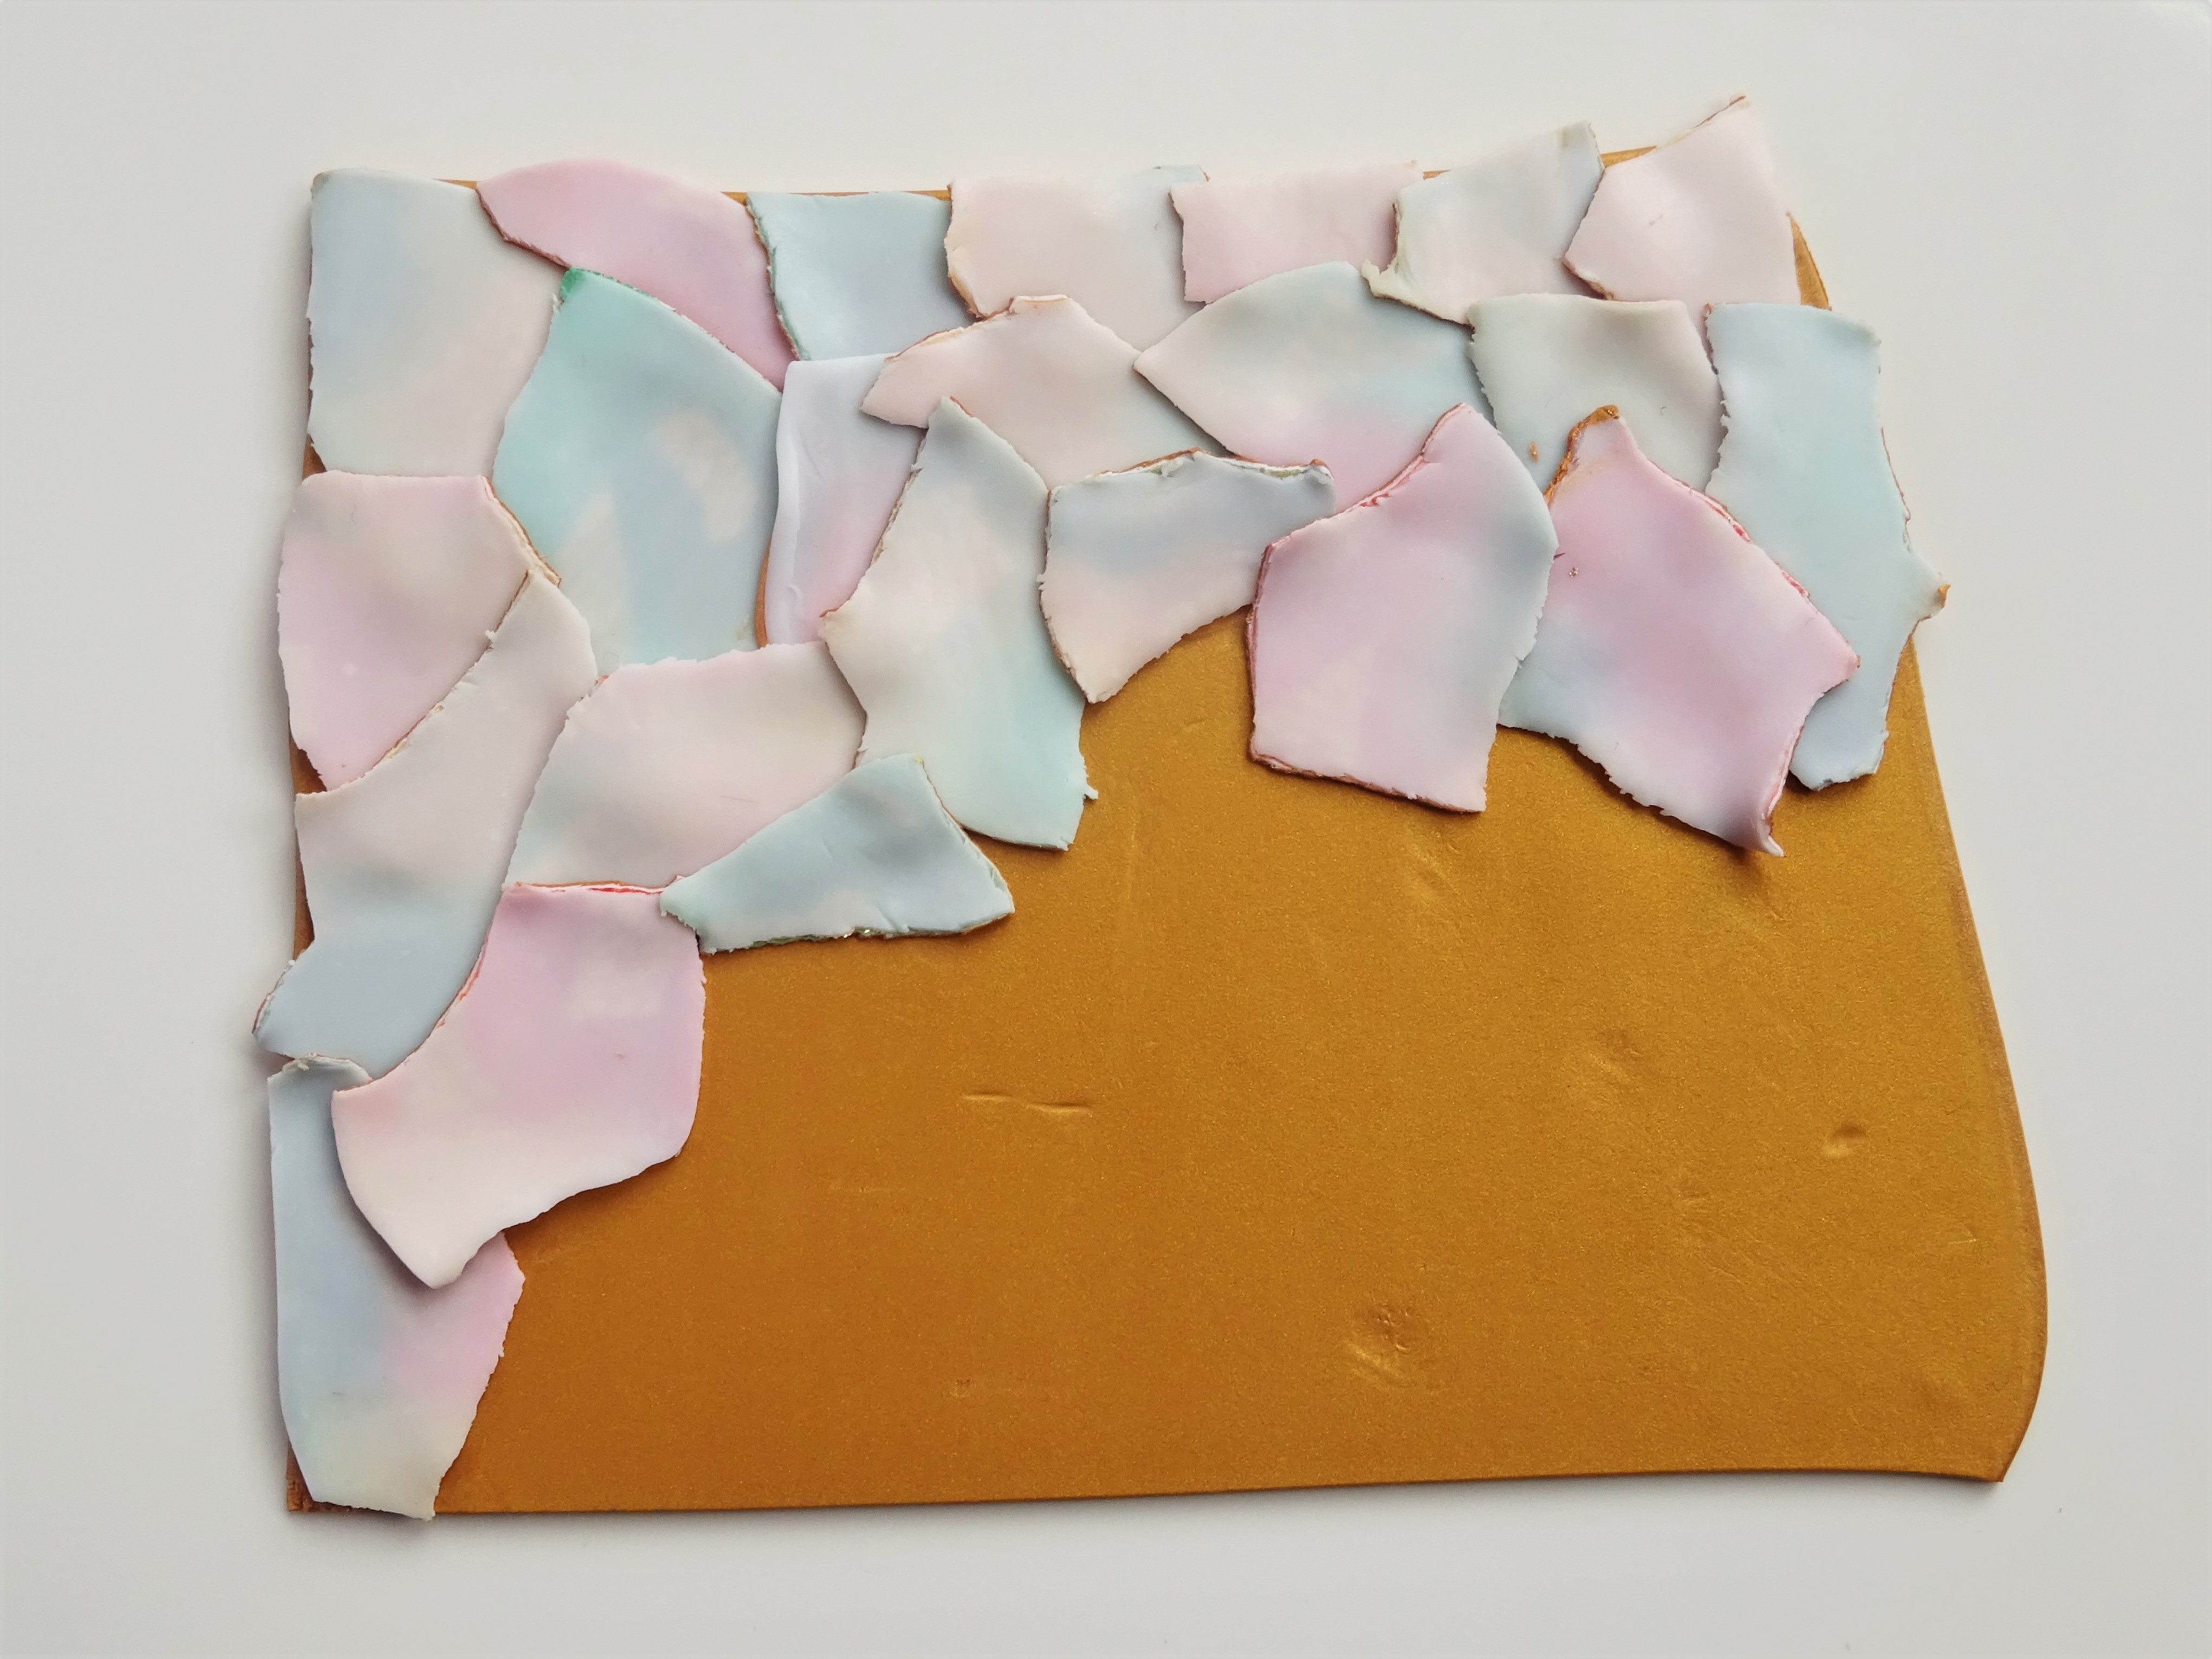
Condition more gold clay an roll it on number 3 on the clay machine. Randomly layer the torn clay on the sheet of gold. Overlap the torn pieces so no gold gaps are left showing through.
Step 12

Once all the gold clay is covered gently start to roll with a roller to flatten the layers. When the clay is reasonably flat roll it through the clay machine on number 2 thickness.
Step 13

Using a teardrop shaped cutter cut as many teardrop as possible from the clay slab. With a pointed tool (cocktail stick will work) draw a line down the centre and lines off to both sides to turn them into leaves. Poke a hole at the top of each one.
Step 14
Cure the leaves in the oven according to the instructions on the clay packets. I also made beads out of the left over clay (the part that was left once the teardrops had been cut).
Once cooled apply some acrylic paint over the top of the leaves, one at a time, and wipe off the excess immediately leaving the paint sitting in the leaf veins. You can always thin your acrylic paint with a little water if it is too thick. I have used a light brown paint but you could play around with different colours to find what works for you.
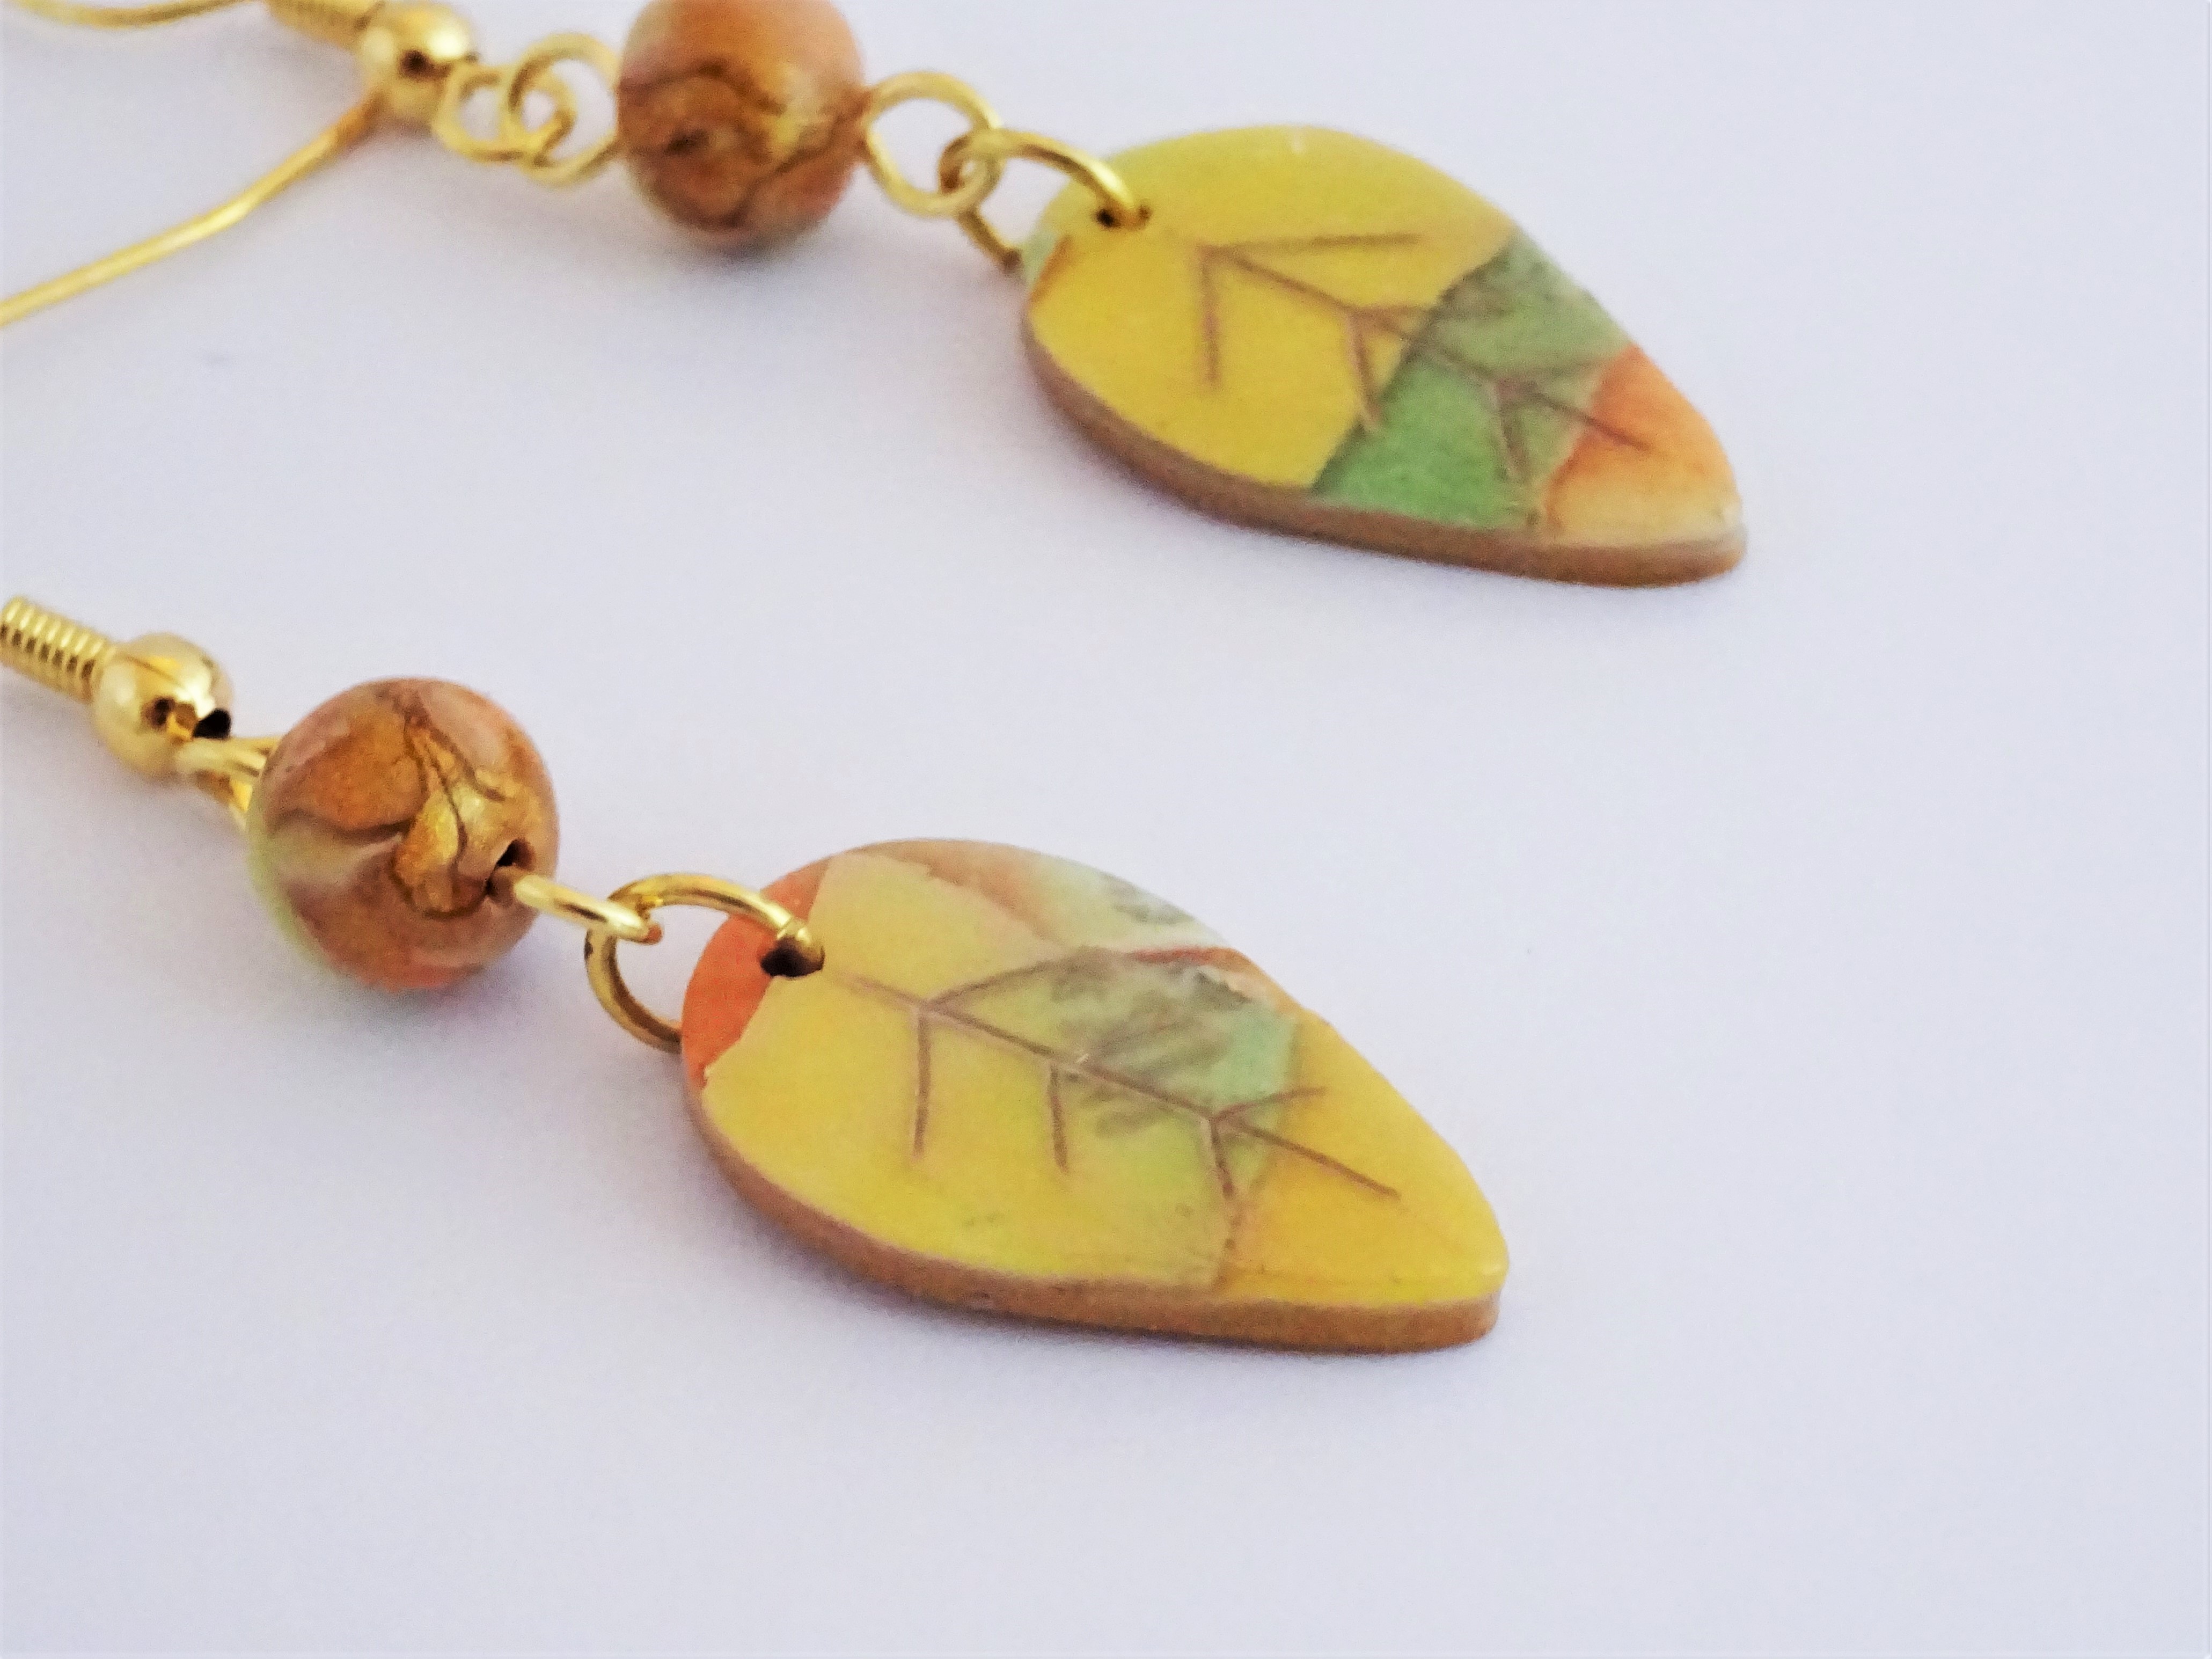
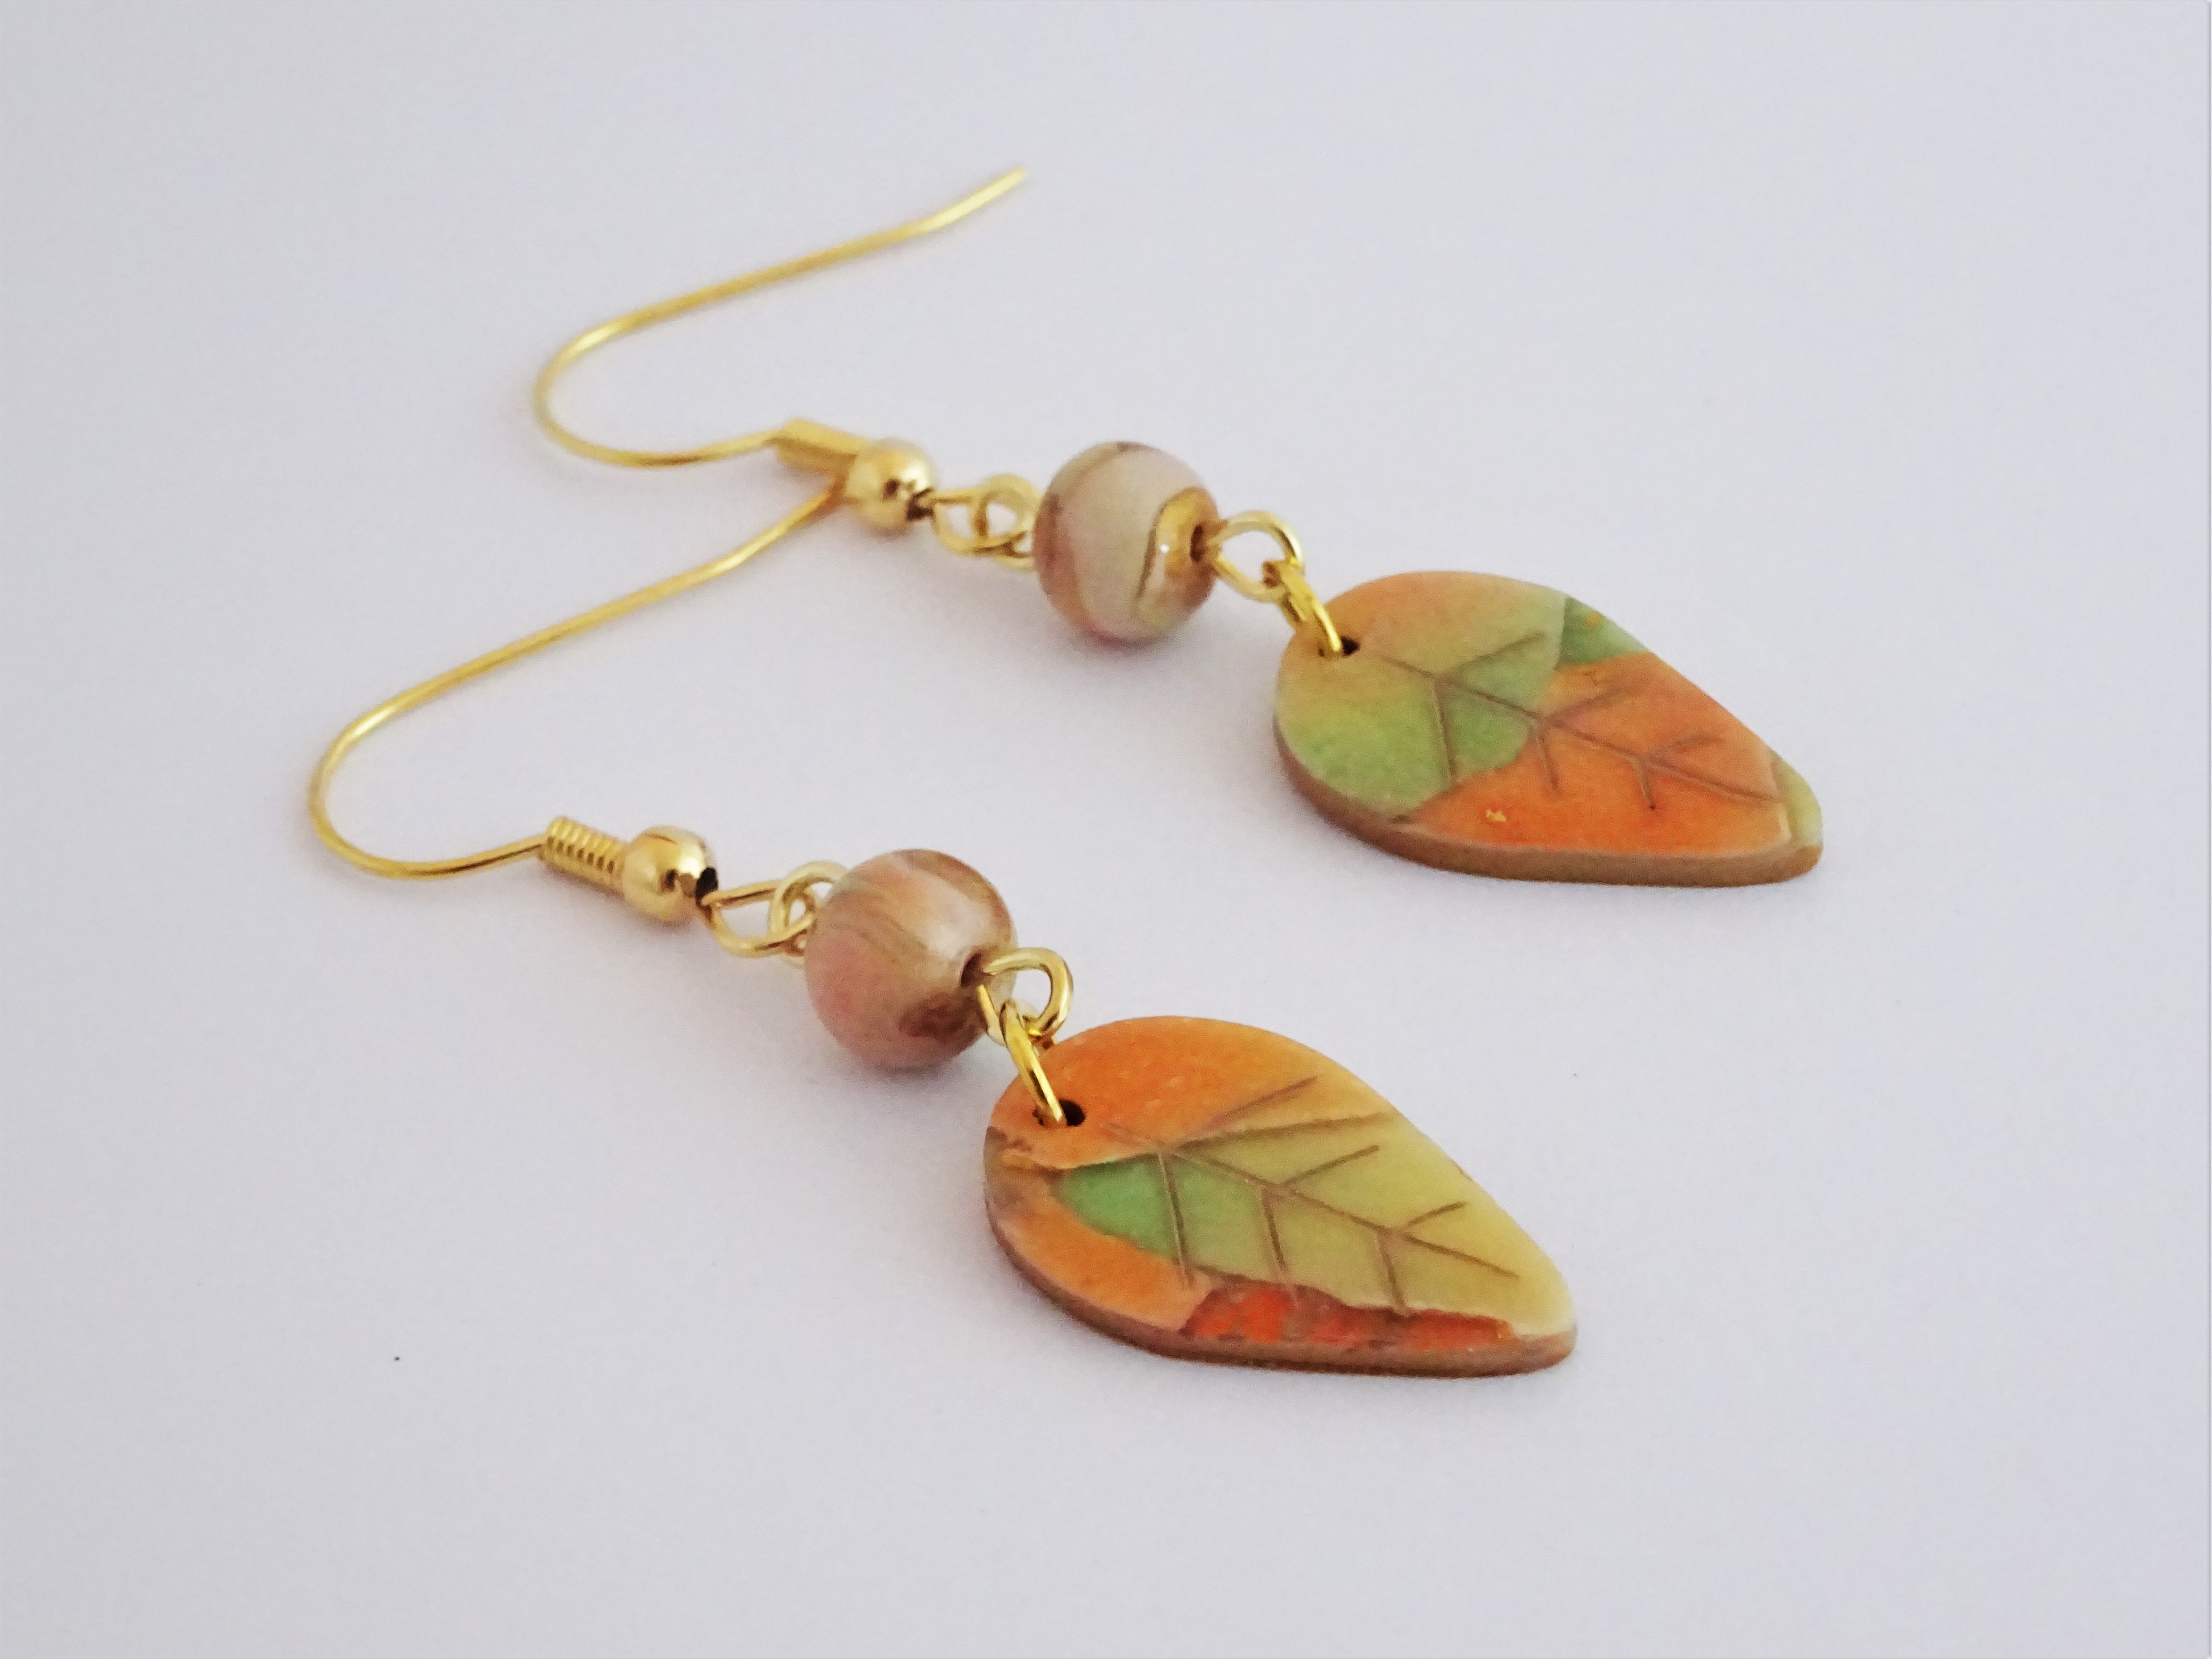
Give all the clay elements two coats of gloss varnish and your autumn leaves are ready to be turned into jewellery.
If you have enjoyed this and want to see more polymer clay tutorials then you can here – Polymer clay tutorials

Top Tip – As you can see from the above photos there is a big change between cured and non cured clay. If you wish to have a lighter colour at the end apply the chalk lightly and opt for more subtle colours.
These are affiliate links for Amazon UK and Amazon.com (US). This means that, at no extra cost to you, I receive a small percentage if you use my link to buy something.
Amazon UK Links
- Fimo Effect Gold , Fimo Professional White and Fimo Effect Trasnlucent
- Fimo Gold Foil
- Premo Teardrop Cutters (the Amazon picture makes them look an odd shape!)
- Fimo Gloss Varnish
- Sculpy blades
- Fimo acrylic roller
Amazon.com (US) Links
- Fimo Effect Gold , Fimo Professional White and Fimo Effect Translucent
- Fimo Gold Foil
- Premo Teardrop Cutters (again, the amazon picture makes them look an odd shape!)
- Fimo Gloss Varnish
- Sculpy blade
I cannot find the craft chalks that I used but there are some lovely Pebbles I-Kan-Dee Pearlescent jewel tone ones on Amazon that I am very temped to try.
If you try this technique and upload to Facebook or Instagram then don’t forget to @theartisanduck . I would love to see what you come up with.
Hannah x


Very good directions. Thanfk you for sharing.
Thank you 🙂 Glad you enjoyed it.
These are amazing! Looks like they’re a lot of fun to make too. 🙂
Thank you. Oh, these are a lot of fun to make if not a little messy!
This was a great tutorial. Baking as I type! Thank you for sharing
Oh wow, thank you. I am so glad you enjoyed it. I am sure they will, but I hope your pieces have turned out great 😀