
Please note – this post contains affiliate links. This means that I earn, at no expense to you, that I earn a very small commission if you use my link to buy a product. This just helps me to continue to make these free tutorials. The products I have used are linked at the bottom of the post.
A little while ago I shared my tutorial for the watercolour clay technique. After that I have been thinking over how to use the technique in another way so that the clay has a pattern to it. I also love how translucent clay gives a look of frosted glass and am interested to see all I can do with it ( I used it here tinted with alcohol inks to make whimsical flowers).
This tutorial was a tricky one to photograph as the photos are of translucent and white clay so just bear with me as you scroll through the photos. Its gets really good at the end when you see the finished result.
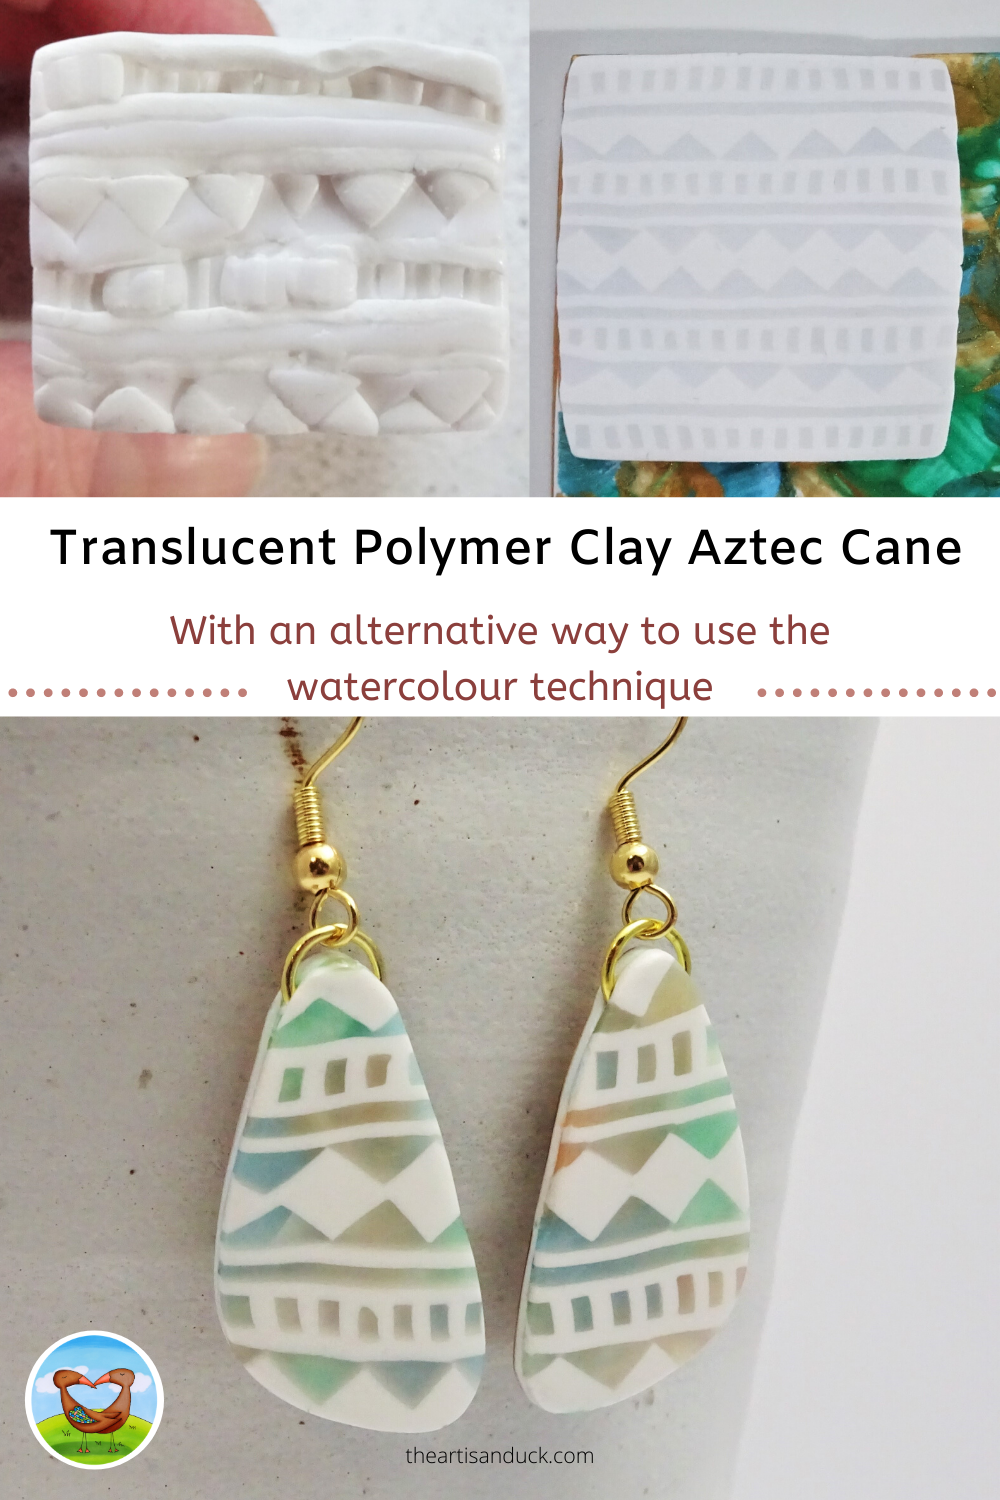
Polymer Clay Translucent and White Cane with Watercolour Clay Technique
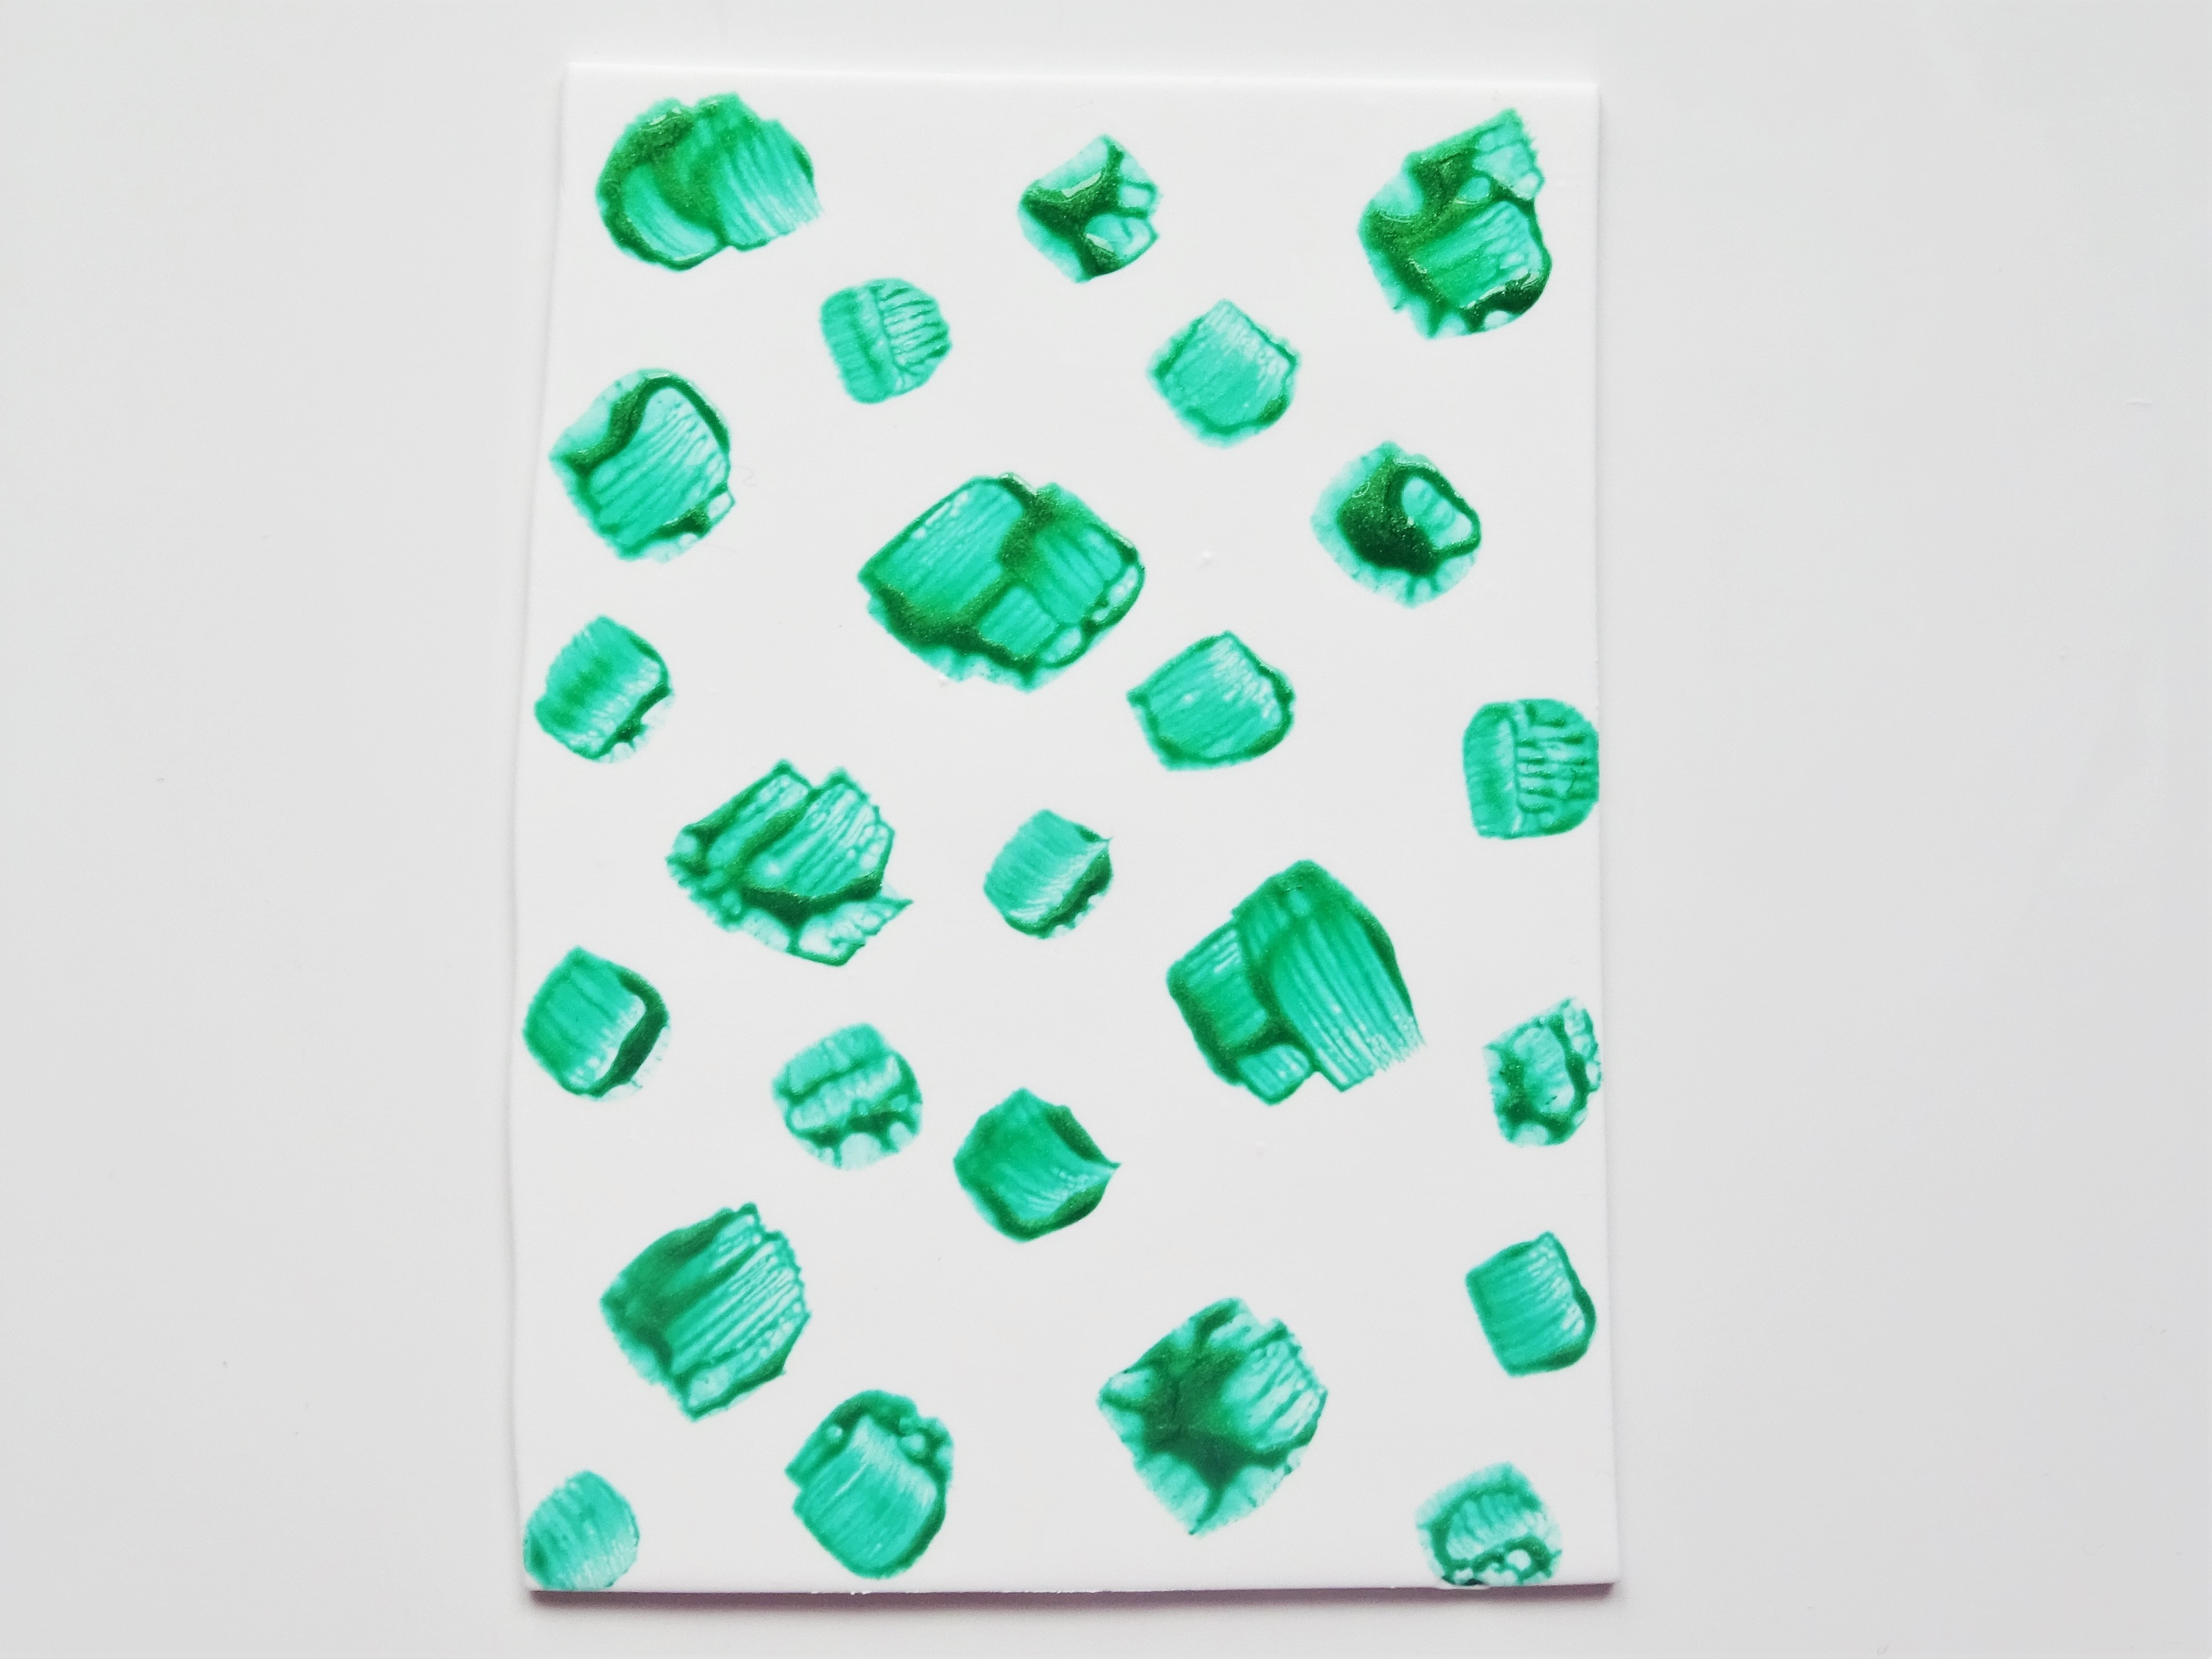
1) Condition some white clay and roll out on a numer 4 on your pasta machine. Paint small patches of green acrylic paint (do a test patch of paint on some scrap clay first – not all acrylic paint dries on polymer clay).

2) Add more paint in blue, overlapping the green a little.

3) Add gold in all the remaining gaps. It will look messy – just go with it. Put to one side to dry.
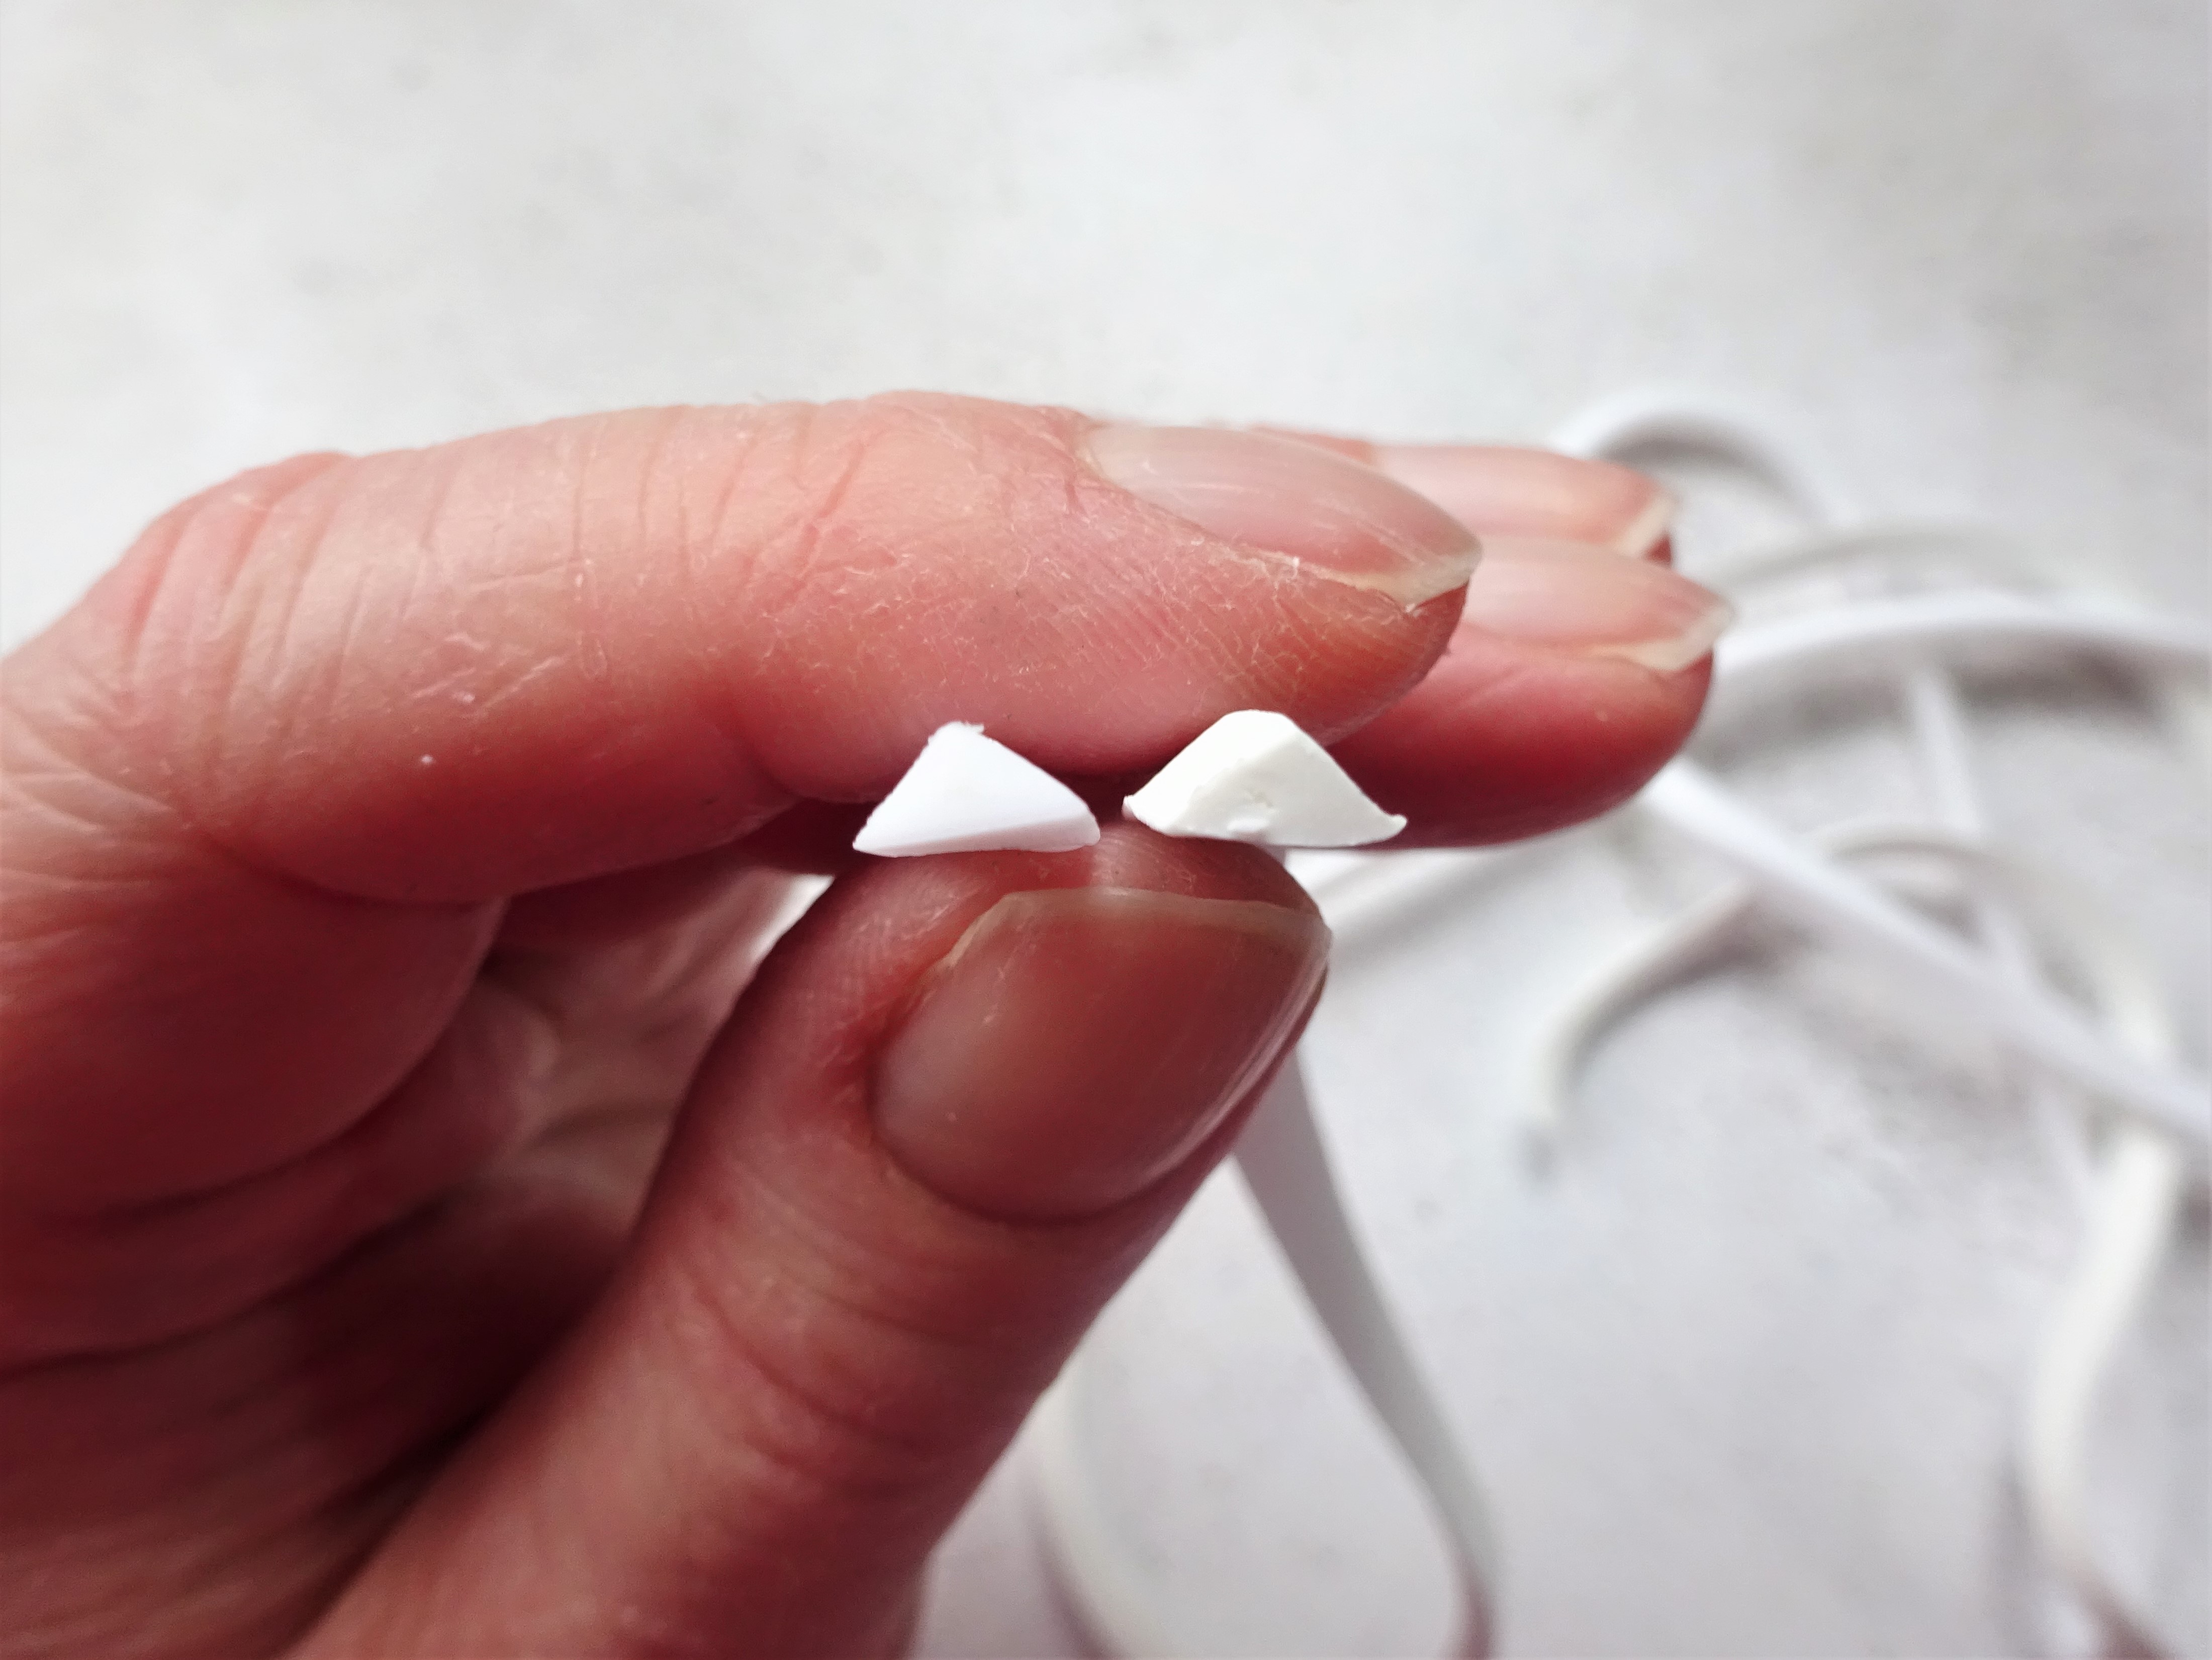
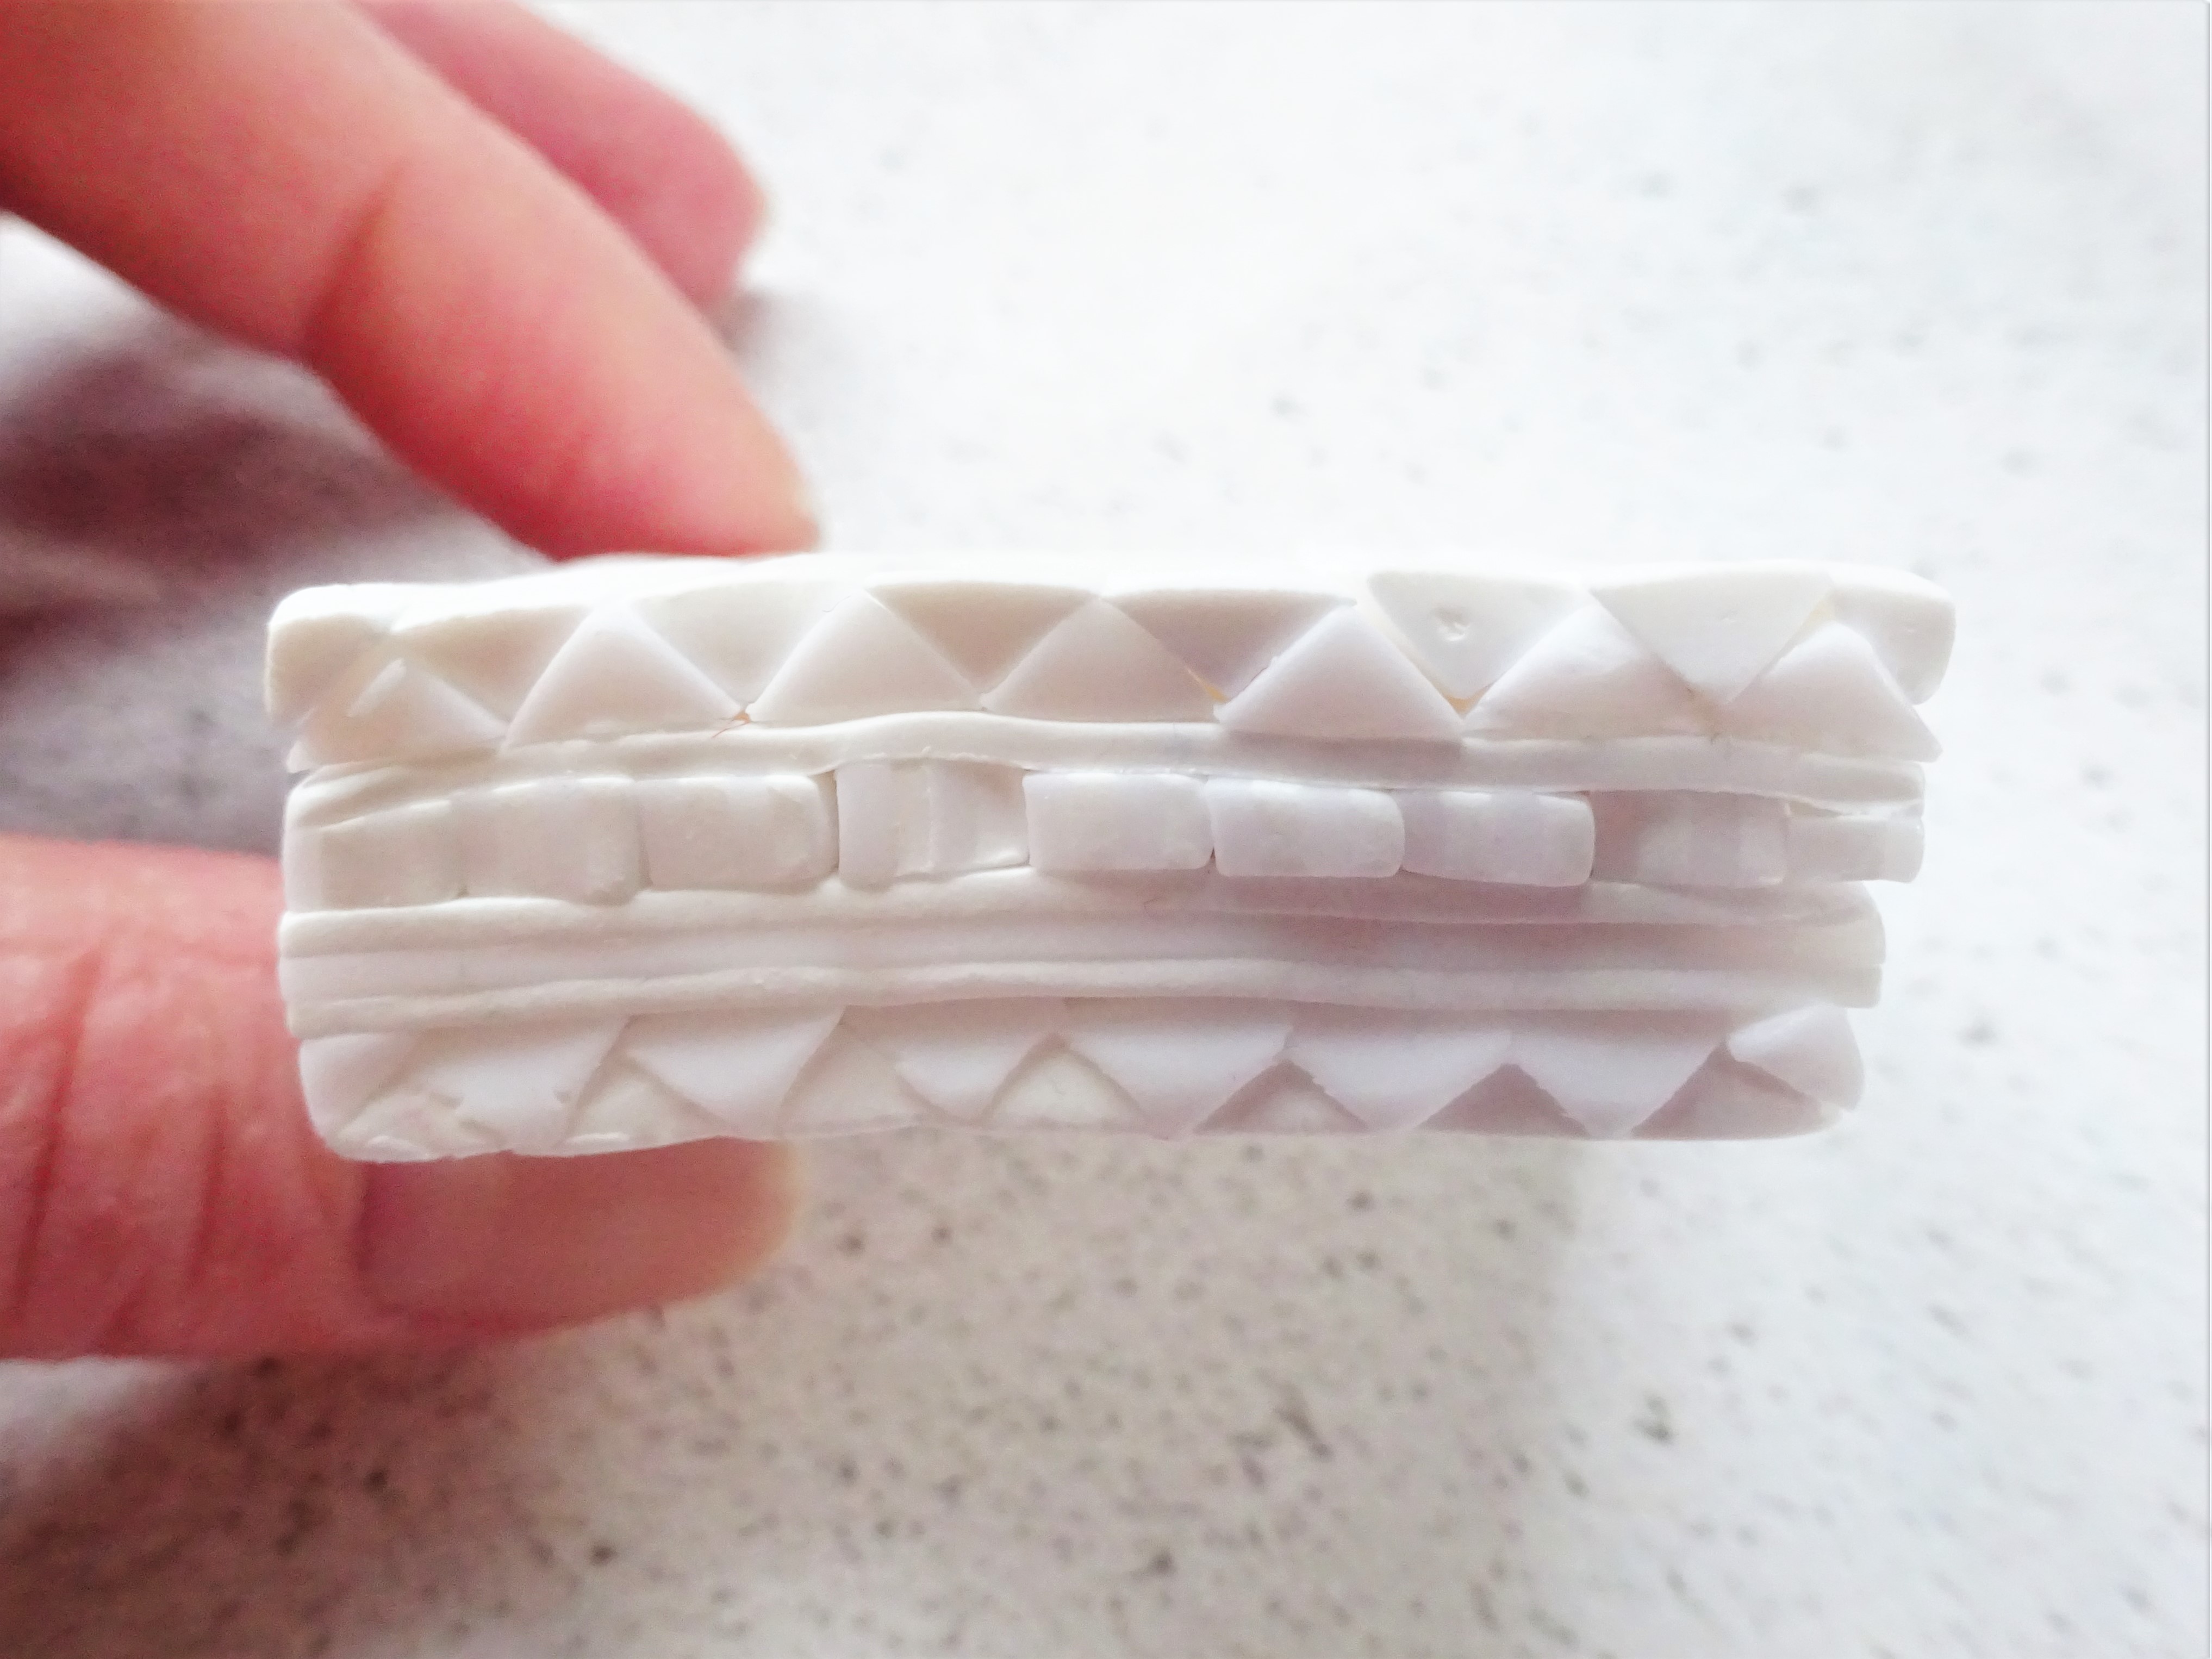
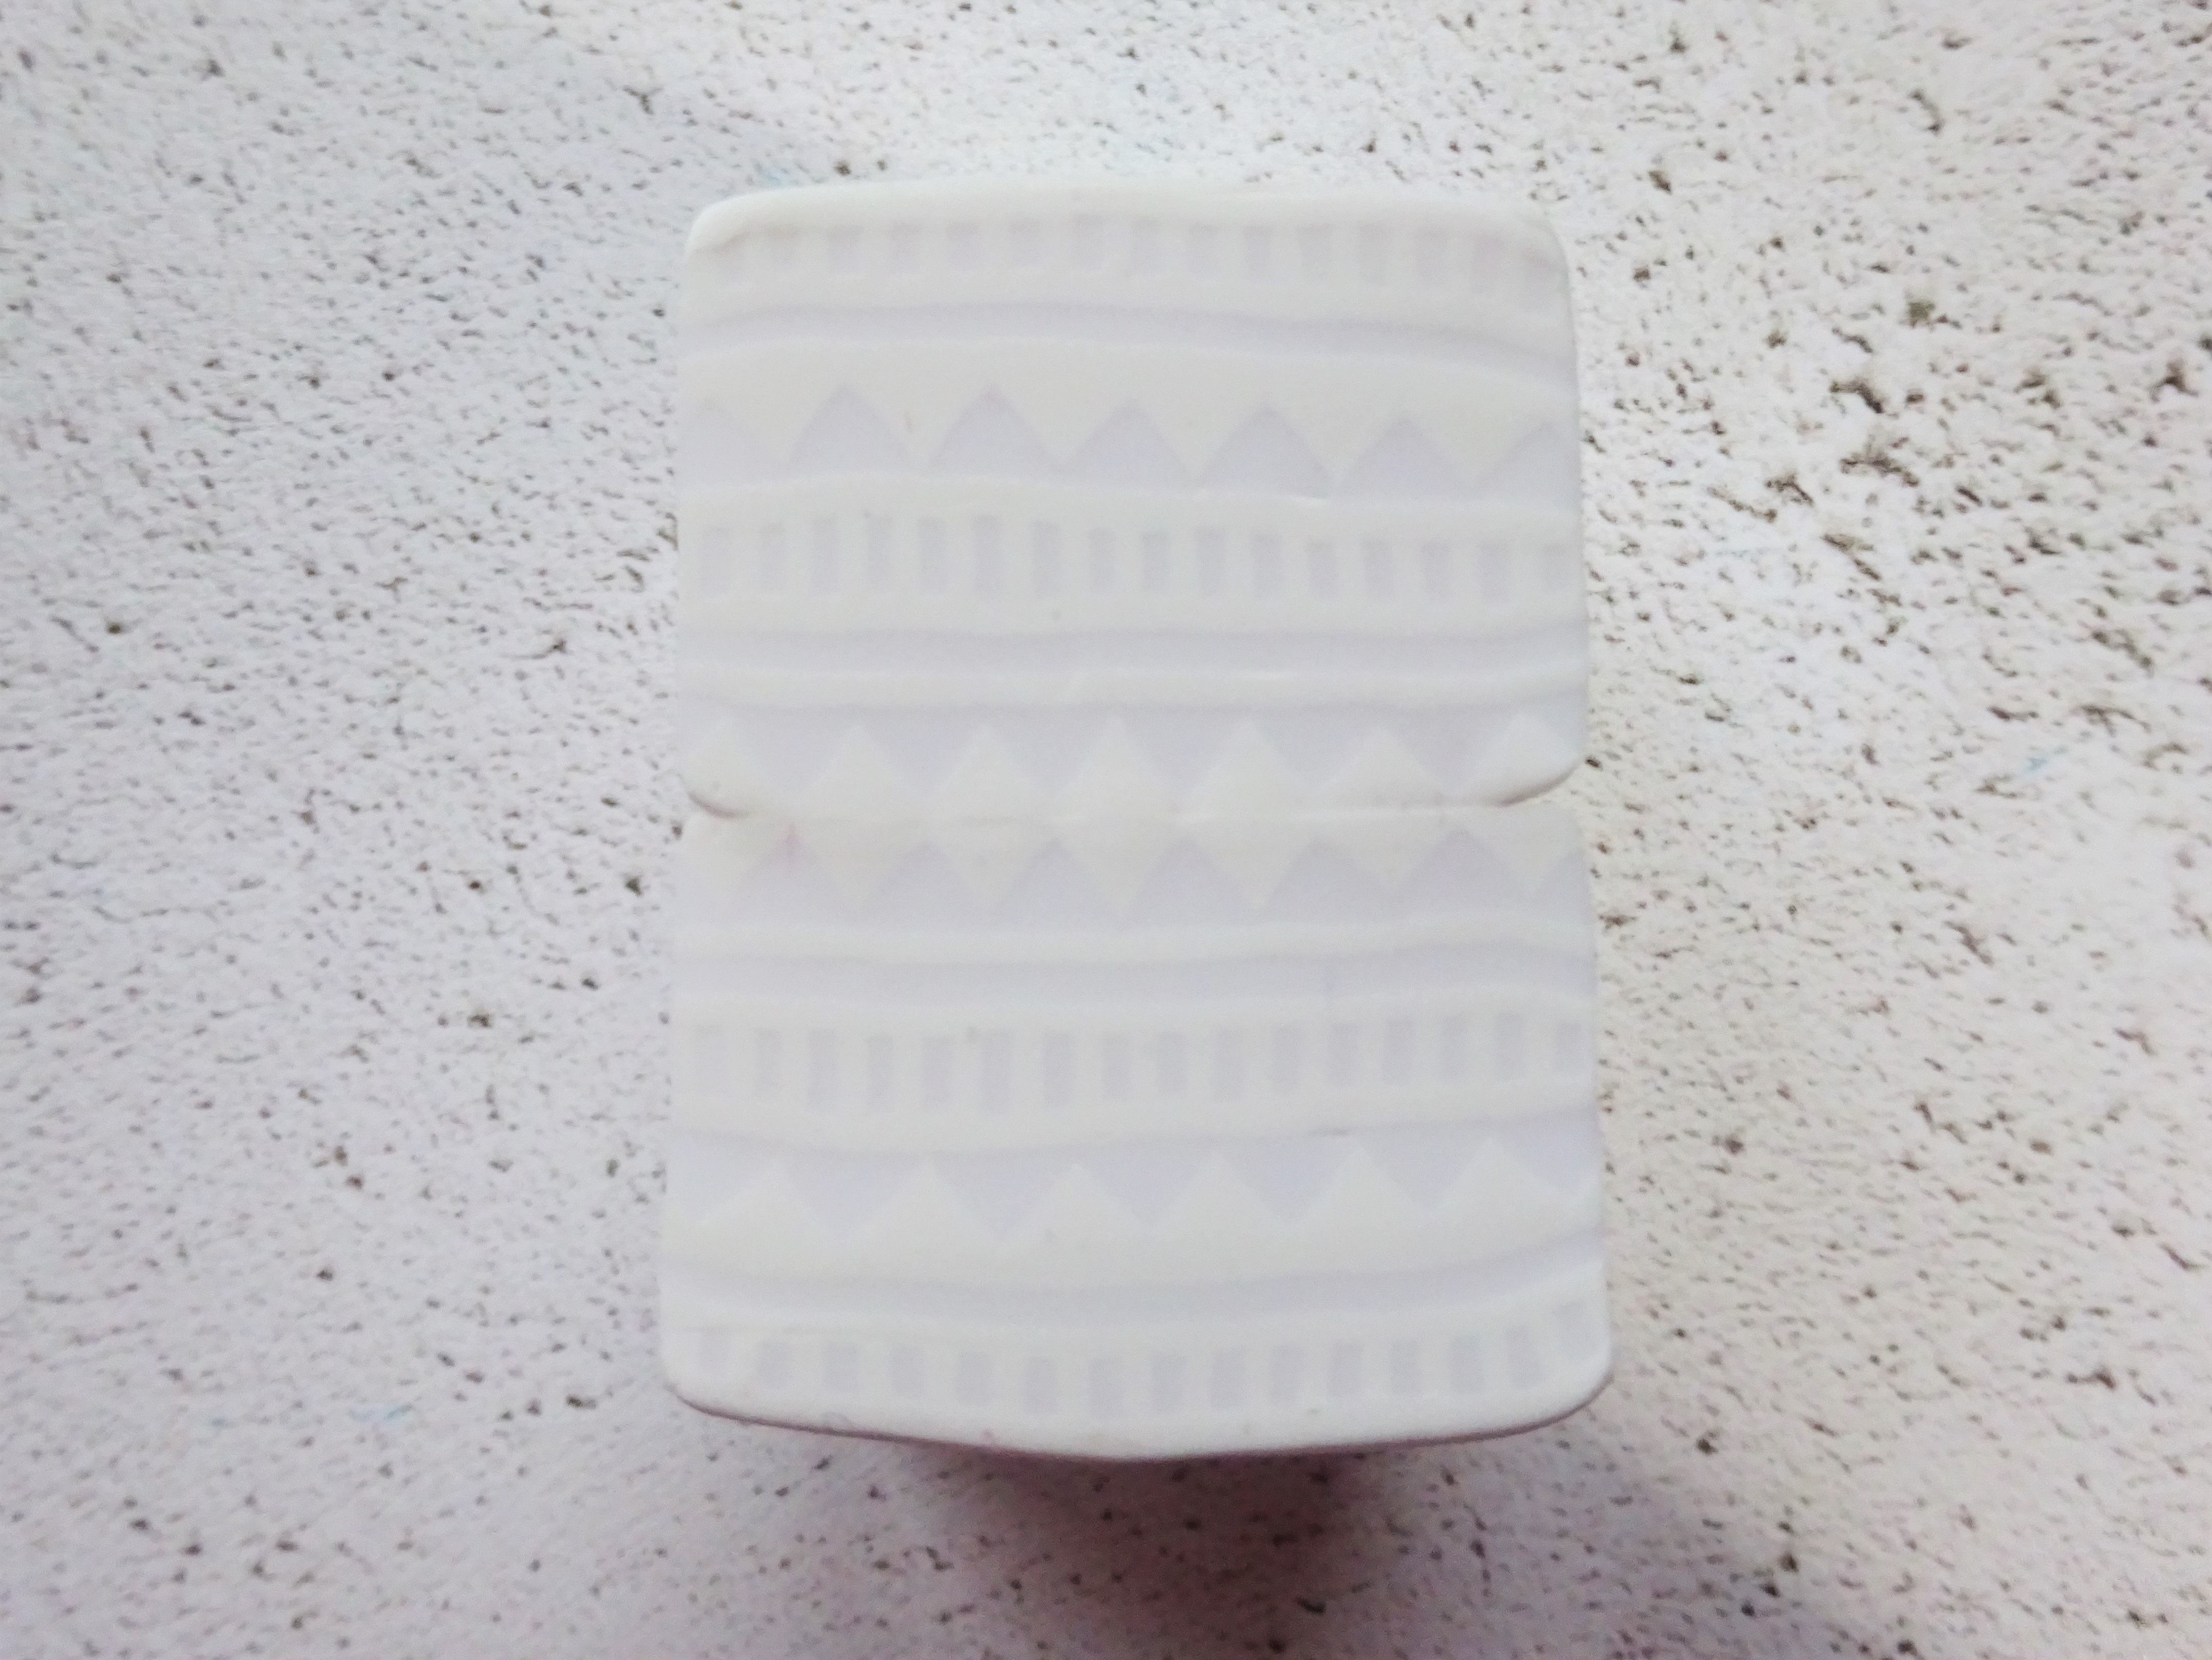
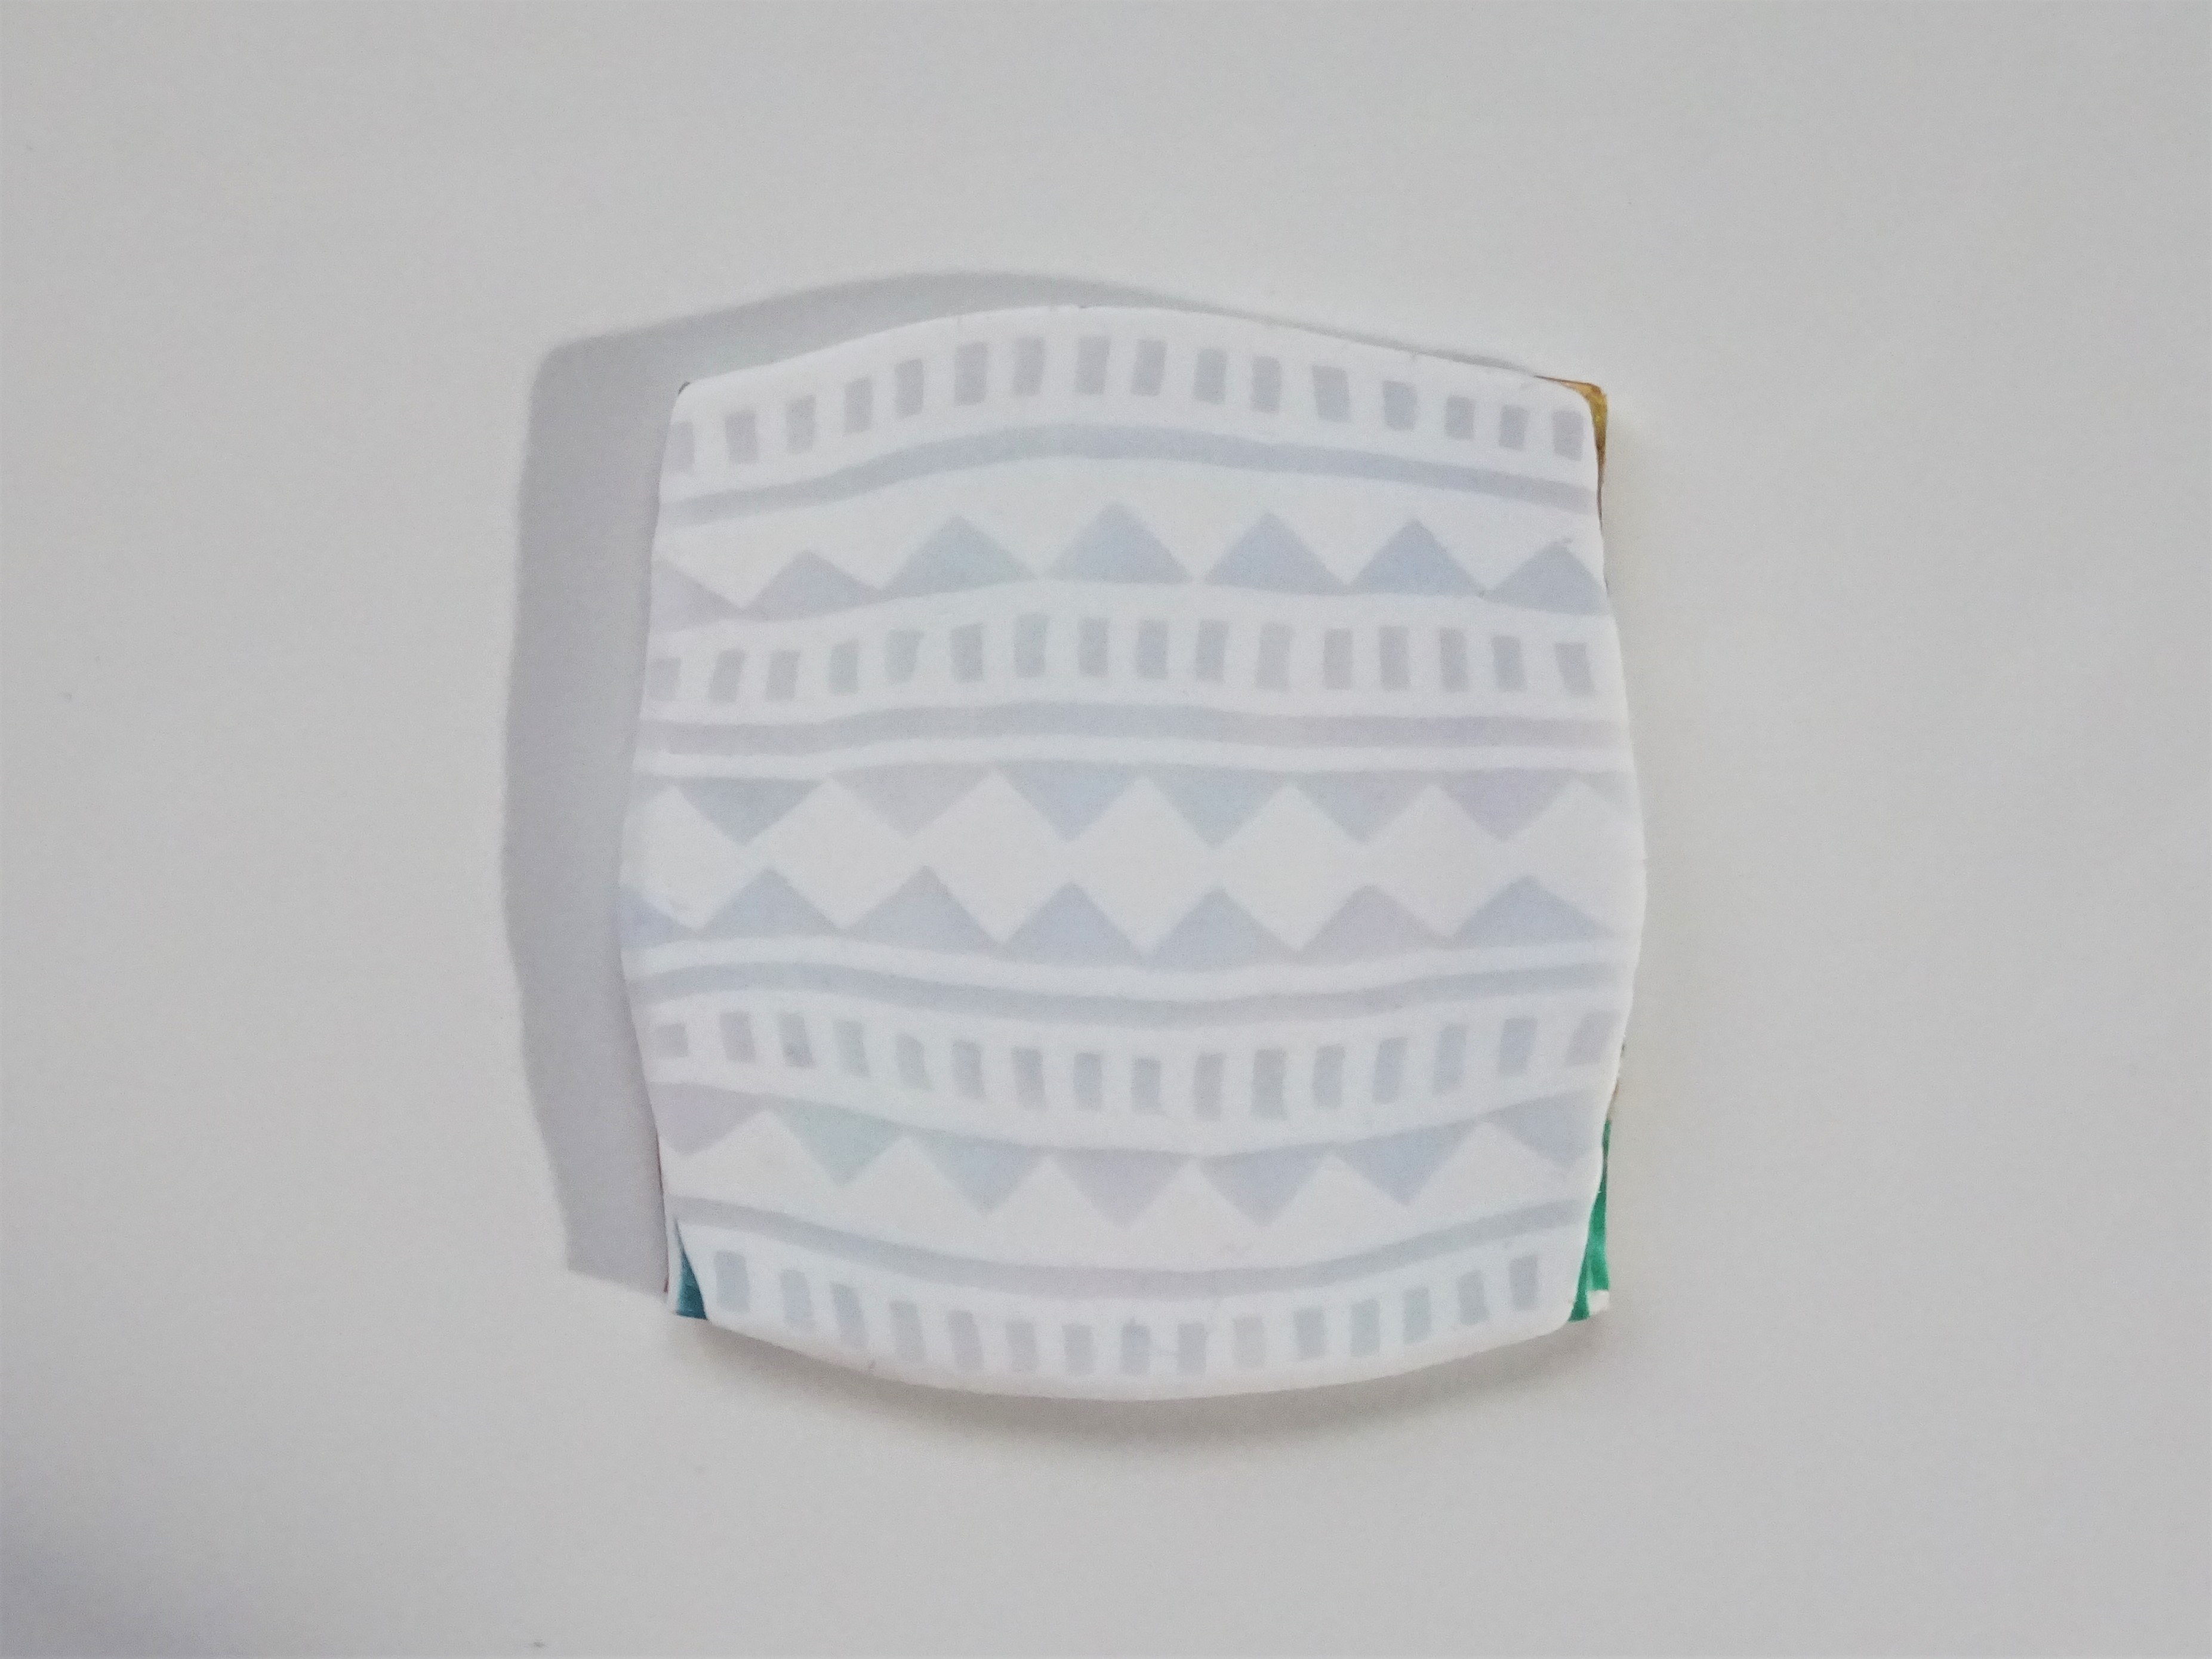
4) Condition some translucent clay. Using a triangle disc extrude translucent and then white clay.
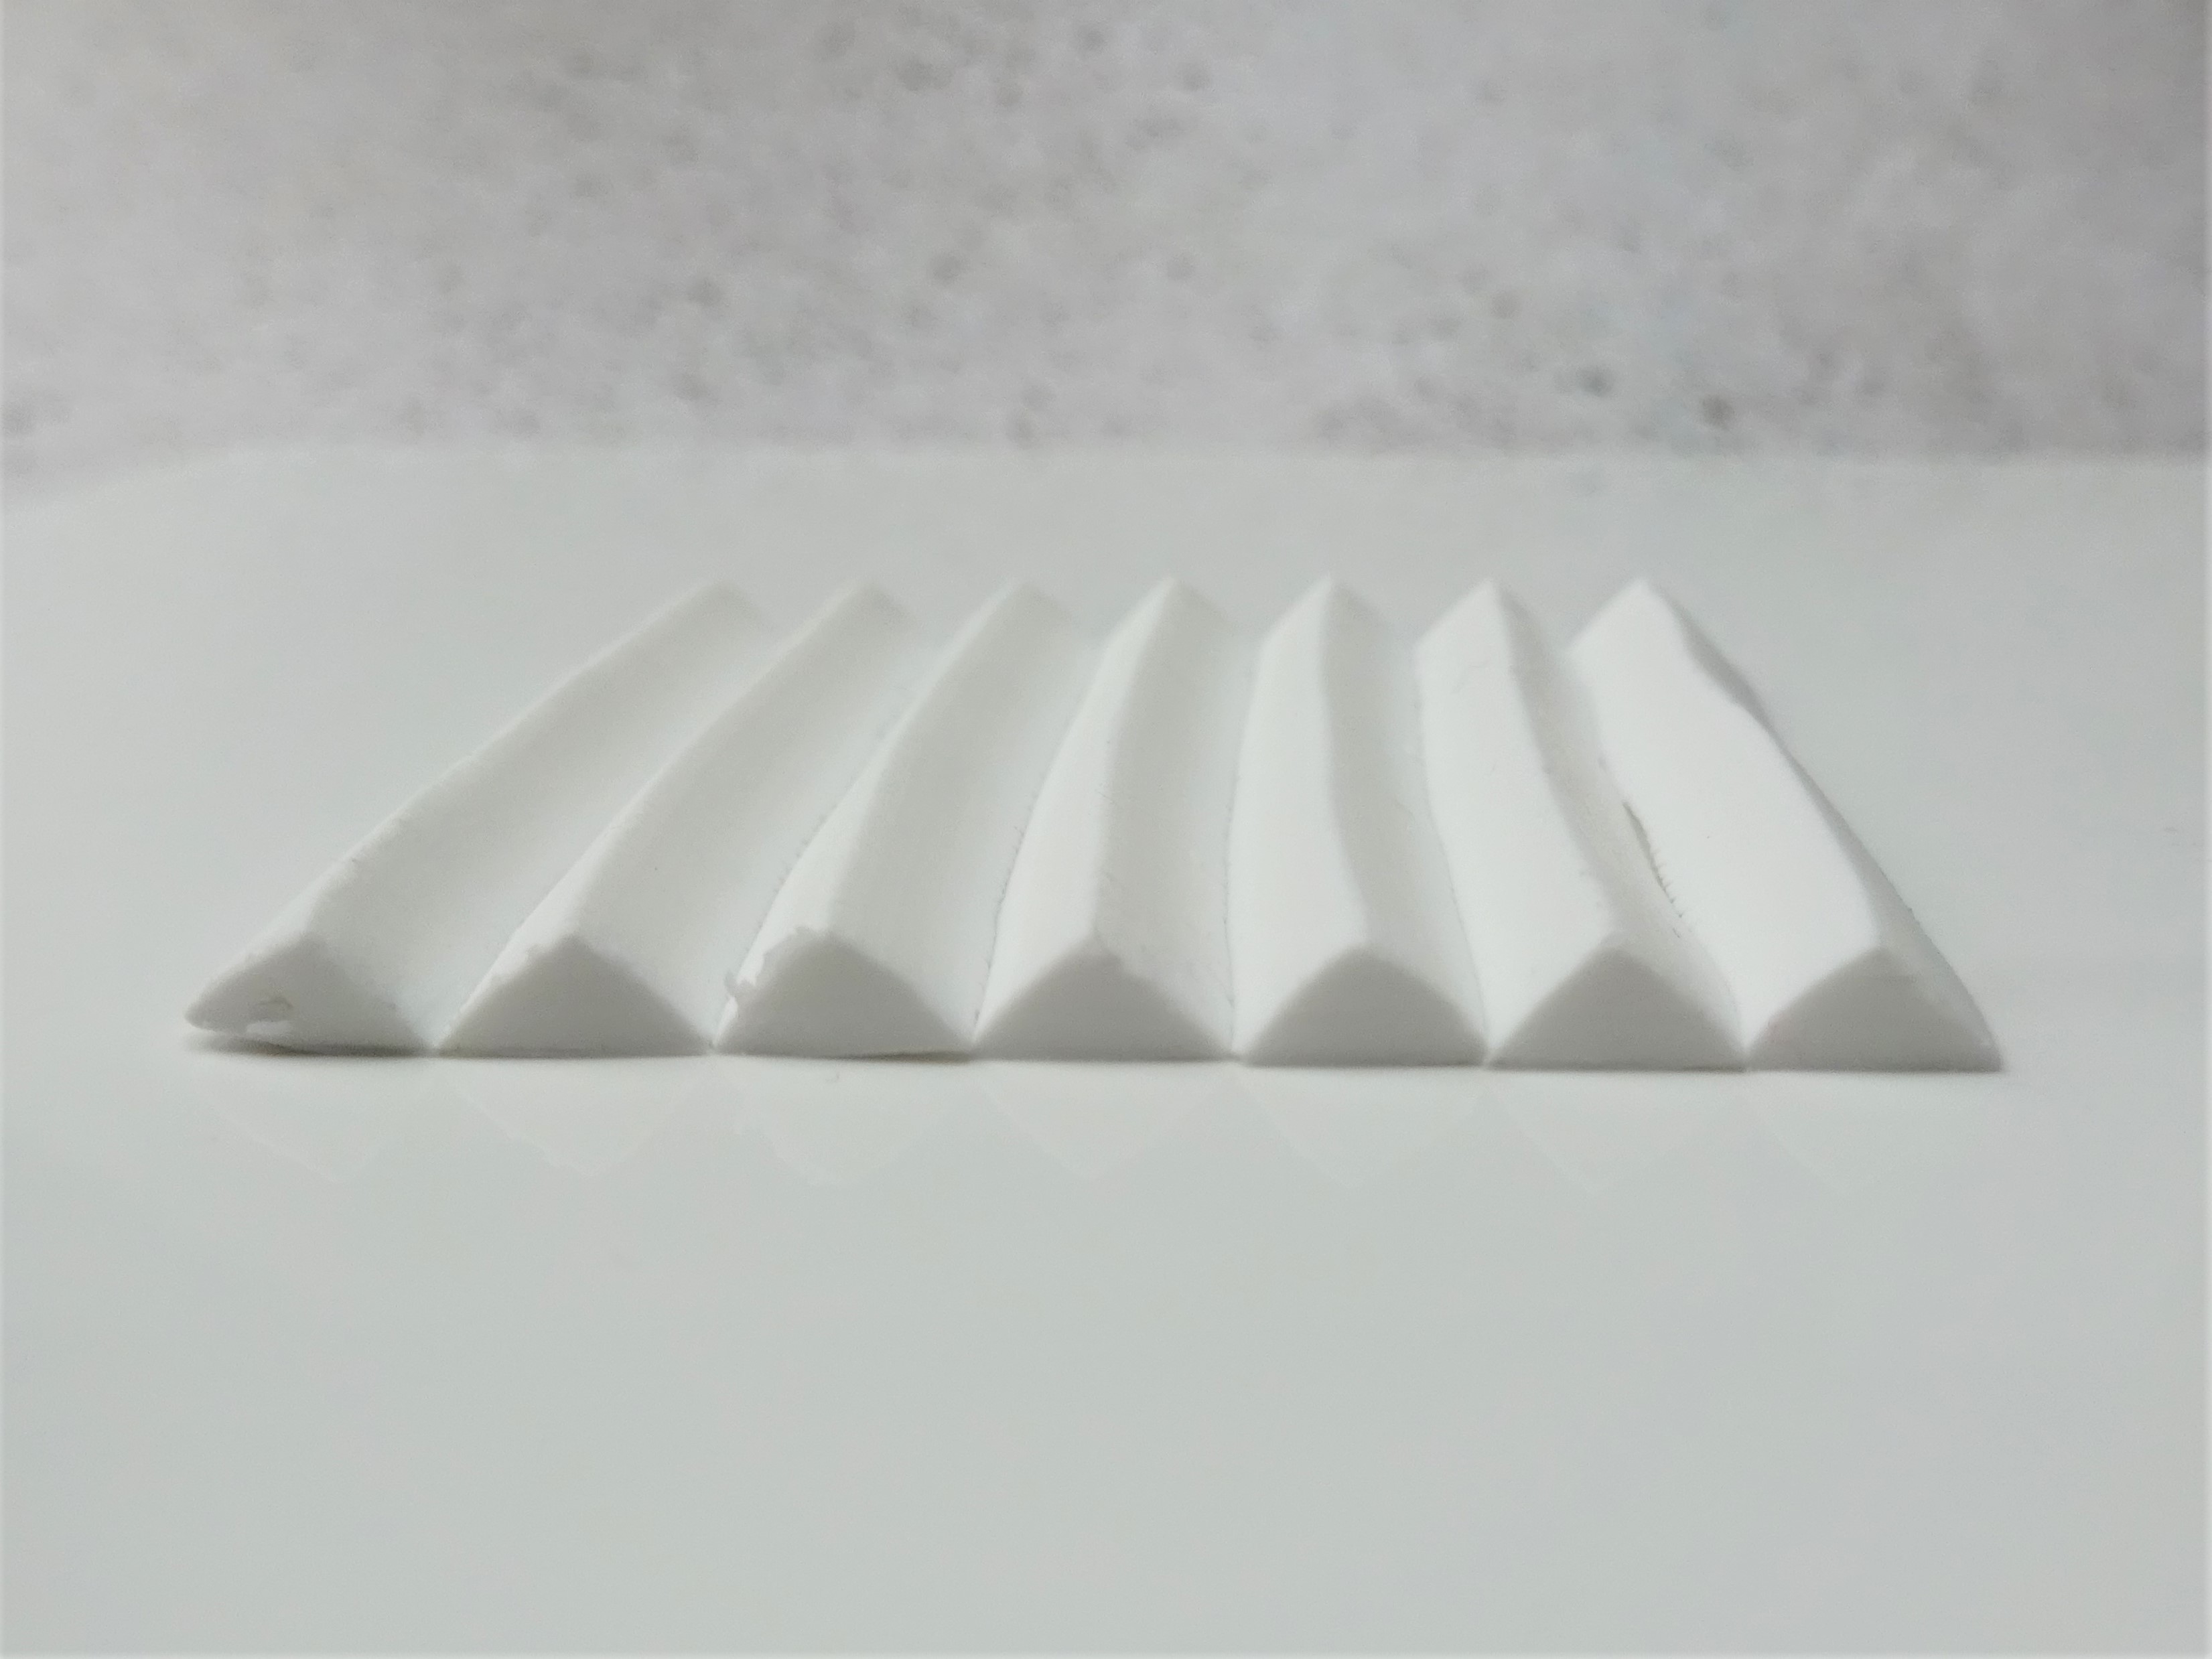
5) Cut the white triangles at 4″ long. Line 7 triangles side by side.
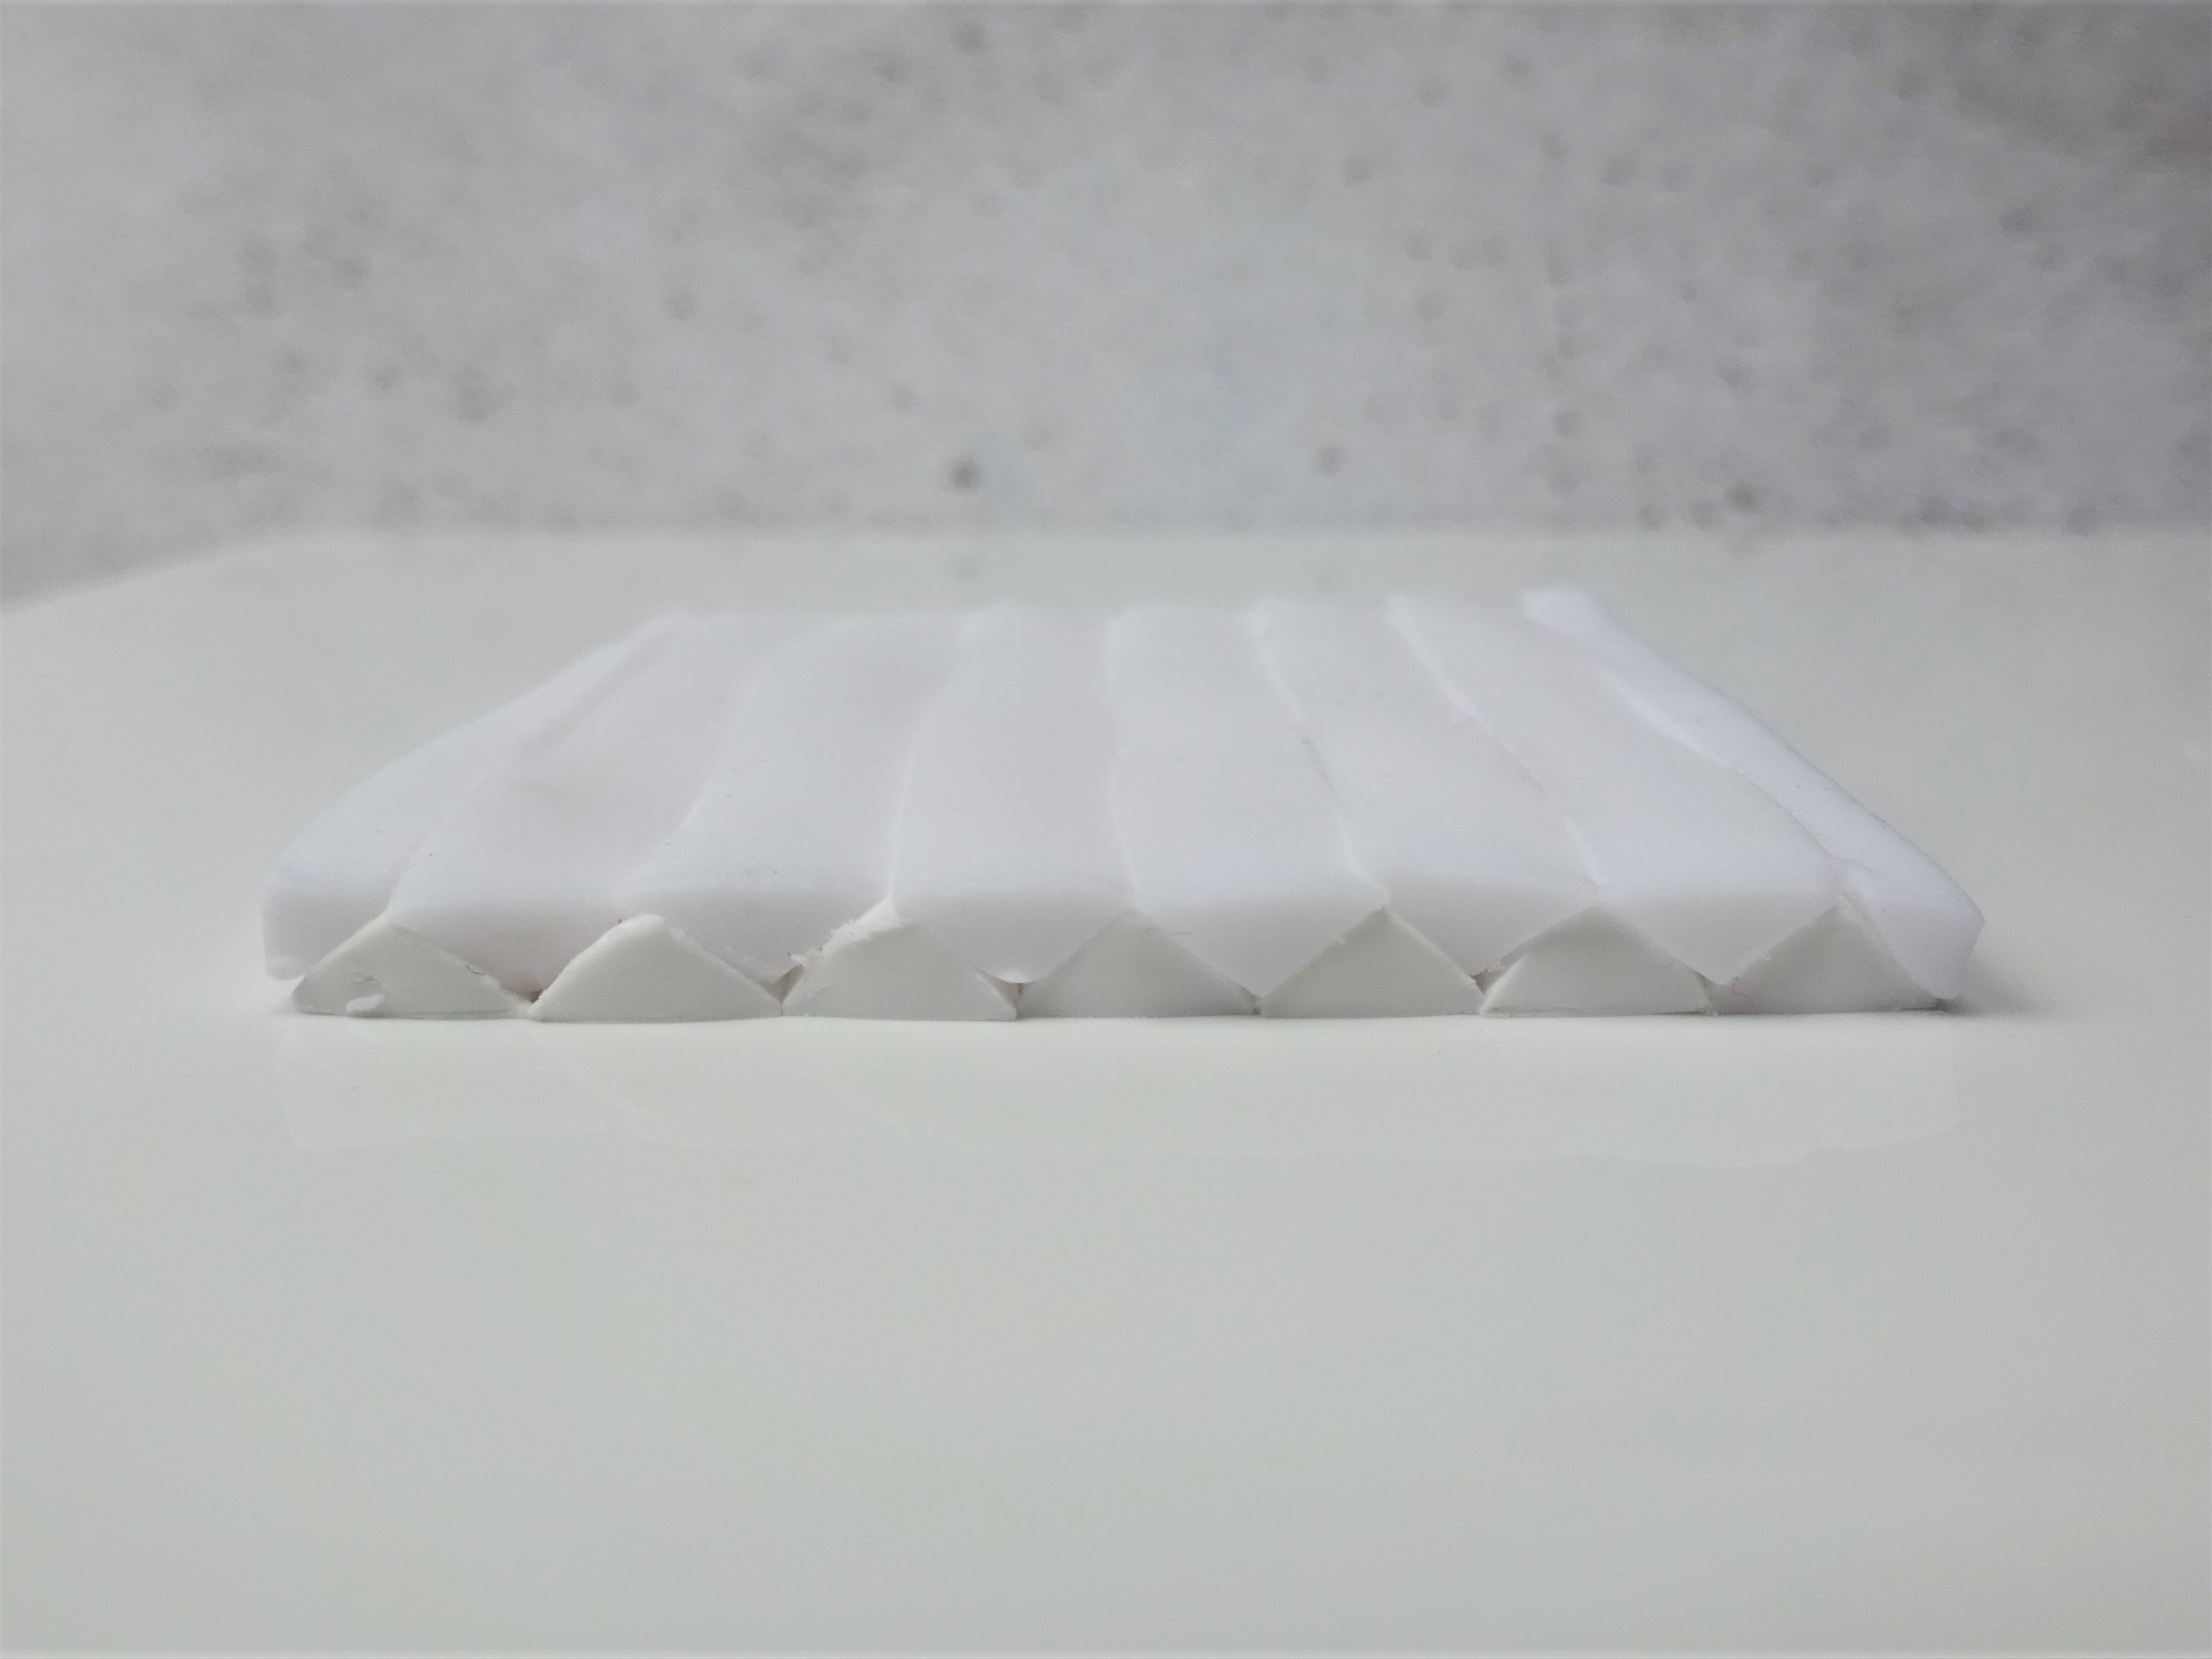
6) Cut 7 triangles from the translucent clay at 4″ long. Lay them upside down in the other triangles. Cut the 7th in half and place half on each end.

7) Roll out a sheet of white and translucent on a number 6. Place a sheet of white on top of the translucent triangles. Place a sheet of translucent on the white and then a layer of white on top of that.
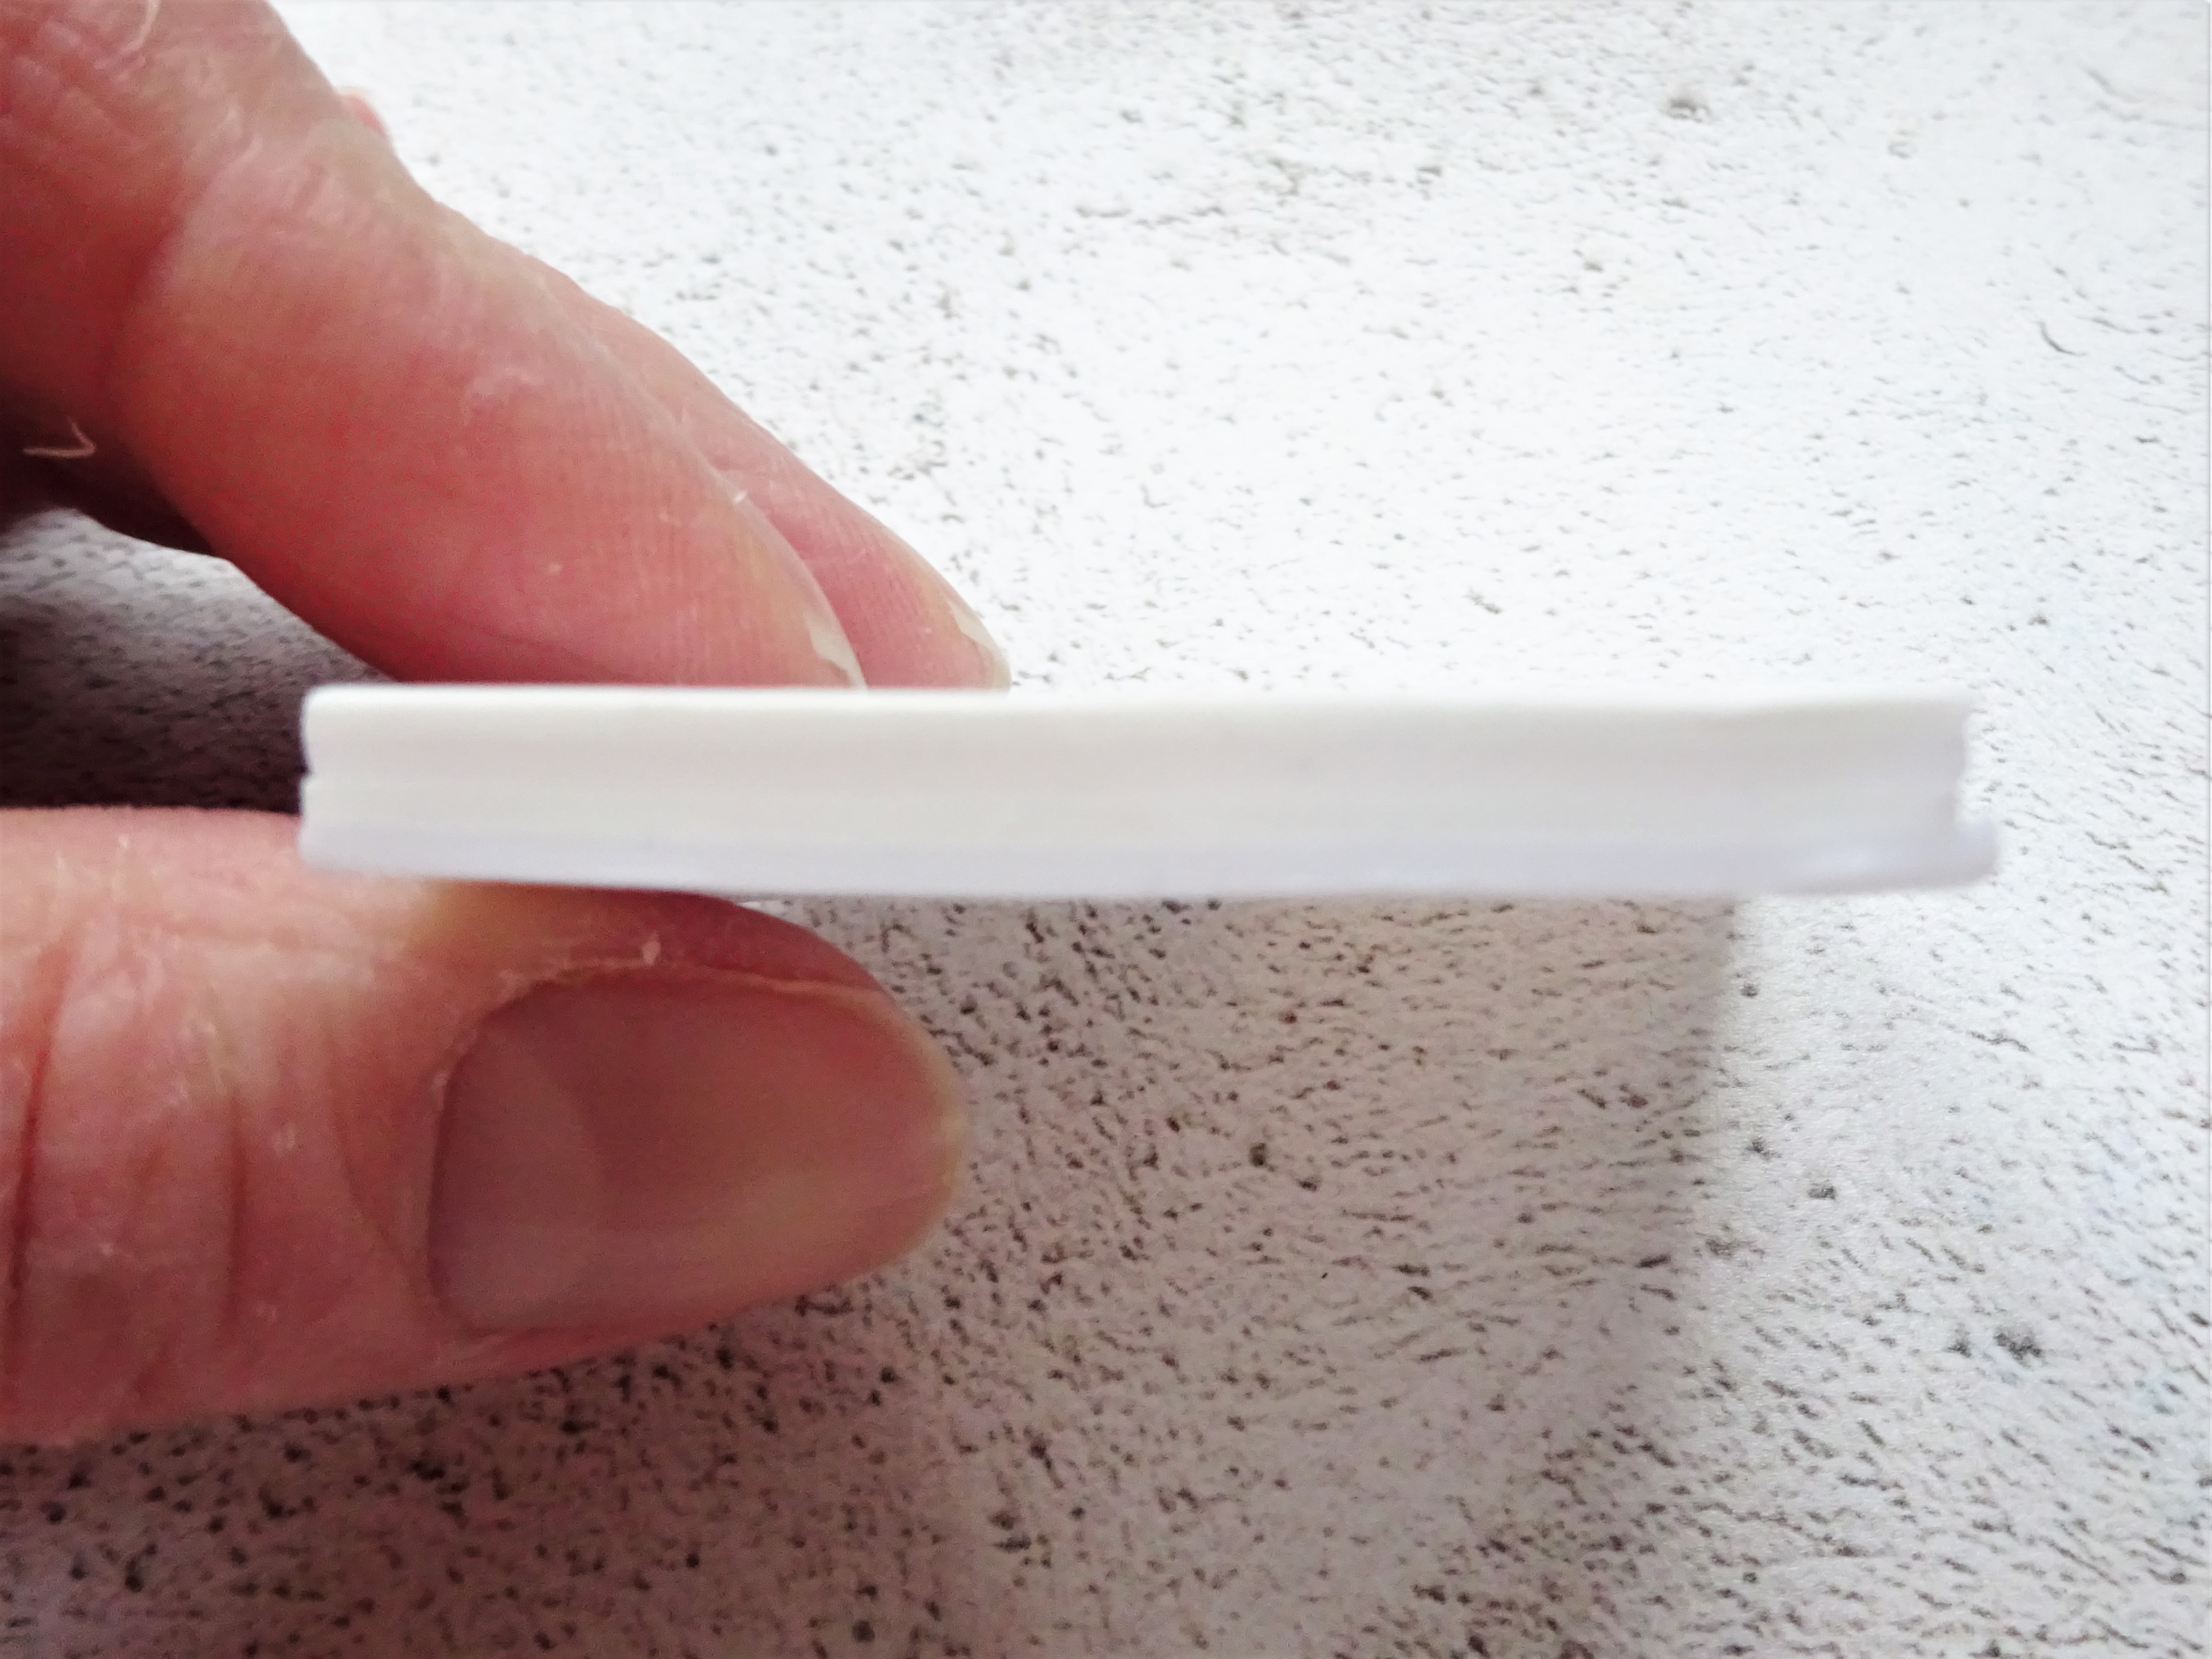
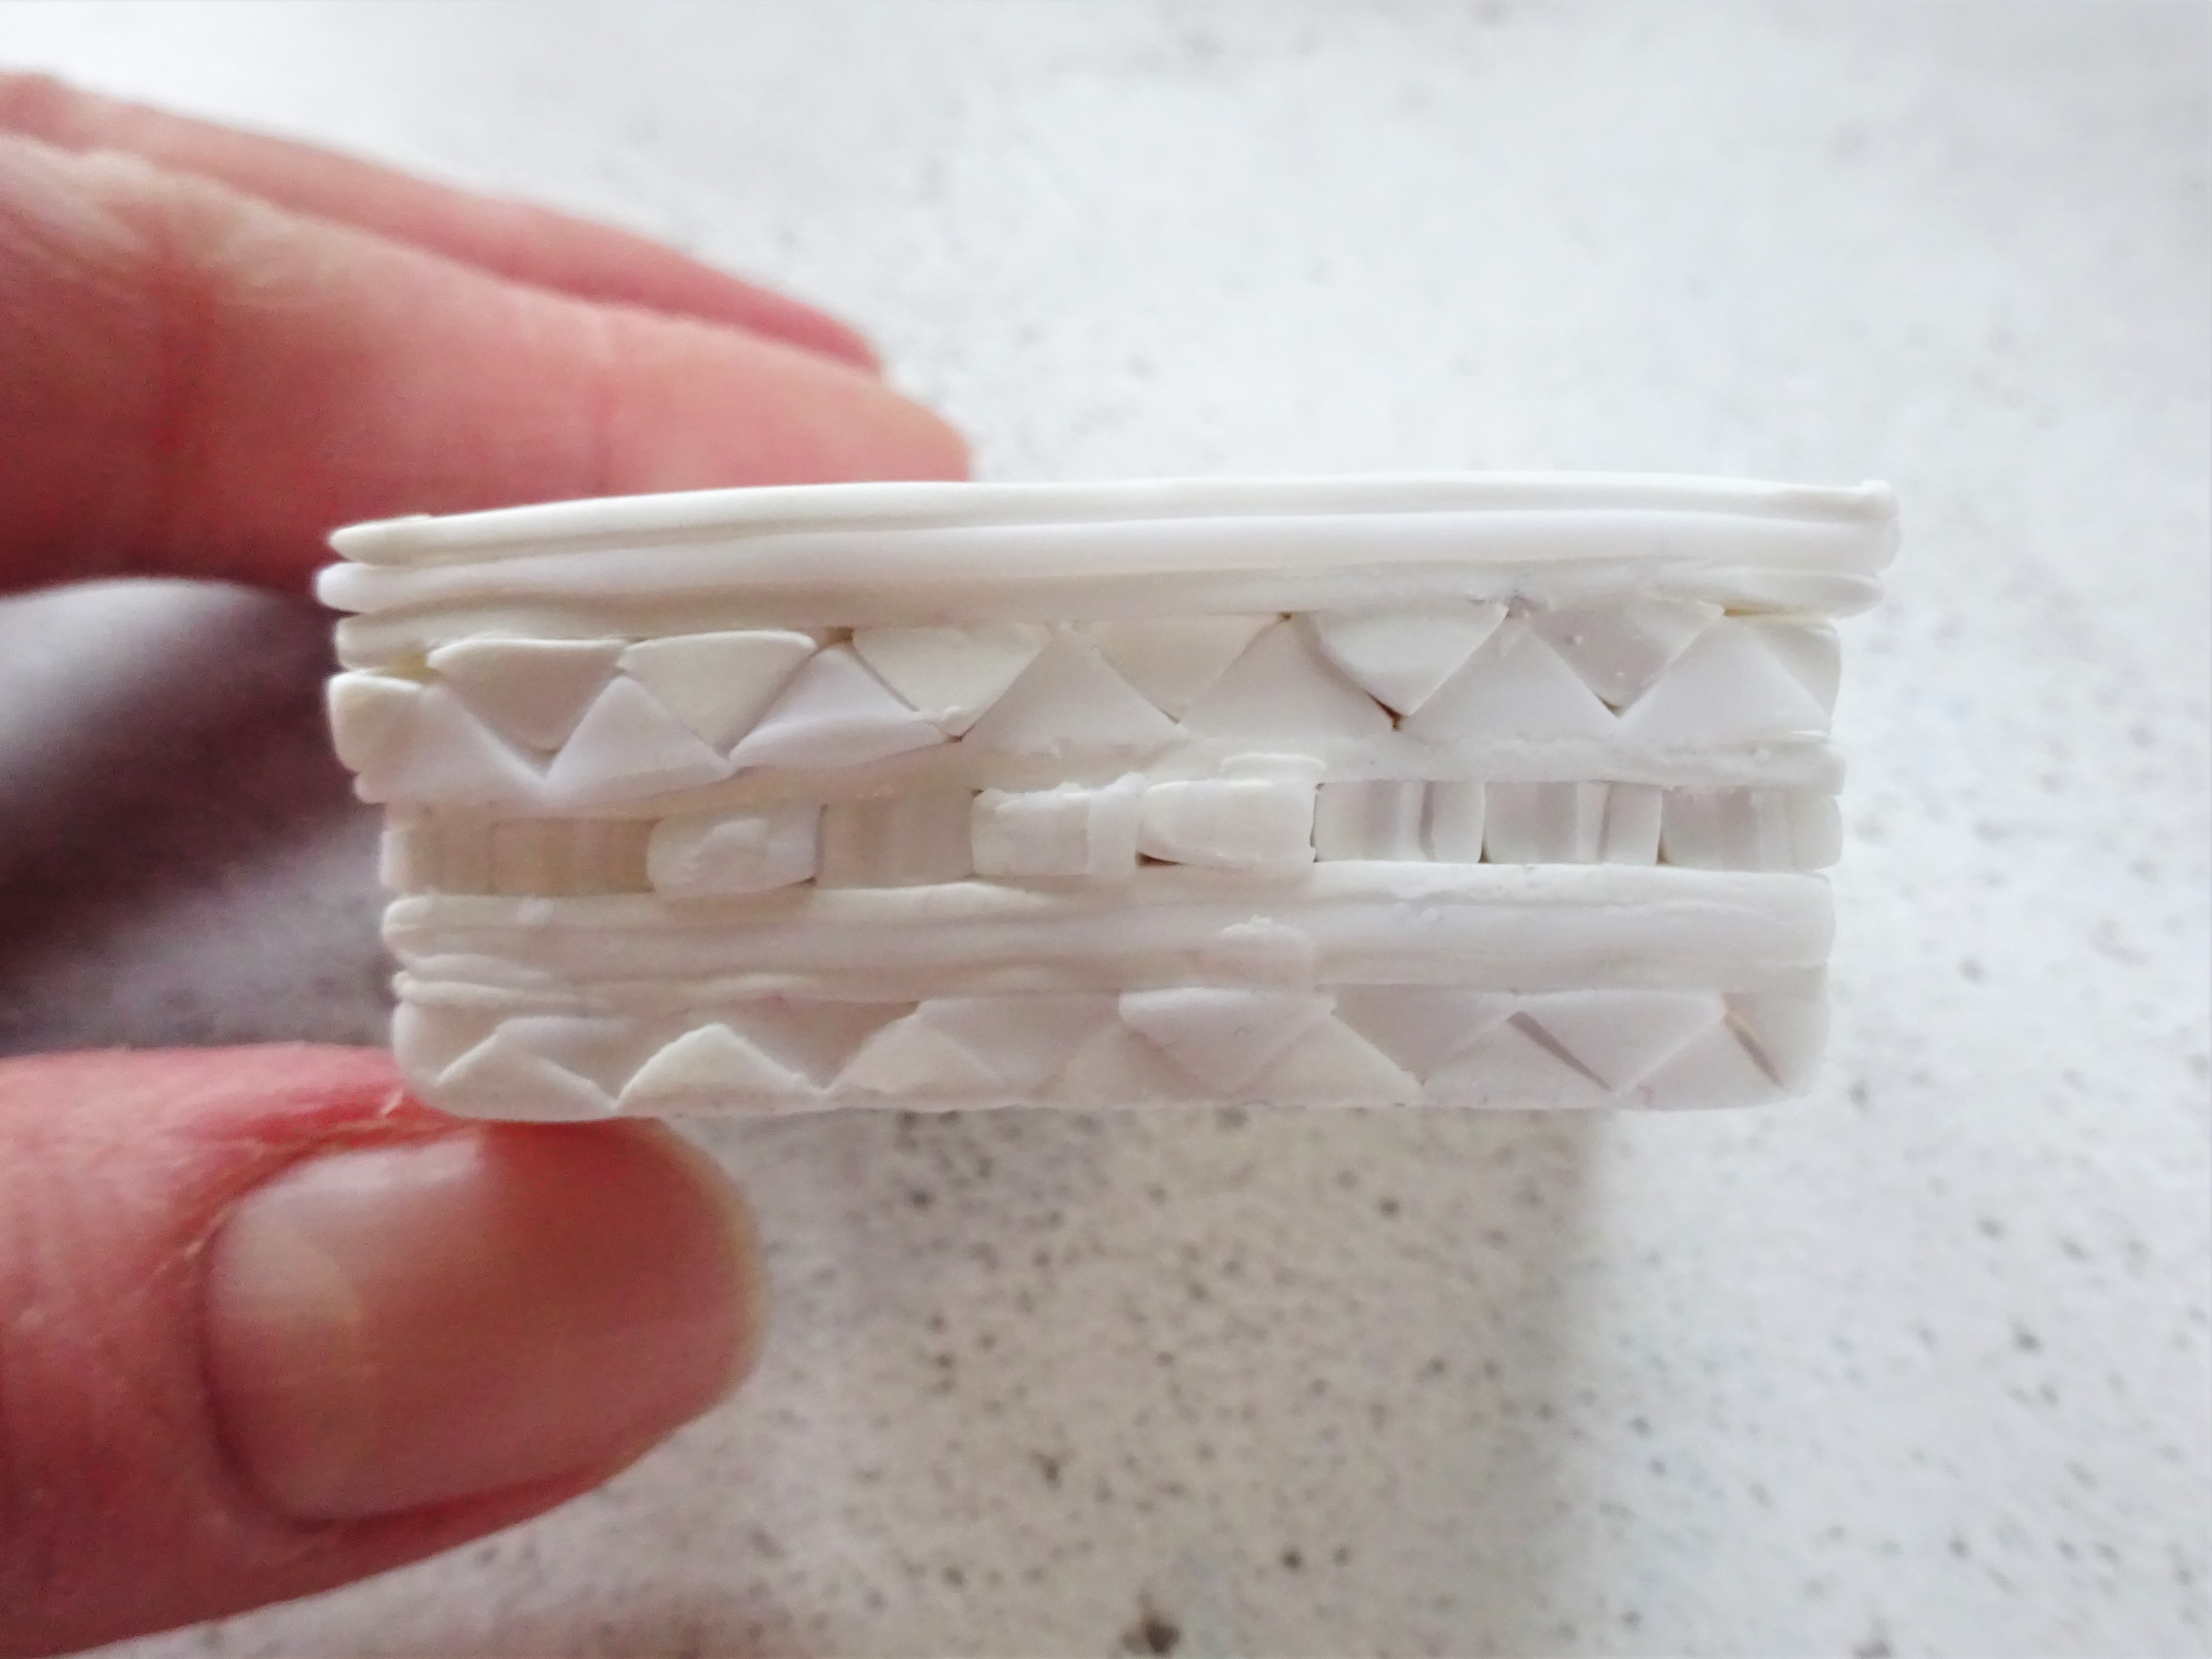
8) Ok, this is a terrible photo but make a separate stack of white and translucent clay. Alternate the clay rolled out on a number 6 – I did two layers of white with the translucent.
9) Cut slices from your stack made in step 8 and lay the slices lengthways on your cane.
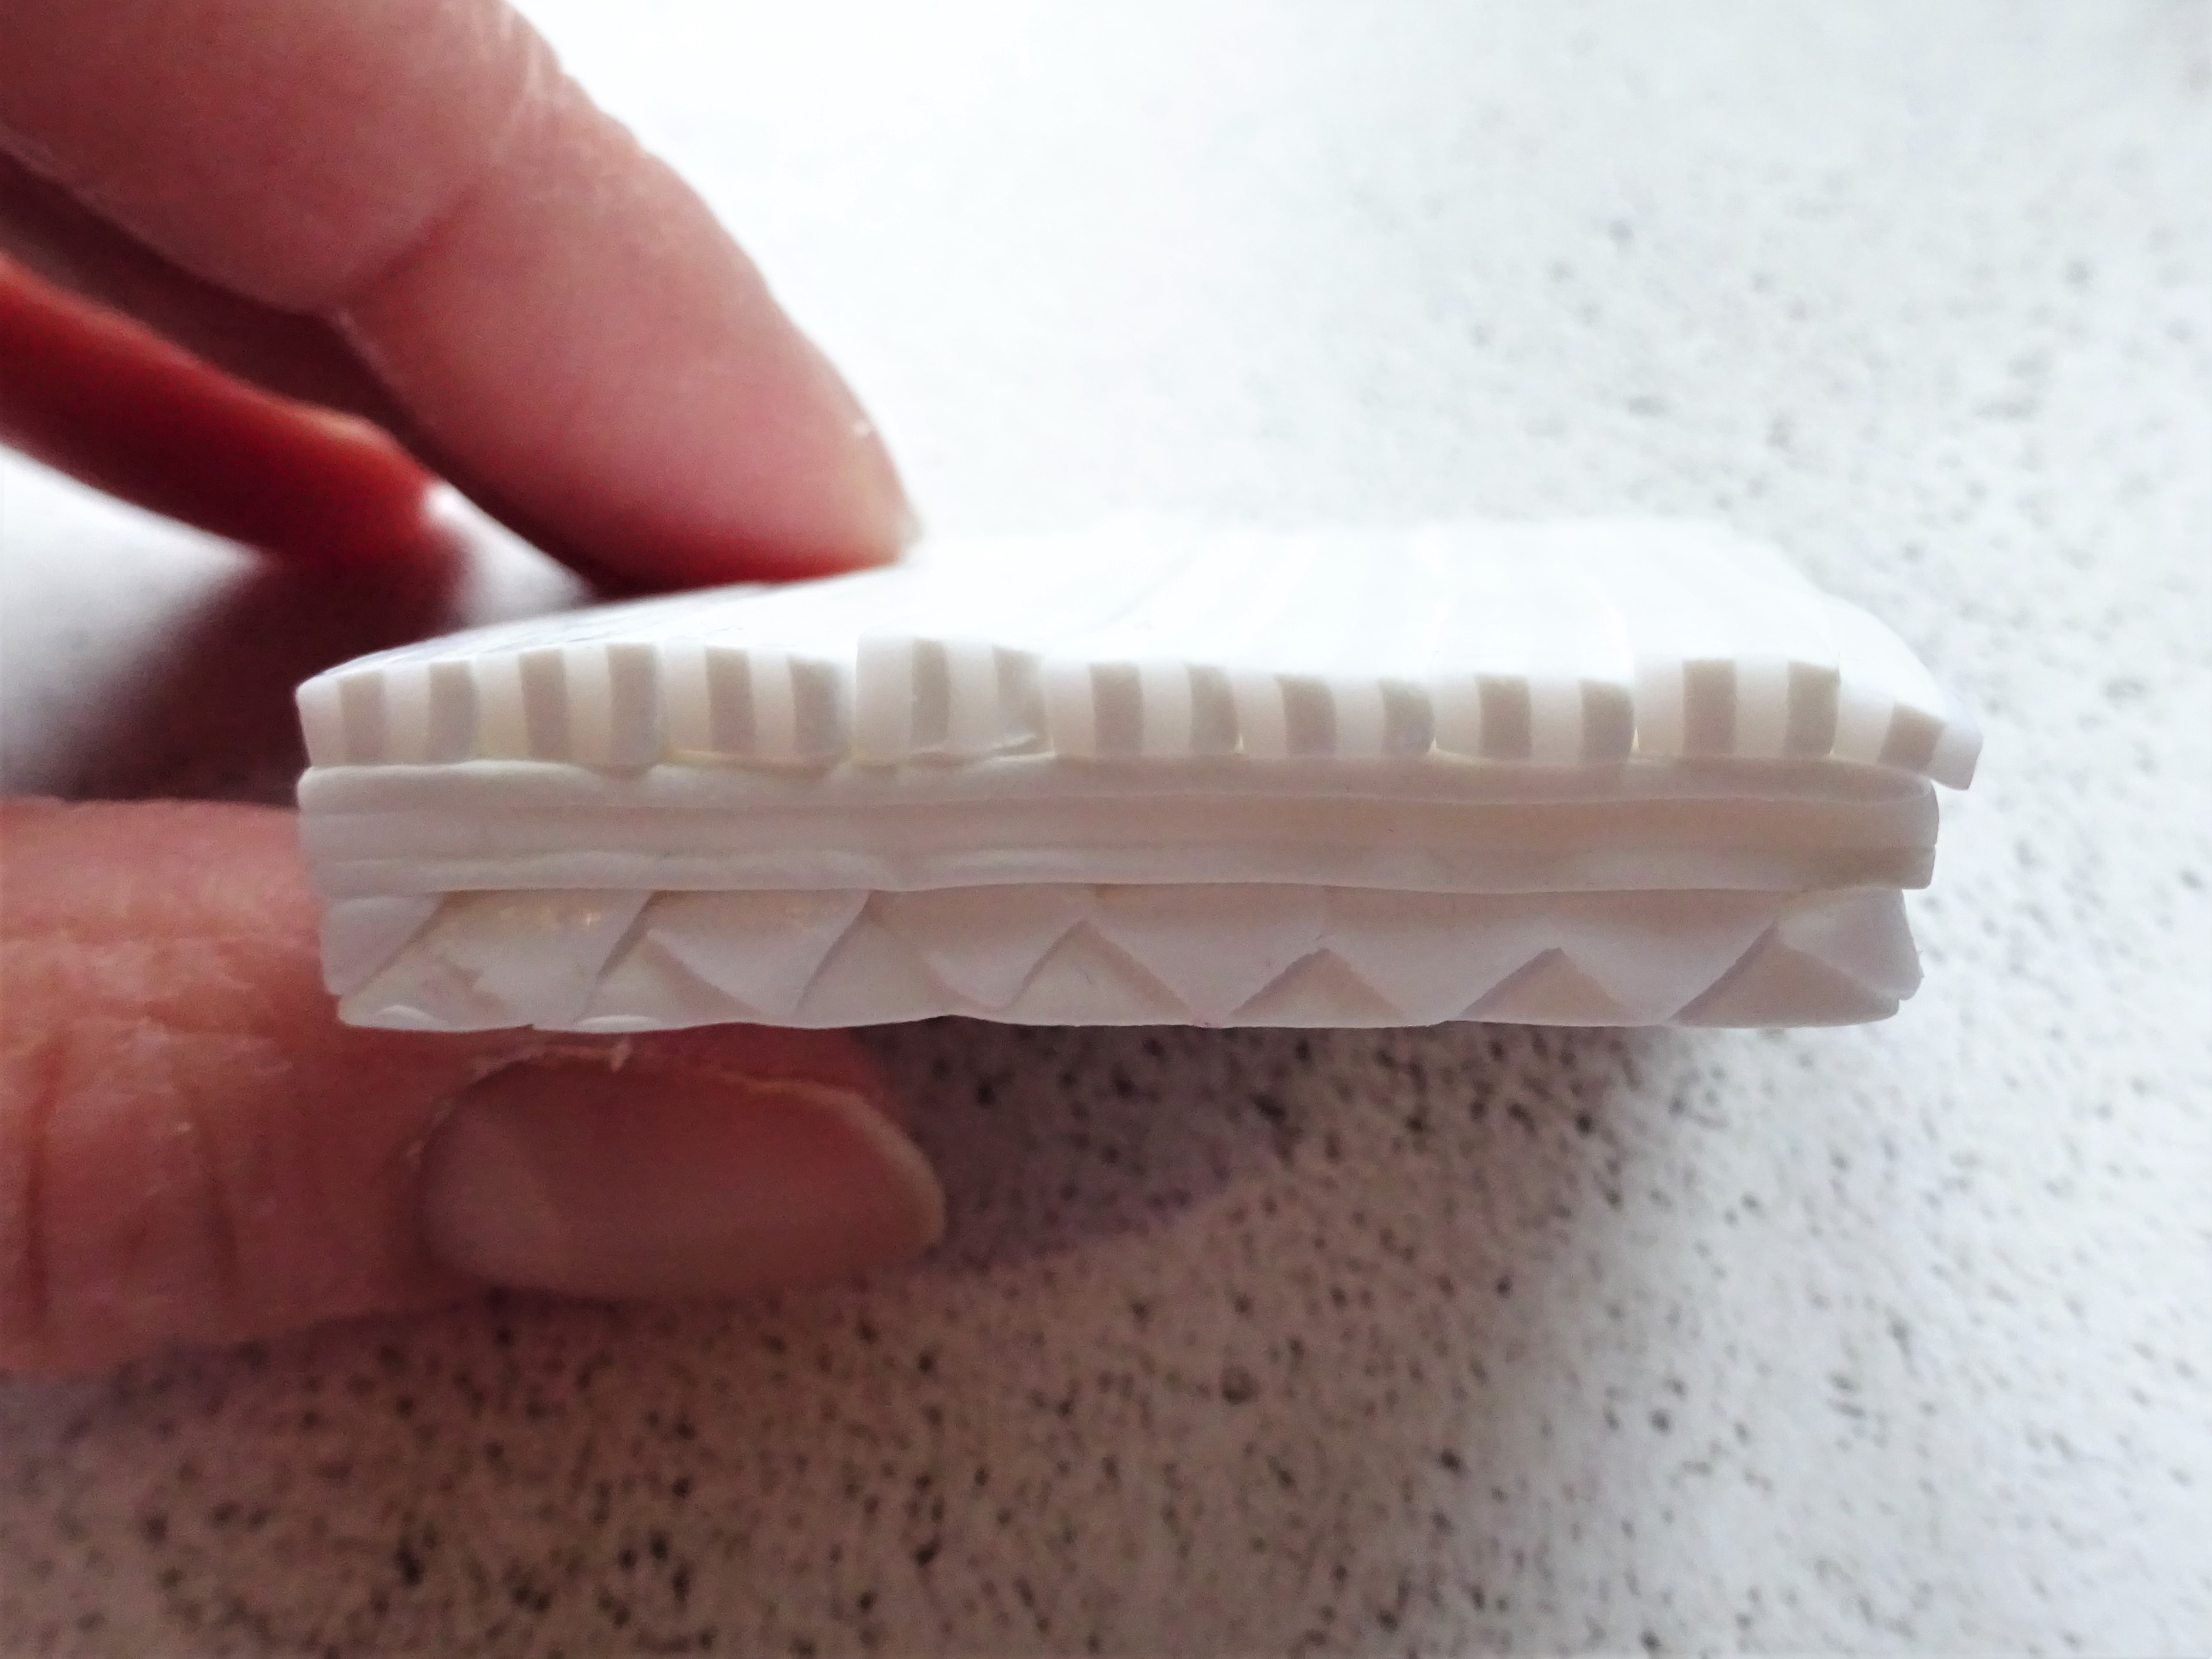
10) On top of this add a layer of white (rolled on a number 6 on your machine) and a row of translucent triangles.
11) Layer white triangles upside down to fill in the gaps.
12) Layer up with white, then translucent and another later of white all rolled on a number 6.
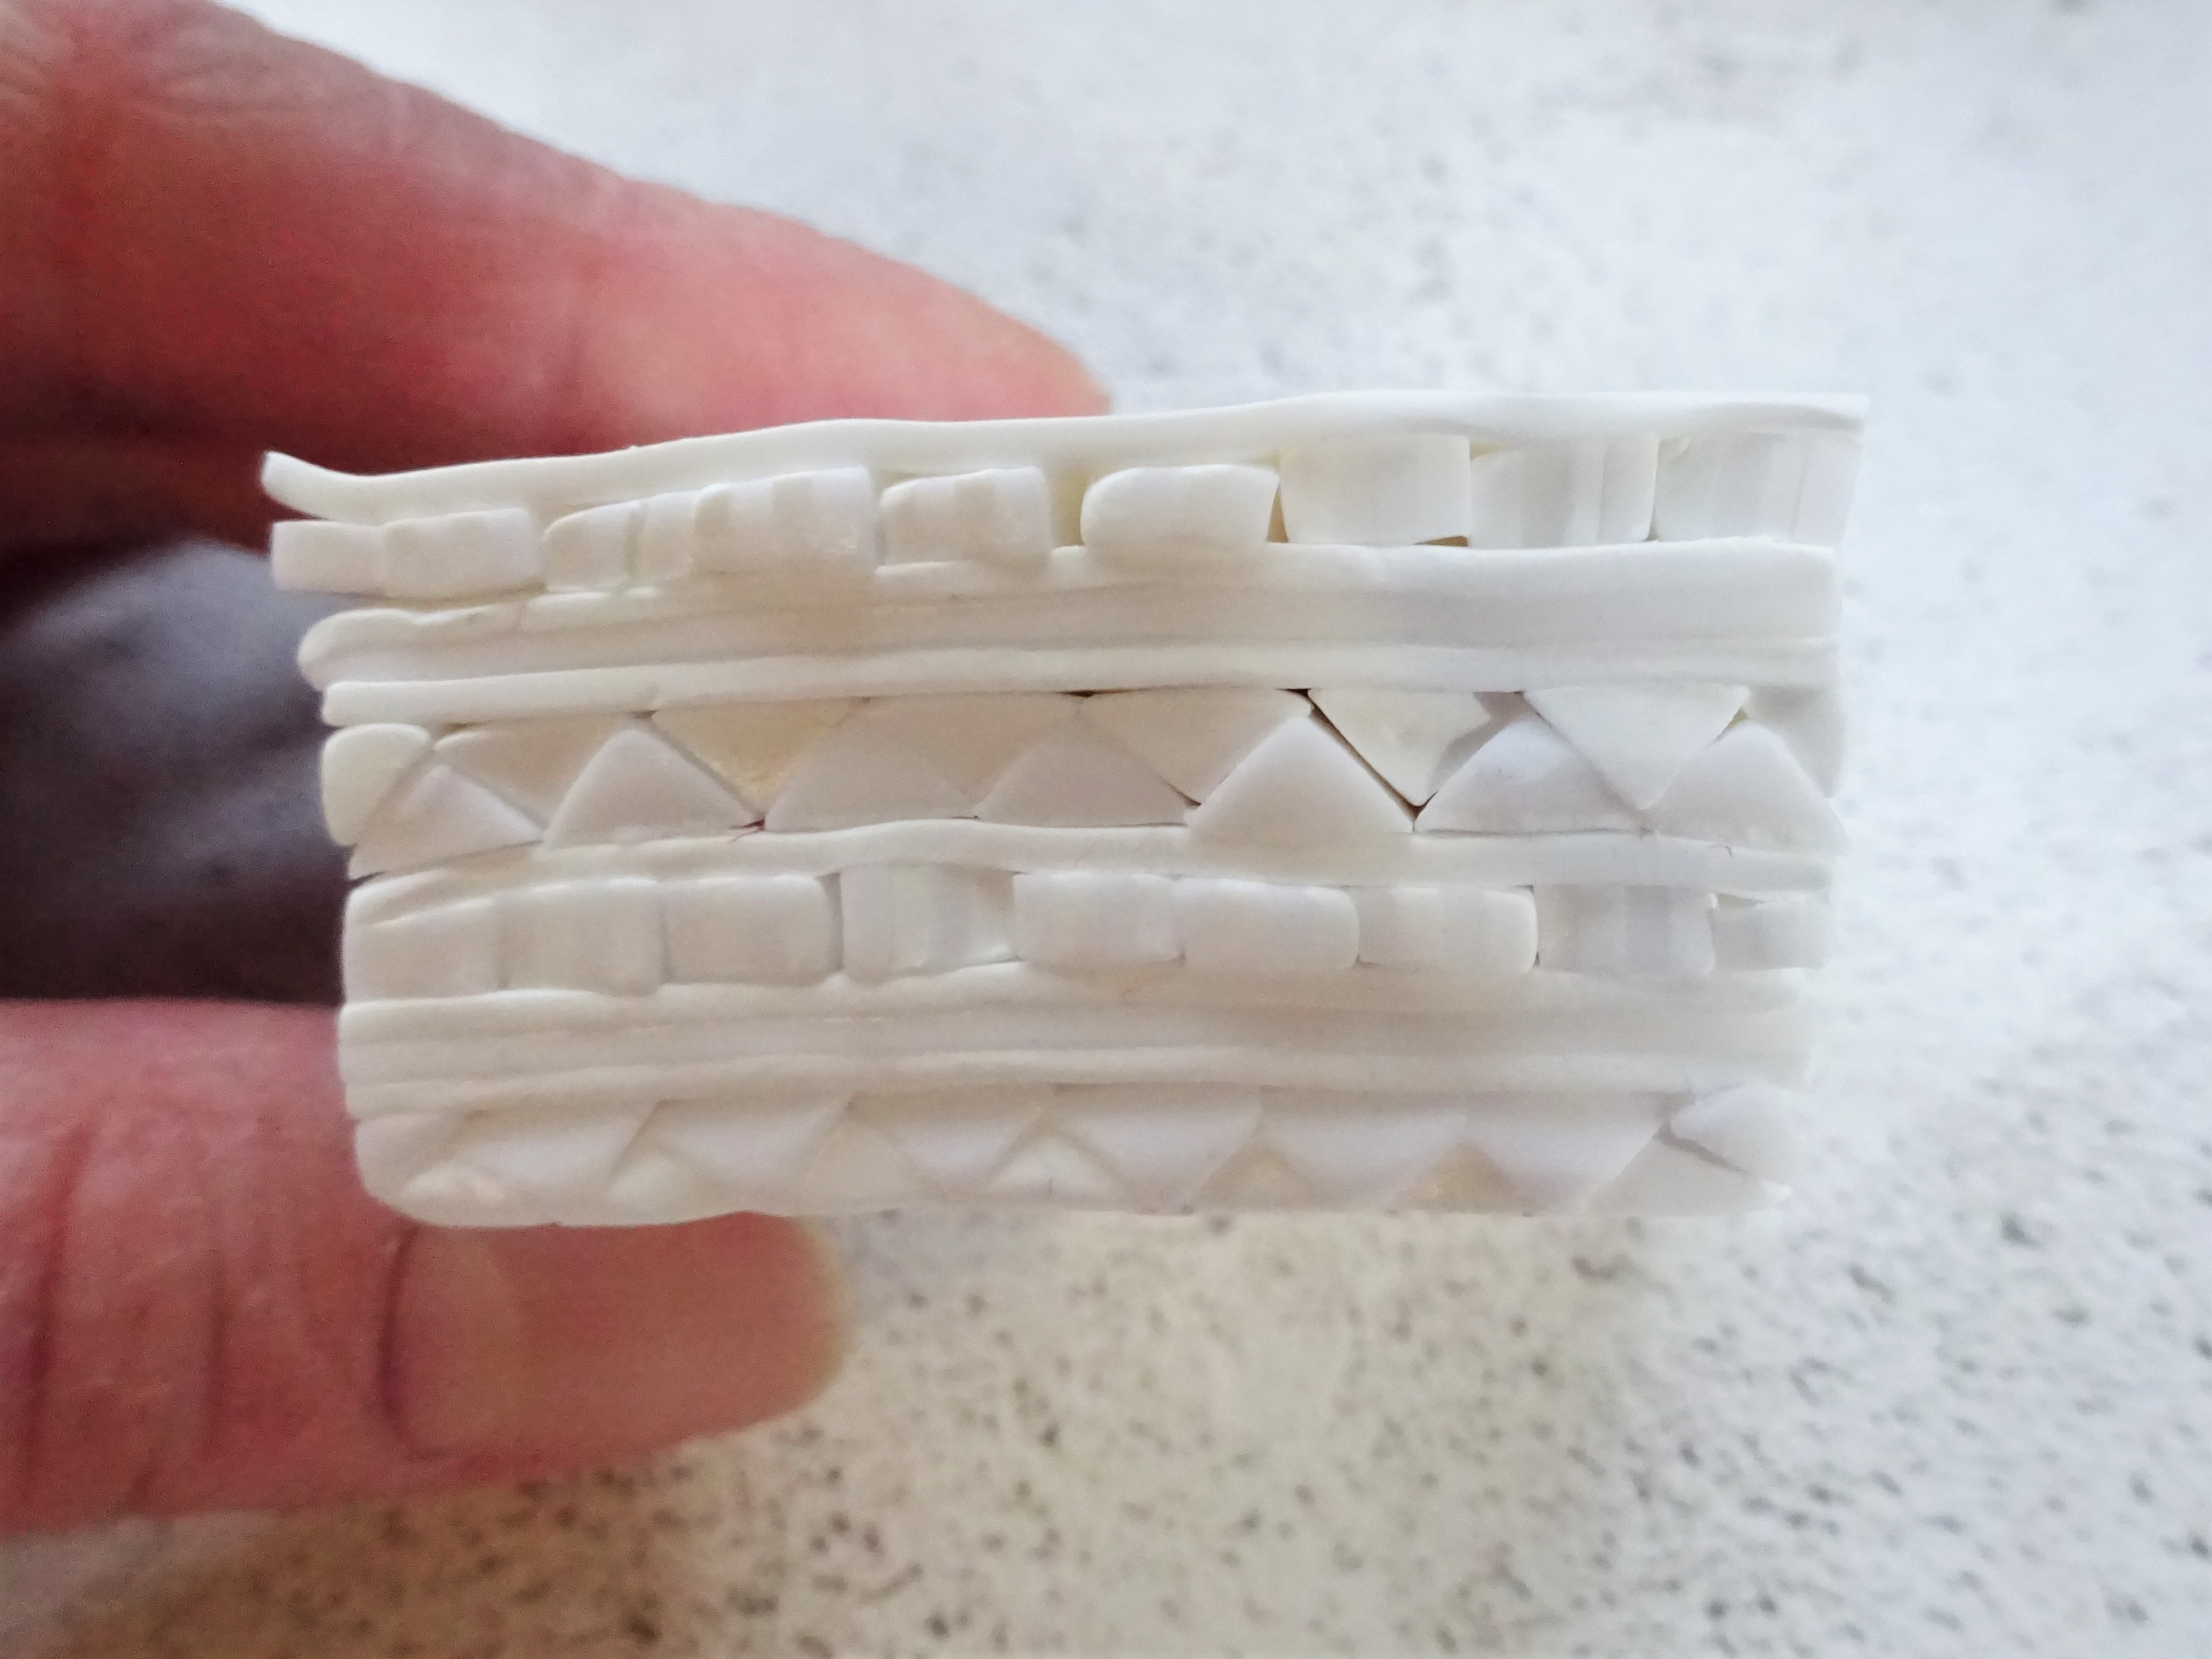
13) Add another layer of the striped cane and a final layer of white rolled out on a number 6.
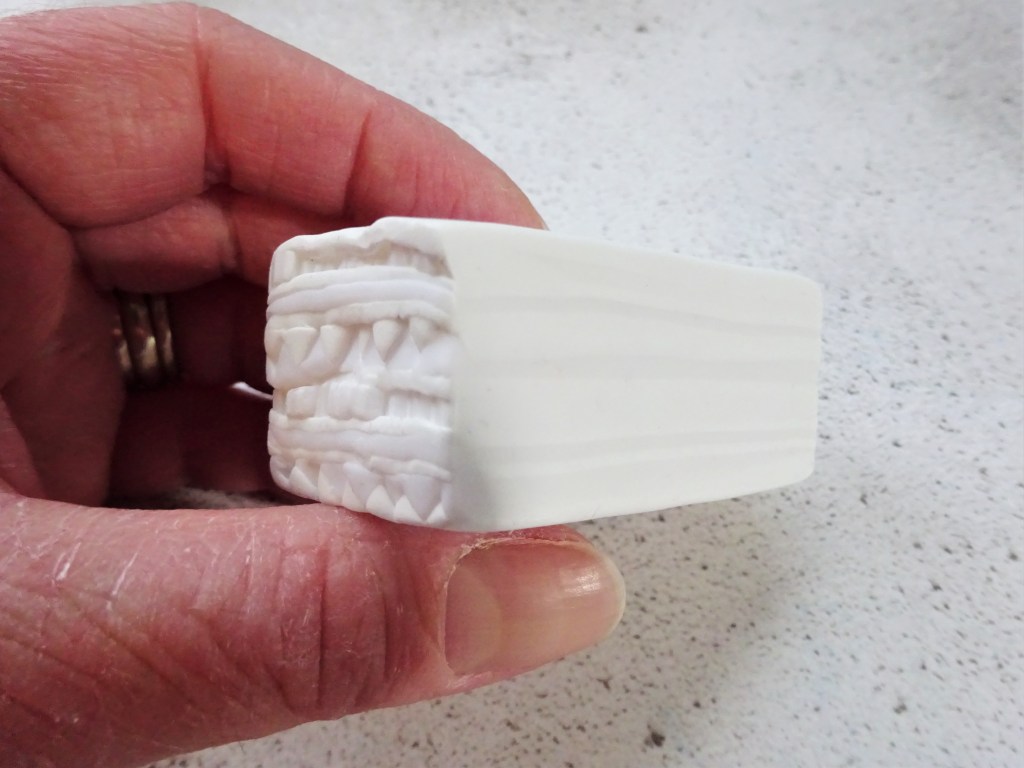
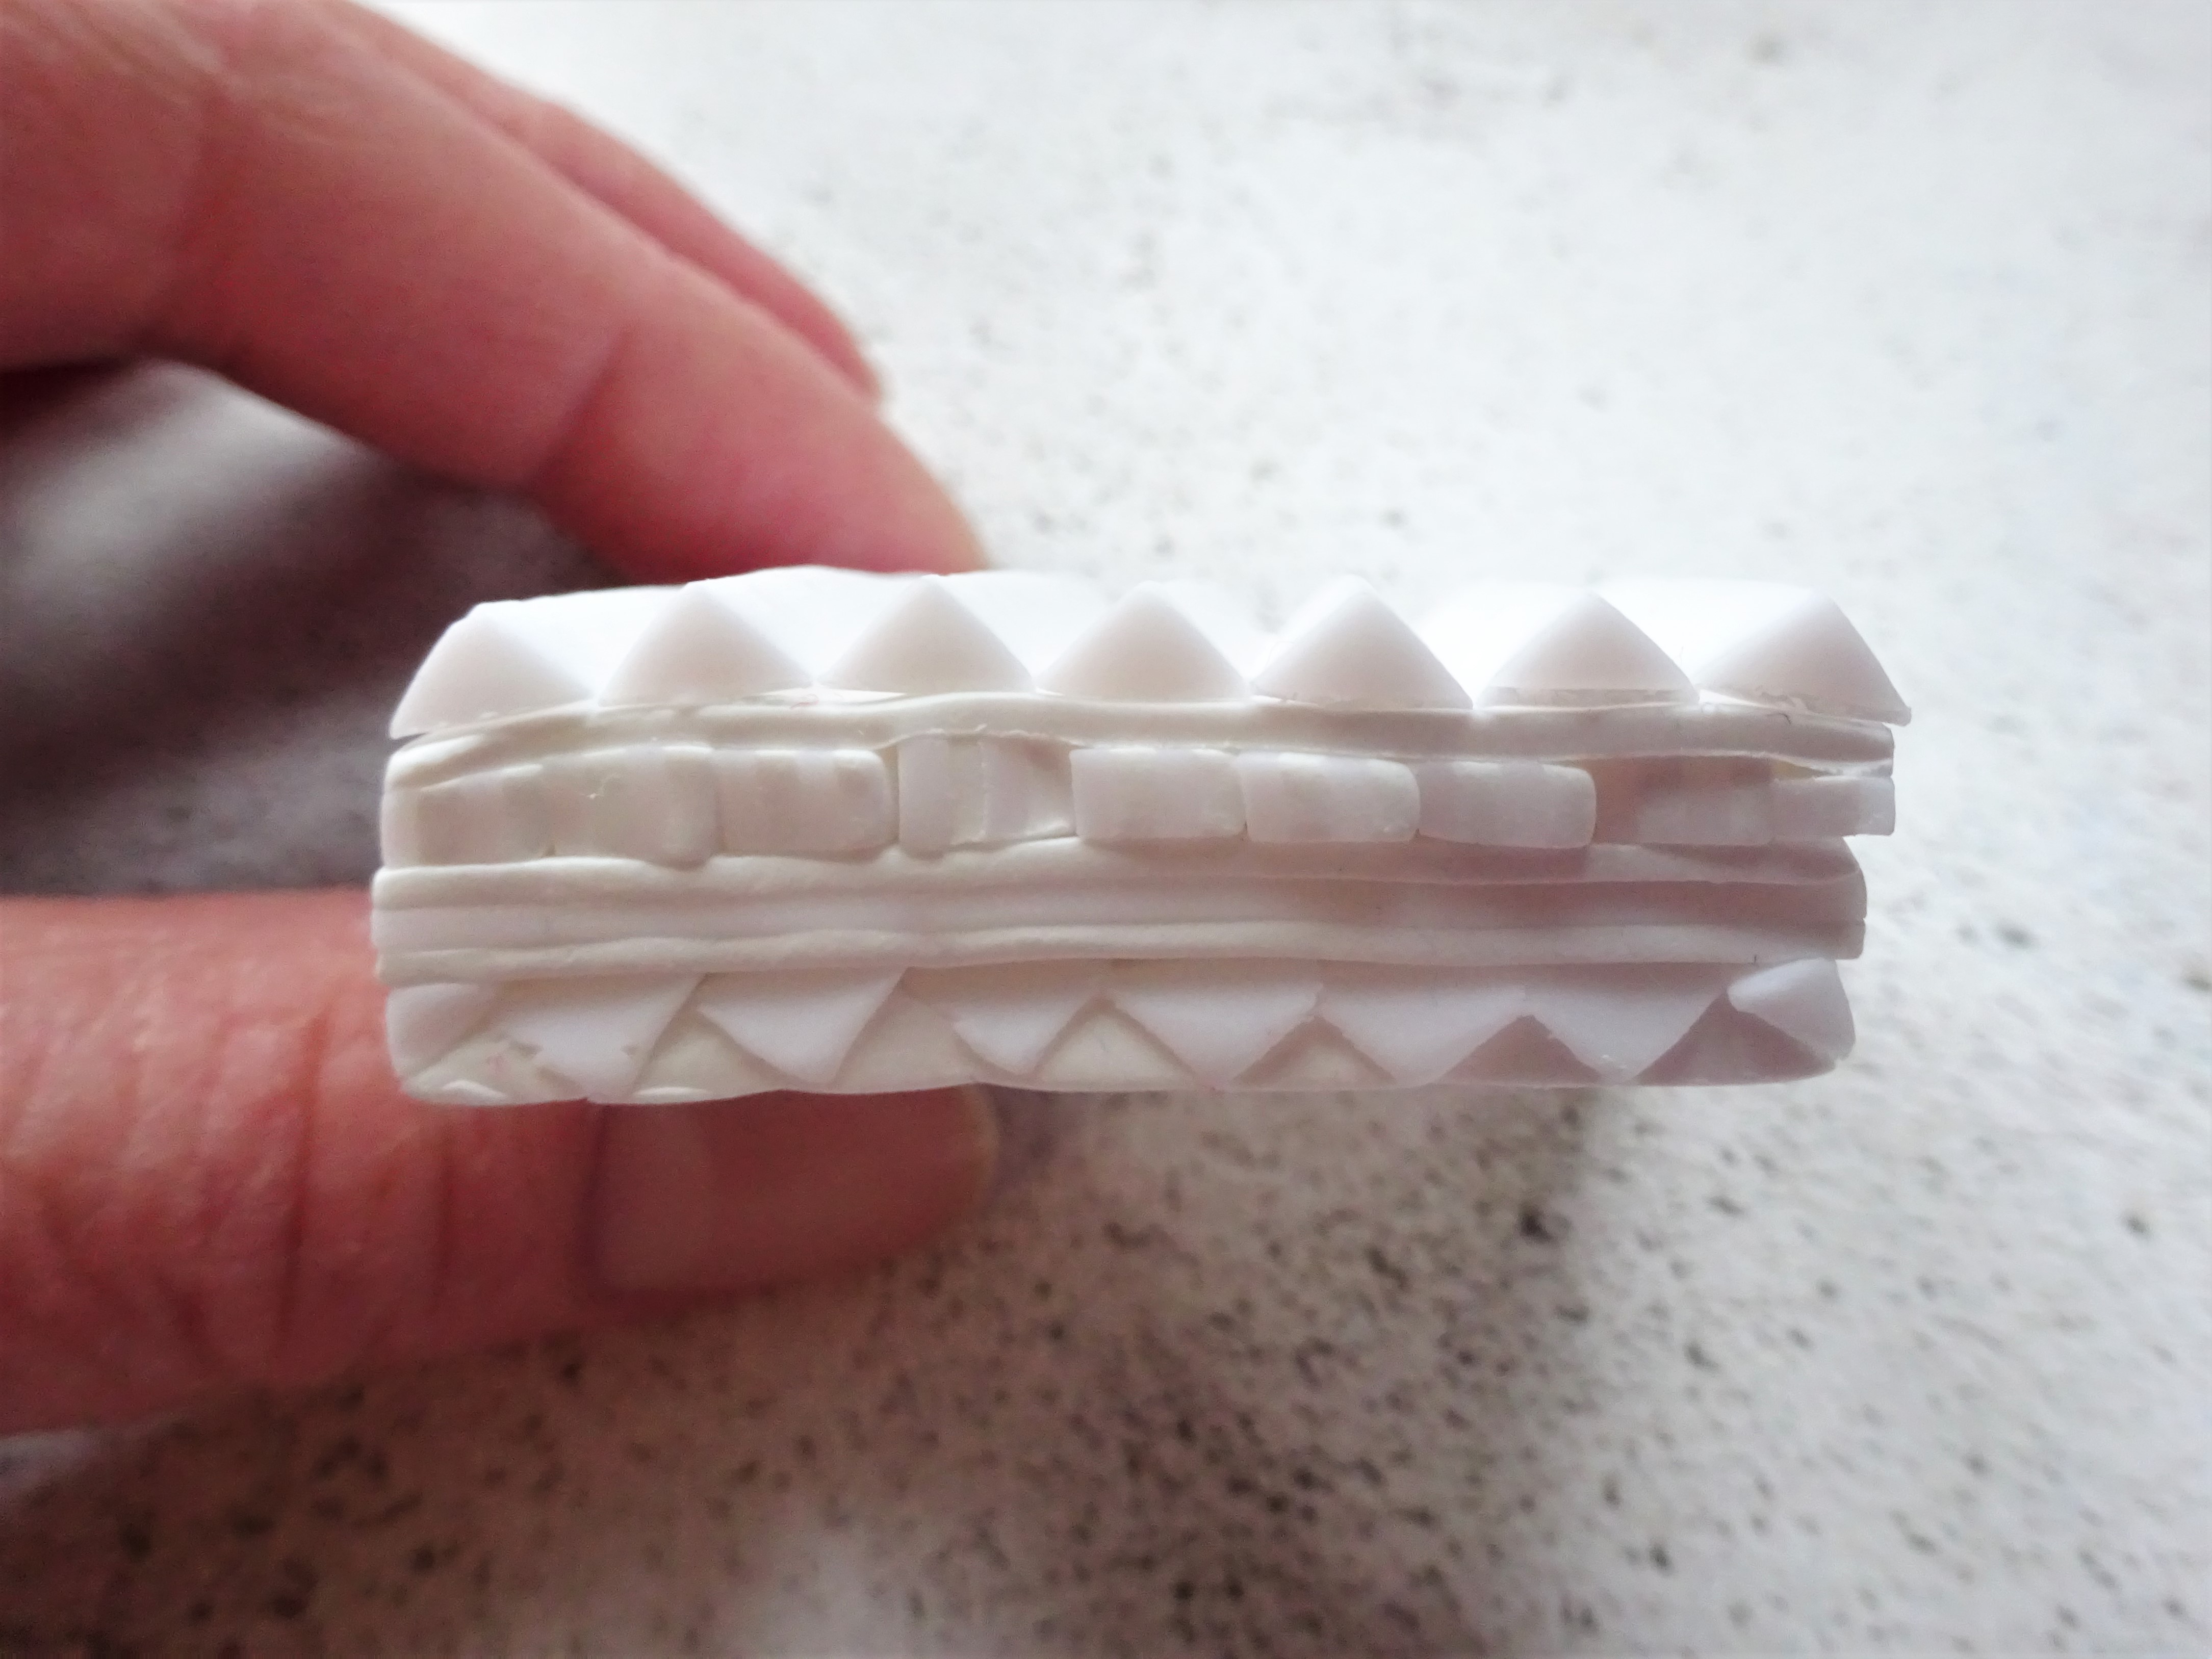
14) Reduce your cane down.
15) Measure your cane and cut it in half. Stack on top of each over. I stacked it so that my white triangles became diamonds in the middle.
Make sure you check front and back of the cane to make sure the pattern is lining up properly.
Continue to reduce a little more.
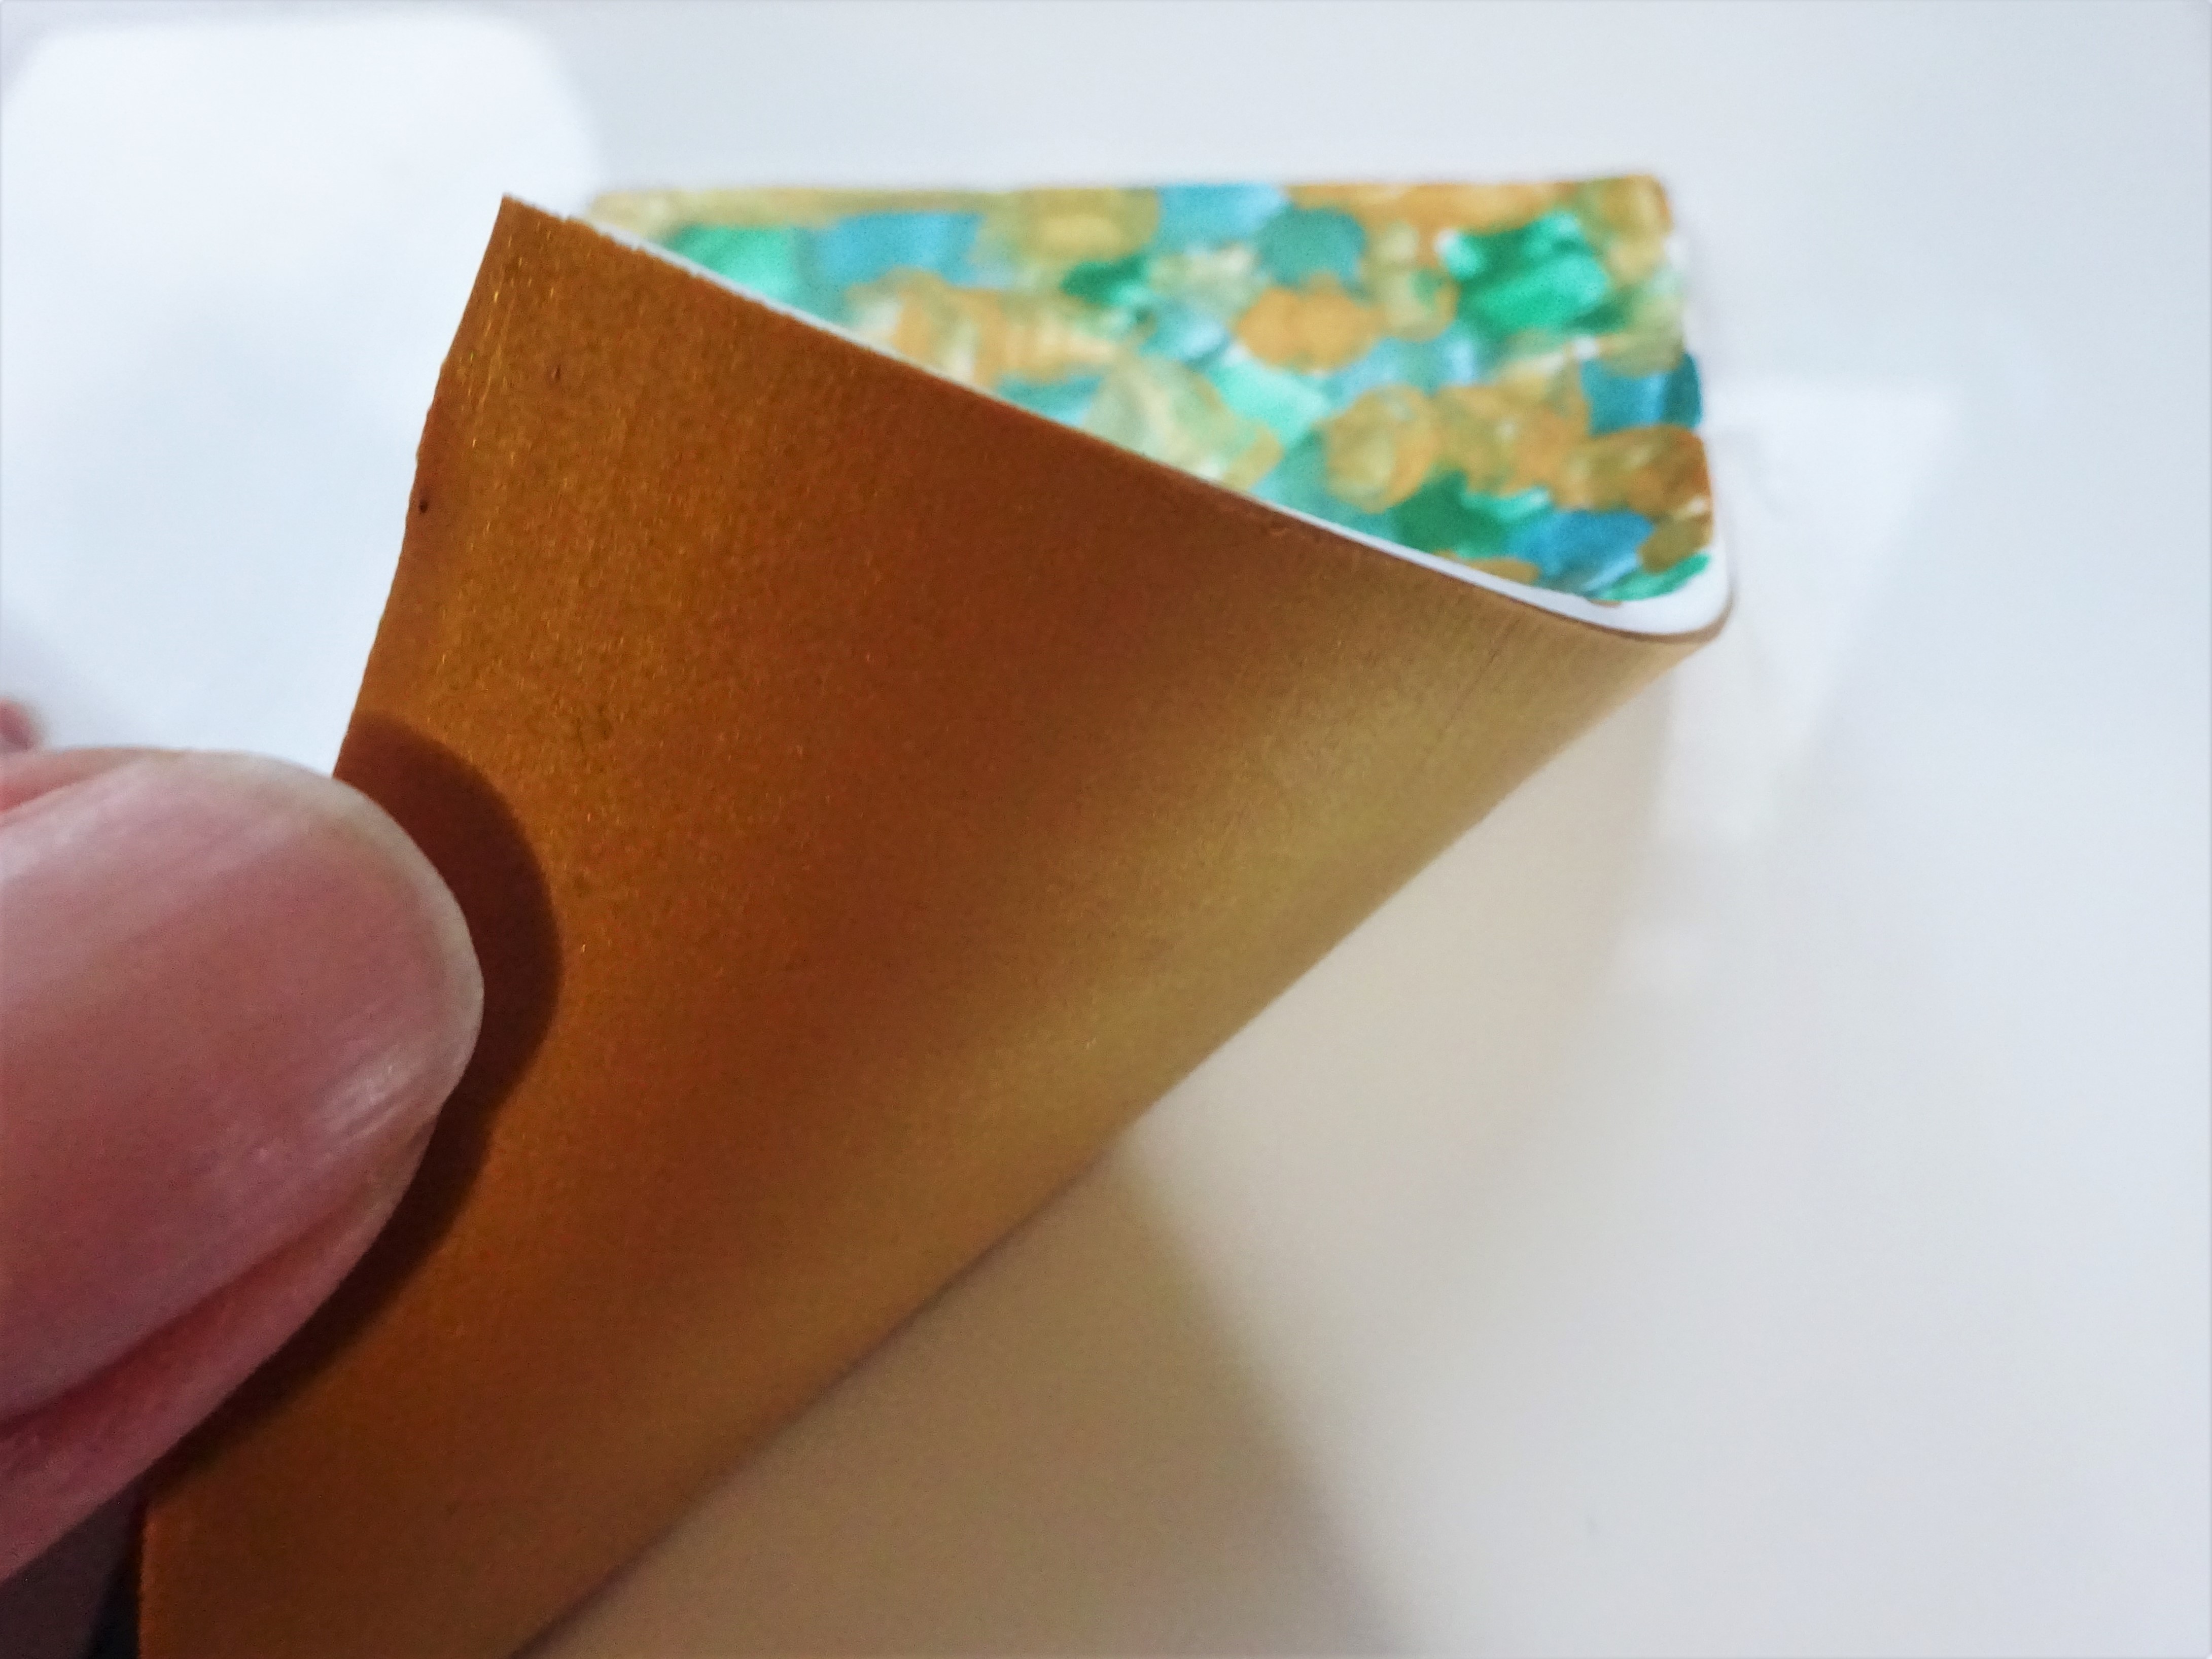
16) Roll out some gold on a number 7 on your clay machine and back in on to the painted clay. This ensures the back of your jewellery is neat (everything sticks to white clay!)
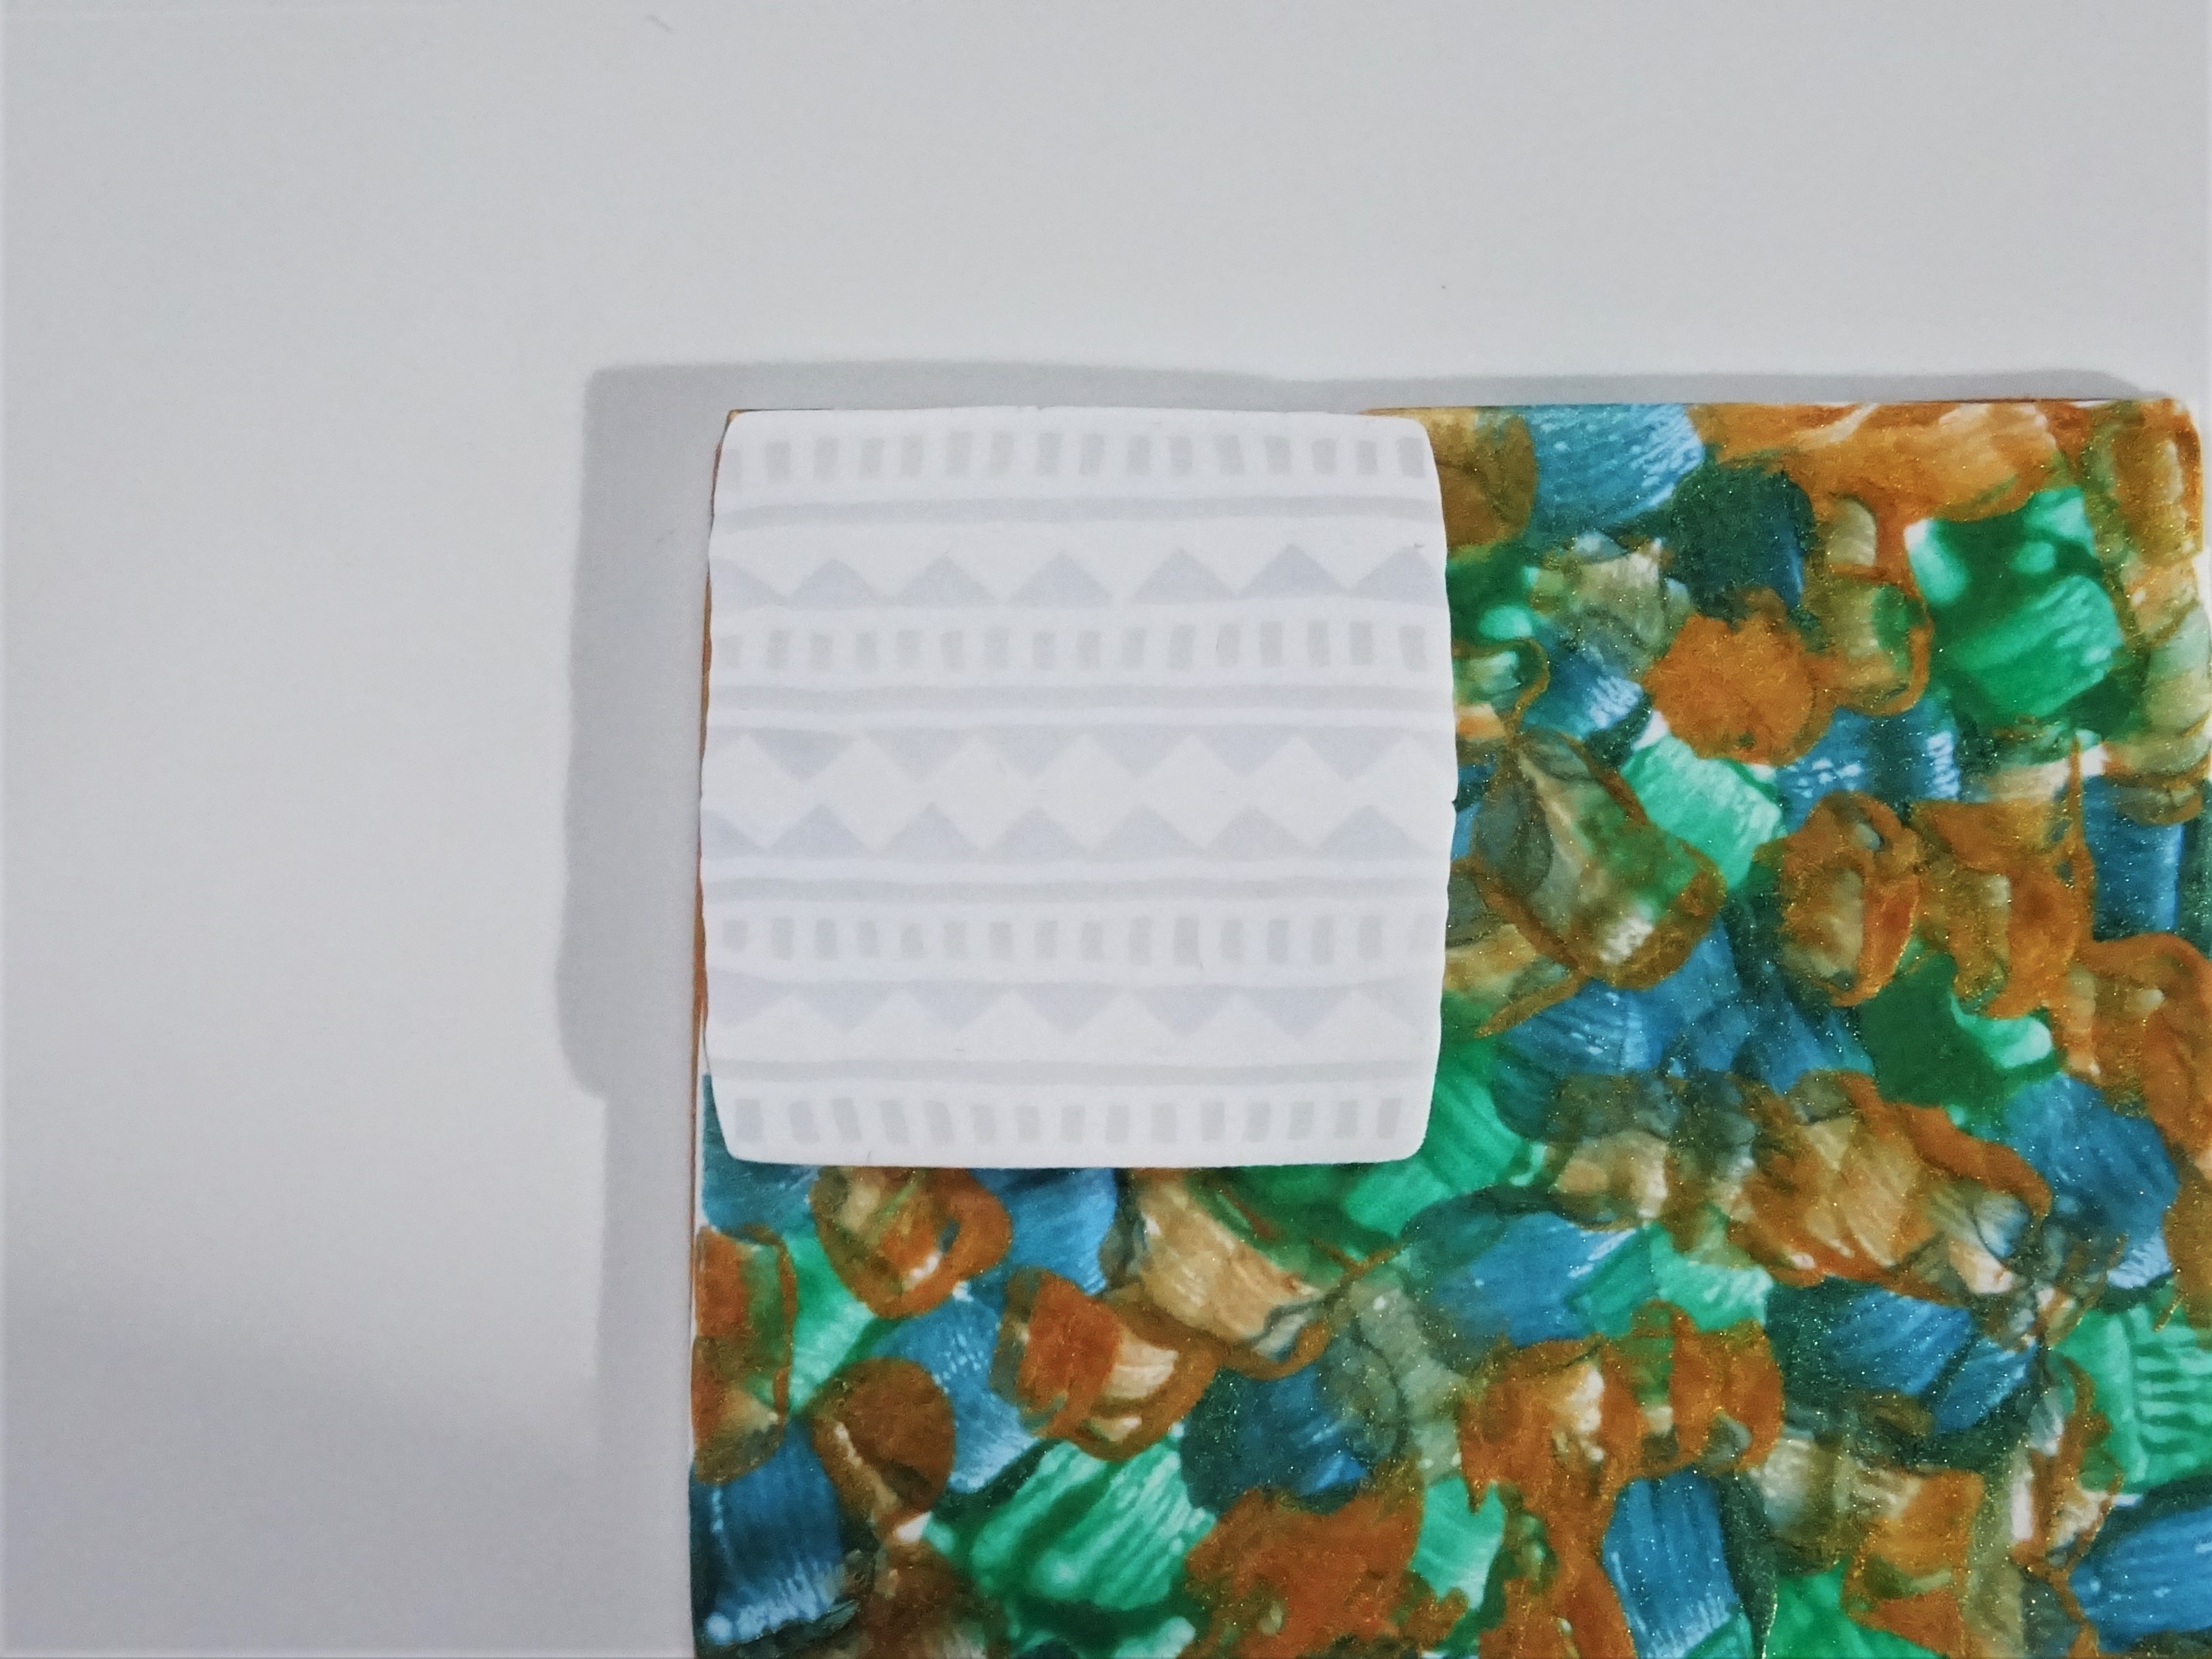
17) Take a thin slice of cane and place it on top of the painted clay.
18) I cut around the clay so I was only working with a small section. Roll the patterned clay so that the layers are properly adhered to each other. This has the added benefit of ensuring the translucent clay is as this as possible.
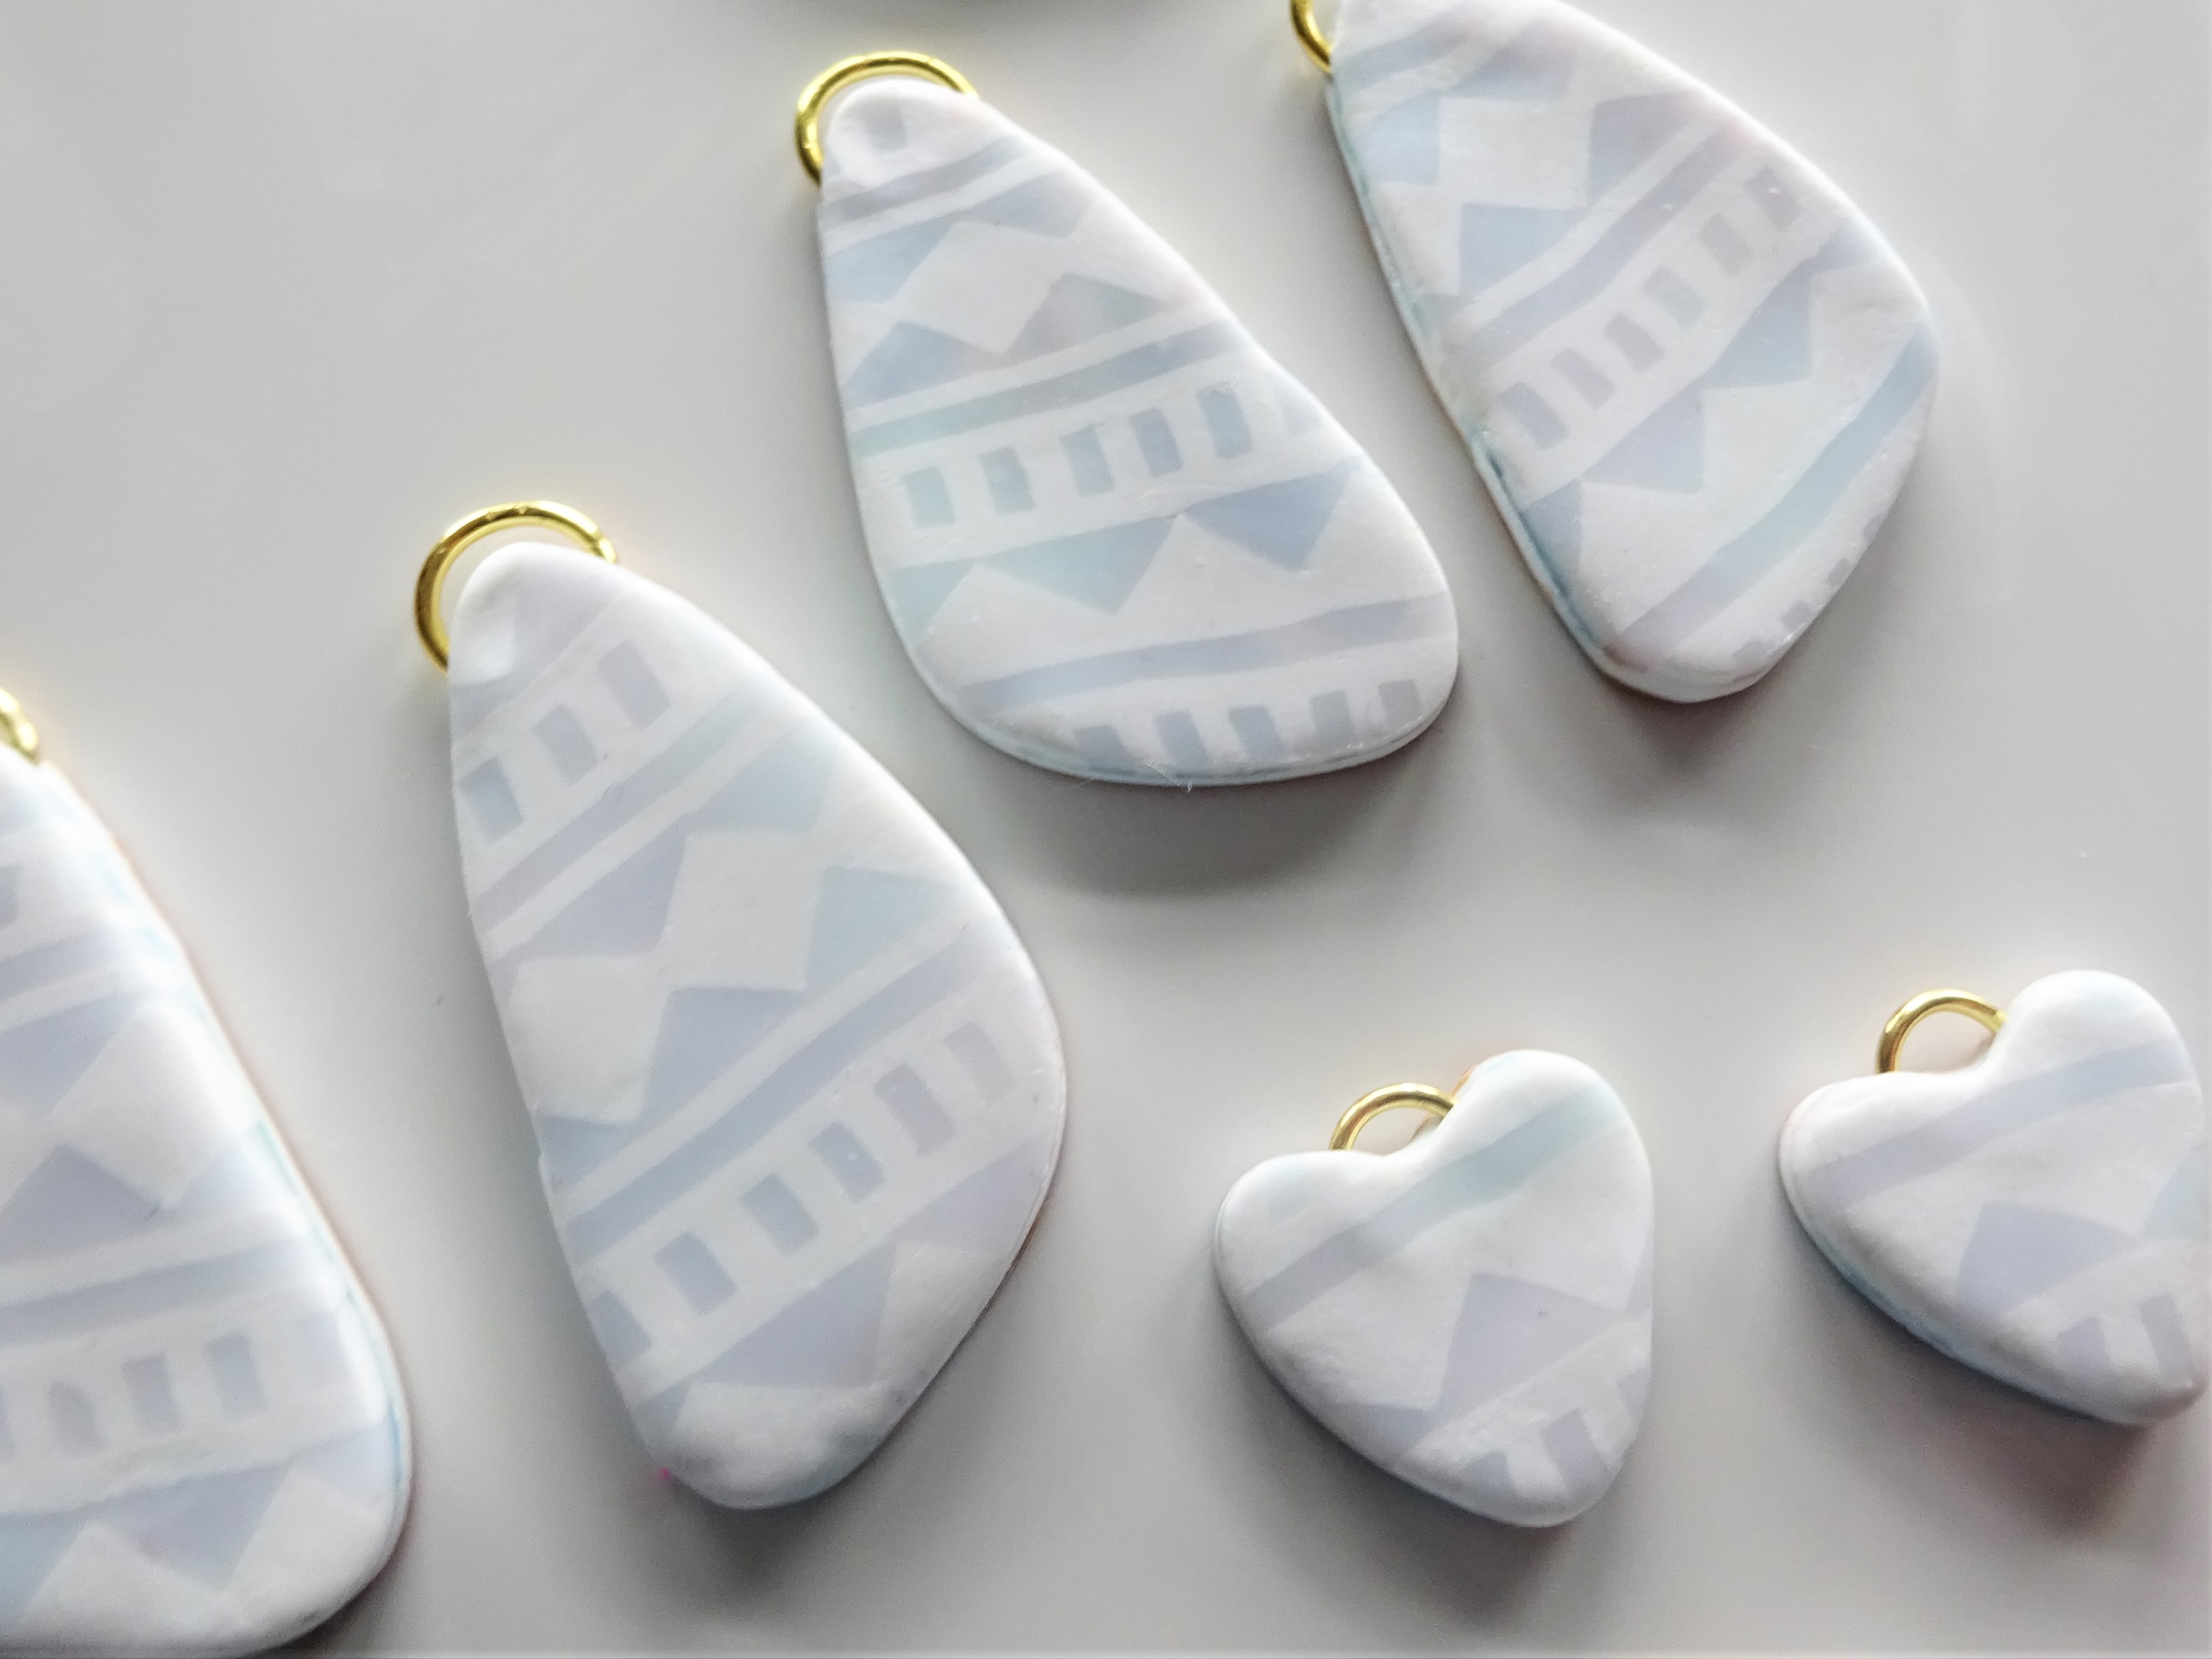
19) Cut shapes from your clay and add jump rings as required. I have a tutorial showing how to do this here.
Put in the oven as directed on the packet of clay. As soon as they are out put the clay in a bath of ice cold water. This apparently helps the translucent clay become, well, translucent. I have never tested the theory though!
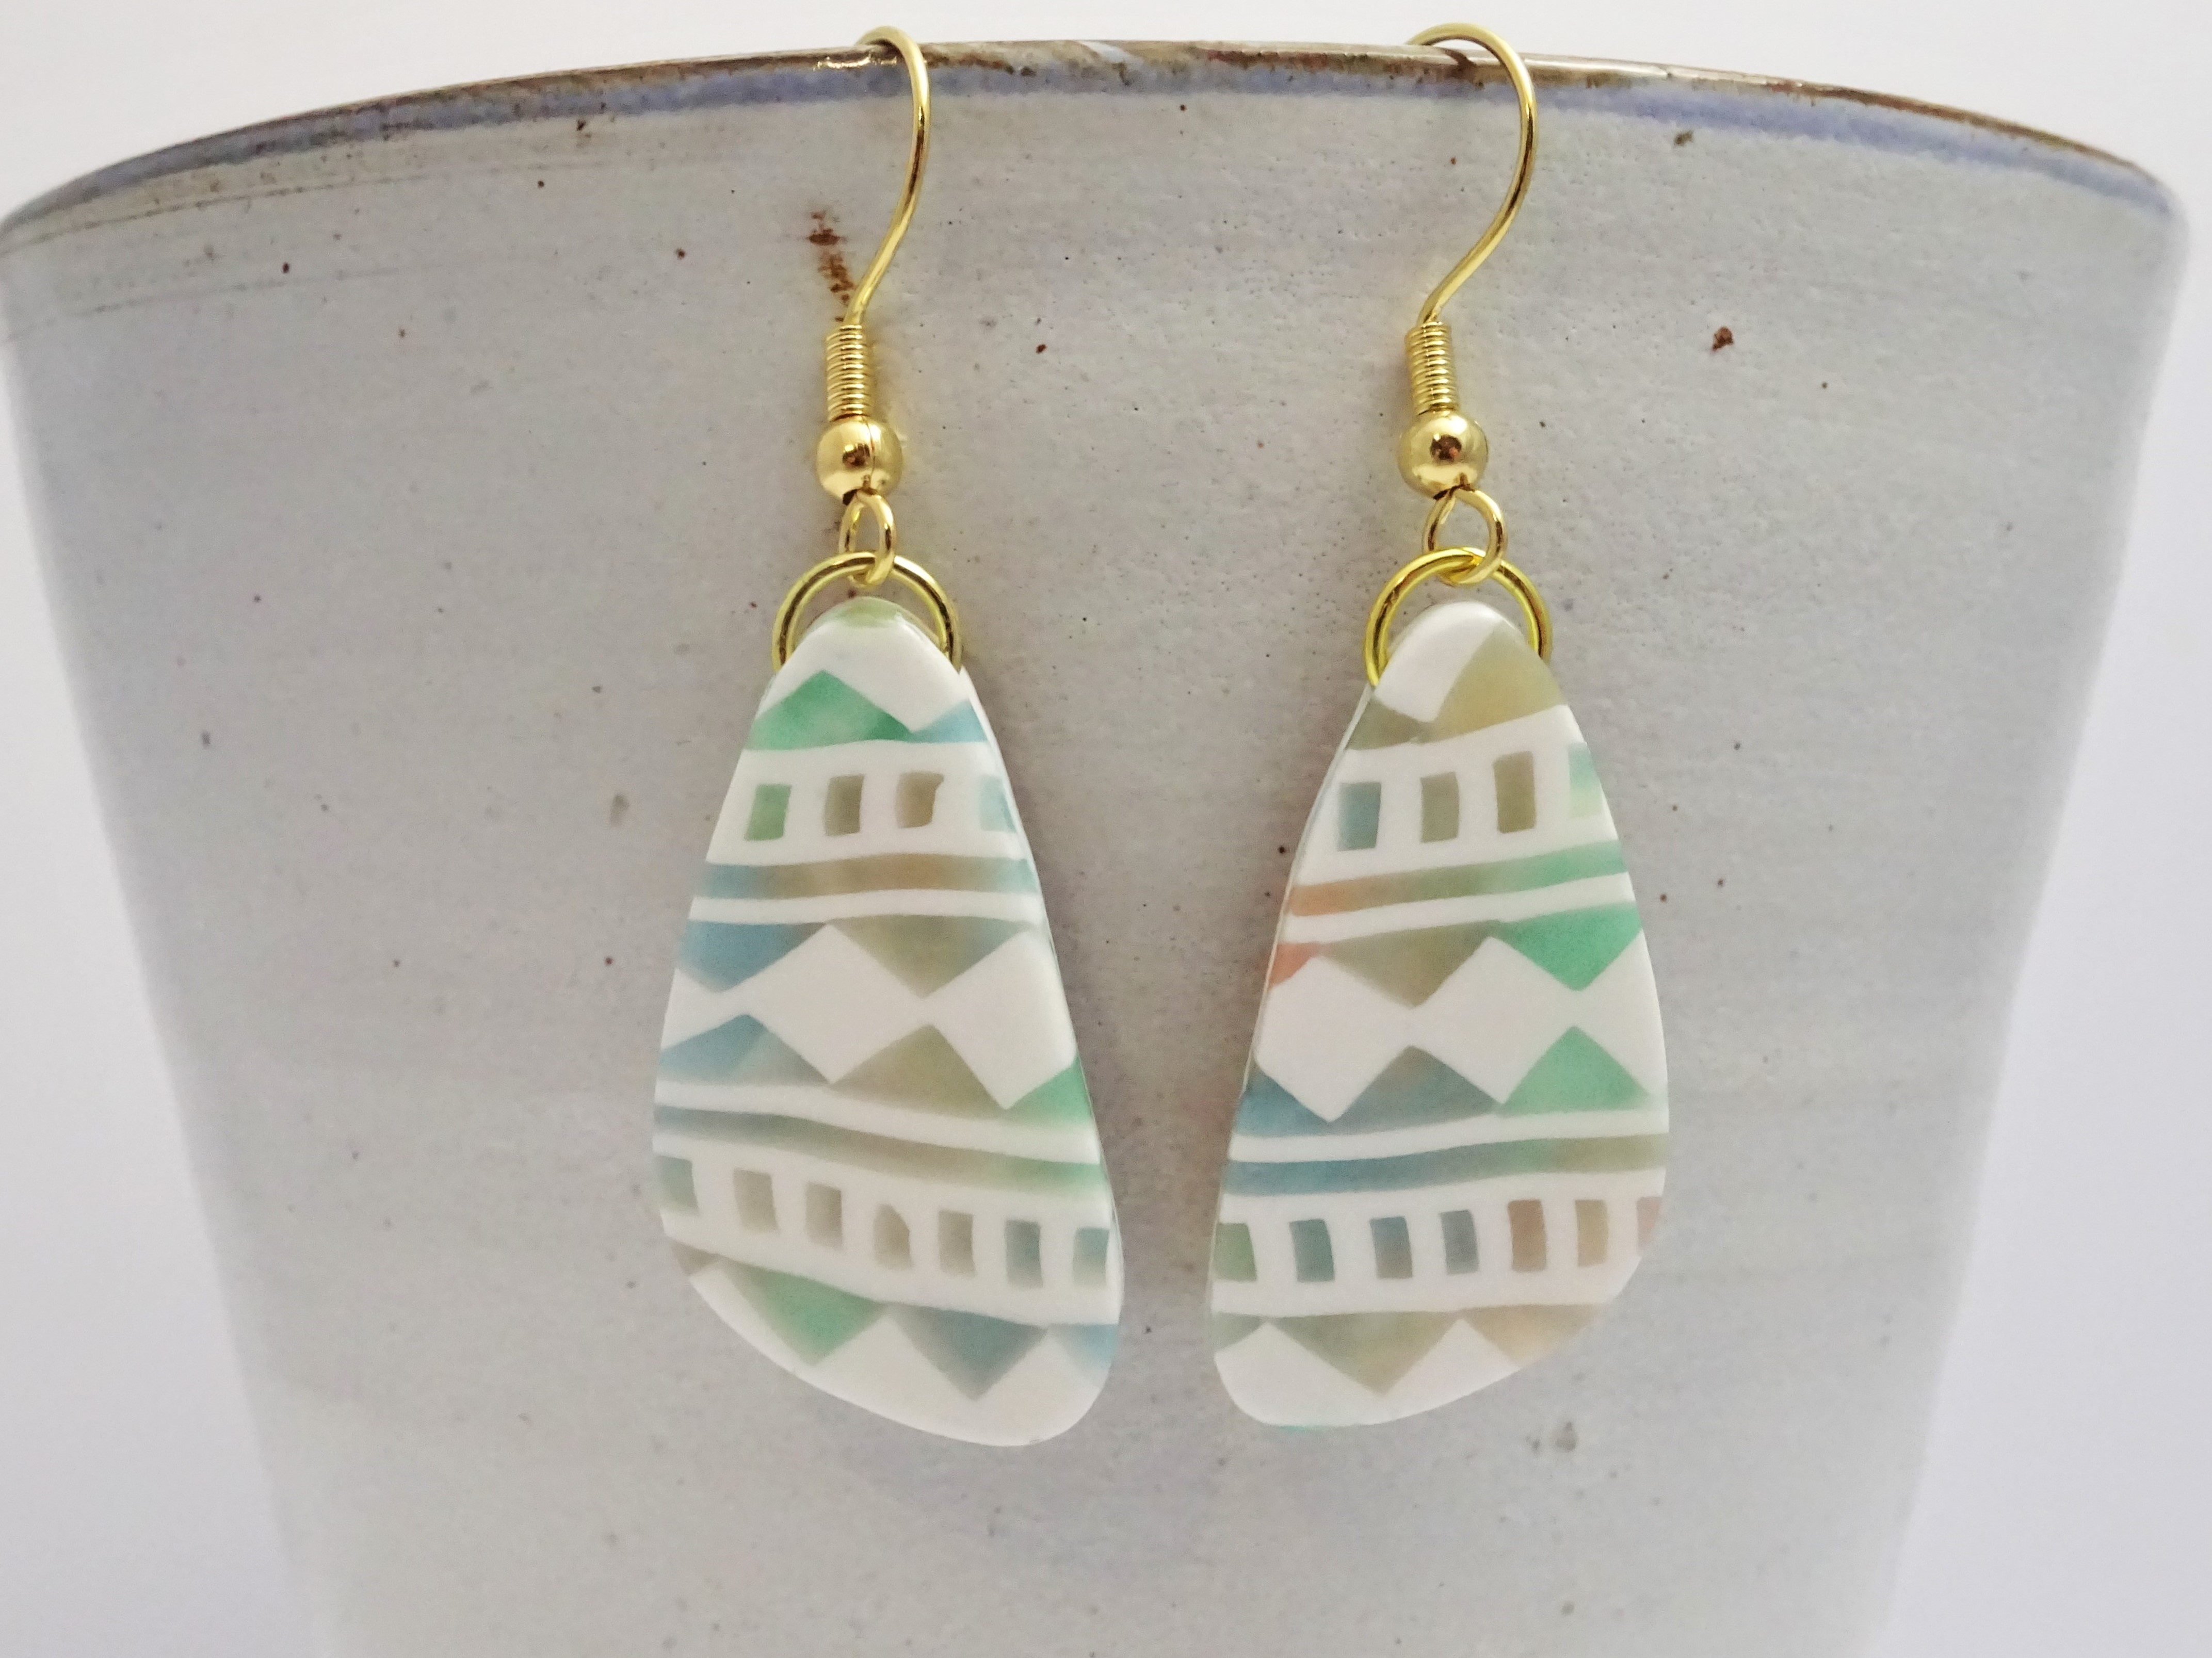
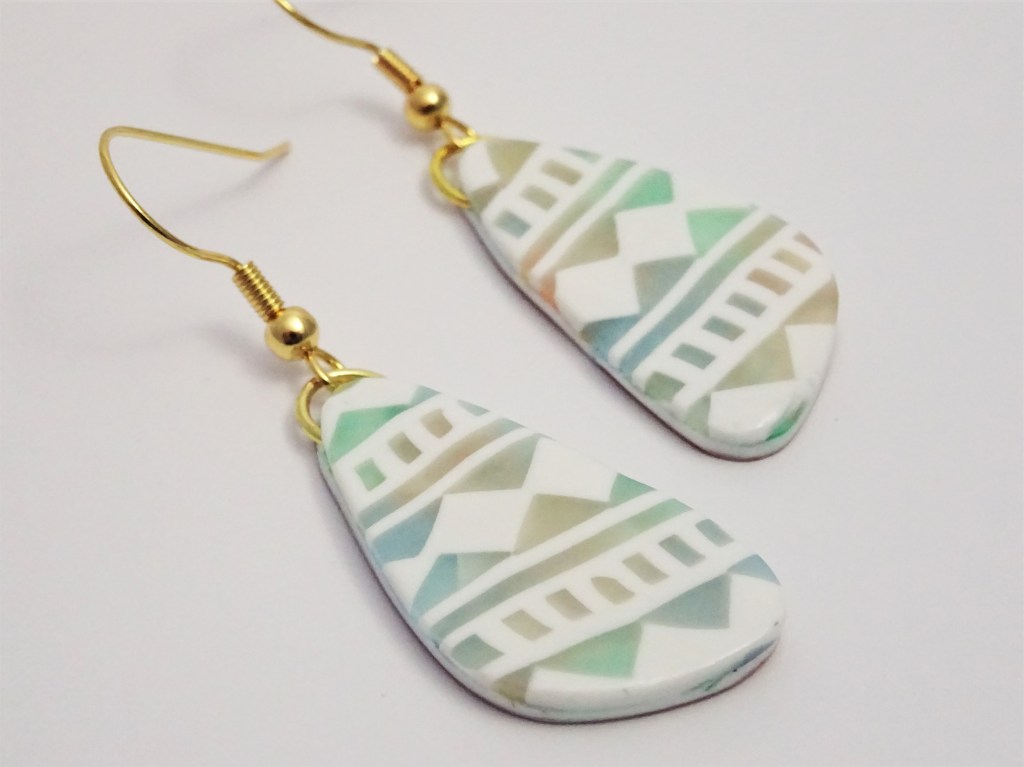
20) Ta-da – The translucent clay gives the paint underneath a much softer finish. I finished mine with 2 coats of gloss varnish.
Listed below are the products use for this technique. These are affiliate links for Amazon UK and Amazon US. I only list items I use and love 🙂
Amazon UK
Fimo profession in white, Translucent White and Gold
Acylic Lumiere Paint ( I used Pearlescent Emerald, Halo Blue Gold and Sunset Gold)
Clay extruder and cutting blades
Amazon US
Fimo Professional in White, Translucent White and Gold
Acrylic Lumiere Paint ( I used pearlescent Emerald, Halo Blue and Sunset Gold)
Clay extruder and cutting blades
I hope you enjoyed that. Make sure to check out some of the other tutorials I listed – the original watercolour clay tutorial uses craft chalk to add colour. This would work well here too.
Don’t forget you can follow @theartisanduck on Instagram and Facebook and sign up for regular newsletters.
Also, let me know what you think. Do you like this style of tutorial? Is there any techniques you would like me to try? I’d love to hear from you.
Hannah x


Thank you for the wonderful tutorial! Love the soft pastel shades that this process results in.
Thank you Anita. I’m so glad you enjoyed it. I’m always pleasantly surprised (although I’m not sure why when I know it’ll be the result 😆) at the soft pastel colours in the end pieces.
I’m ready for your take on the watercolour technique… fabulous result, thank you 😻
Your welcome – I am so glad you enjoyed it 🙂