

Please note – this blog post contains affiliate links. All links to products used at the end of this post.

So, you have some polymer clay and you’ve had a go at making a cane but how on earth do you use it for making beads and pendants?
When I began making jewellery with polymer clay making canes was one of the first techniques I was desperate to learn. I loved the thought of all the endless possibilities but however much I searched online and trawled though YouTube I couldn’t find a single video just showing how to use my amazing creation.
It was frustrating. Over time I pieced together information from here and there and put it together to make my first clay pendants – I can’t tell you the level of smug satisfaction I felt 😀
Today I thought I would put together a, hopefully, easy guide to using polymer clay canes to make beads and pendants.
I have also recorded this as a YouTube video which is linked at the bottom of this post as I feel it can be useful to see how people handle the clay (sounds weird I know but I have learned so much from watching others with their clay)
How to use a polymer clay cane to make beads….
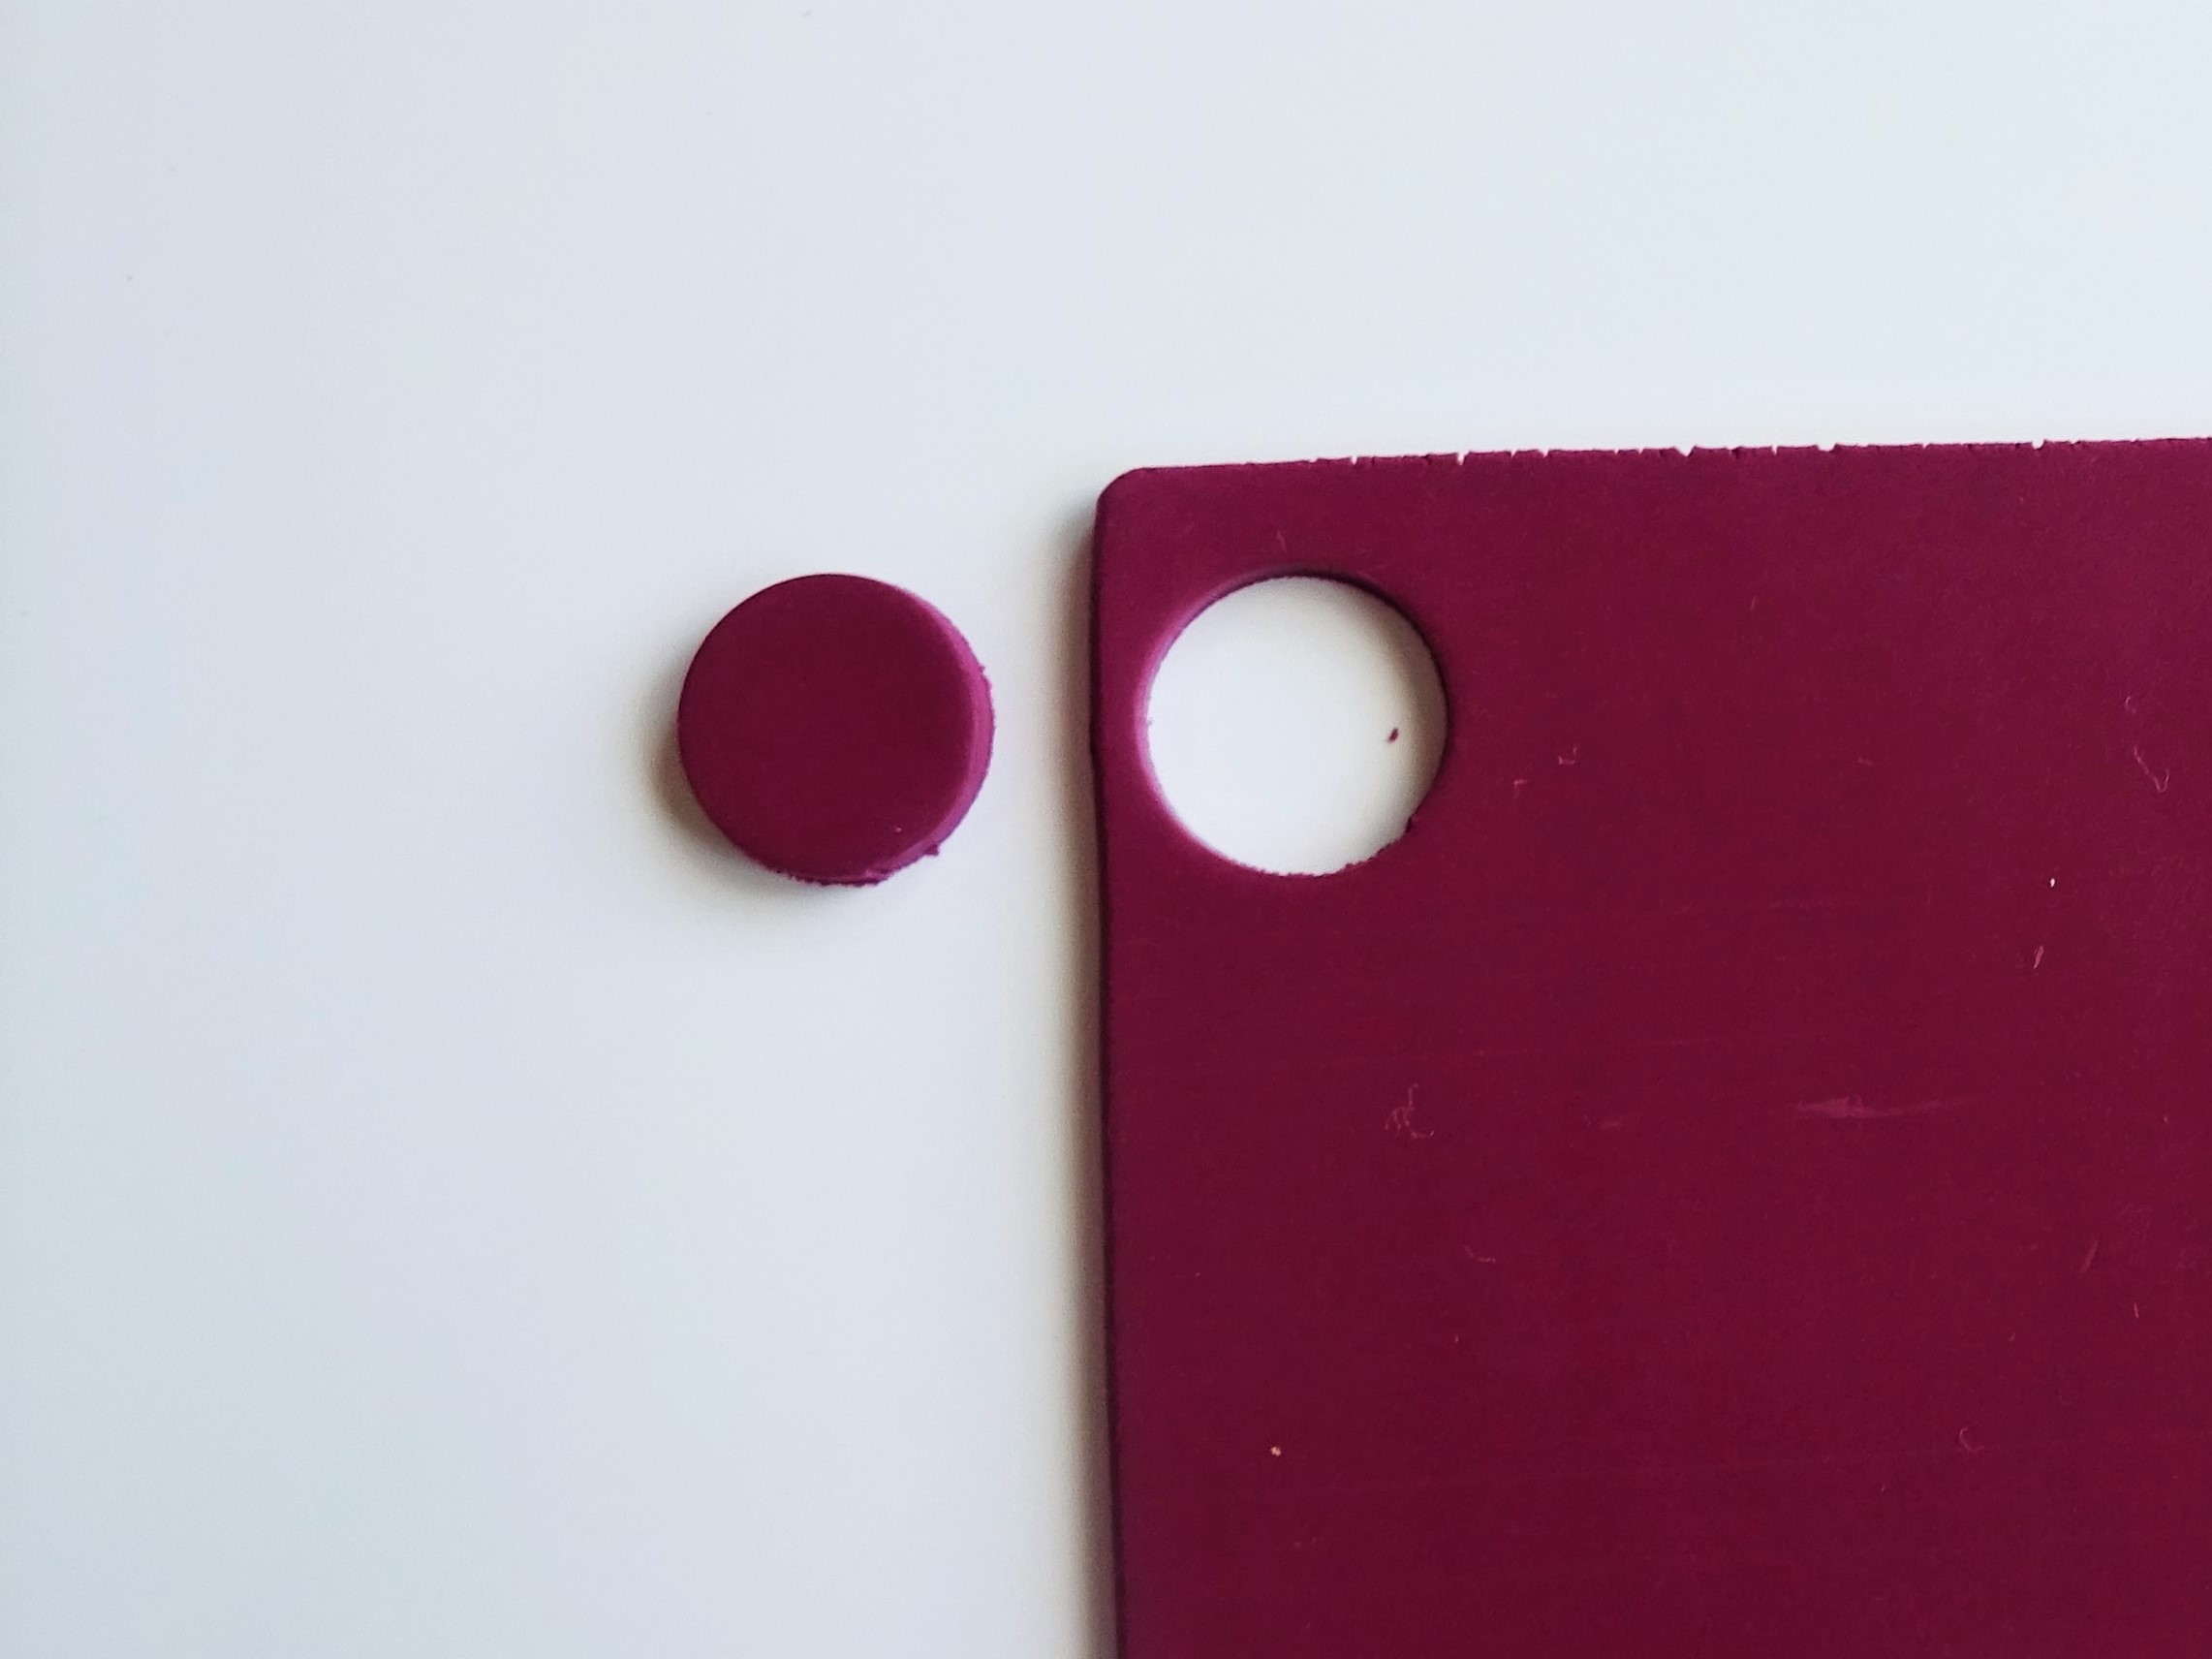
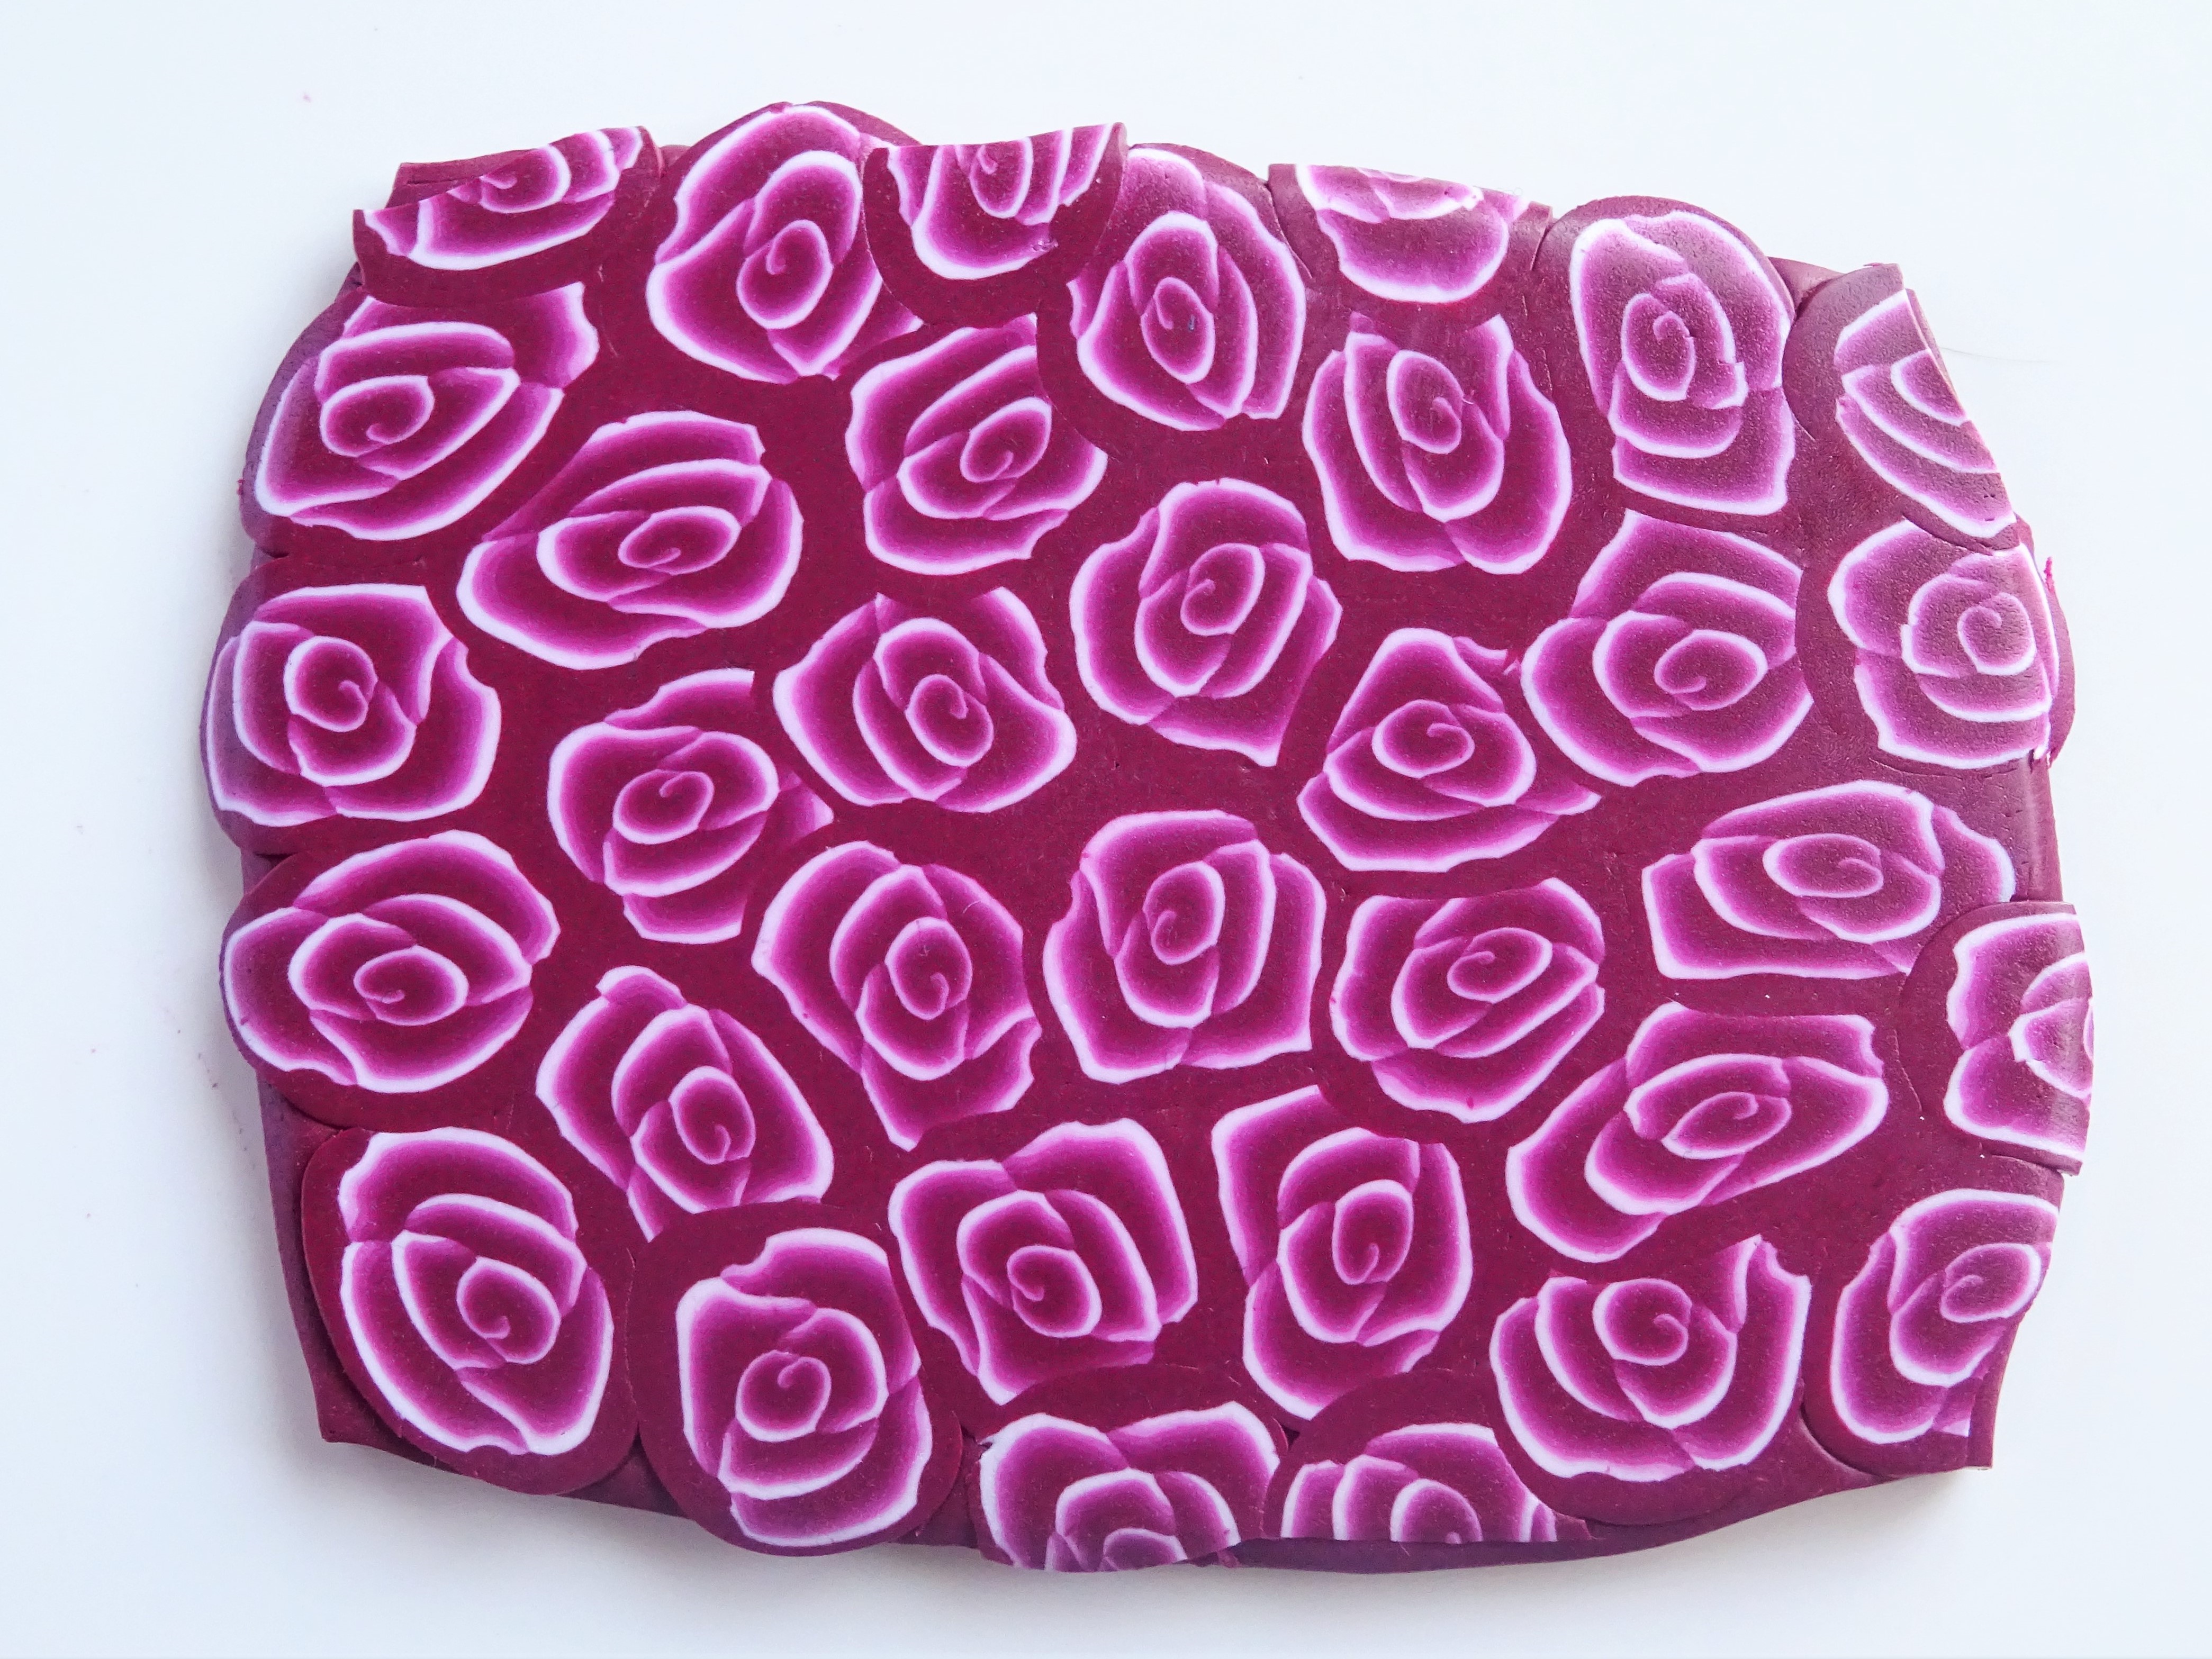
1. Condition some clay which is the same colour as the clay surrounding your cane. In this case I have used Fimo Professional in Bordeaux.
Roll this out on a number 1 on your clay machine (this is my thickest setting). Use a small circle punch to cut a circle. My cutter is 1/2″ round.
Top tip – for bigger beads you could cut several small circles and put them together or use a bigger shape cutter. Don’t forget that the thickness the clay is rolled to will also determine the overall size of the bead.

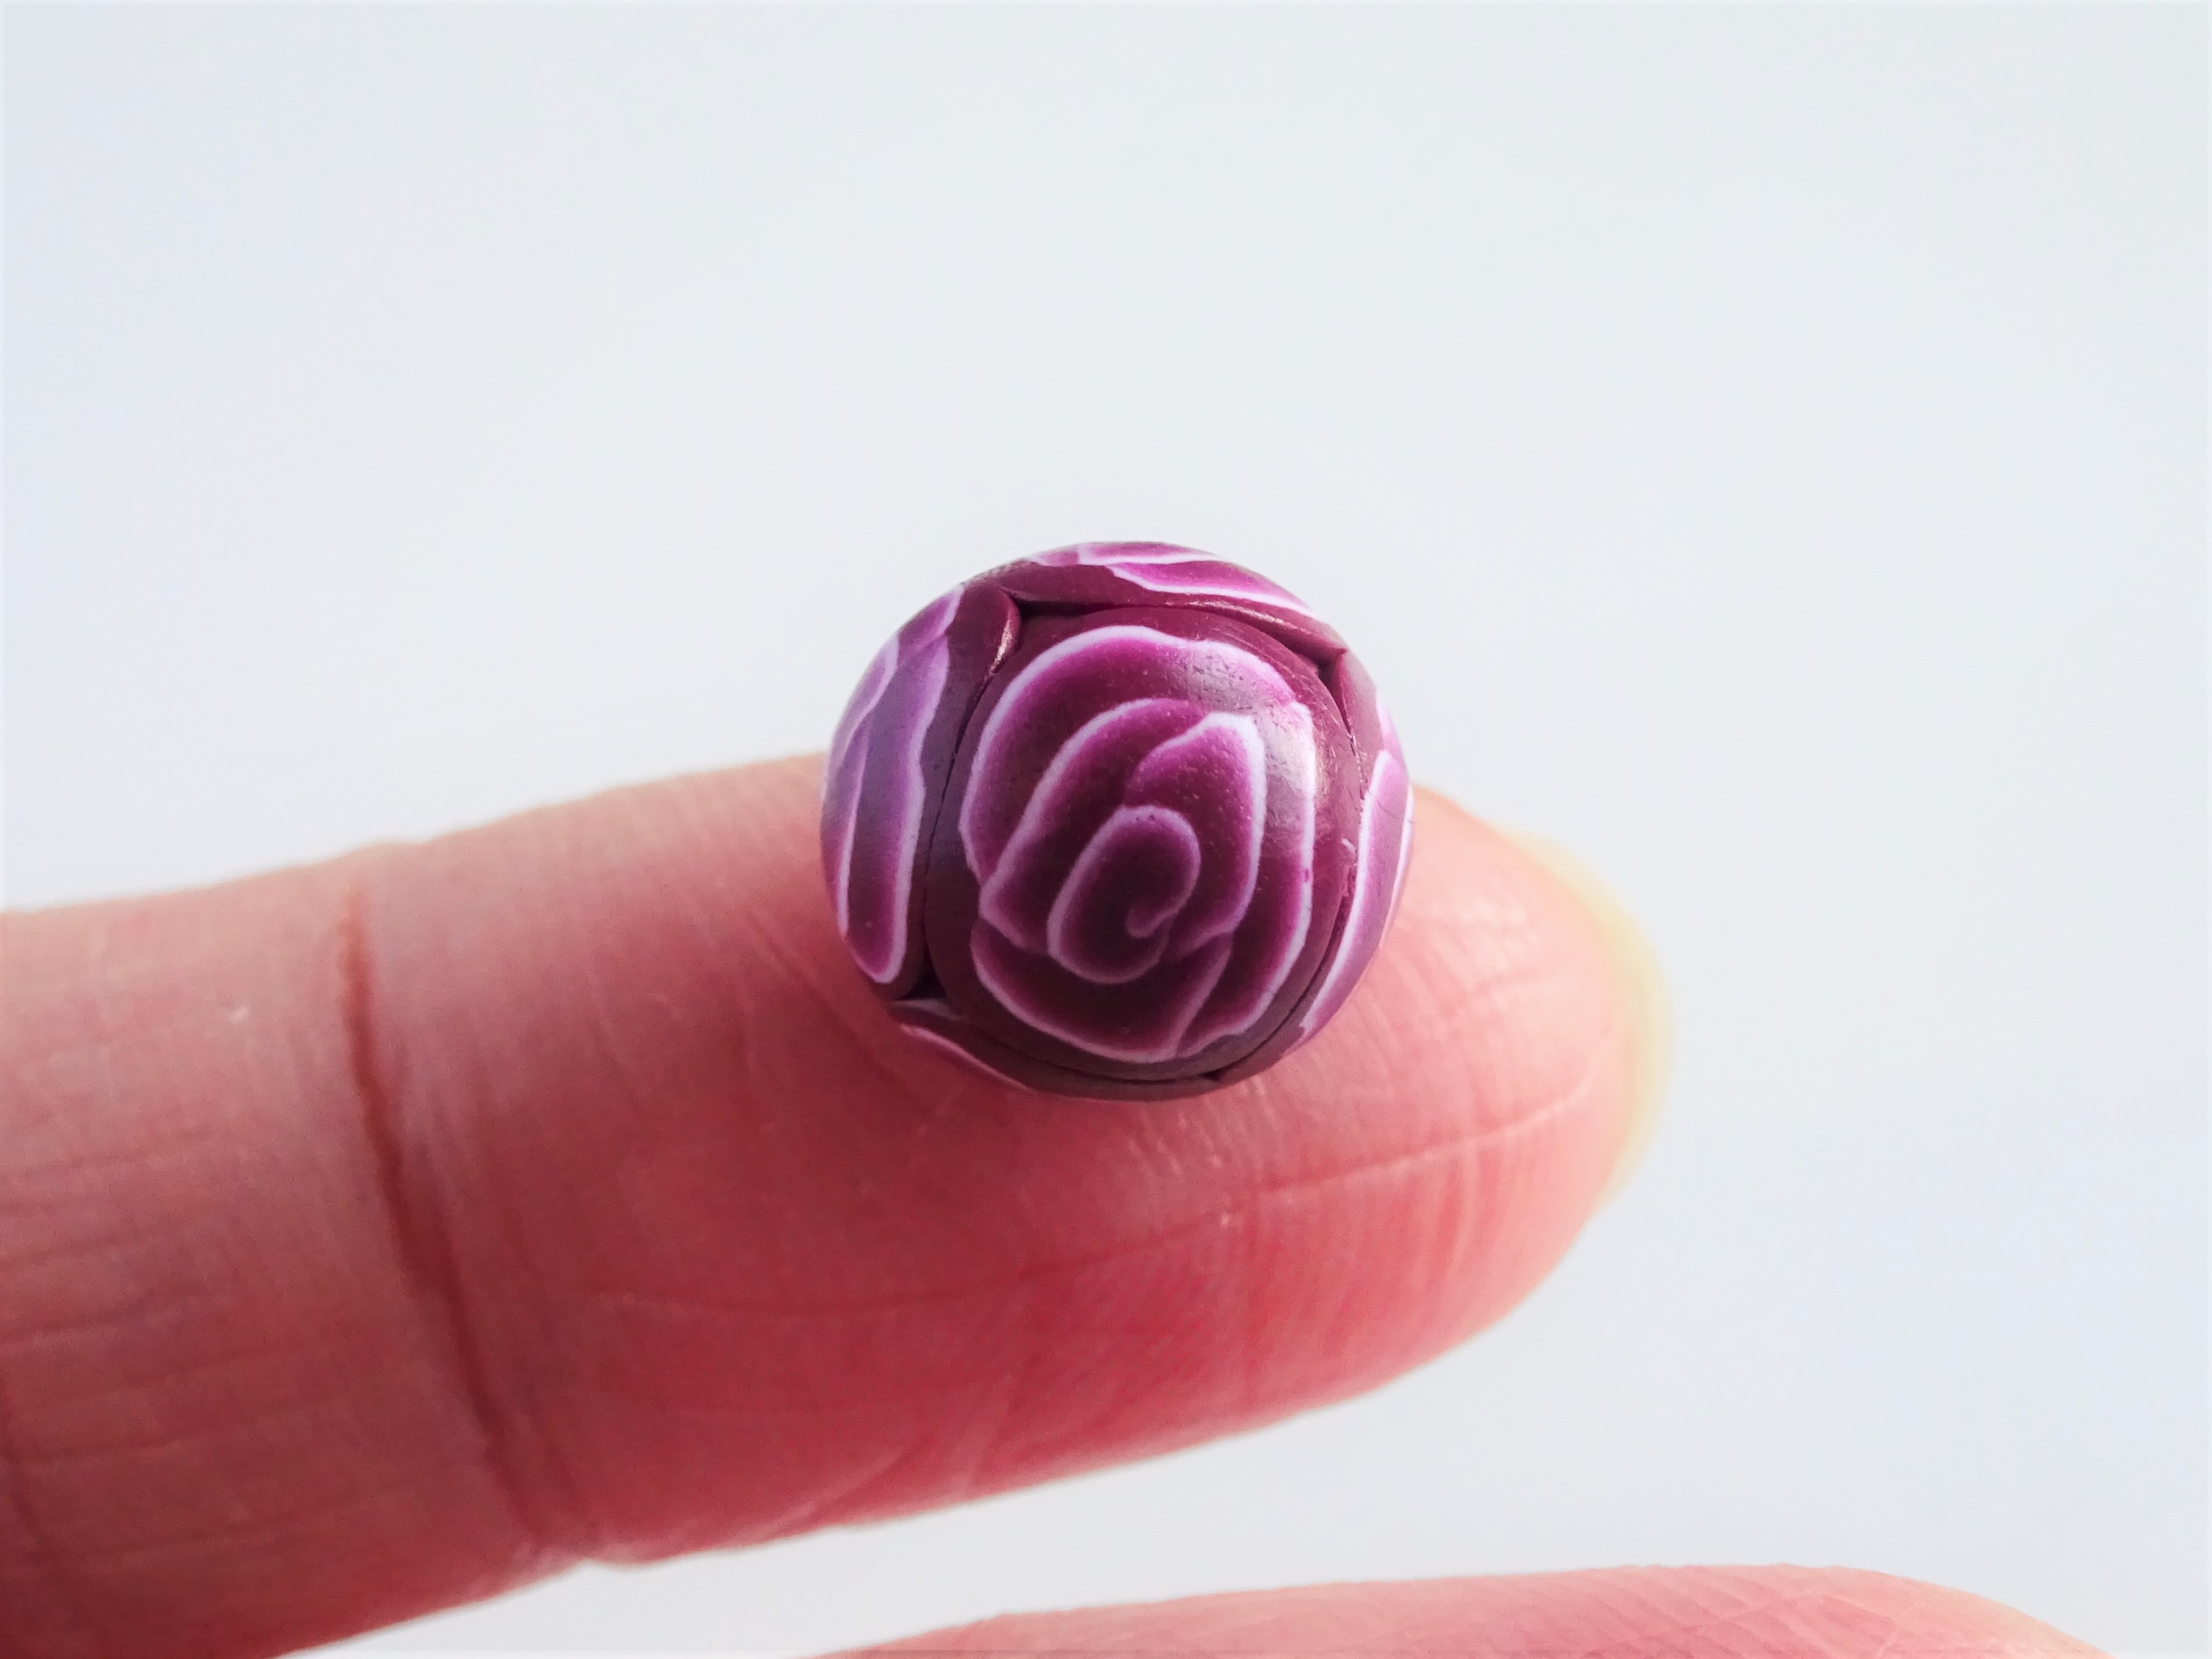
2. Roll the clay into a ball.
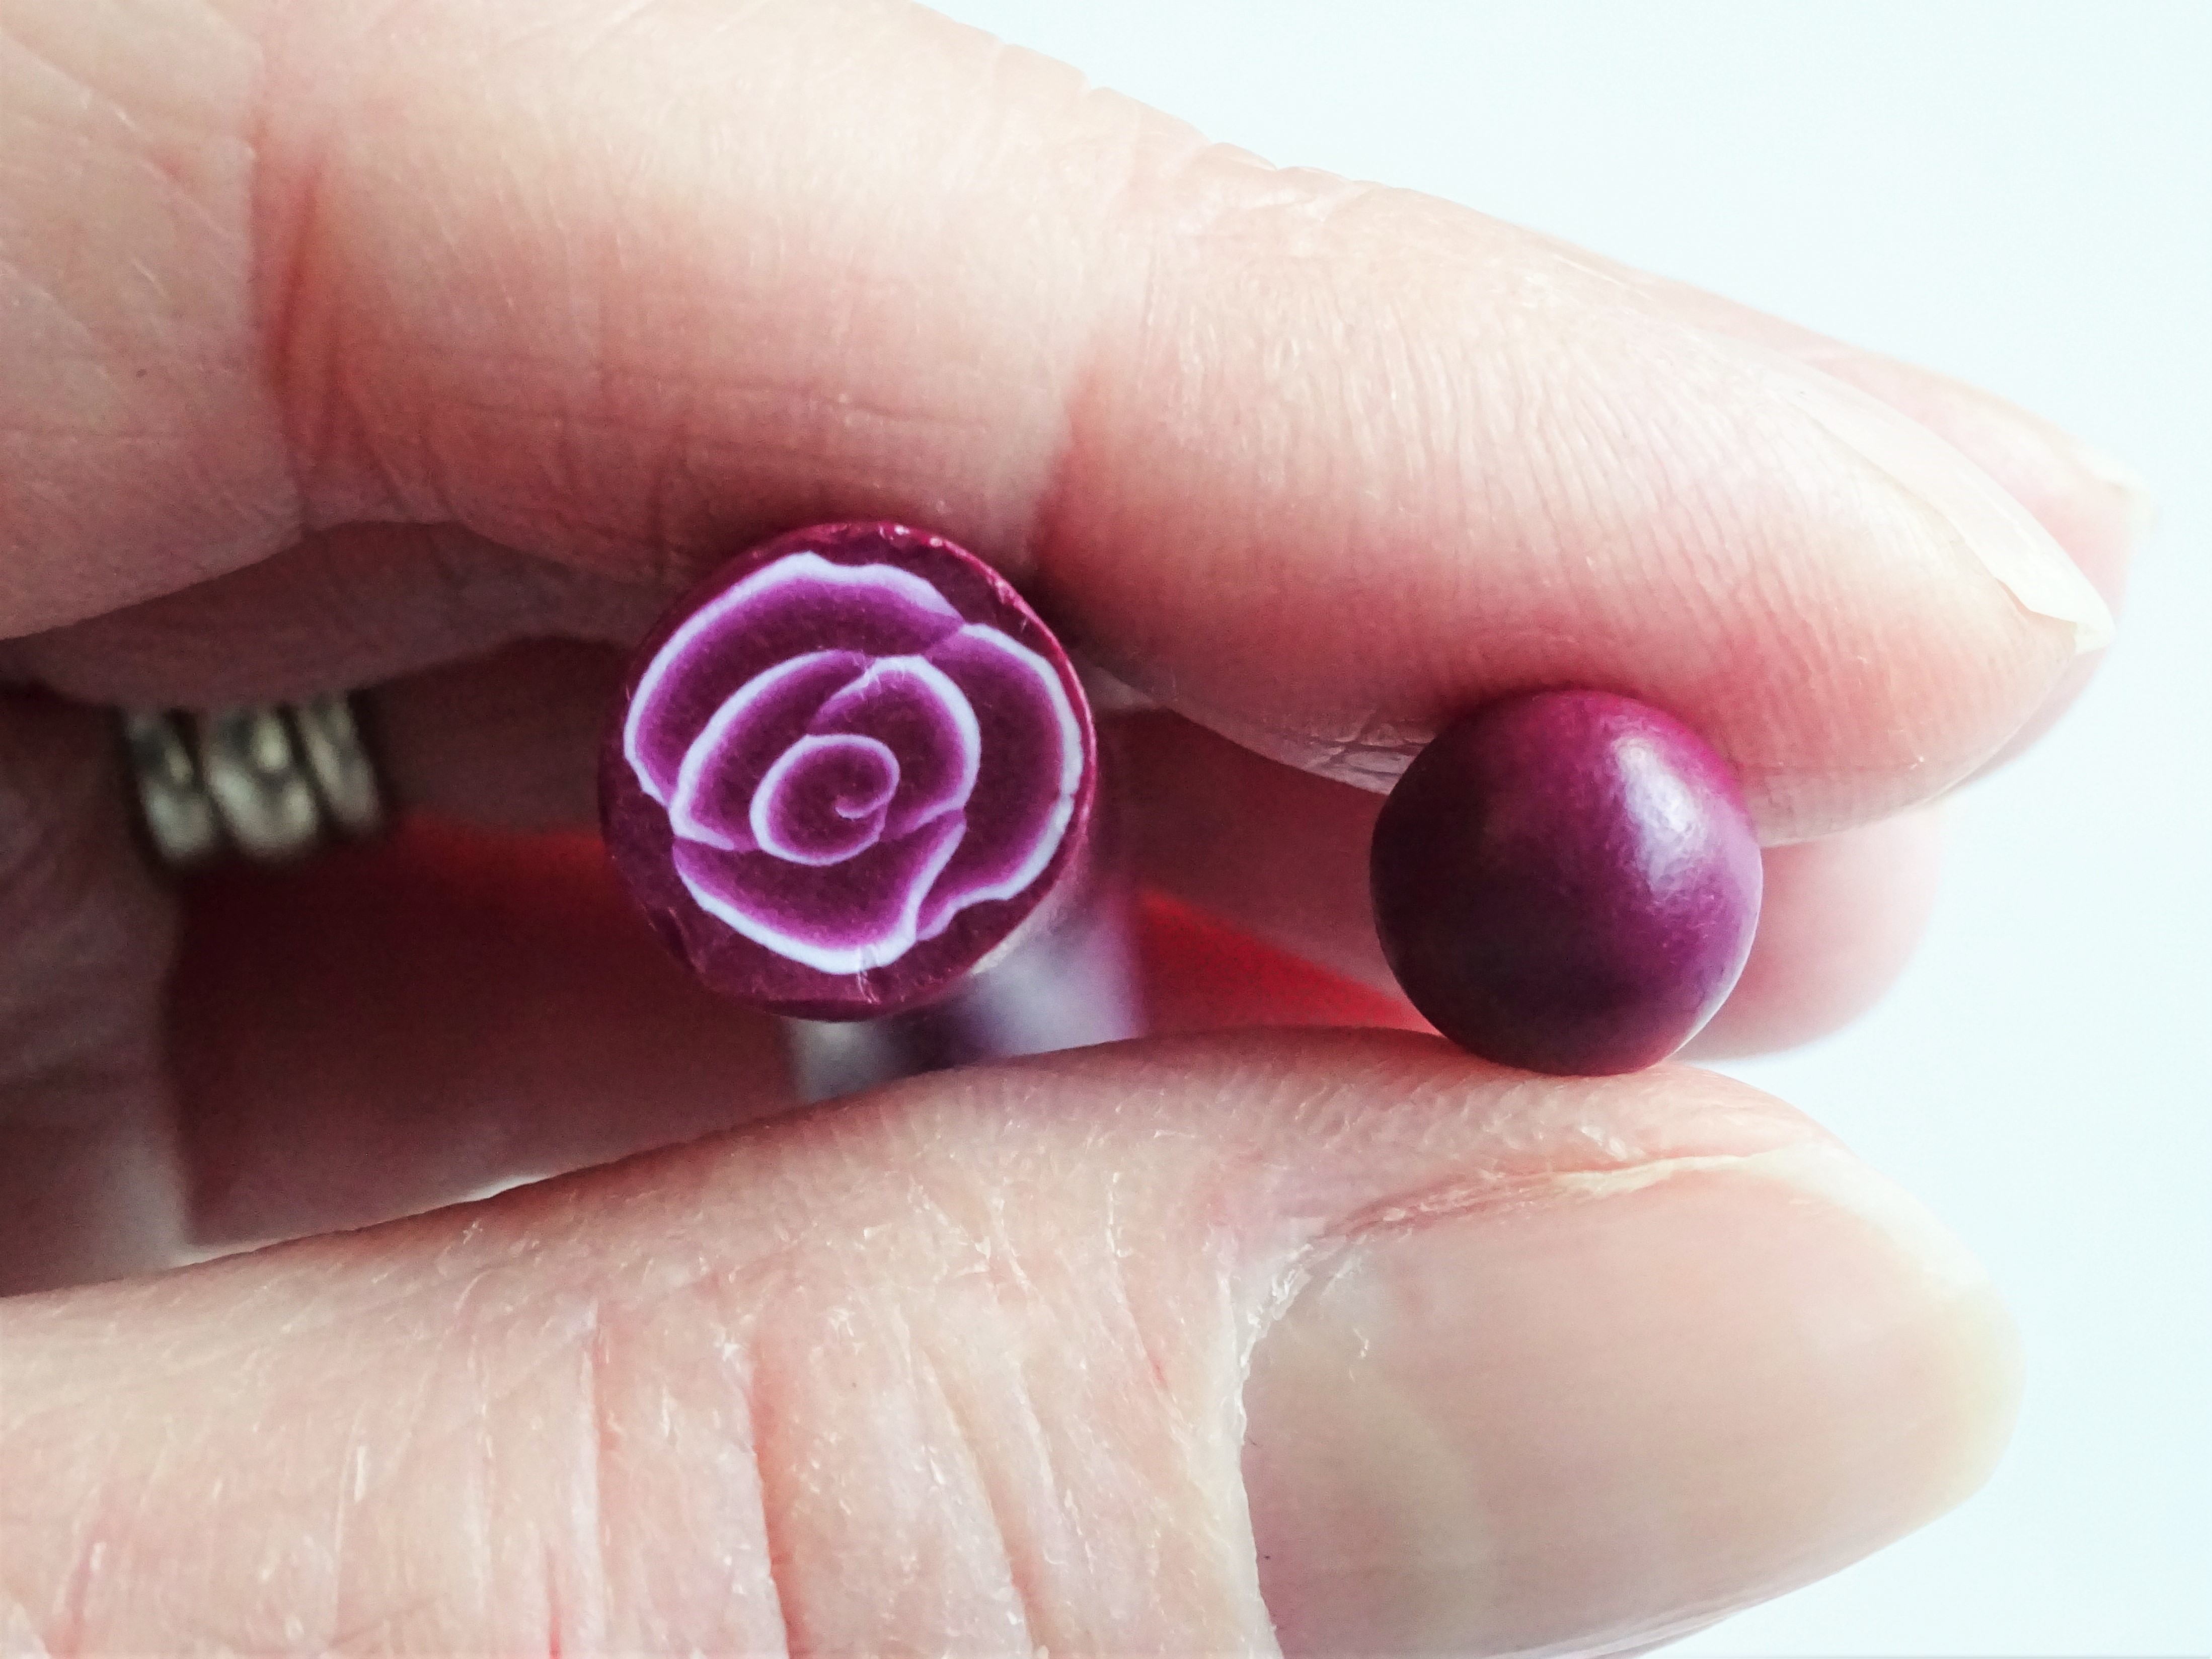
3. Check the size of your cane against the size of your bead. In this case the cane looks too big and needs to be reduced a little further (see video for more information on this).
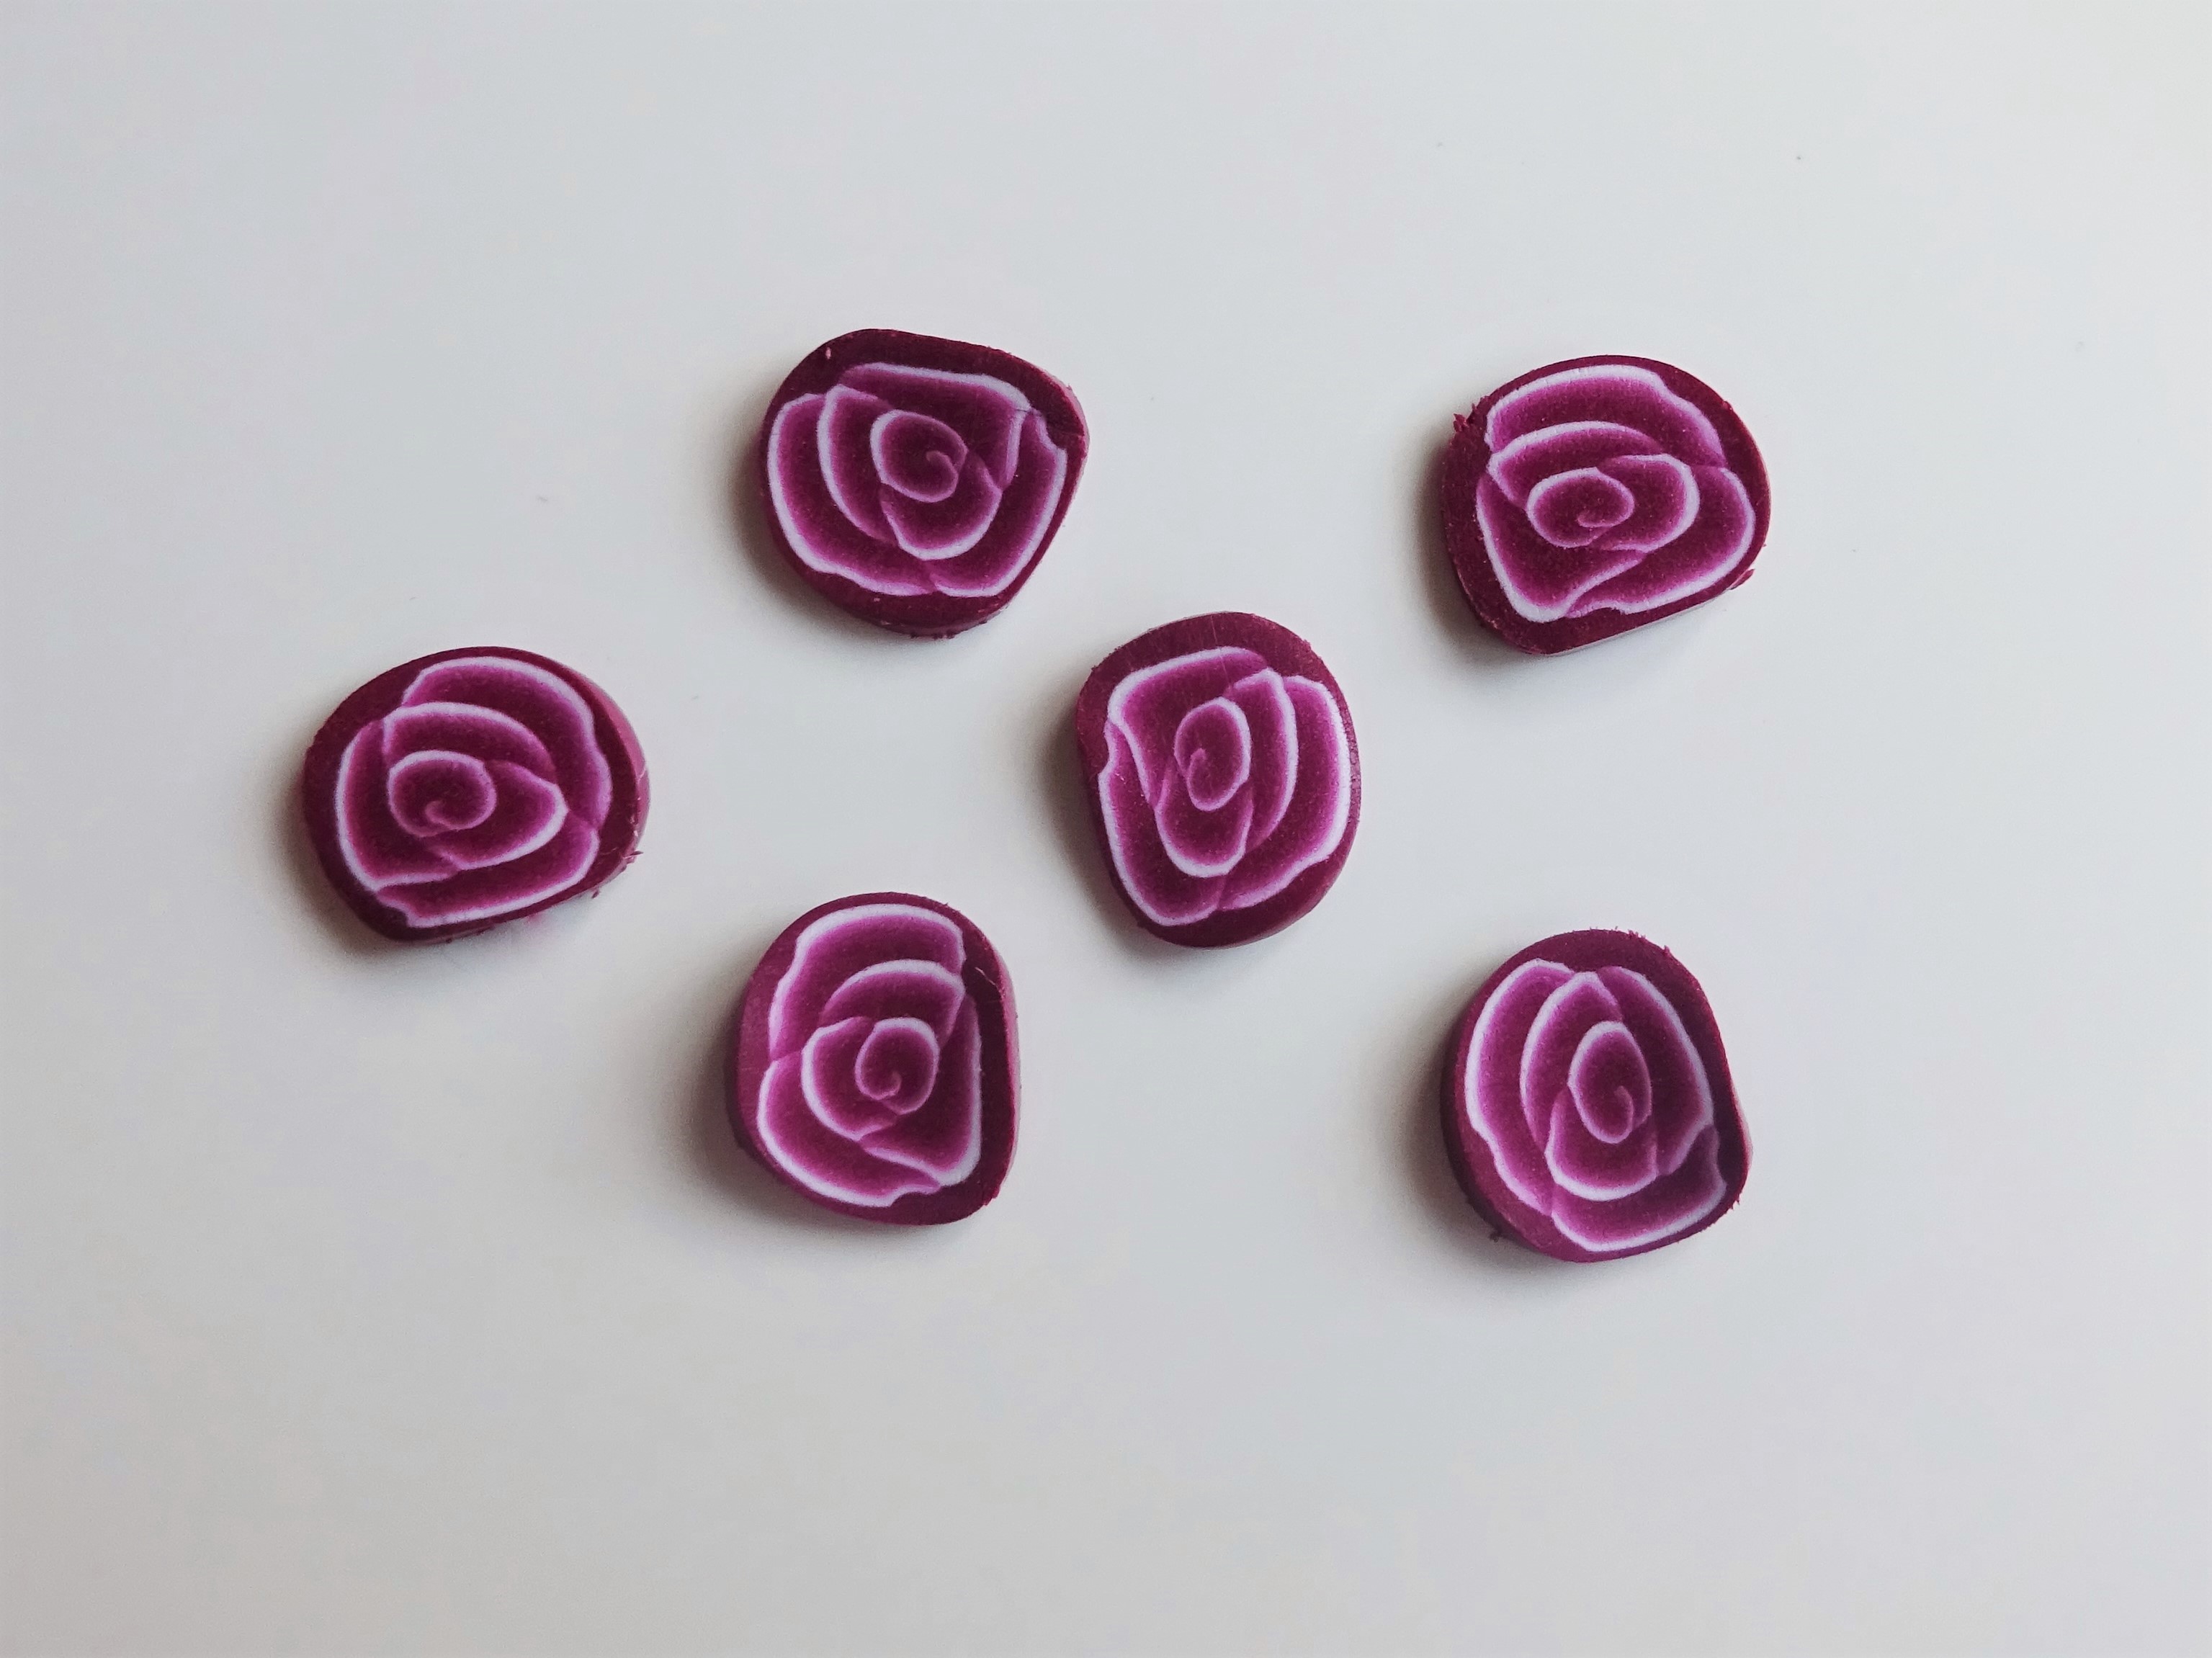
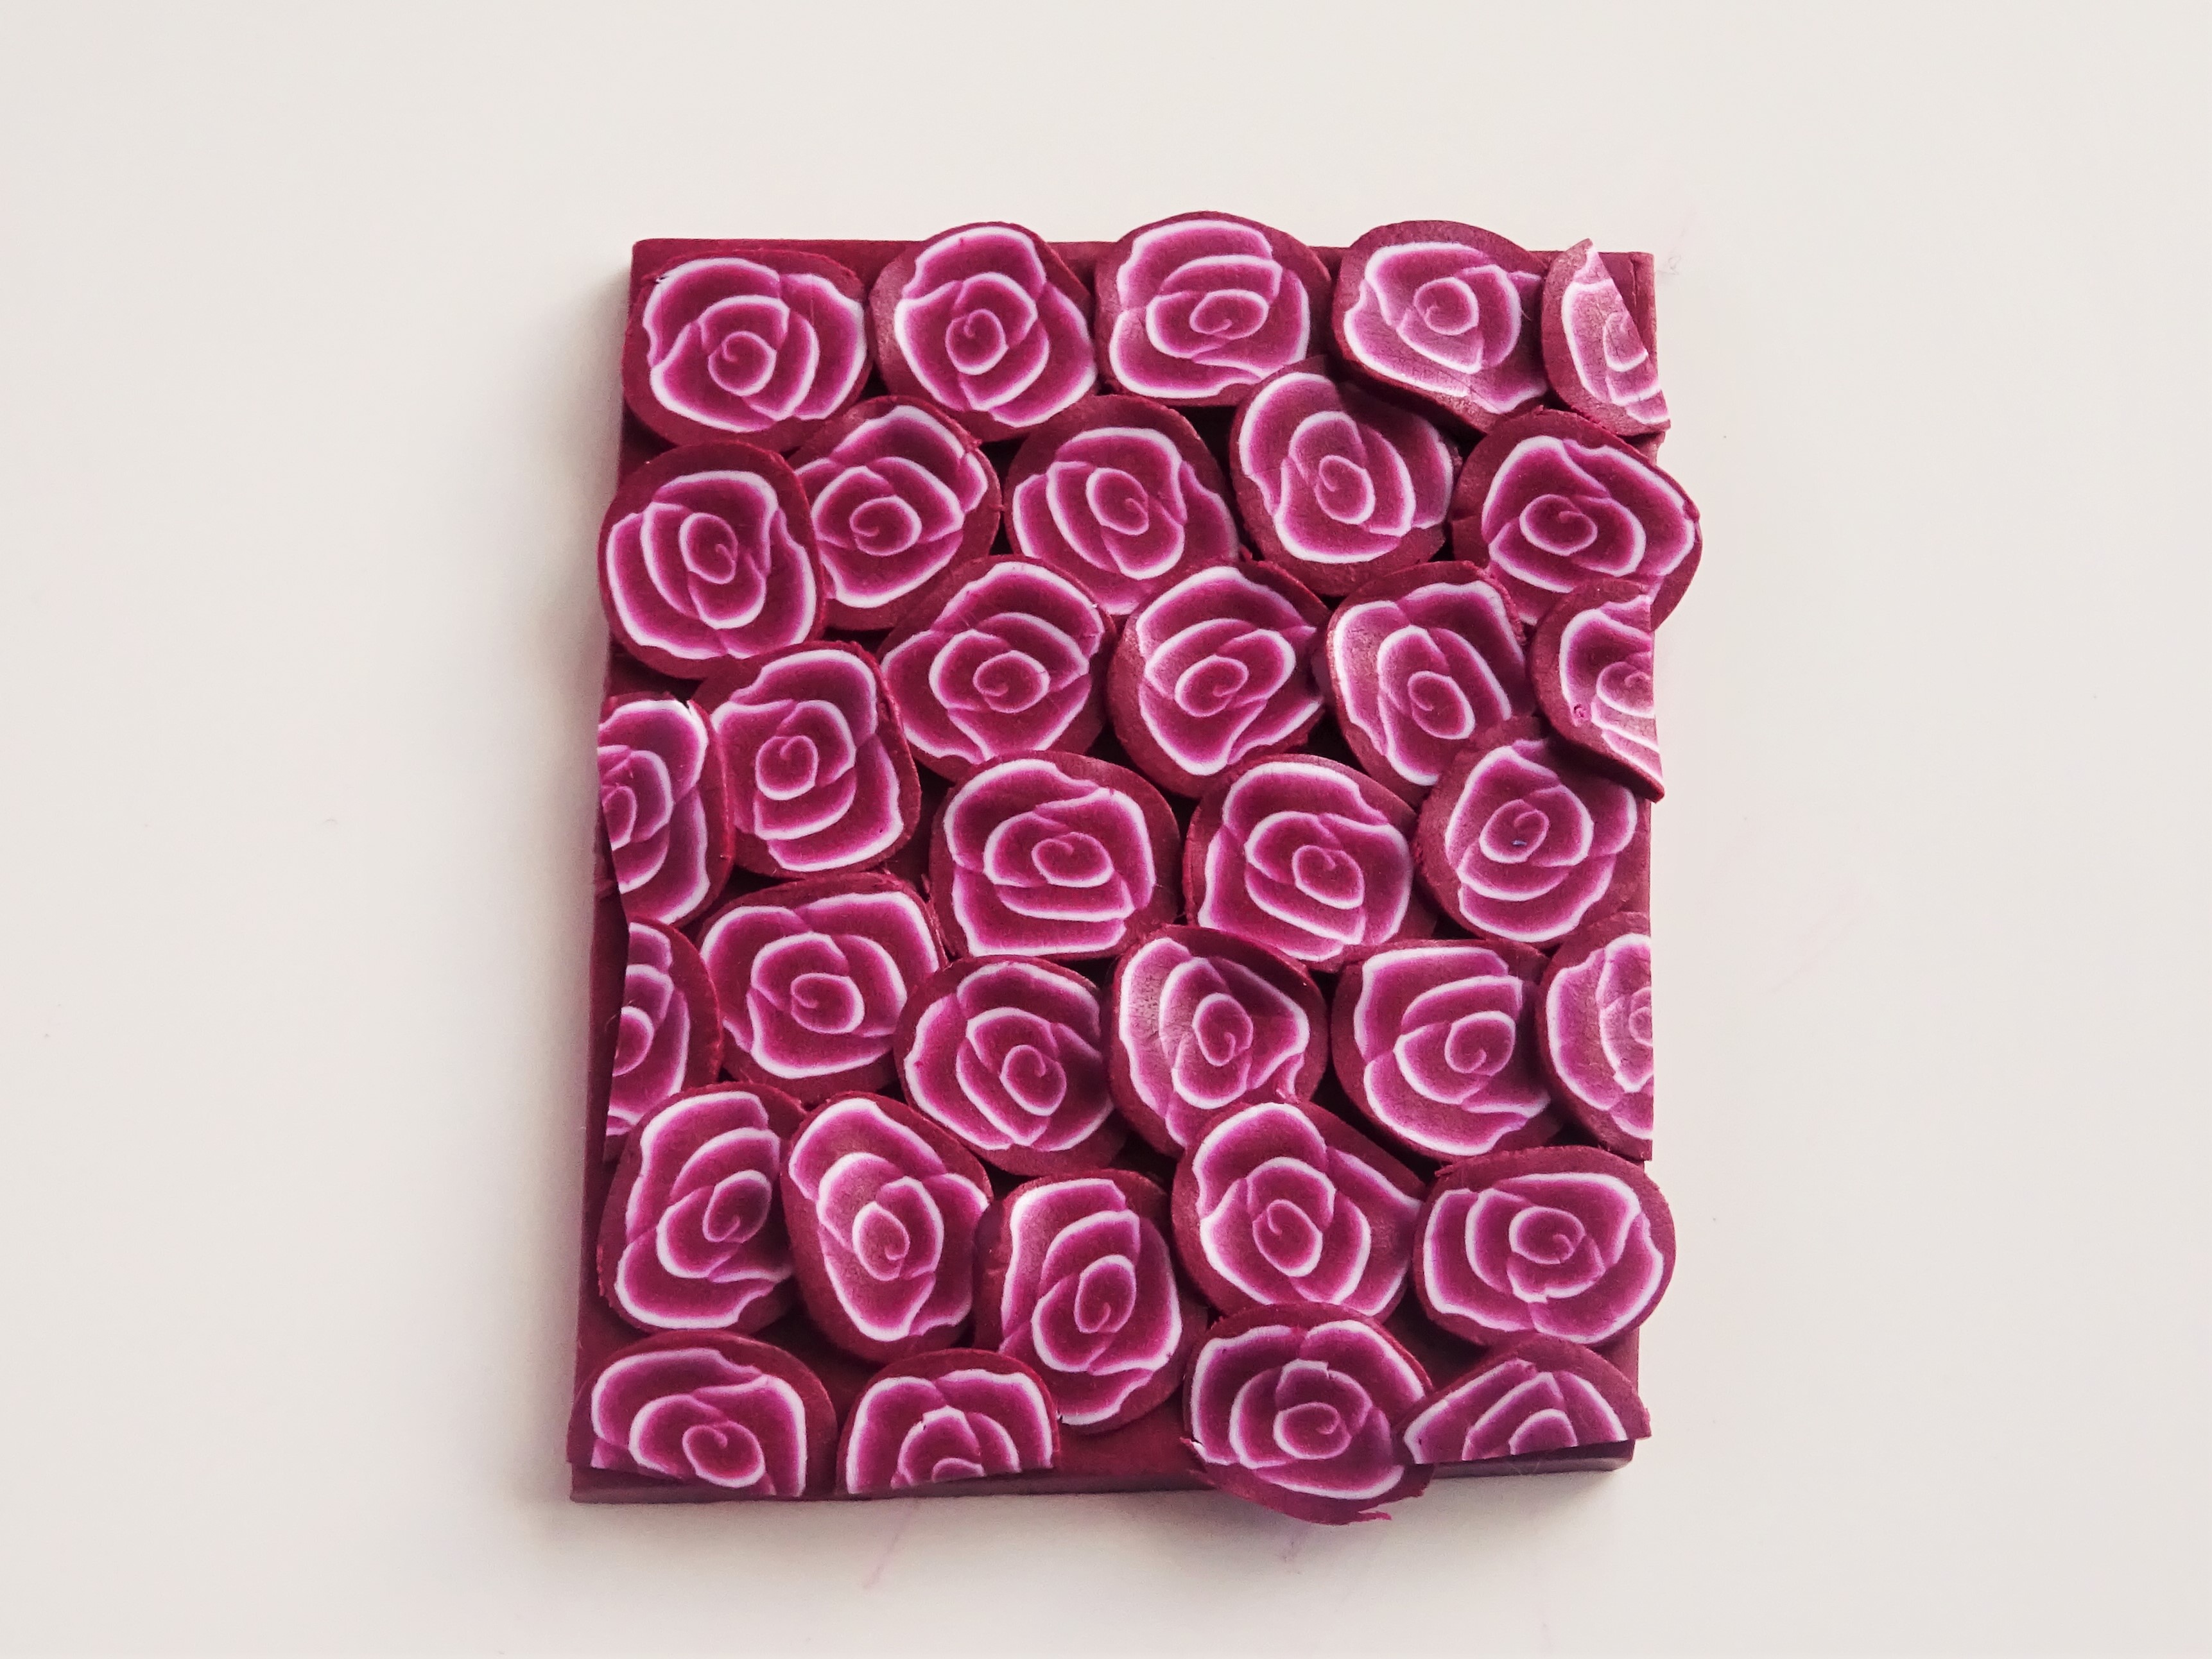
4. Cut thin slices of your cane.
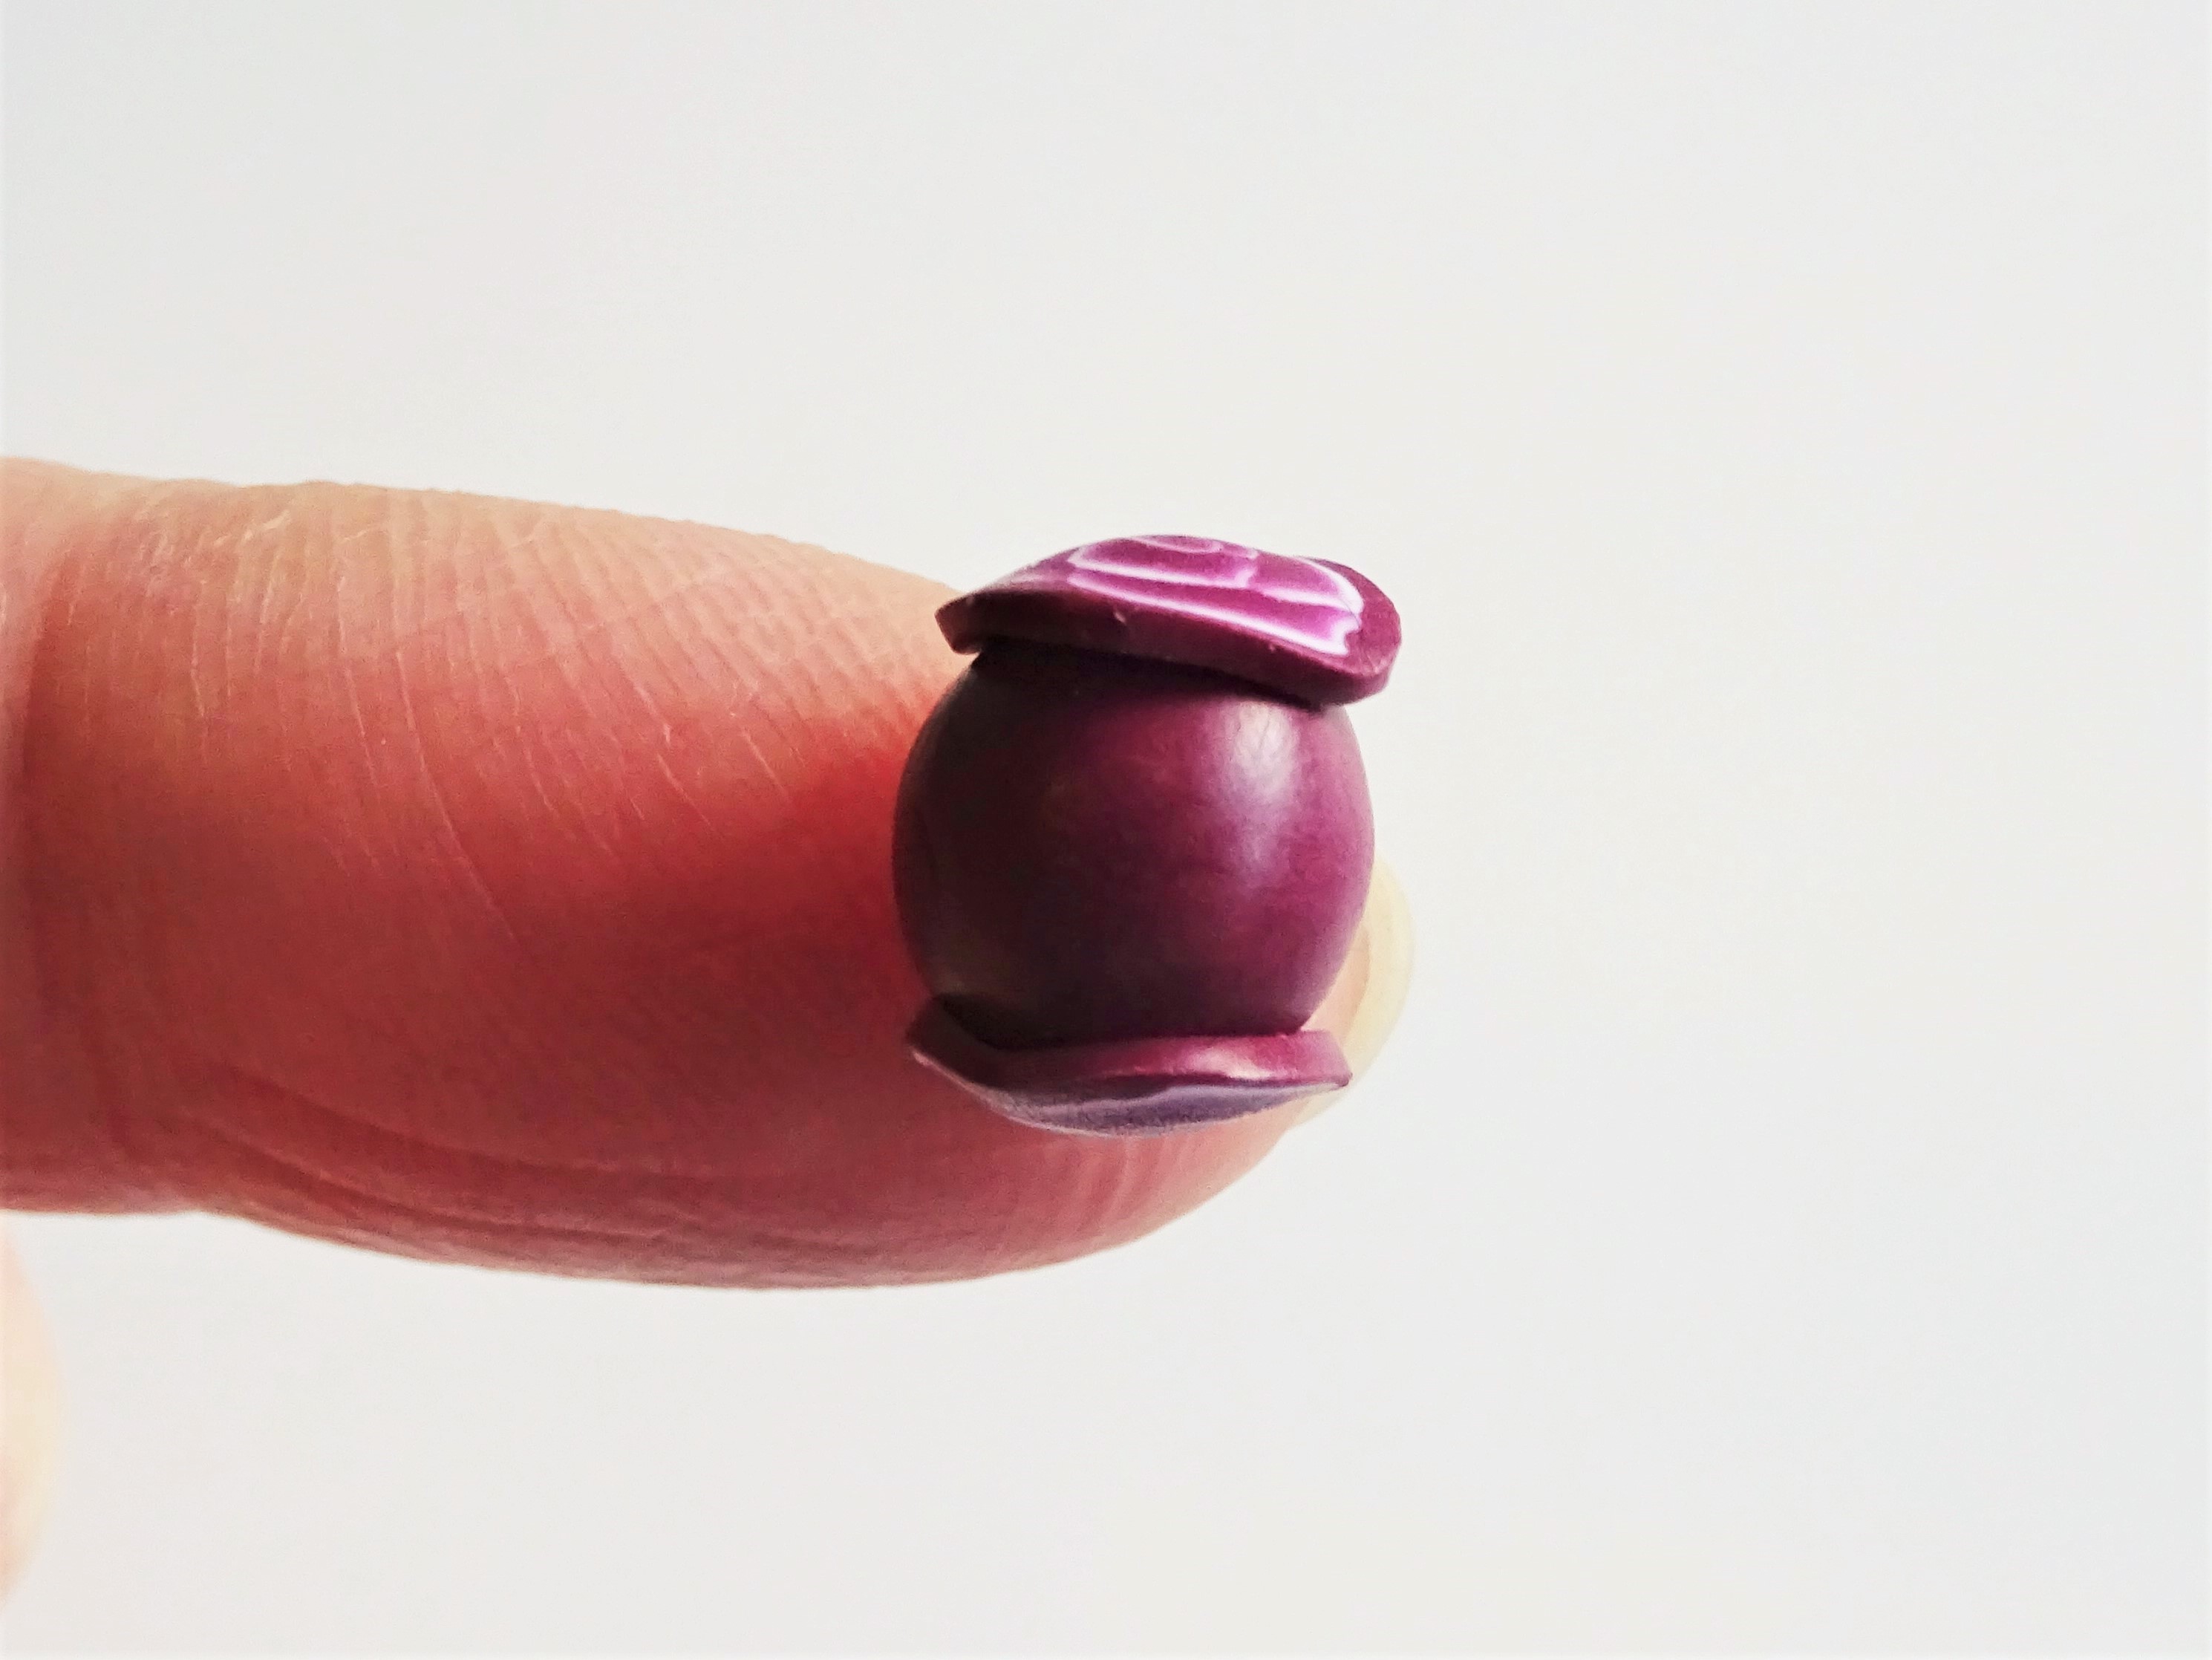
5. Start by putting a cane slice at the top and bottom of your base bead.

6. Fill in the section around the middle of the bead. Don’t press these down until you are happy with the placement.
7. Gently begin to roll it against your work surface so that the clay slices start to merge. Continue rolling until the bead is all smooth.
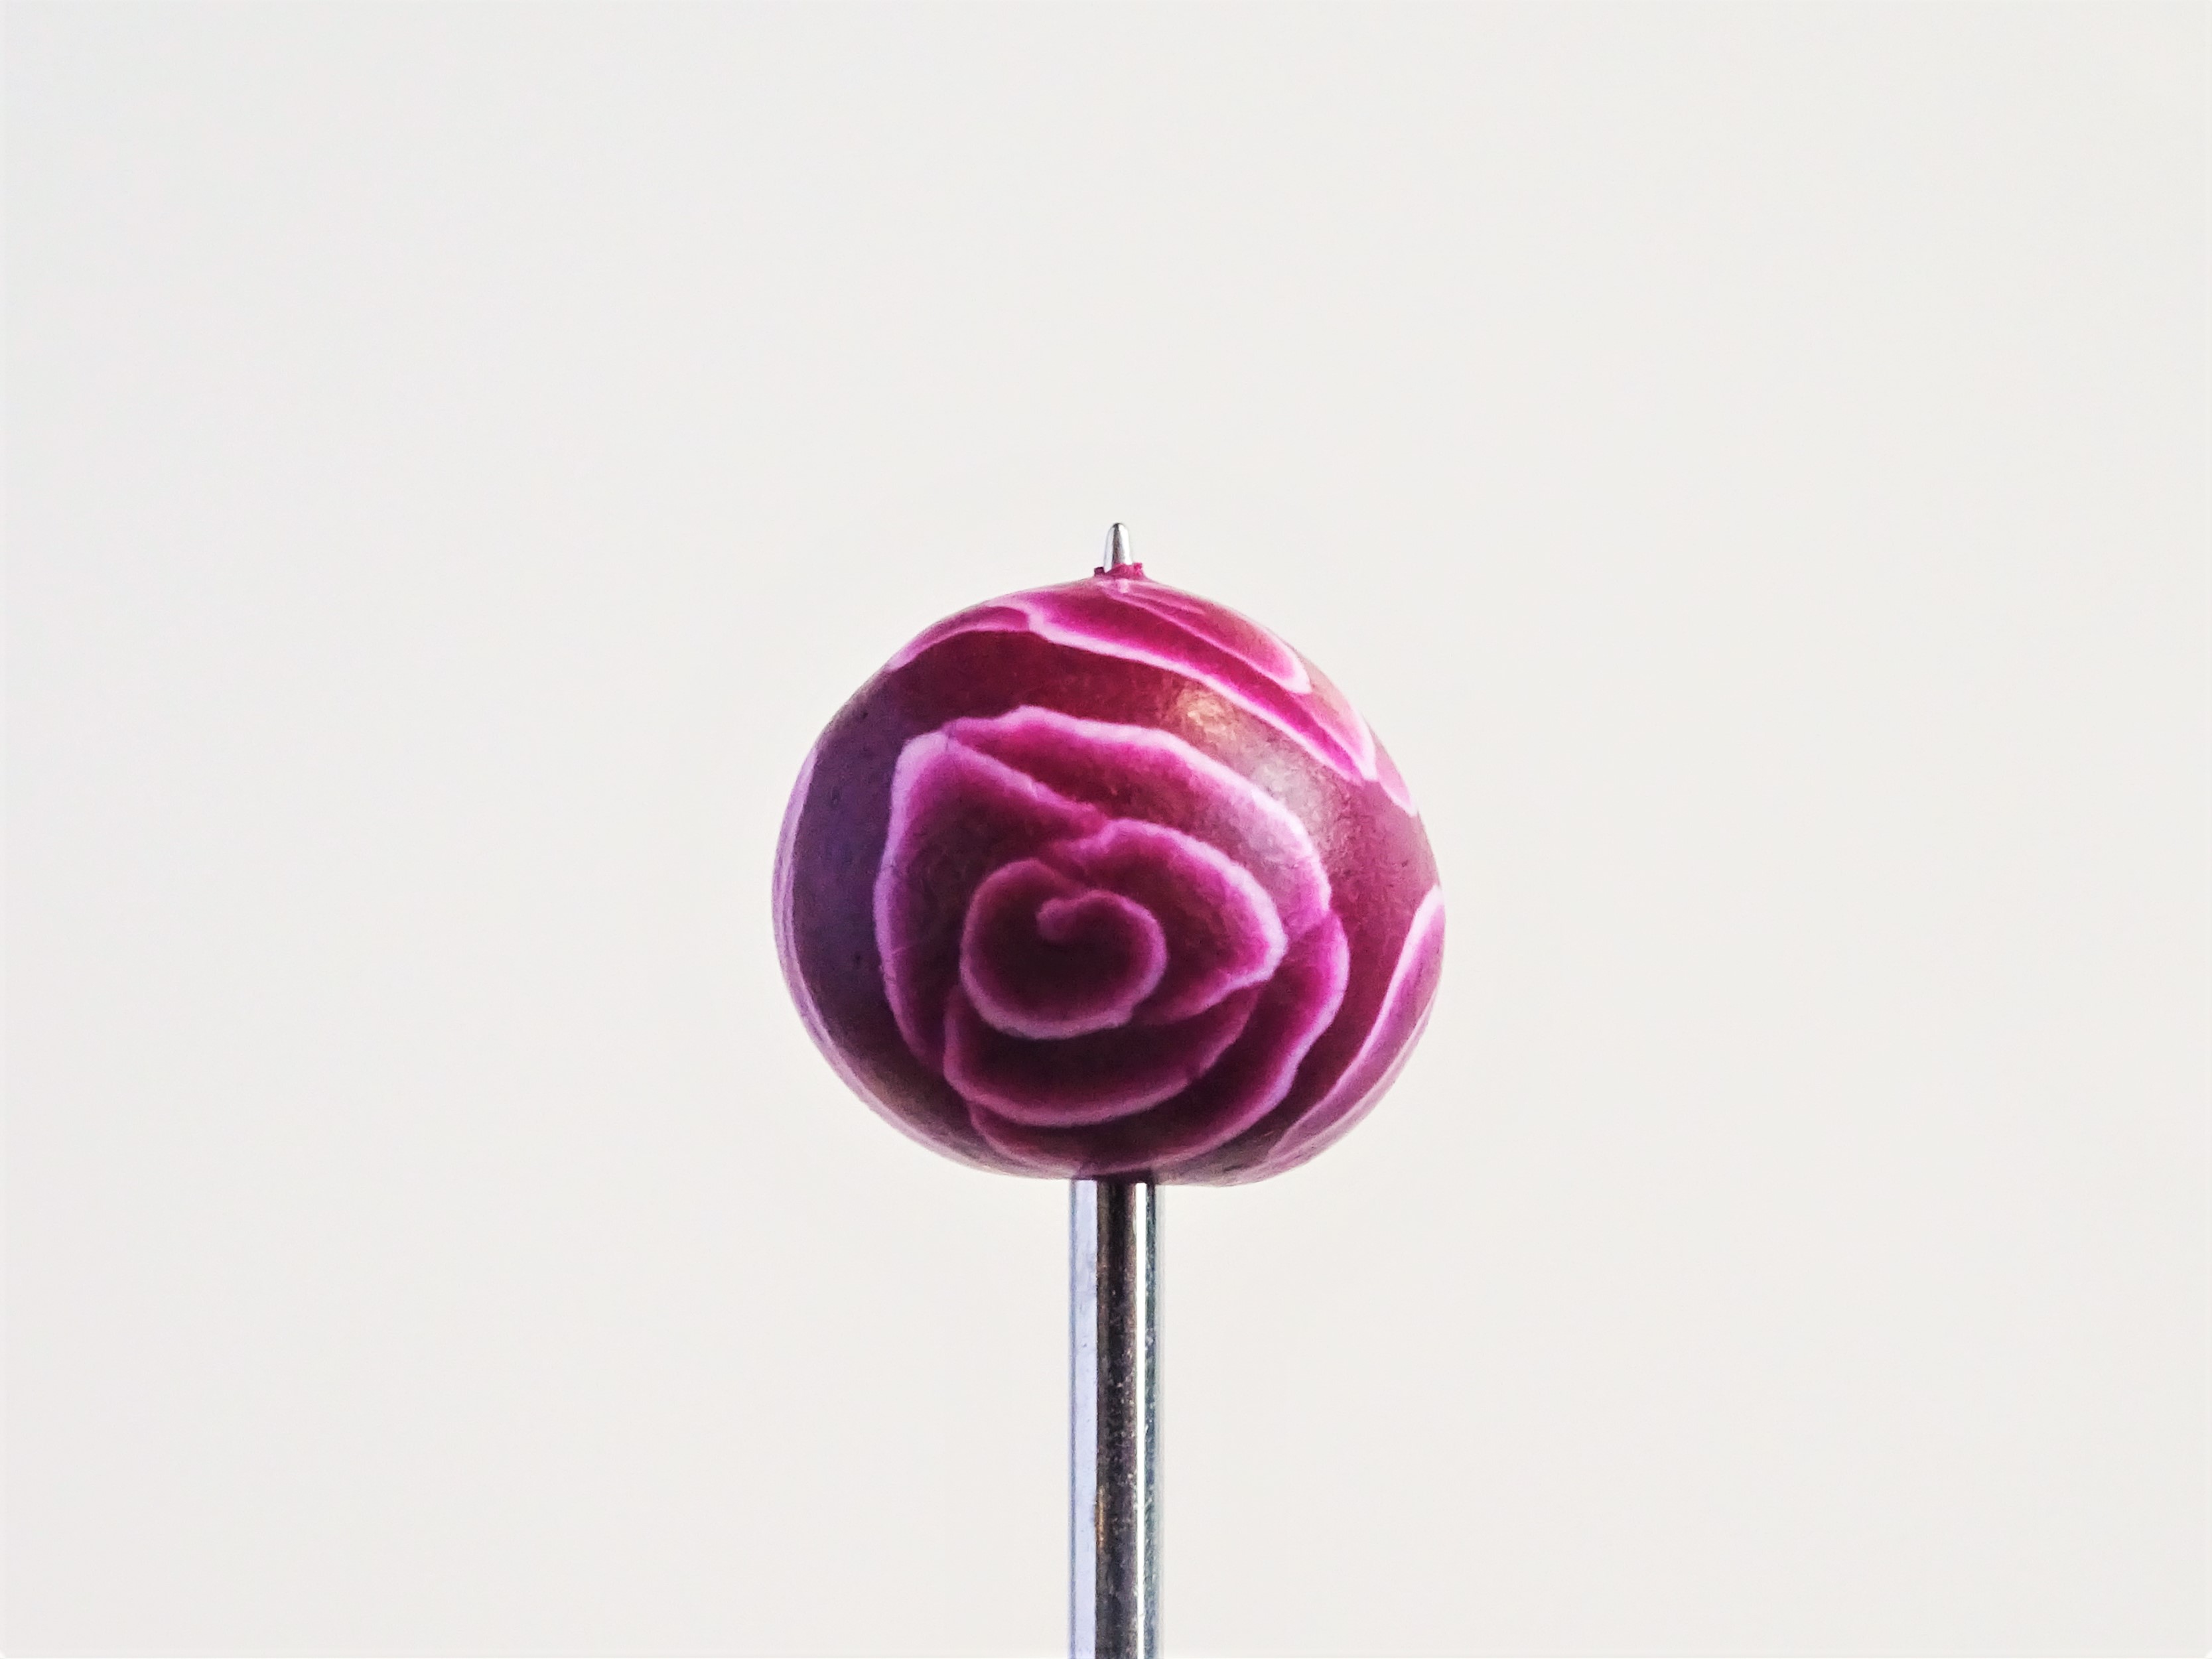
8. Using a pointy tool (a cocktail stick works well) poke a hole straight through the middle. Stop when your piercing tool just breaks through on the other side.

9. Pull the piercing tool out and push in back in but from the opposite side – this will neaten the hole from the other side.
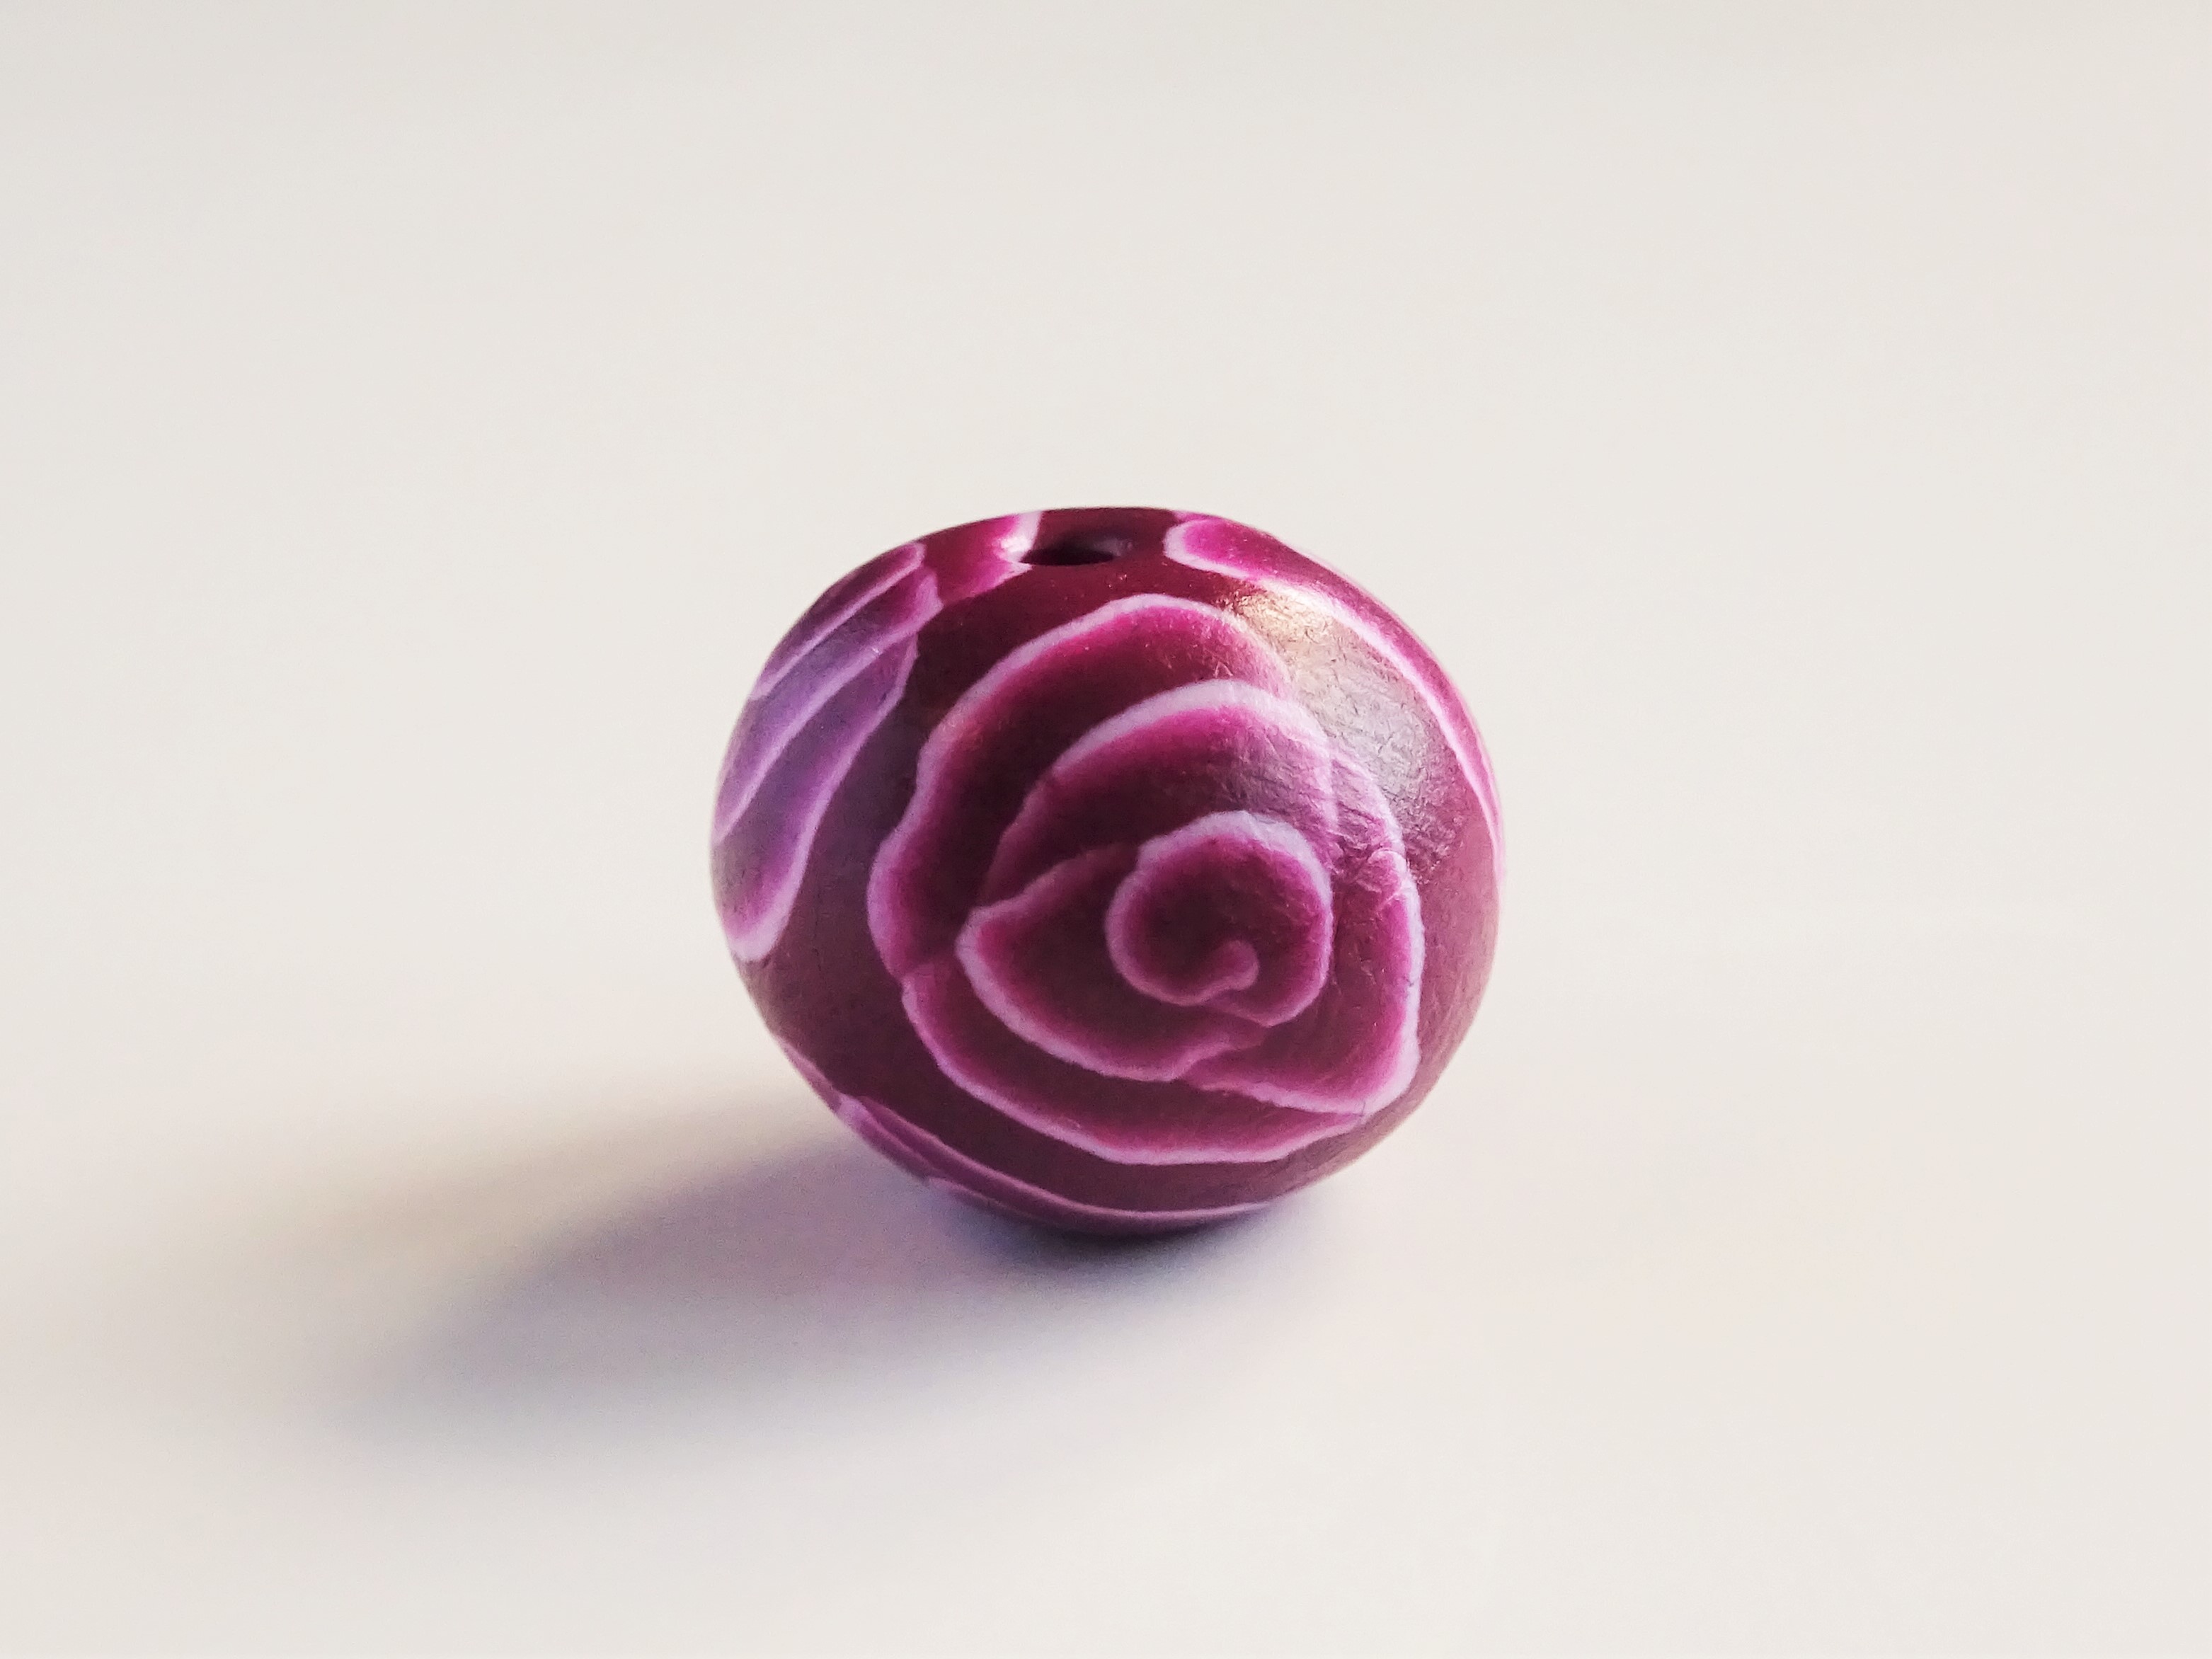
10. Your finished bead can be gently rolled if it has become a little distorted. Harden in the oven for the time recommended on the packed and varnish.

11. String your beads to make jewellery.
How to use a polymer clay cane to make pendants
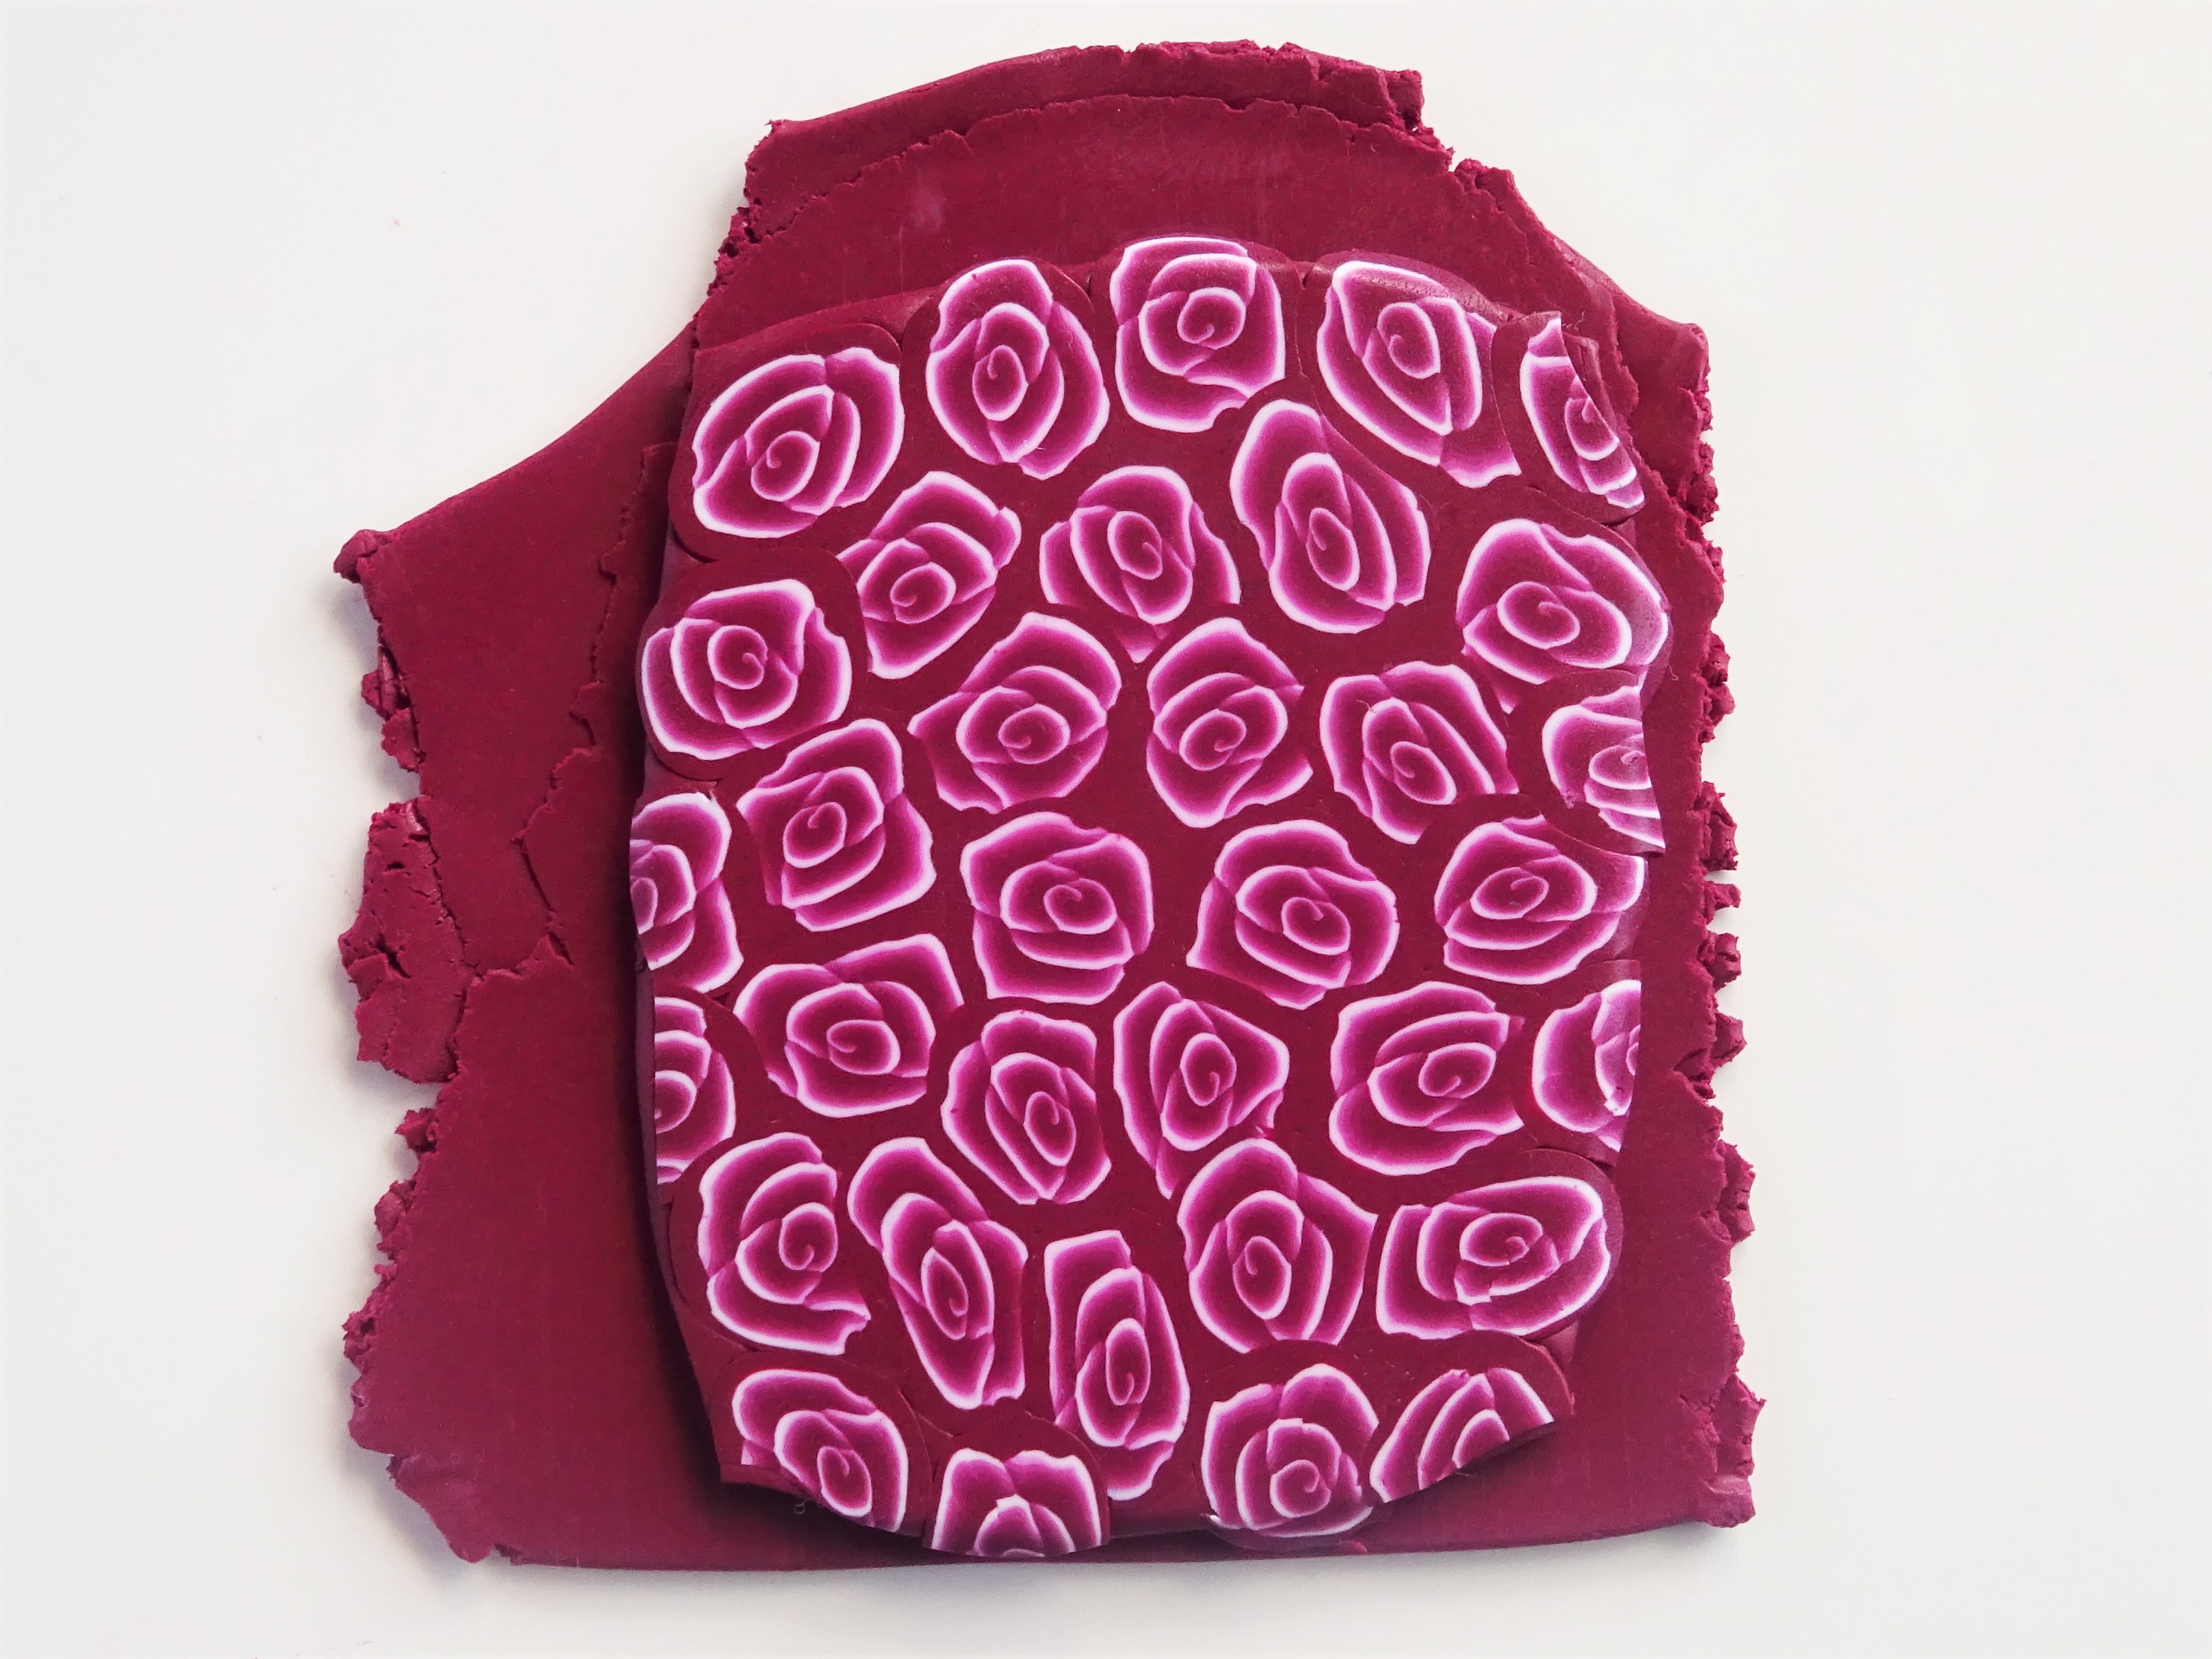
1) Condition and roll out the clay as in step 1 for making the beads except this time I rolled on a number 2 on my clay machine. Cut this pieces of your polymer clay cane and lay them on the clay sheet.
The pieces of cane can overlap here and any pieces that didn’t cut well can be used at the edges.

You can see here how bumpy the surface of the clay is.
2. Take your acrylic roller and roll over the surface. Rotate the clay to ensure an even finish. See the video if further information on this is needed.
Top tip – Check your acrylic roller is clean. There is nothing worse than to go to so much effort only for a mystery colour to be rolled across your clay!
3. After all that rolling the clay can become a little too this to be used for pendants. Roll another sheet of clay on a number 4 and place your clay veneer on top. Gently roll to ensure there are no air bubbles trapped between the layers.

4. There are two ways to cut your shapes. They are shown in detail in the video.
The first is to simply cut and pierce a hole in the top.

5. The second option is to place a little sheet of plastic on the top (I used a sandwich bag) and then to press the cutter down. This gives a lovely bevelled edge.
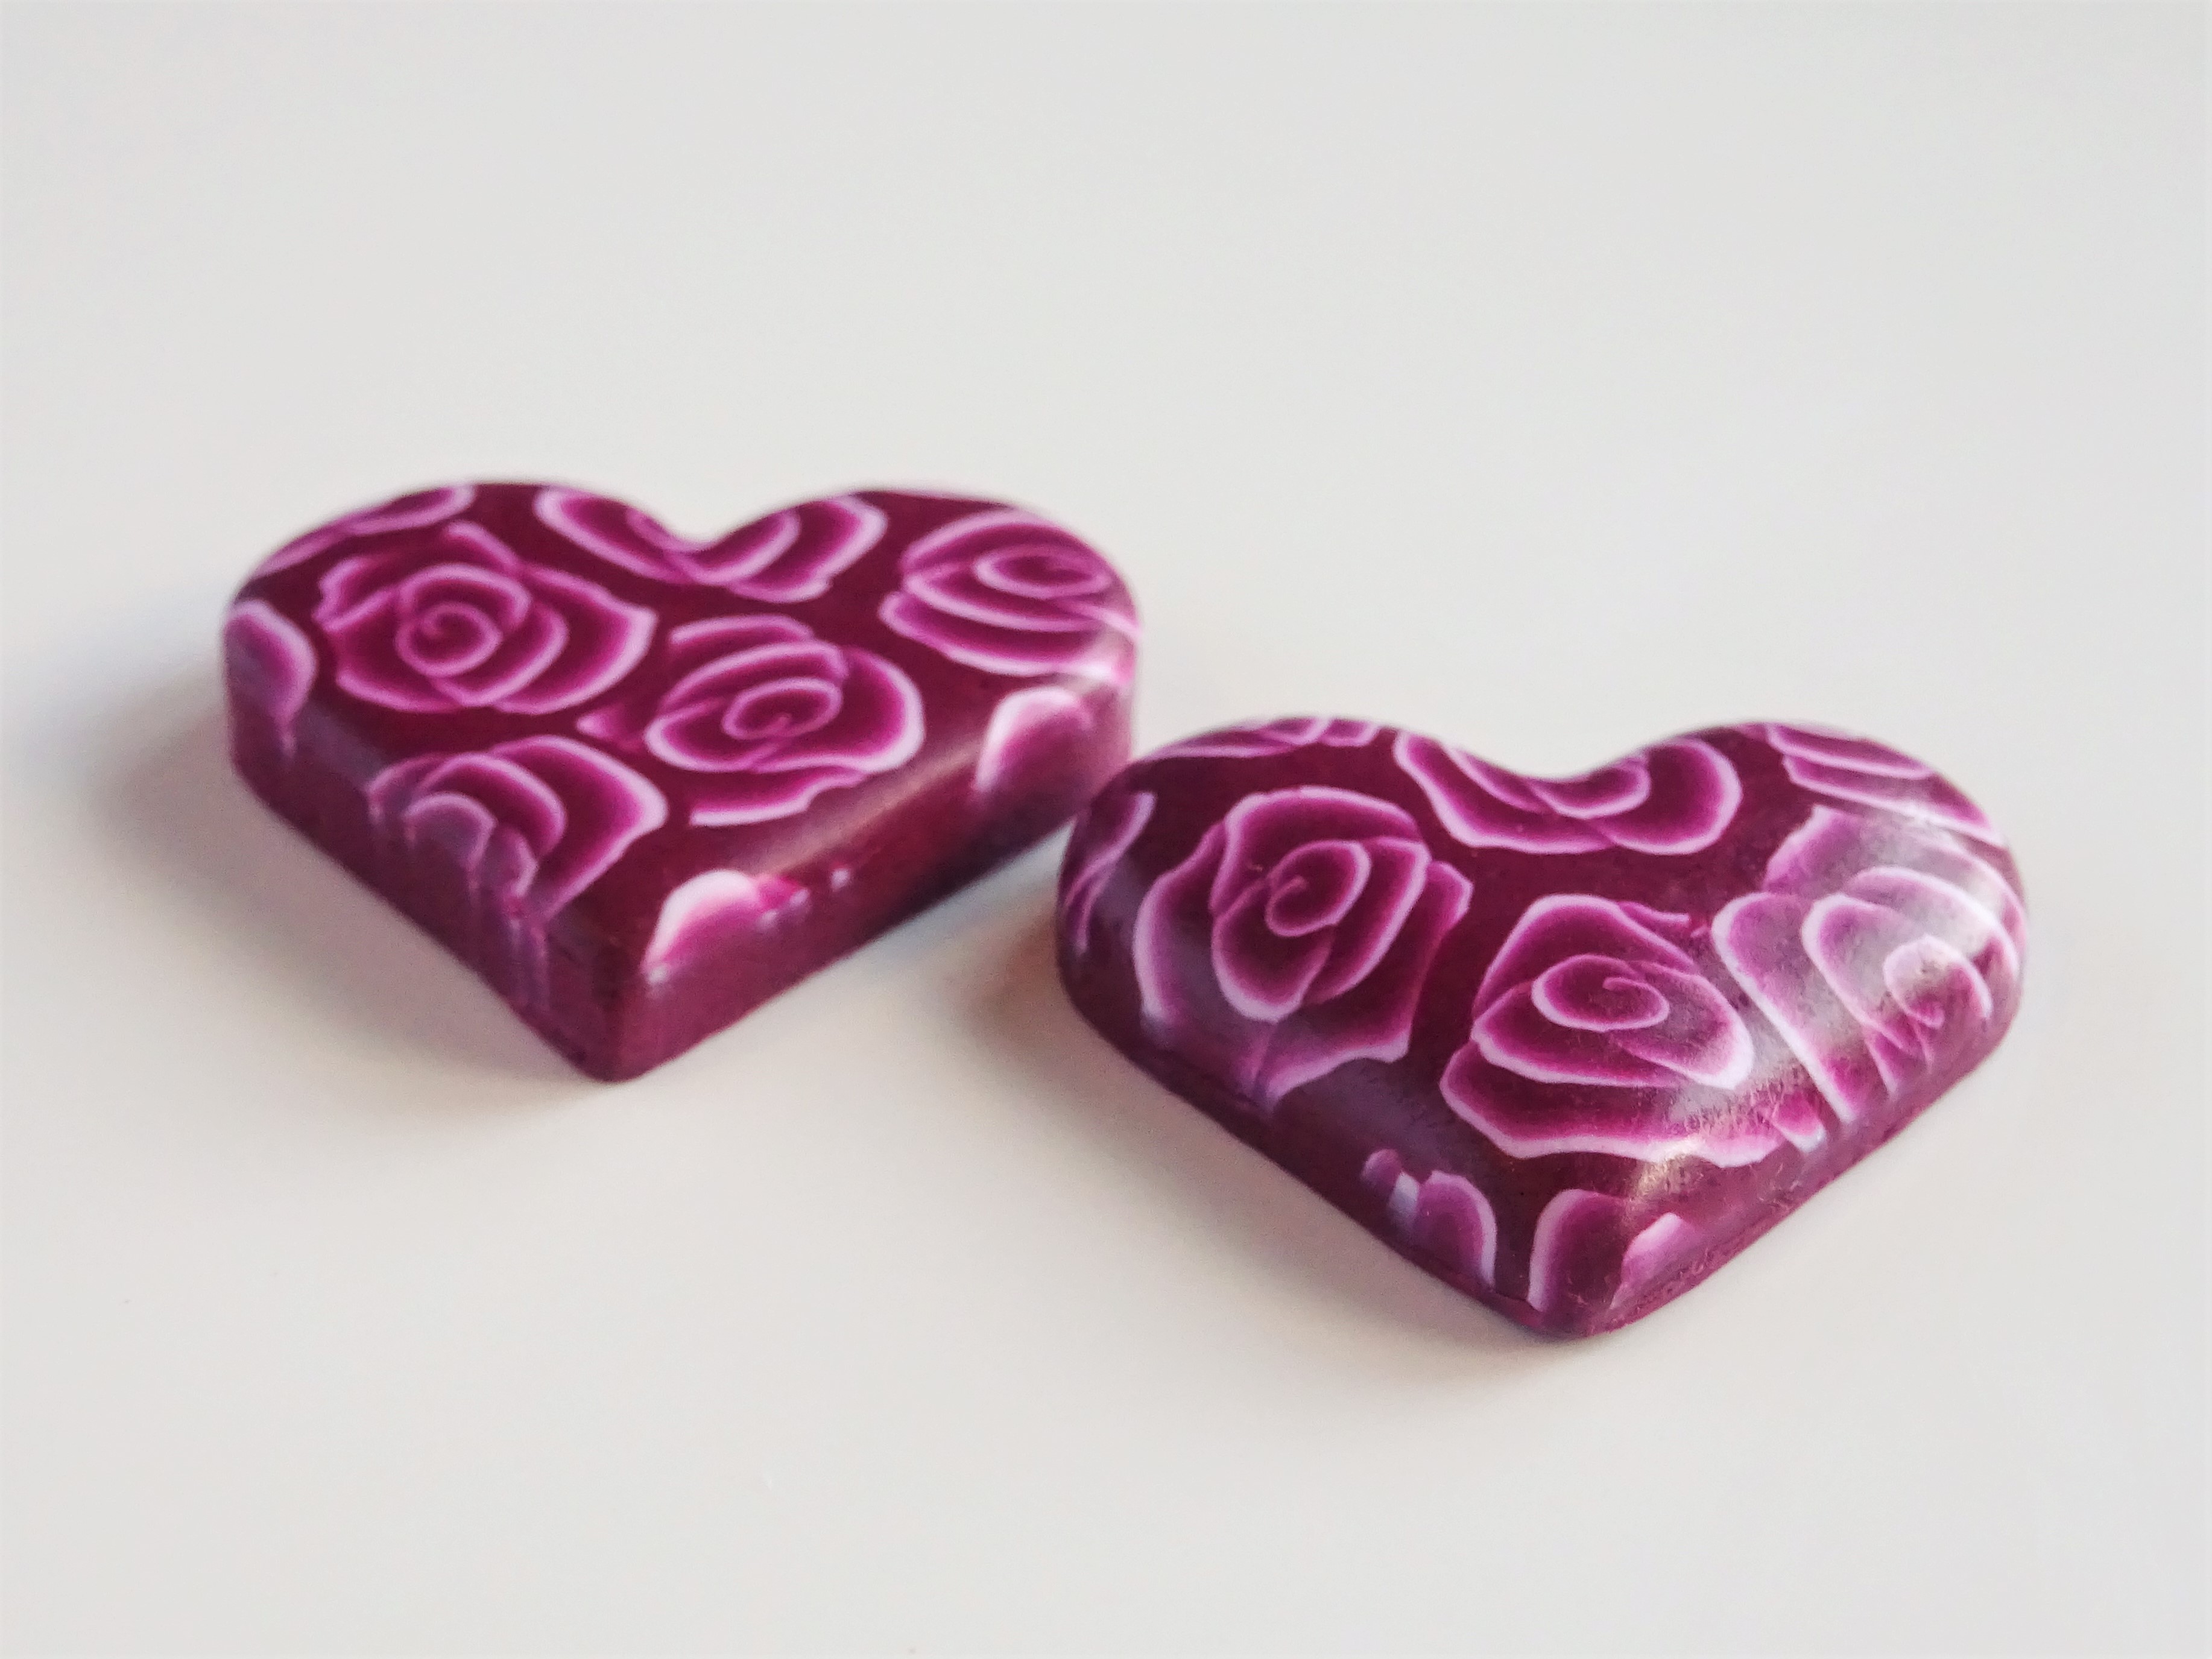
This photo shows the difference between the two styles of cutting. The rounded edge used the piece of plastic.
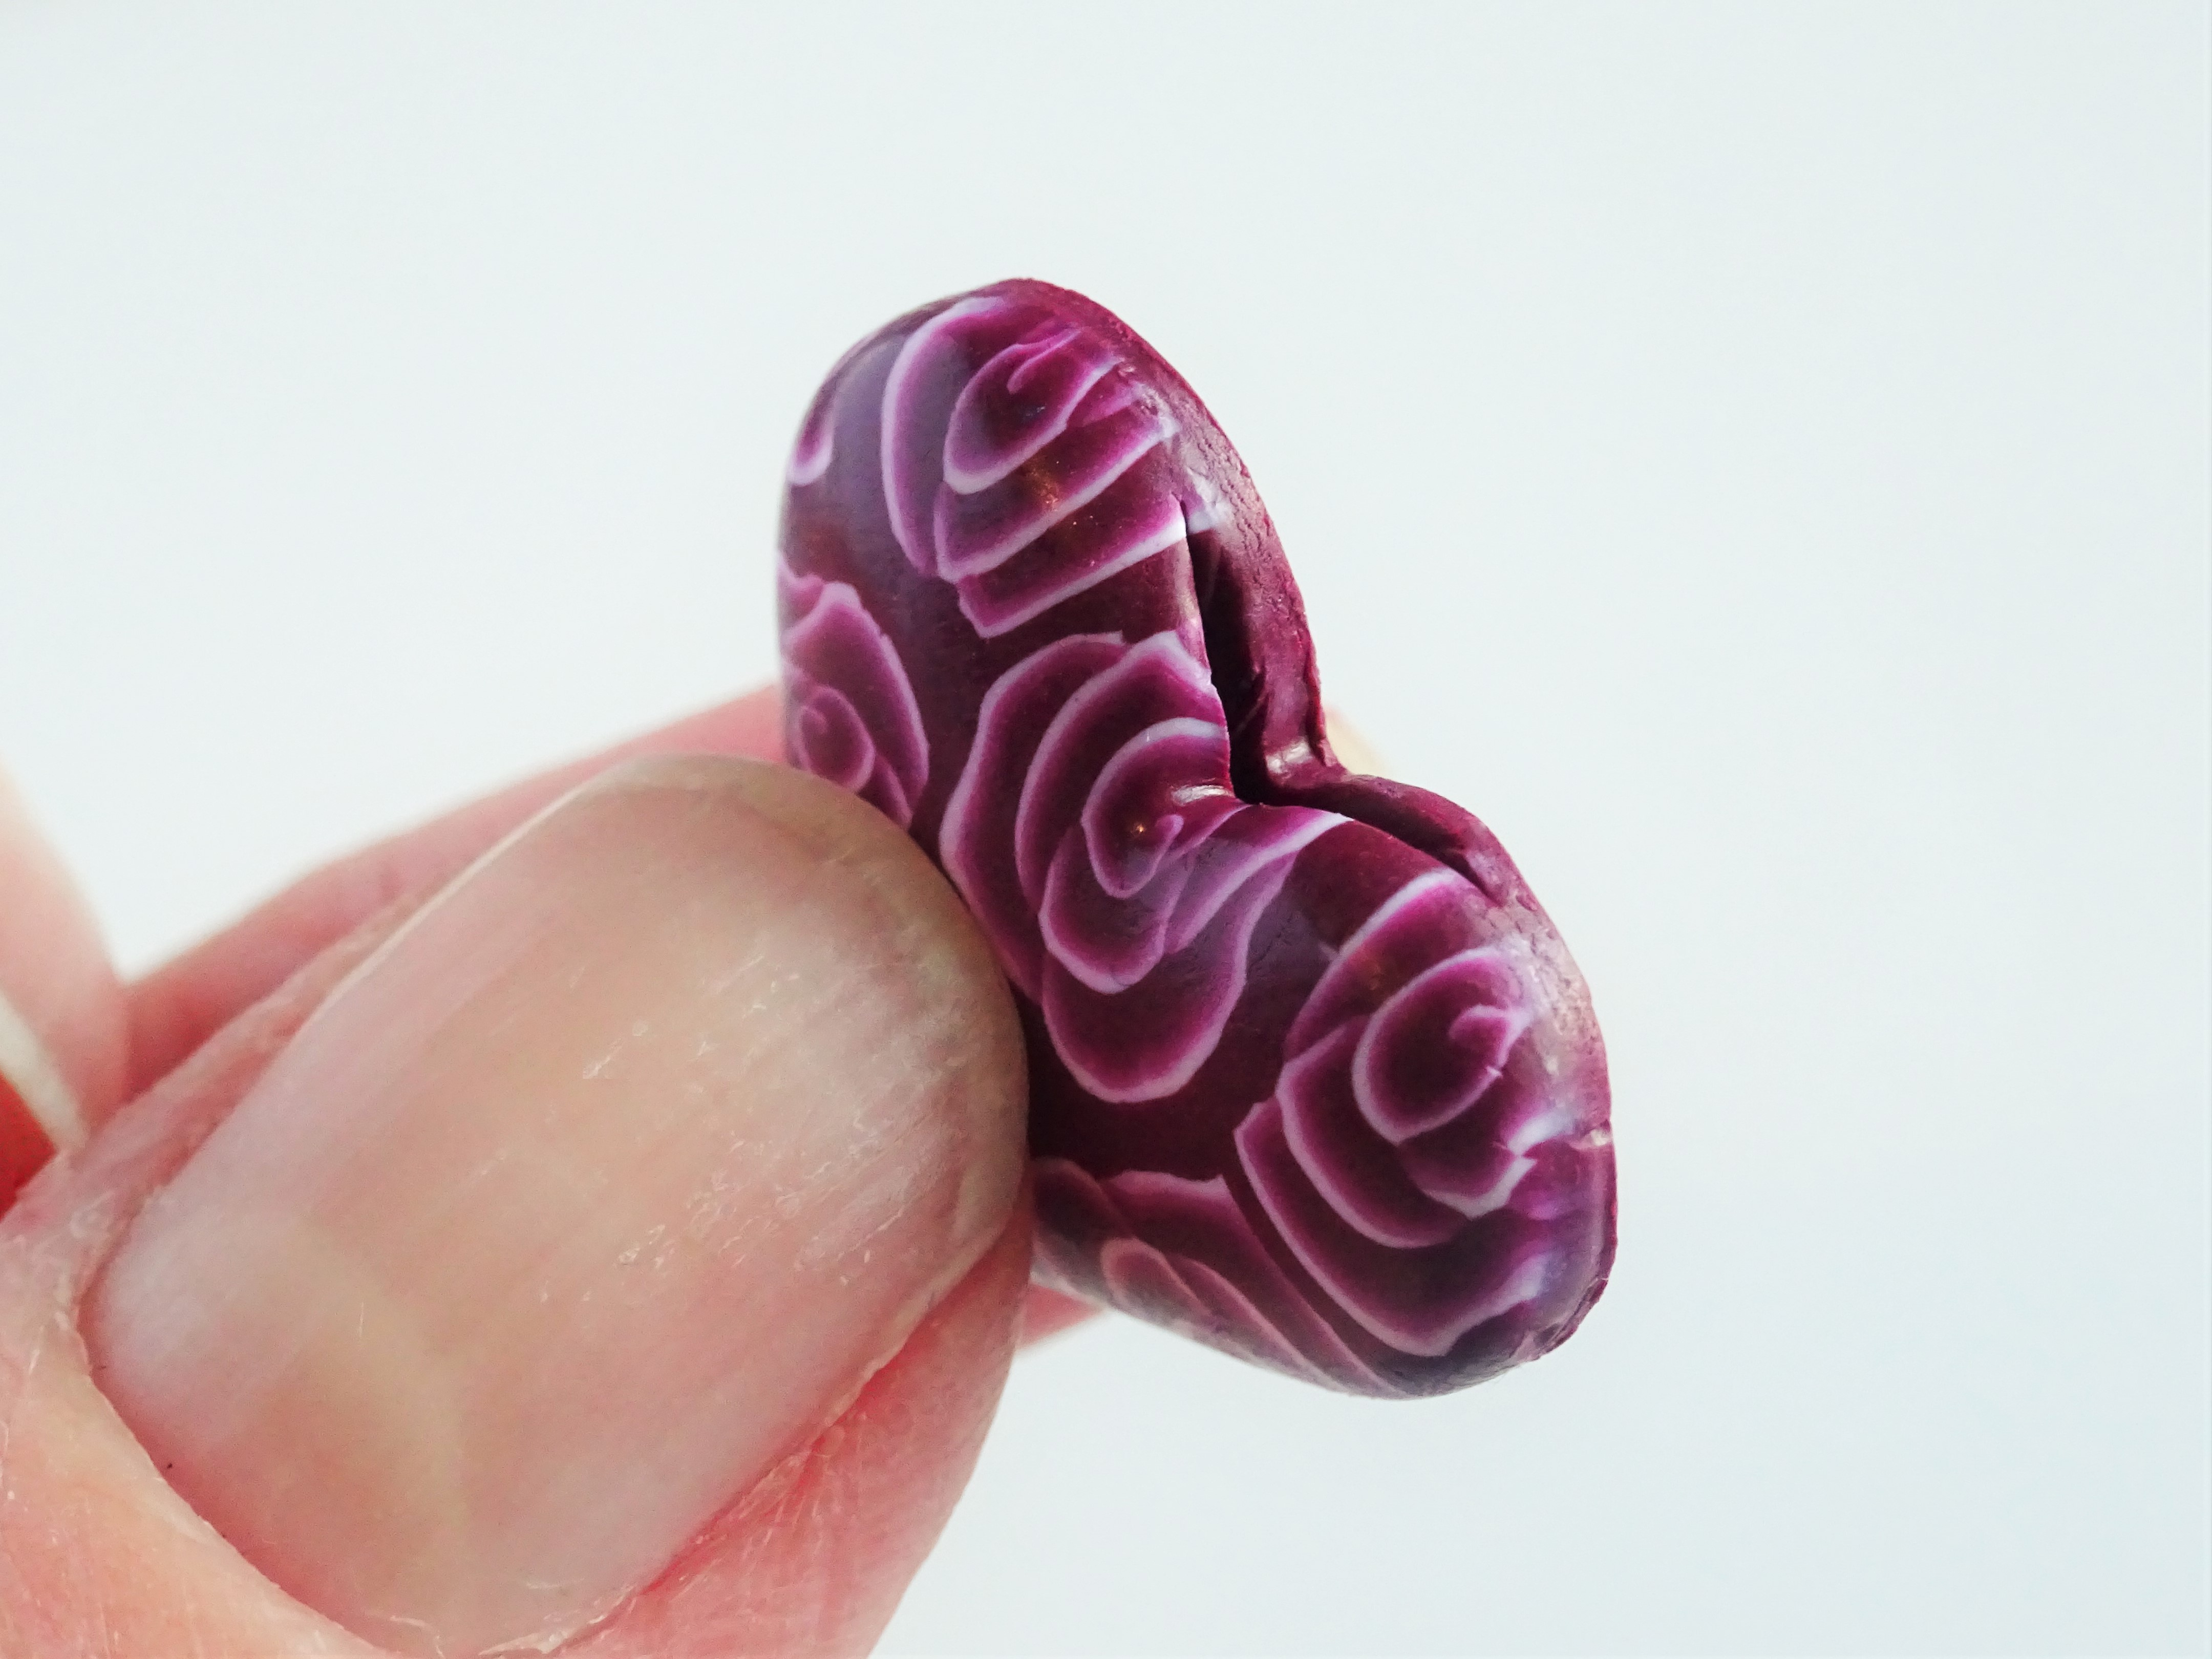
6. Using a sharp craft knife cut a small opening at the top of your piece.

7. Using round nose pliers if needed place a jump ring in the opening. Press the clay around the jump ring to secure. Again the video goes into greater detail with this.

8. Harden in the oven according to the instructions on the packet. Finish with two coats of varnish and enjoy your new jewellery.
If you would like to have a go at this but need some canes to use then there are two easy polymer clay tutorial here – beginner flower cane and polymer clay extruder cane .
If you are a beginner you can see here my ‘must have’ polymer clay tools.
These are affiliate links for Amazon UK and Amazon.com (US). This means that, at no extra cost to you, I receive a small percentage if you use my link to buy something. I only link to products that I have used and love.
UK Links
Fimo professional clay in Bordeaux
Small circle cutter, Heart cutter and teardrop cutter
Amazon.com (US Links)
Fimo professional clay in Bordeaux
Small circle cutter and teardrop cutter
Don’t forget to subscribe to my newsletter so you don’t miss any hints, tips and tutorials.
Hannah x


Hannah, I have no idea who you are, but presuming your rose cane is indeed your own work, go to Amazon and report this item as using stolen intellectual property. I have told Alice Stroppel and Meg Newberg to do the same. https://www.amazon.com/dp/B0DJQDTBG2
Hello Heidi, Thank you so much. I did indeed report the listing on amazon although I haven’t heard anything in response. It is for this very reason that I have stopped sharing photo tutorials any more. It is very frustrating.