
Please note – this post uses affiliate links. All links are at the bottom of this post.
I thought it would be fun to do another step by step tutorial with polymer clay, so we are starting off simply with this beginner friendly , easy polymer clay flower cane. I think that starting with any new technique can be a little (or a lot) scary and having an easier project to start with can be a great way to just get started with out too much procrastination (I am a master at procrastinating) or frustration.

You will need –
- A circle cutter about 1.5″ round
- A flower cutter about 1″ at its widest point
- A small circle cutter about 0.5″ round
- Clay – I used Fimo Professional in Leaf Green, Terracotta, Ochre and White
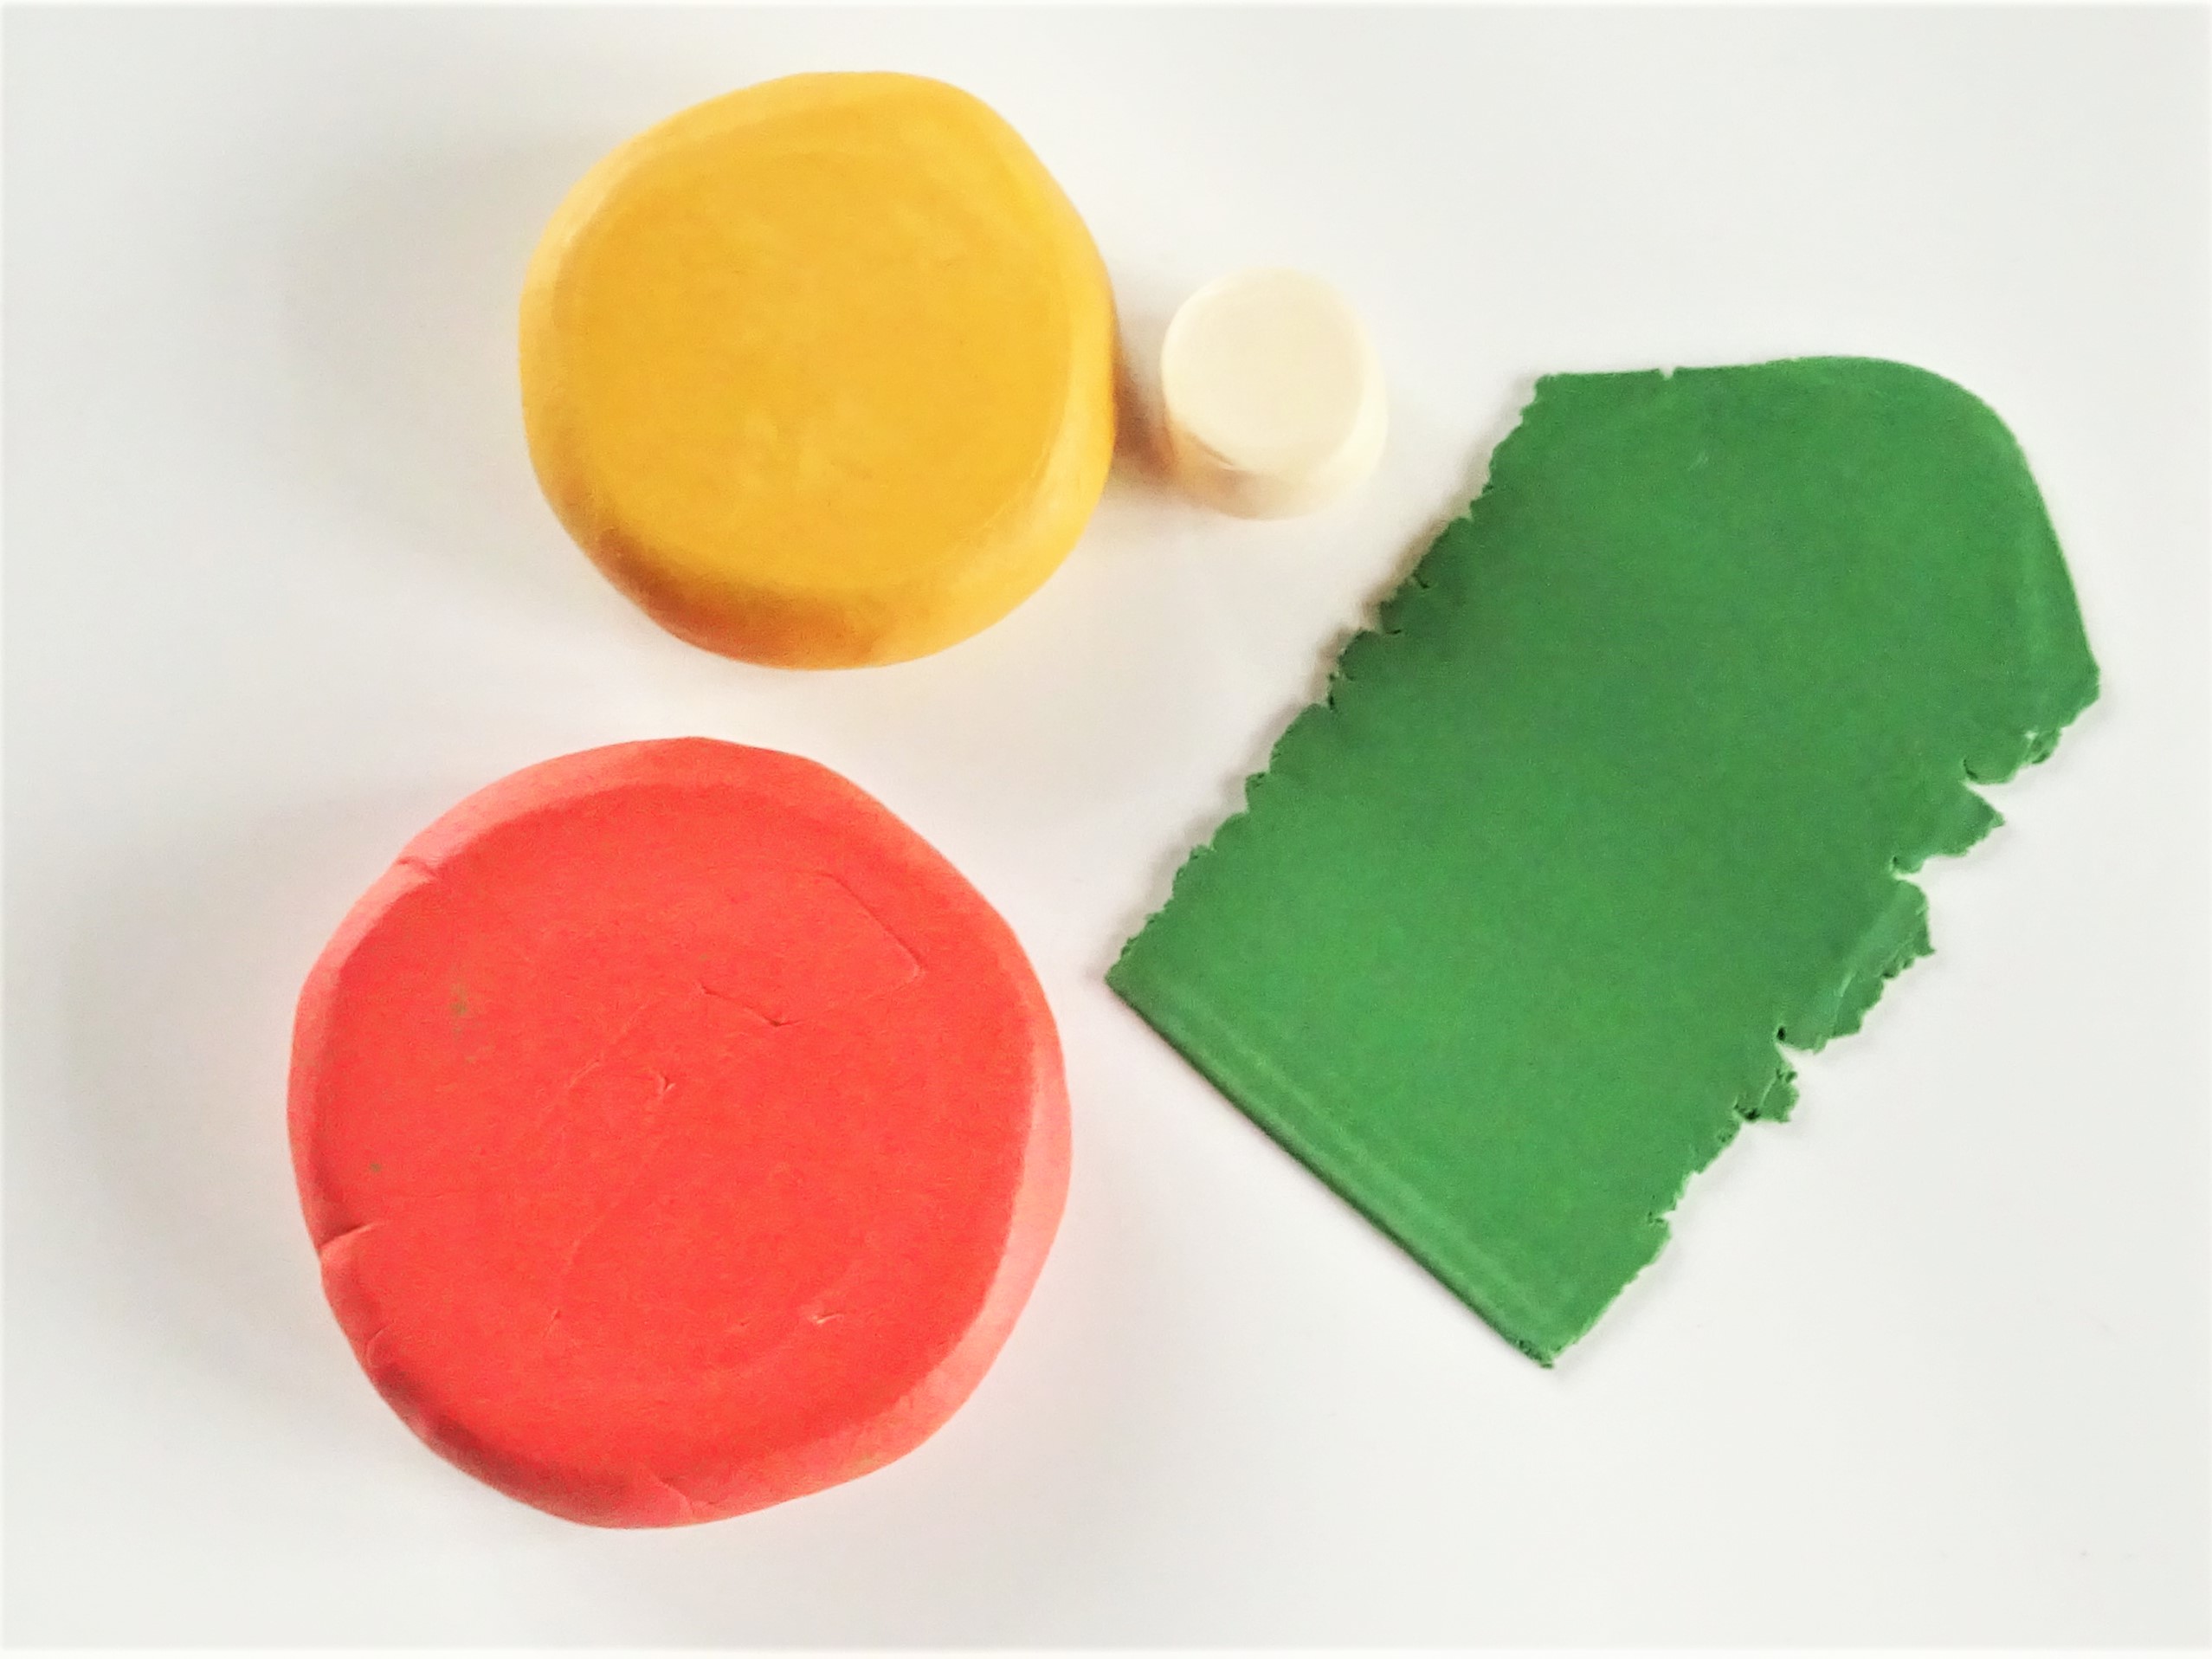
Step 1 – Begin by conditioning the clay to make it soft enough to work with. I made a ball each of the Terracotta and Ochre and pressed until they were about 3/4″ thick (the depth of my cutter shapes) and made sure that they were bigger than the circle (Terracotta) and flower (ochre) cutter shapes. The Leaf Green was rolled thinly and I added a little ochre to the white to make it a little creamier.
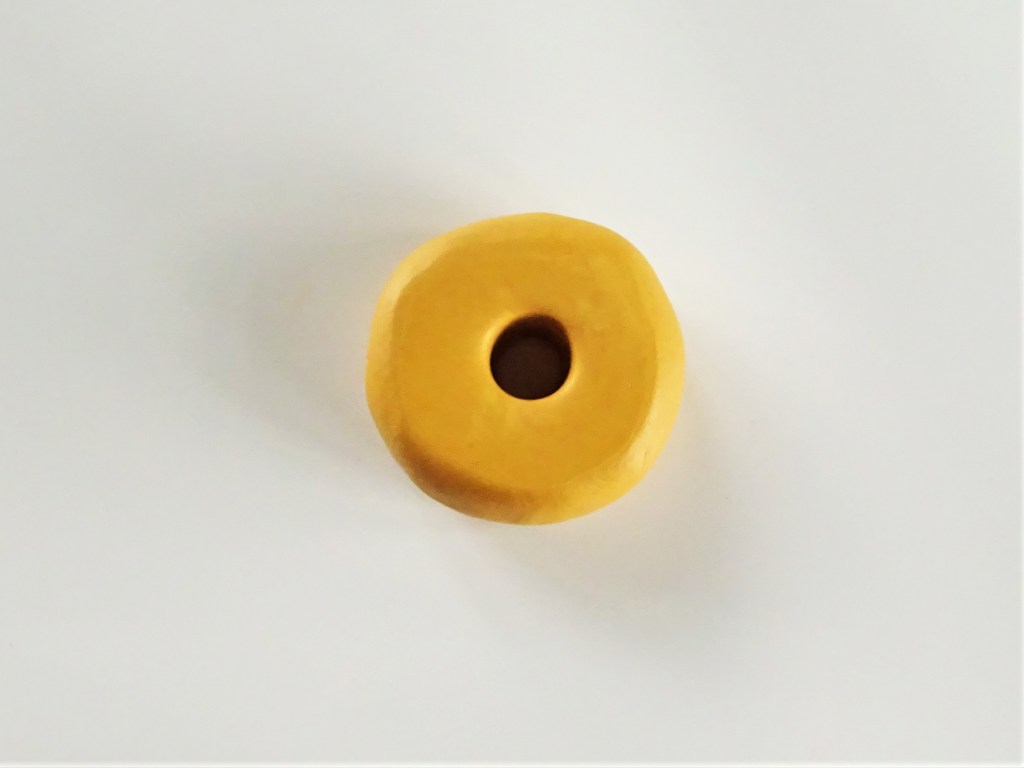
Step 2 – Using the smallest circle cutter cut through the centre of the Ochre clay.
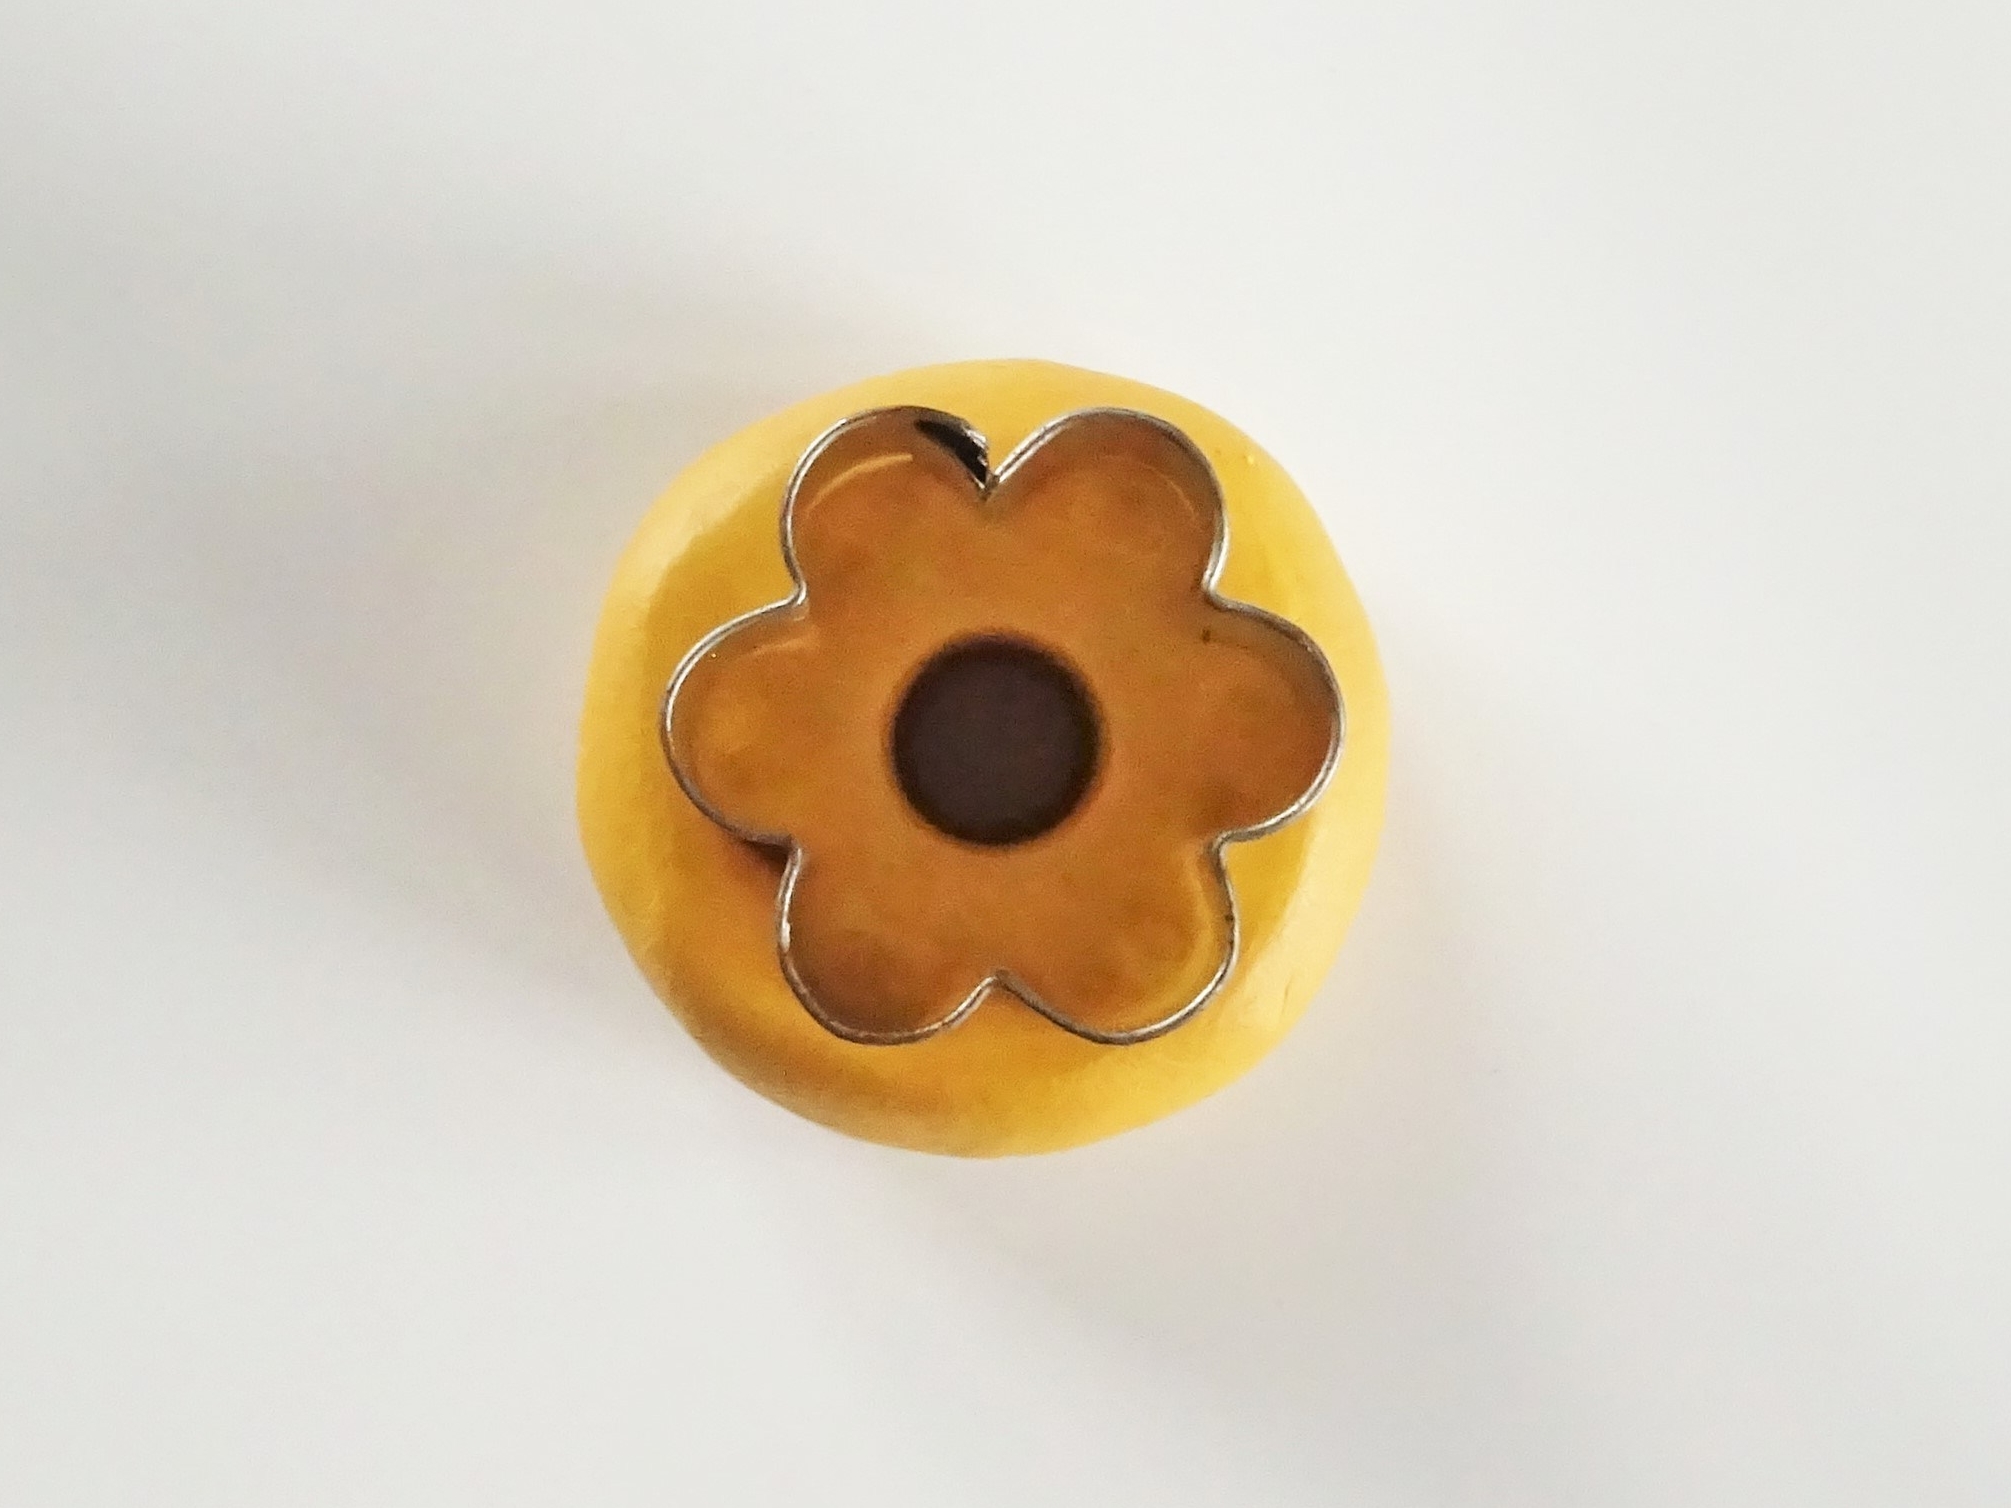
Step 3 – Position the flower shape so that the middle circle is in the centre and then press the cutter down to cut. It may help to spray the inside of the cutter with a little water to help release the clay. You will need to gently push it out of the cutting shape – it doesn’t matter if the very top of the clay gets dented.
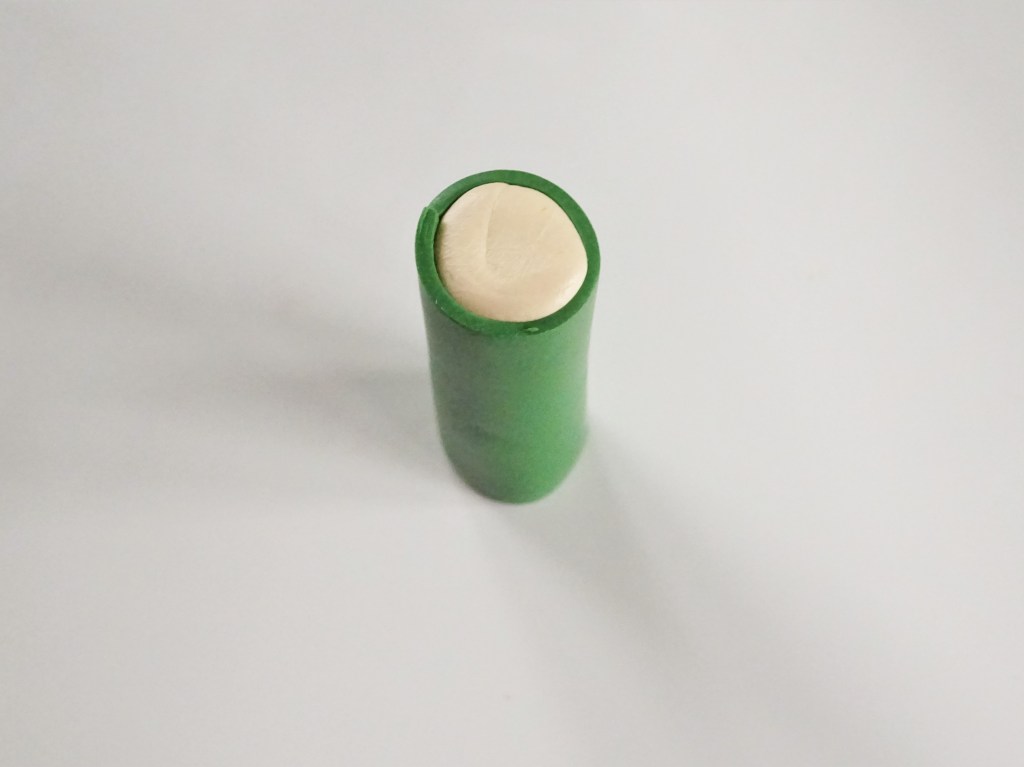
Step 4 – Roll out the white/cream clay to make a little sausage shape and wrap the Leaf Green around it once. Cut the excess green clay off. Roll this until it is roughly the same with as the circle cut in the middle of the flower.

Step 5 – Cut the flower shape to make an opening for the green and white centre. Cut it where the petal dips in as I find it is easier to match back up at this point.
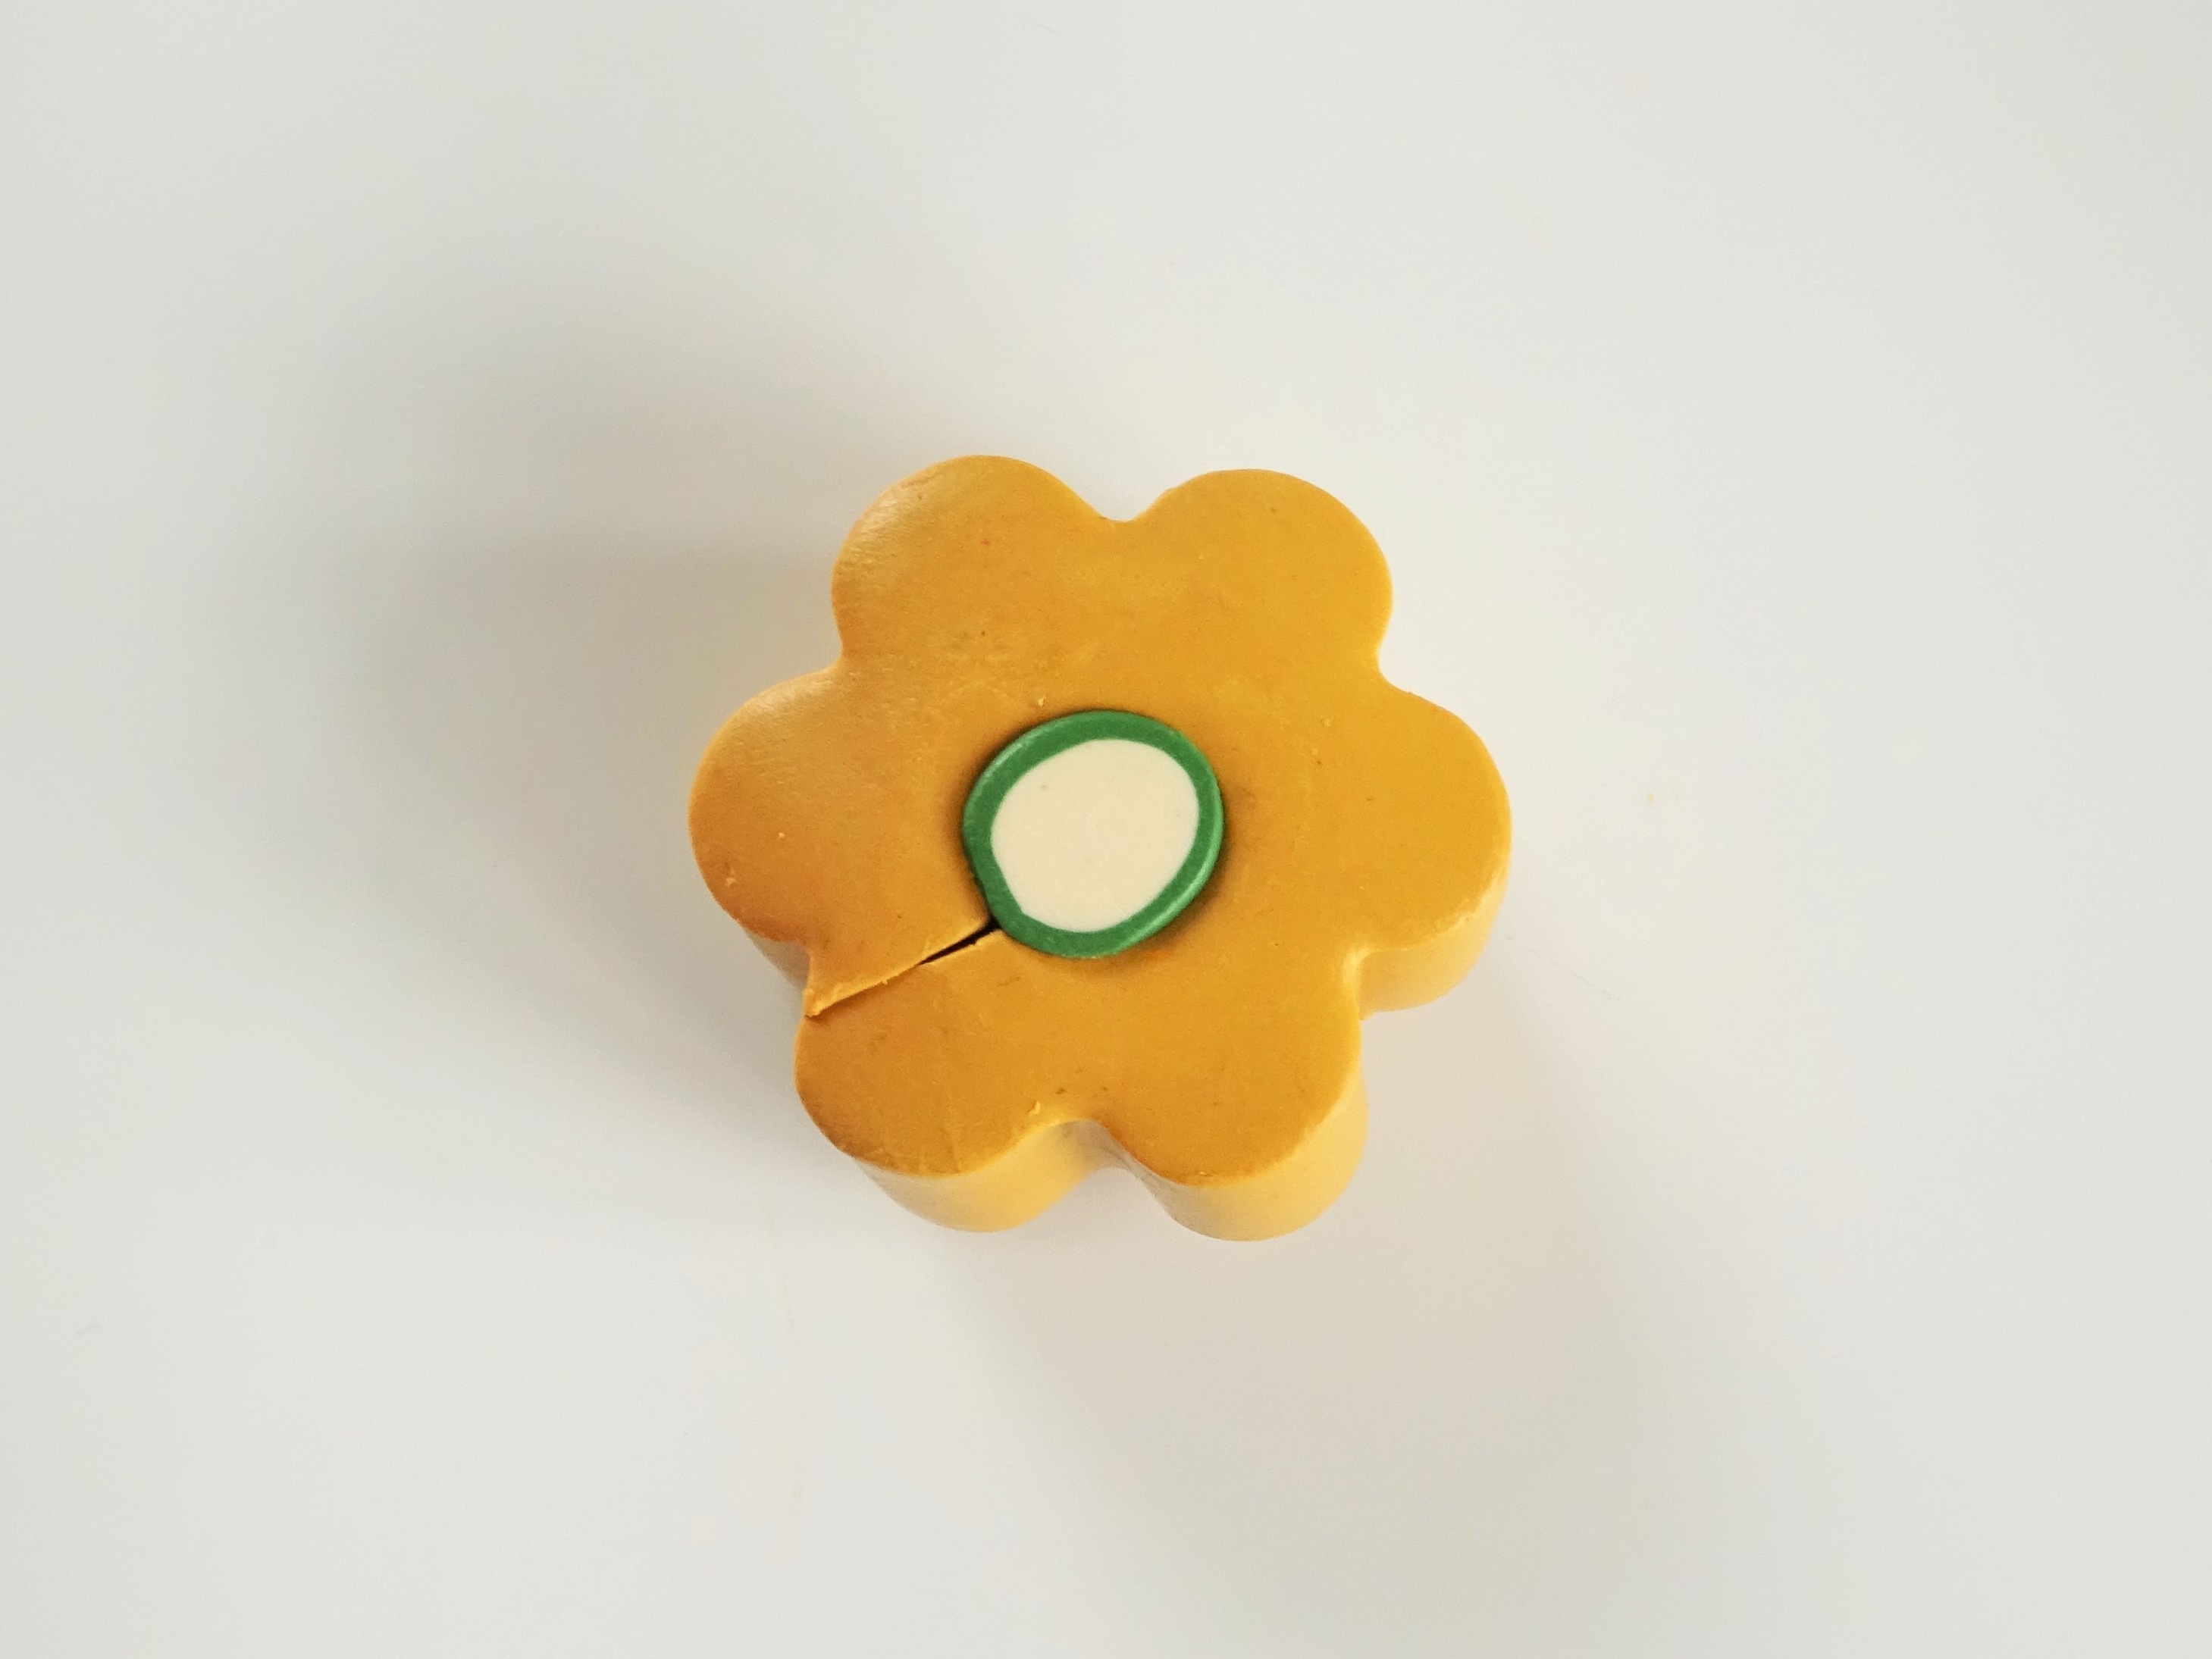
Step 6 – Check the fit of the centre piece. If it is still to big roll it a little more to make it thinner. Once it fits well rejoin the flower piece as best as you can and cut off any excess clay from the clay in the middle.
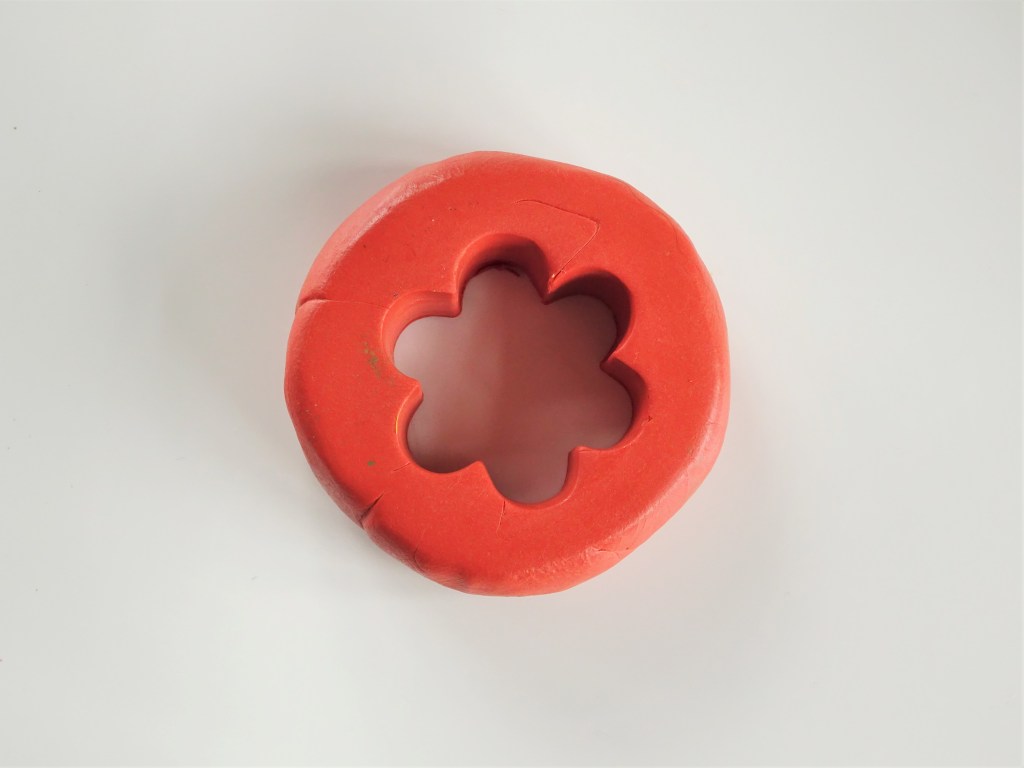
Step 7 – Cut the same flower shape from the middle of the Terracotta colour clay.
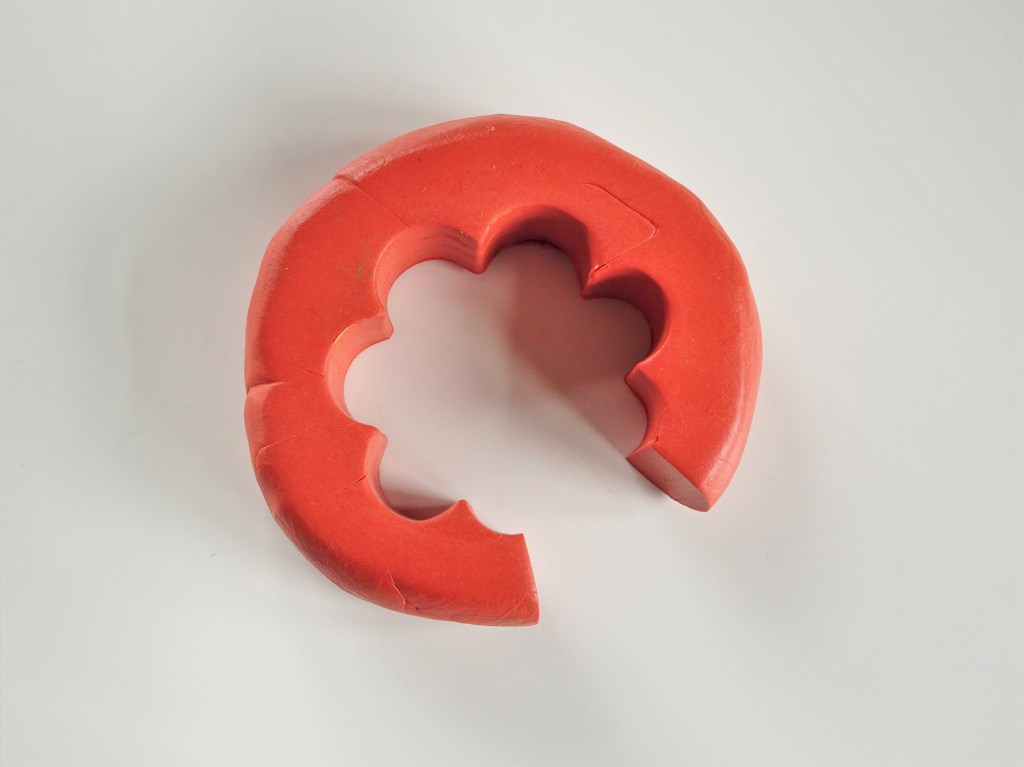
Step 8 – Cut an opening in the Terracotta clay. I cut it in the middle of a petal this time so that I could squeeze all the inner points in to the actual flower shape.
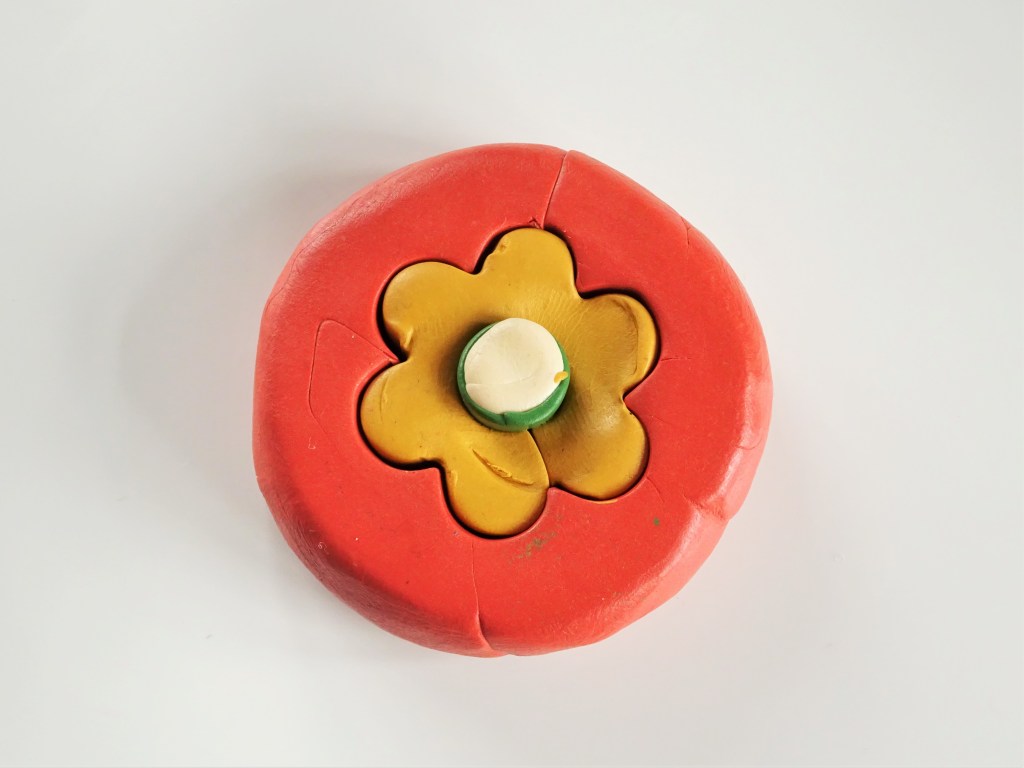
Step 9 – Put the Ochre flower into the cut out shape in the Terracotta and close the flower back up. Make sure each of the points match as this will give neater finish to the overall cane.
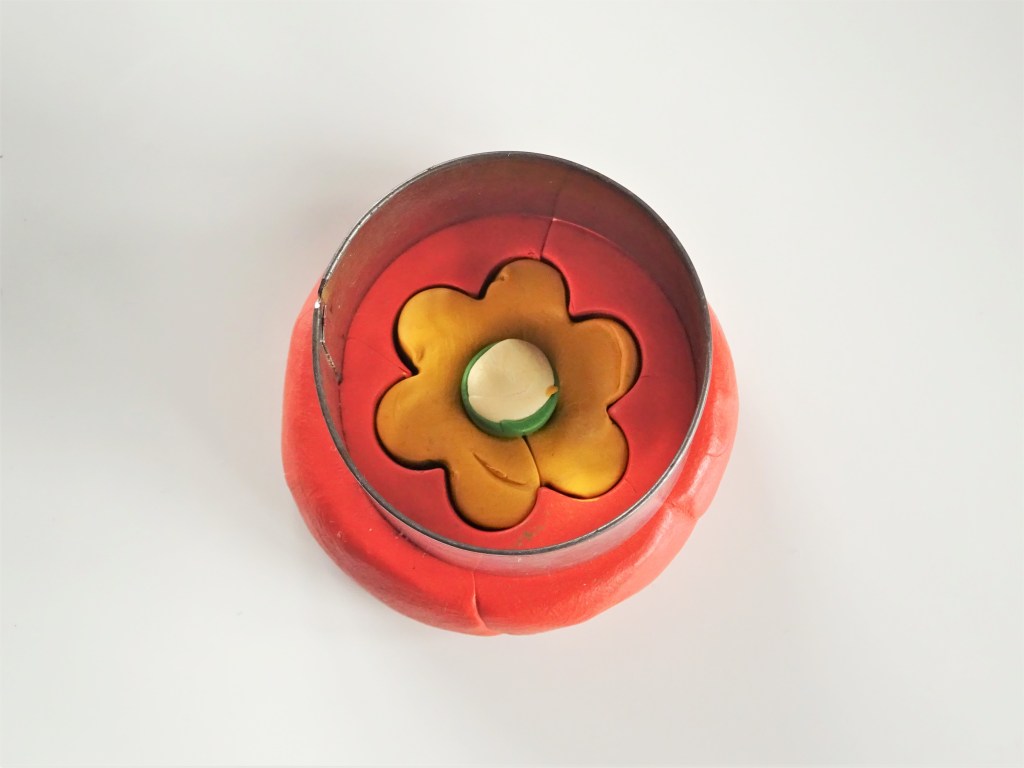
Step 10 – Spray the inside of the large circle cutter with a little water to prevent sticking. Position the circle cutter with the flower in the middle.

Step 11 – Press down on the circle cutter and gently press out the shape inside. Again if the top of the clay gets a little dented it doesn’t matter.
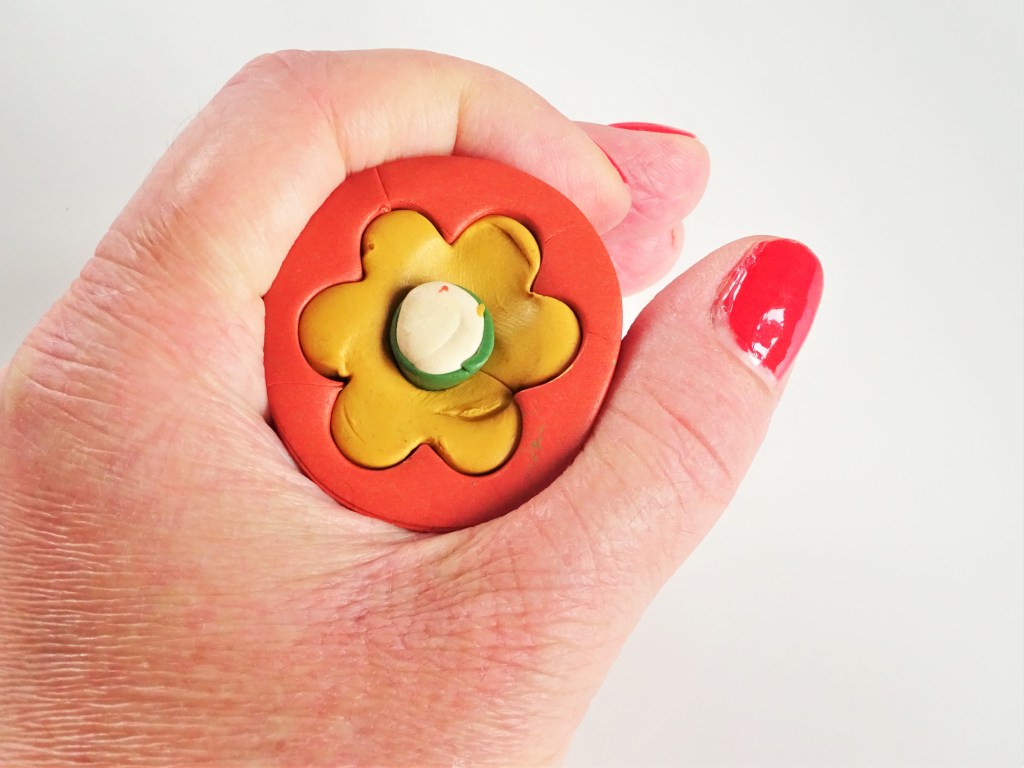
Step 12 – Reduce the cane down to make a long sausage. Start by squeezing the middle of the clay to push out any air bubbles and then roll in between your hand and the table.

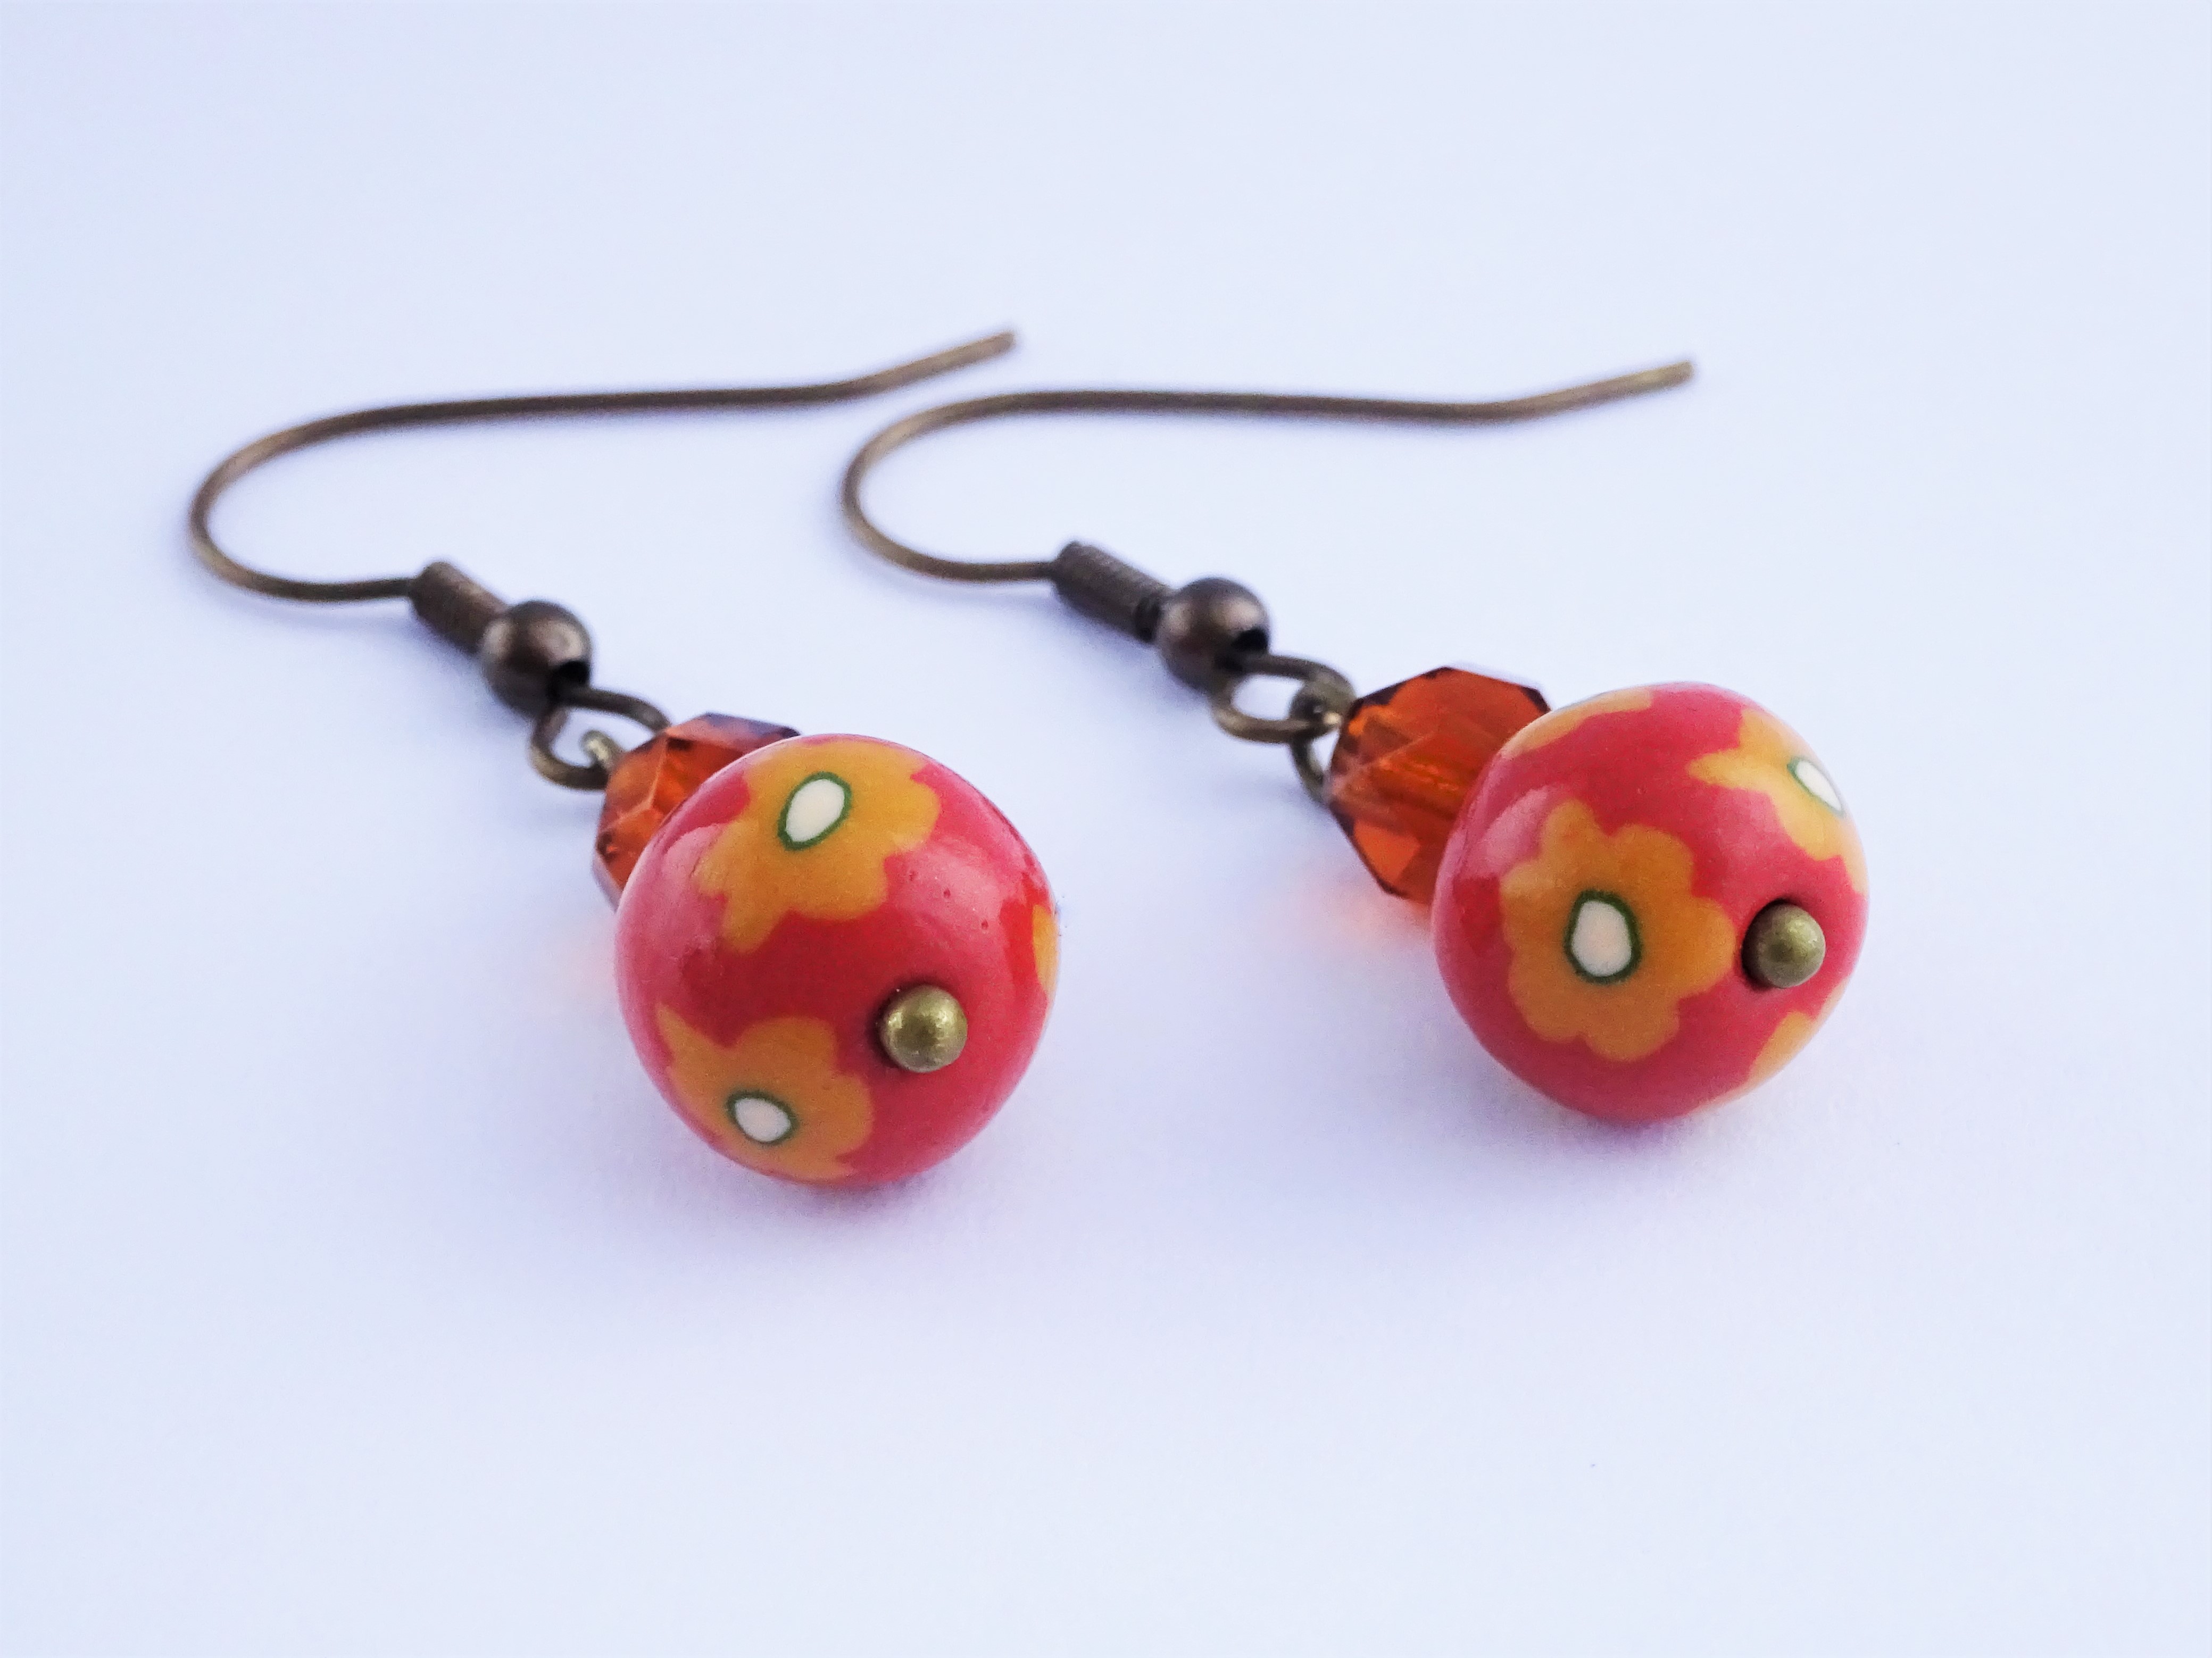
Step 13 – Once the clay is reduced down cut thin discs to make into beads. This is a whole tutorial on it’s own but use the same Terracotta colour clay for the base of the beads, apply the cut cane and roll until the clay forms a smooth bead. Pierce a hole and bake according to instructions. I finish my beads with 2 coats of gloss varnish.
If you need help with using your new cane then there I have a post on how to use a polymer clay cane. It take you through step by step how to make beads and pendants with a cane. There is even a YouTube video!
Going forward you could play with colour combinations and maybe make a pattern in the centre. This technique works well with hearts and stars too.
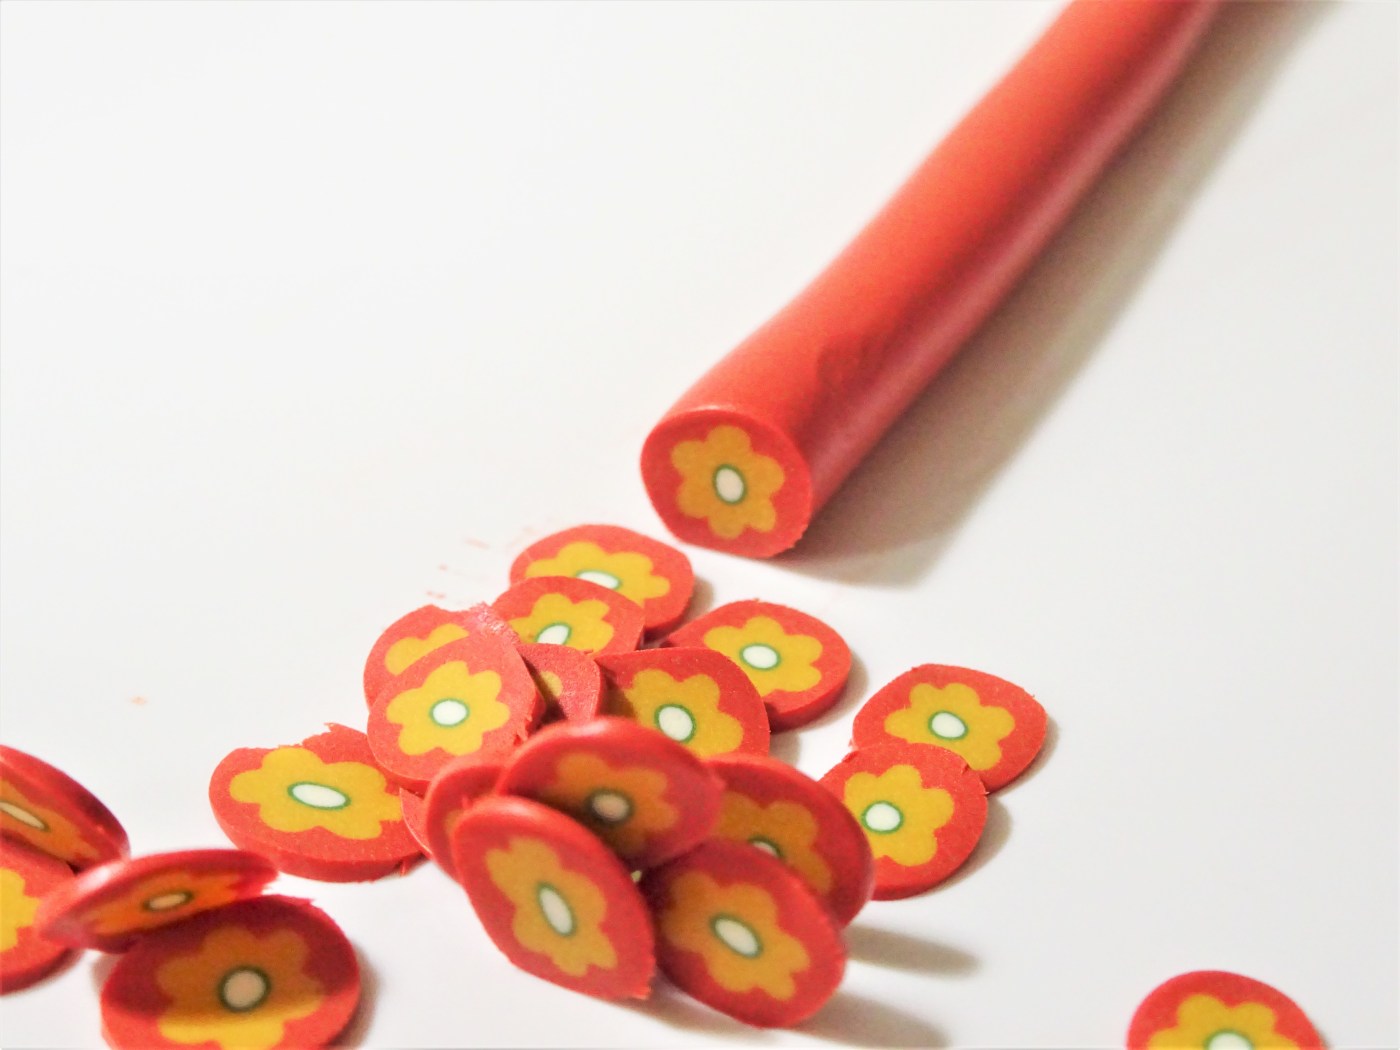
Here is an example of a few finished pieces of jewellery.
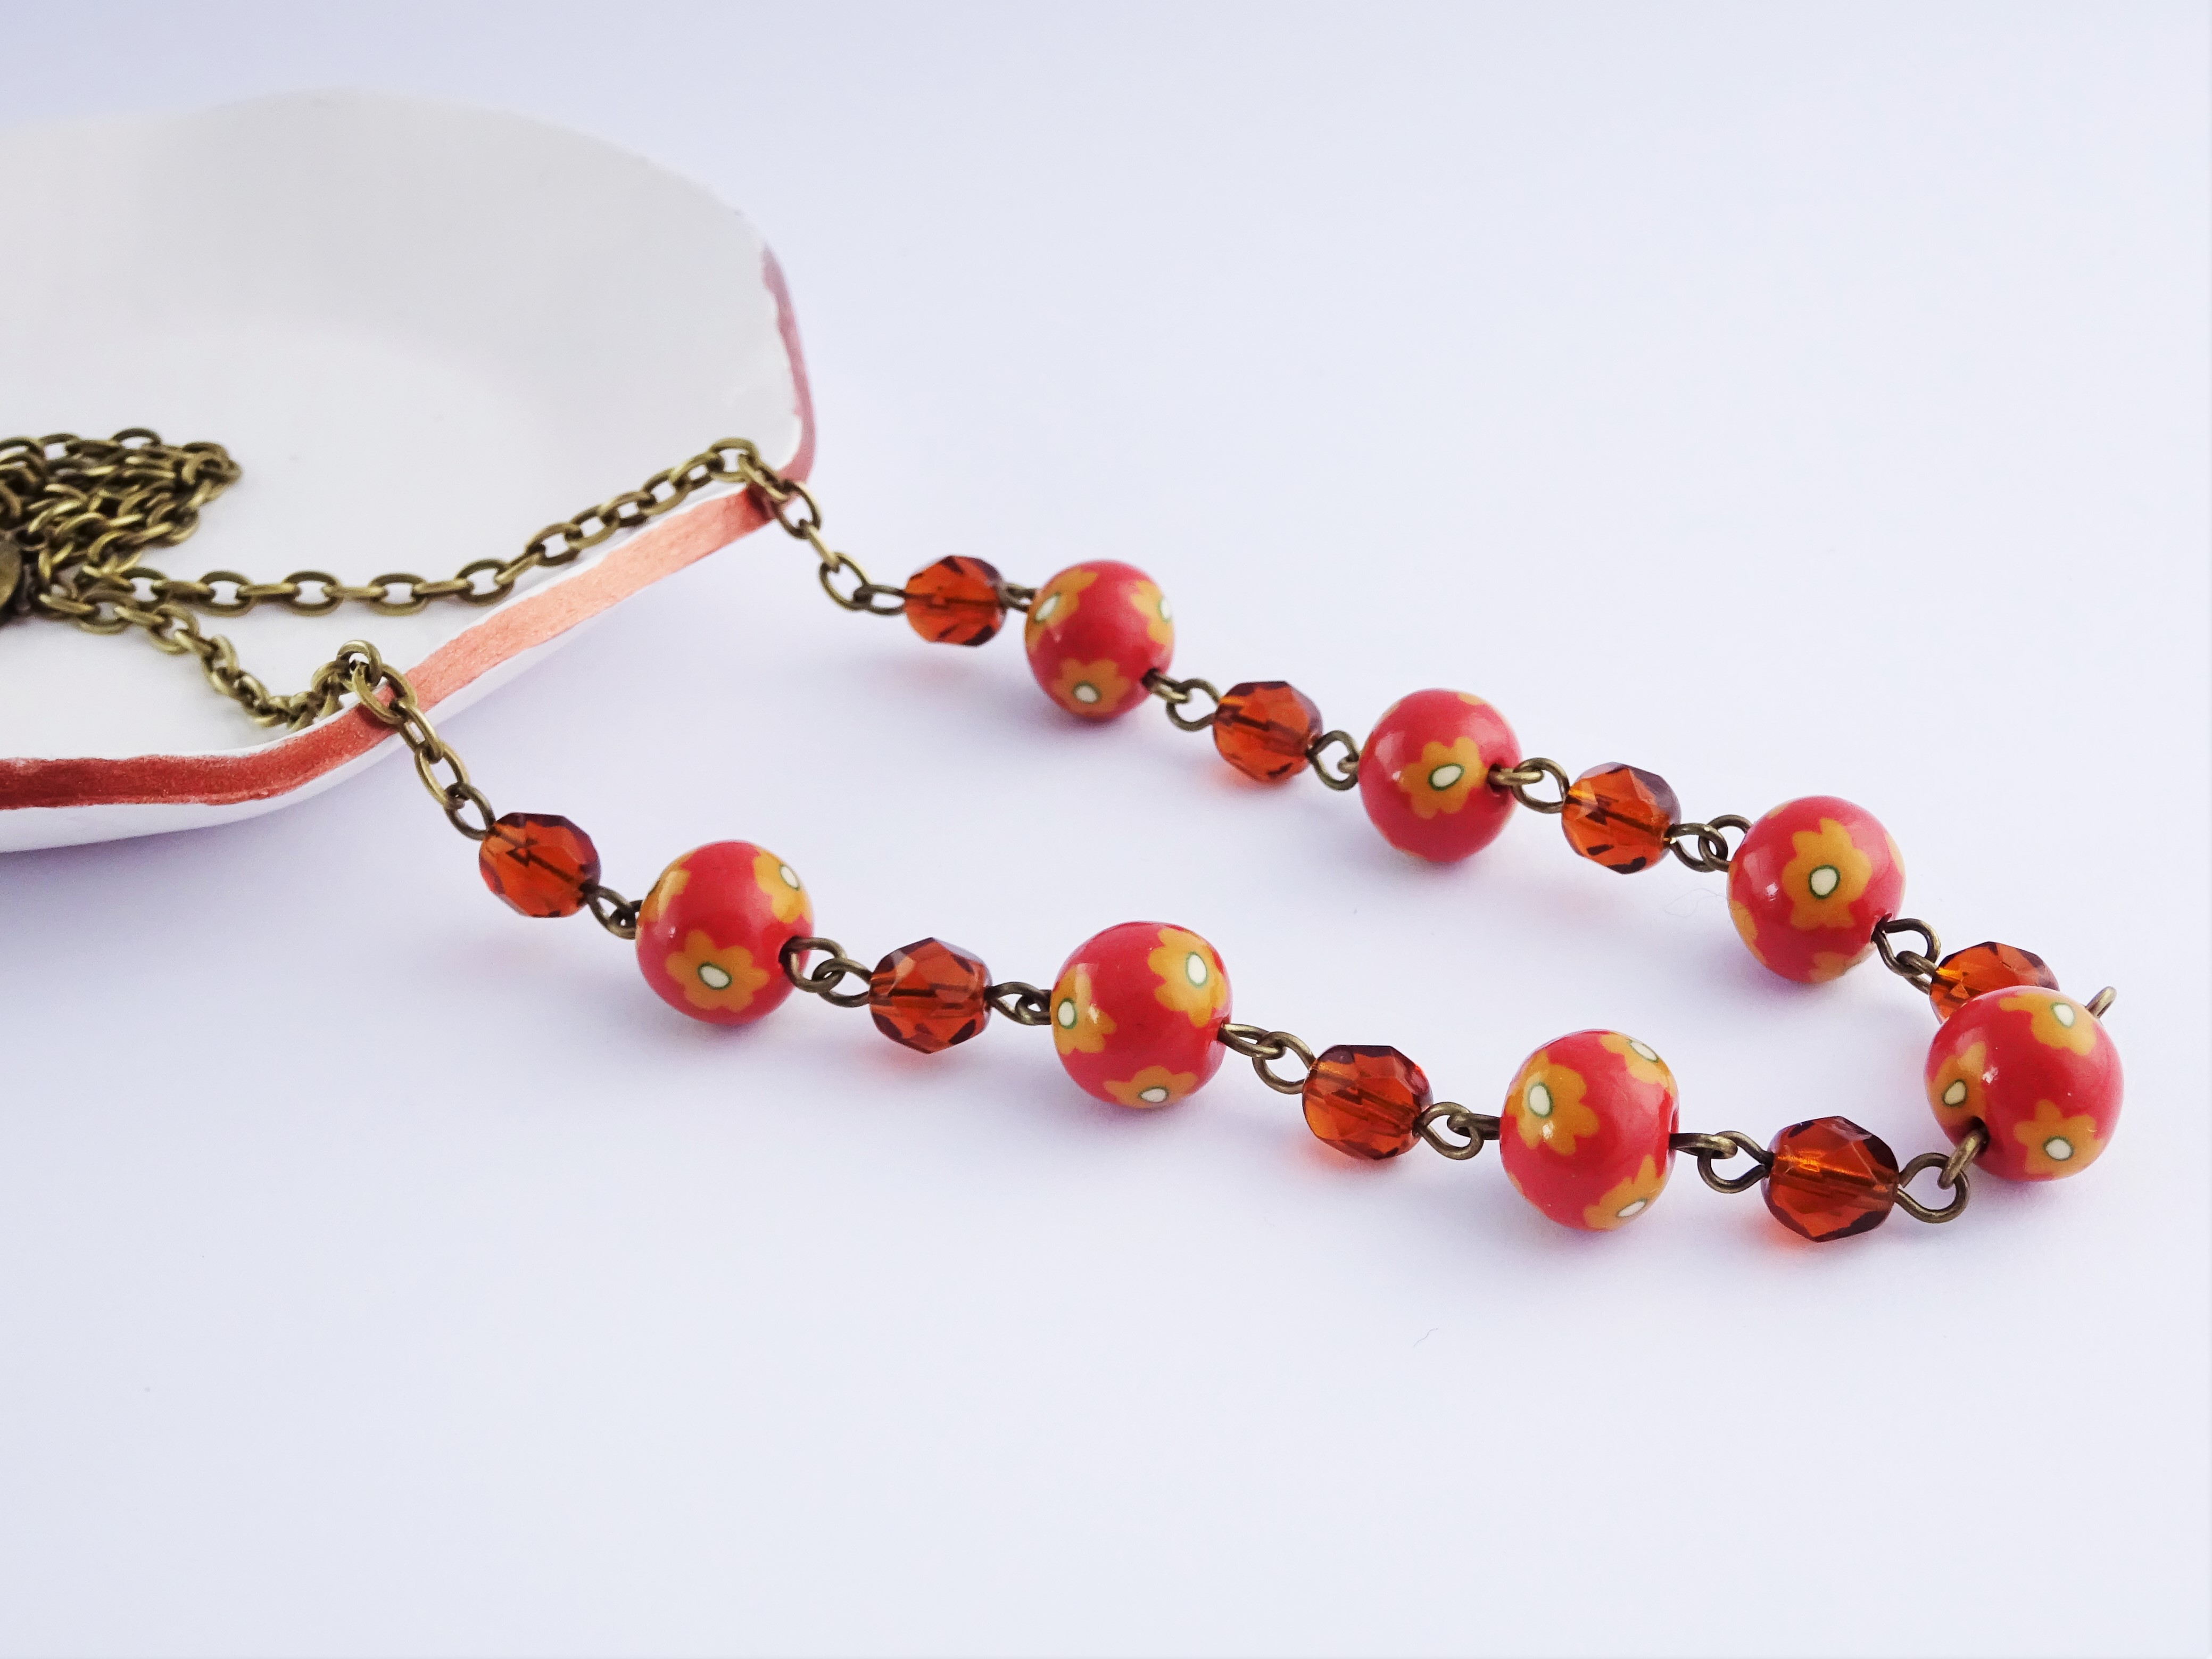
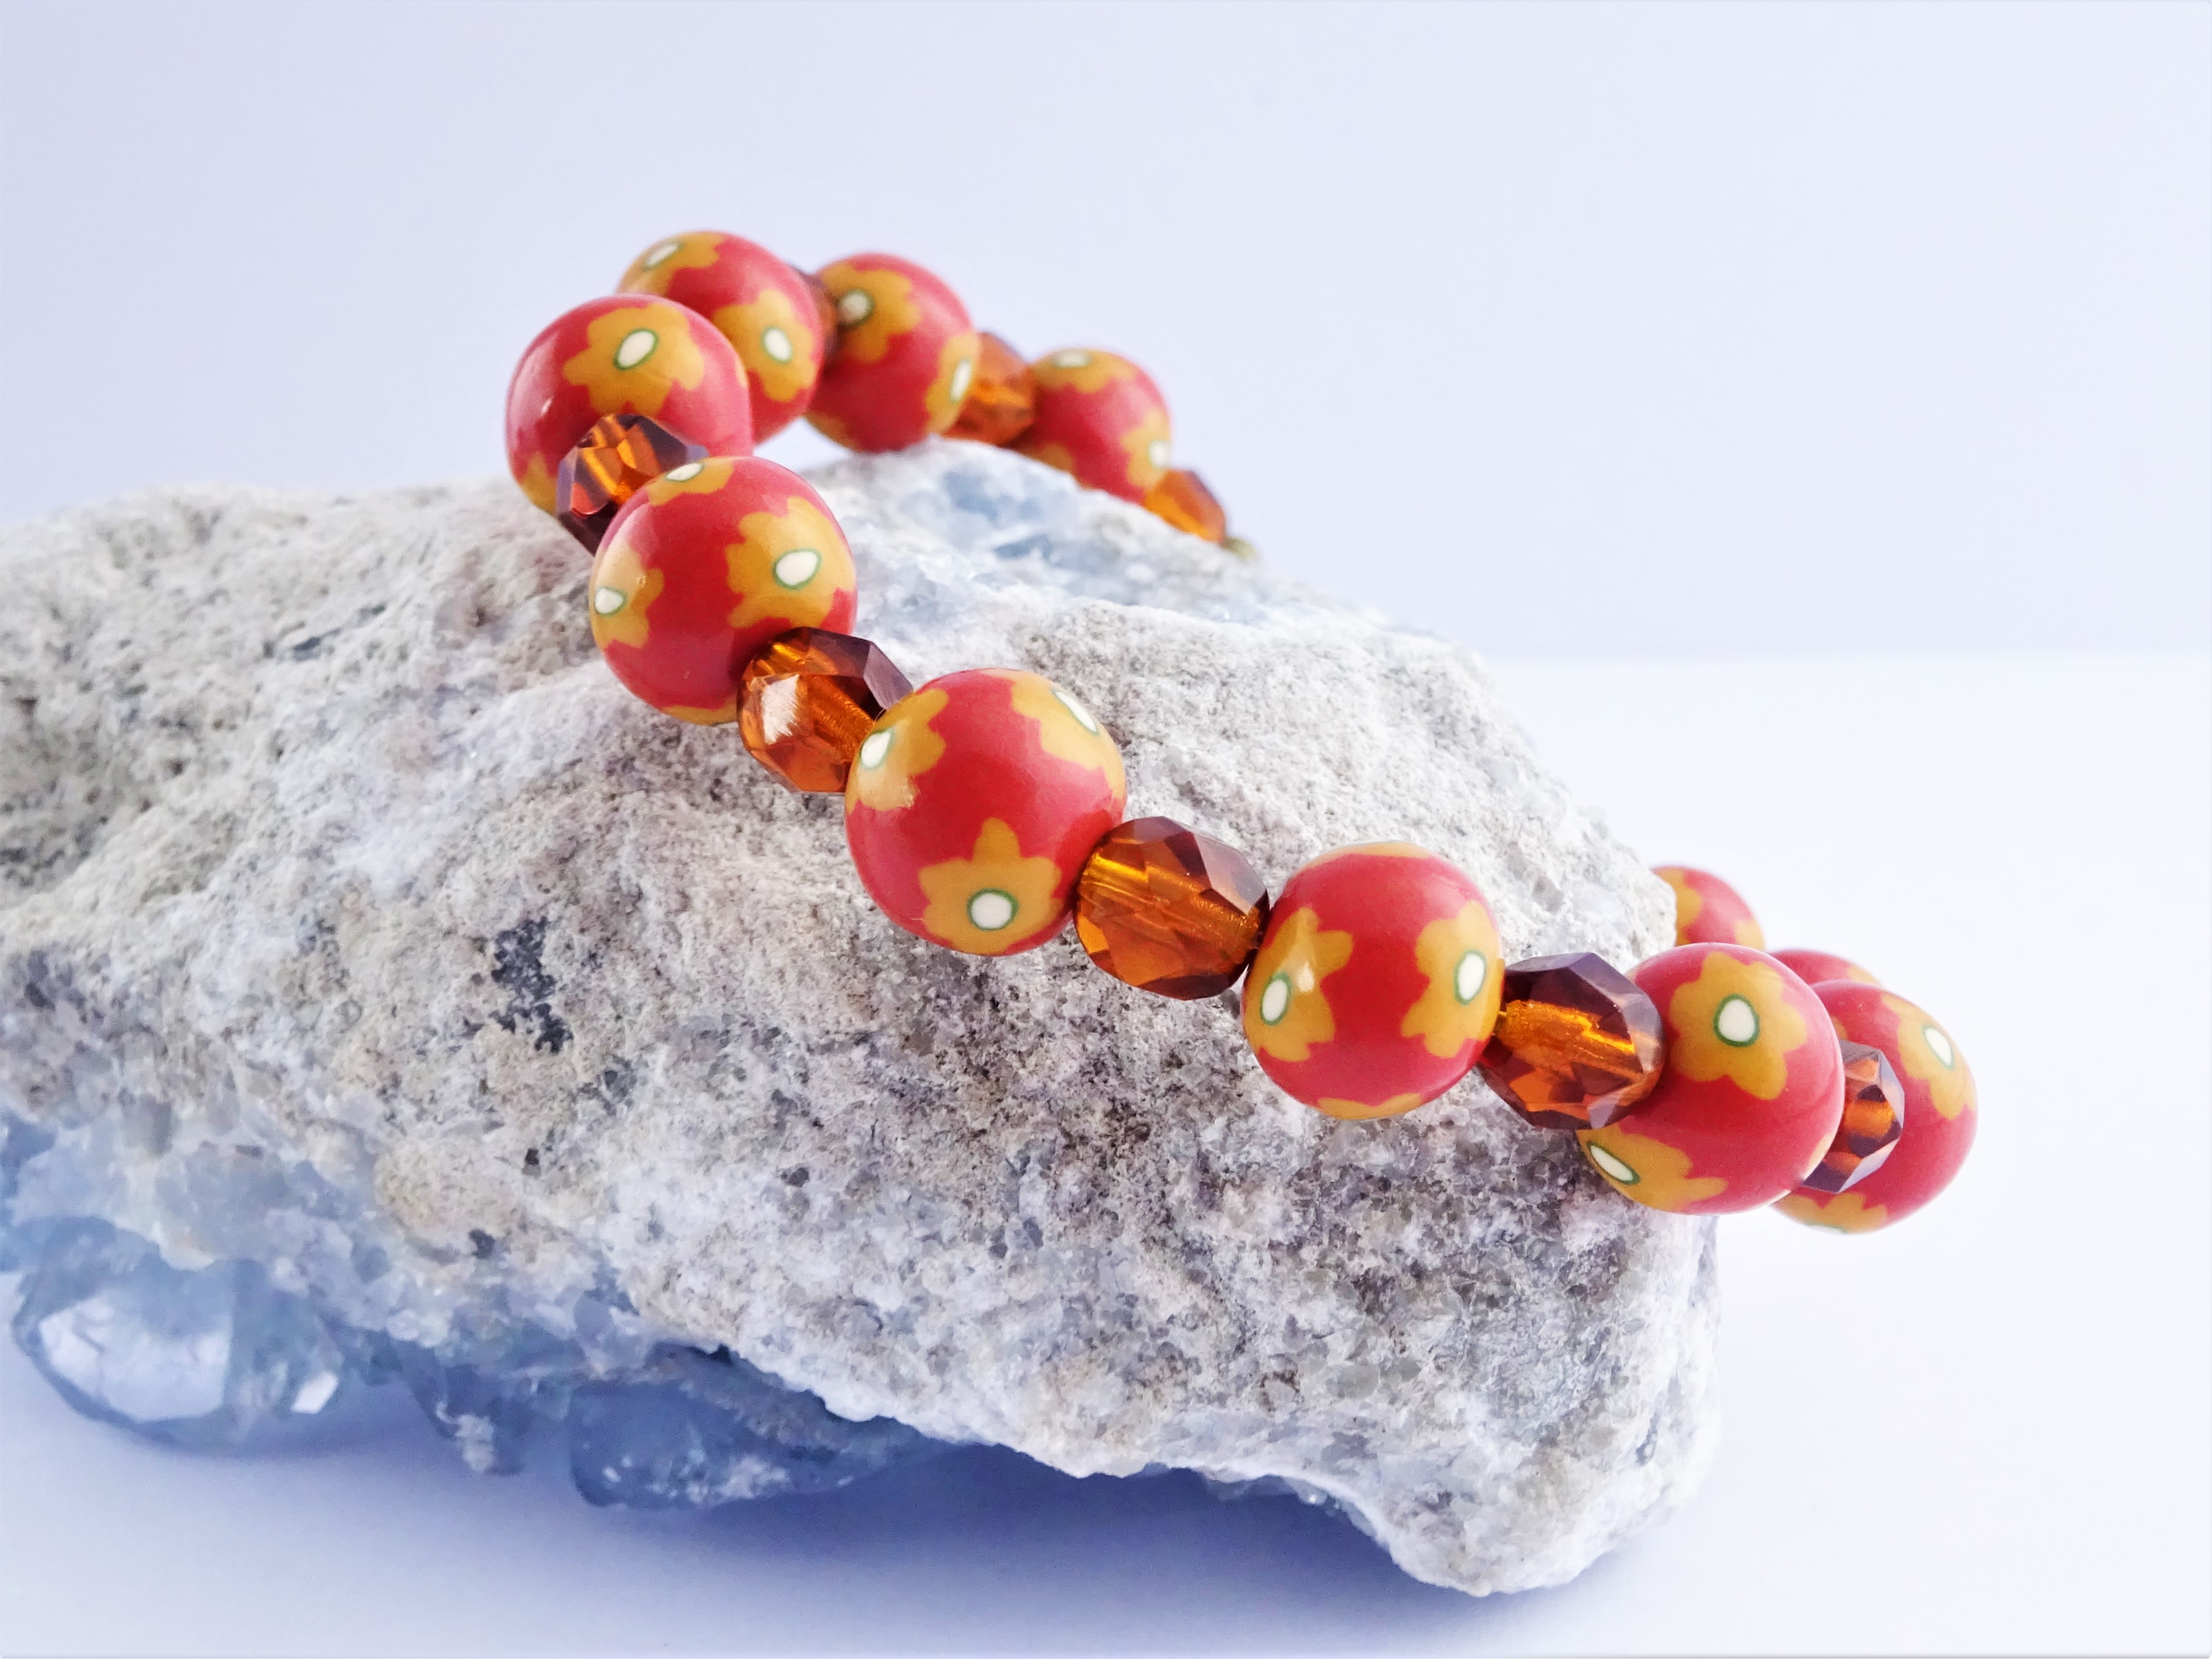
I posted a little timelapse of the beads being made on my instagram and Facebook.
I hope that this has been a helpful step by step. As ever the pieces made from this are available in my Etsy shop 🙂
I have other polymer clay tutorials here for you to check out.
If you have a go and show your work on Instagram or Facebook don’t forget to tag me @theartisanduck. I would love to see what colour combinations you come up with and the end result.
These are affiliate links for Amazon UK. This means that, at no extra cost to you, I receive a small percentage if you use my link to buy something. I only link to products that I have used and love.
Fimo professional in Leaf Green, Terracotta, Ochre and White
Happy claying.
Hannah x

