

Please note this post contains affiliate links (all affiliate links are at the bottom of this post).
After the last few weeks of making polymer clay canes I felt it was time to shake things up a bit with a much messier and looser technique. What better for this than alcohol inks. I had also bought myself a texture sheet a while ago and hadn’t really had a chance to play with it. After much trial and error (and some really stained hands!) I came up with this faux batik technique. I may also have spent time last week looking at fabric online as I decided I wanted to try making myself some clothing. I fell in love with Batik fabric. I suspect this is where the inspiration for this technique came from. There is a video showing this technique in green and yellow at the bottom of this post.
It’s easy, it’s messy and results will always be different. Lets jump straight in..….
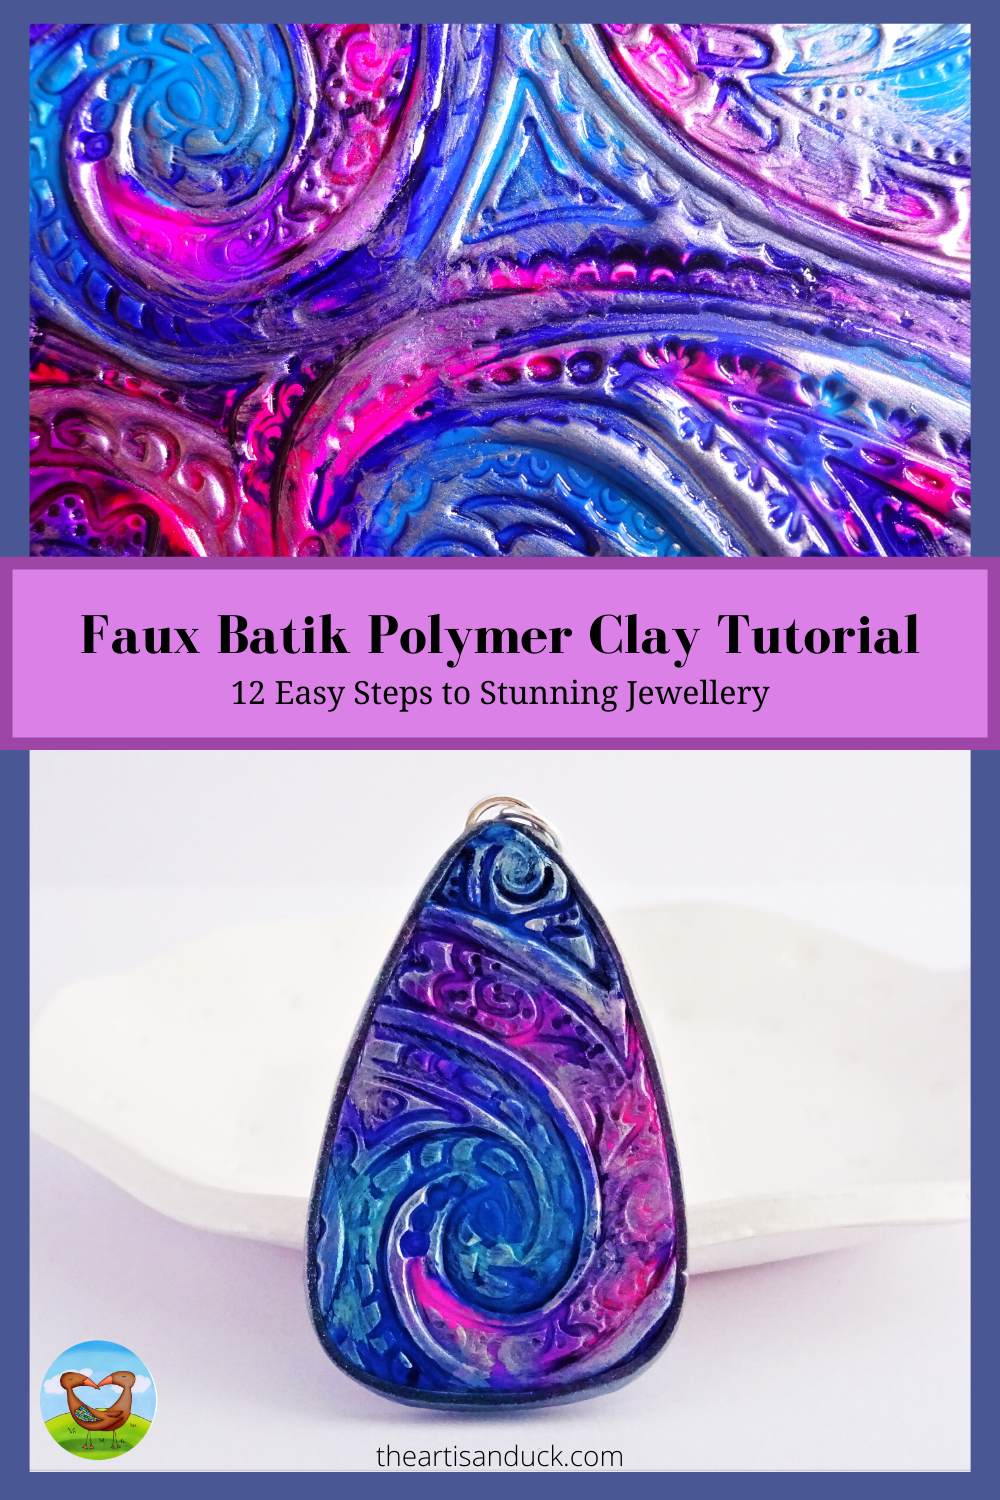
How To Make Faux Batik With Polymer Clay
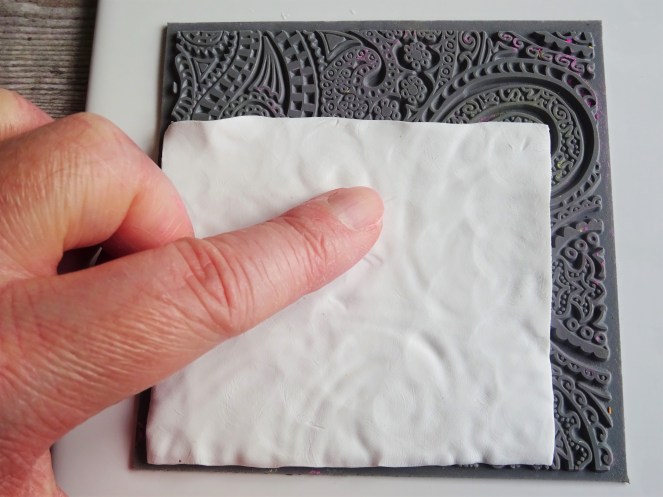
1. Condition some white clay and, once soft enough, roll through your clay machine on a number 4 (number 1 is the thickest on my machine). Use your finger tips to press the clay into your texture sheet.
Top Tip – My texture plate releases the clay easily but test your clay and texture sheet to see if this is the case. A light spray with water on your textures sheet will act as a release agent.
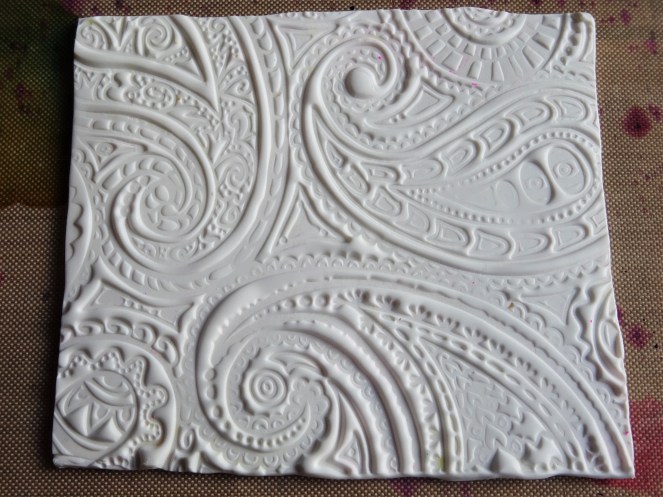
2. Carefully peel the clay off the texture sheet and check to make sure you have a good impression. Lay this on some sort of protective surface. Alcohol inks are messy and stain surfaces.
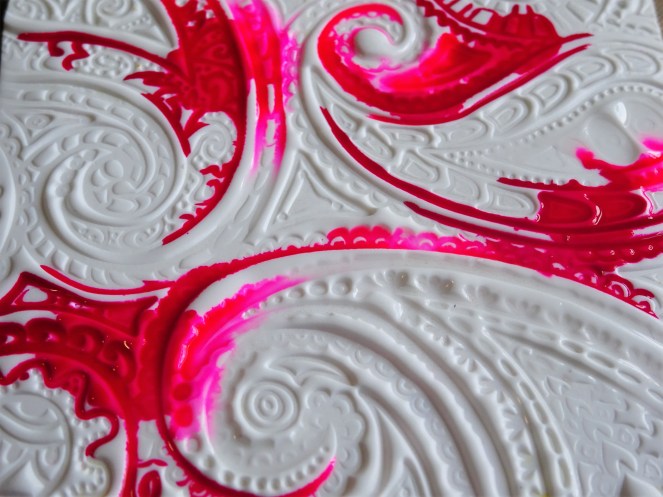
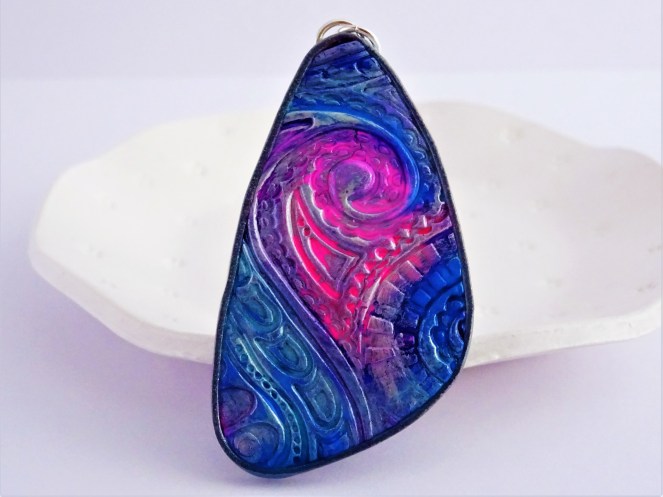
3. Drop a few drops of the Colour Extender in various places on the clay and then drop in some Senorita Magenta pink alcohol ink. Some of this will mix with the color extender (the lighter spots on the above photo) and other spots will be more concentrated.
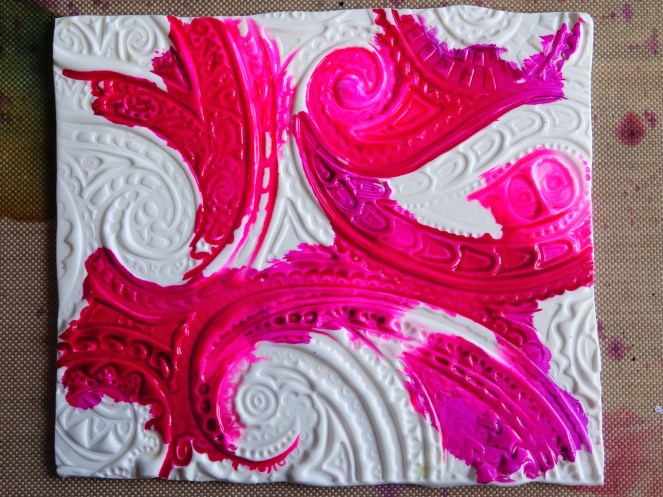
4. Use an old paintbrush to move some of the colour around. Leave white spaces though for a different colour ink.
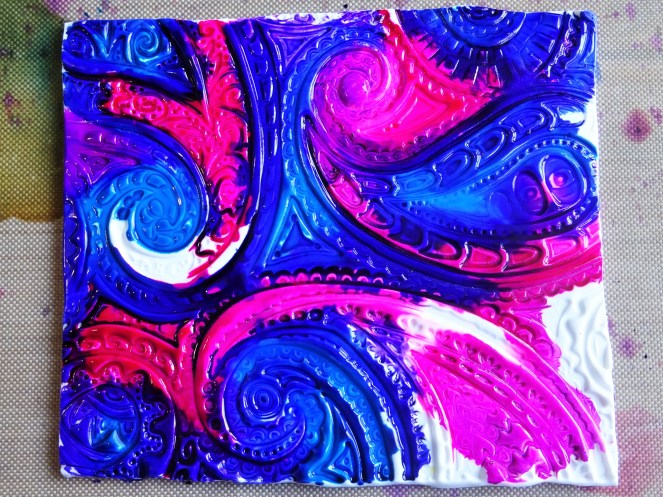
5. Add drops of Baja Blue alcohol ink and then move this around with the paint brush. Allow the pink and blue to mix to make purple.
Top Tip – If you are doing a different colour combination just check what colour the two chosen colours will make once they mix. They may be the most gorgeous colours on their own but absolutely awful when combined. If in doubt of where to start check out a colour wheel.
6. Have a look at your clay and decide which colours are needed and where to fill in the gaps. Add more ink to these spots and use the paint brush to help move it around. If the inks get difficult to move then add a few drops of the colour extender to help it flow.
At this point your clay may be very wet with ink. Gently press a piece of kitchen towel on to the surface to mop up wet ink. If there are any spots where the ink is just too dark then you can add a drop of colour extender to help lighten it.
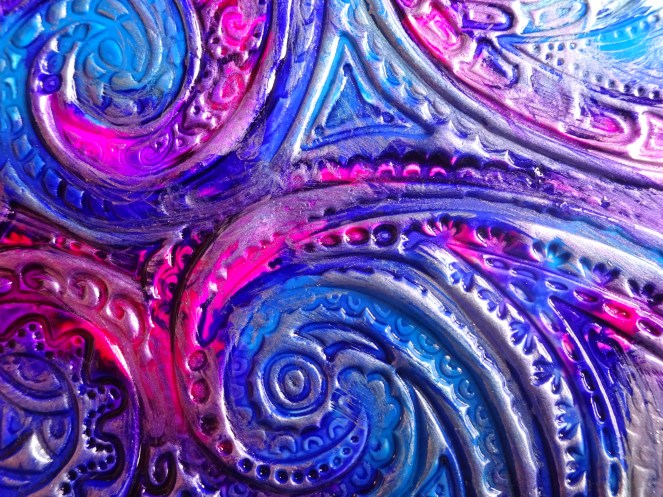
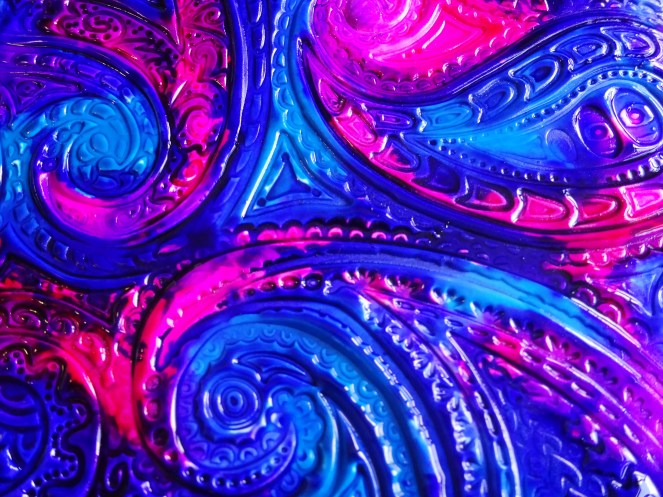
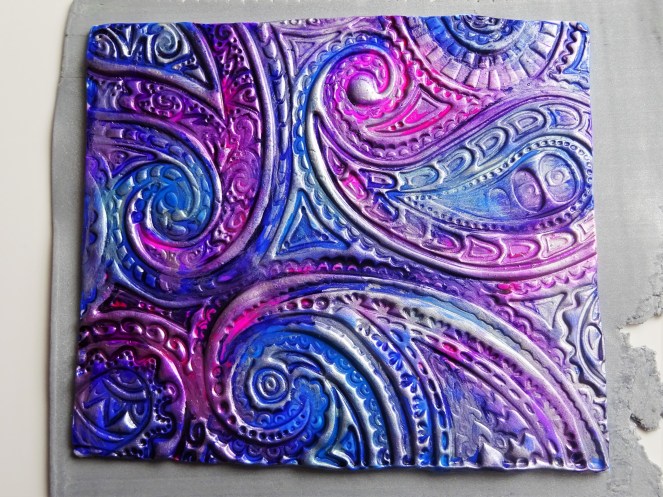
7. Put a drop of Silver alcohol ink on to your protective cover and add a drop of colour extender to it. Use your paintbrush to mix the two together. From here lightly drag the paint brush over the surface of the clay to pick out the embossed details.
In some places it may get a little too silver – if this is the case then you can add some colour extender to a cotton bud (Q-tip if you are not from the UK) and rub it over that particular spot.
Leave this to dry completely before moving on.
8. Once the ink is completely dry condition some silver clay and, once soft enough, roll out on a number 7 on your clay machine. Place your decorated clay on top of the silver clay. gently press down to adhere the two sheets of clay.
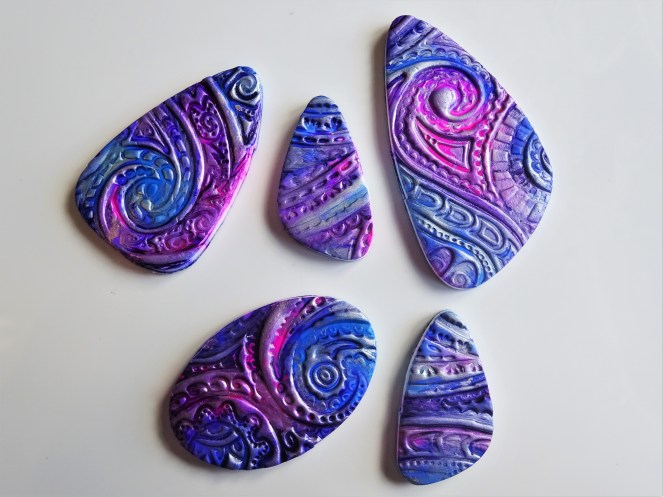
9. Choose your cutters and cut the clay. Play around with positioning the cutters to get the most out of your clay.
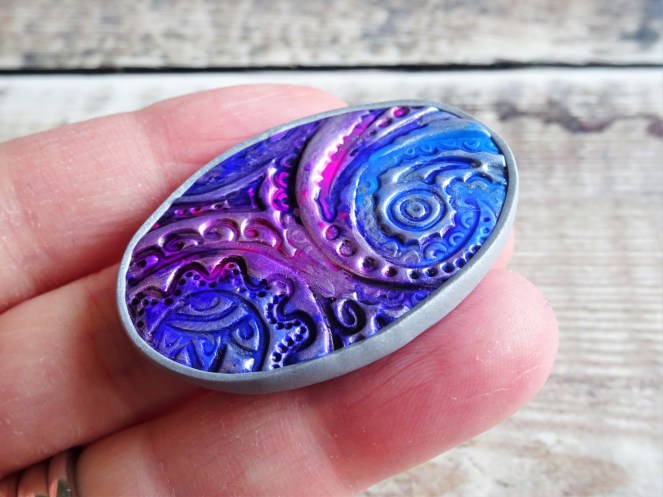
10. Clean off the edges of the cut shape. Roll out more silver clay on a number 7 and cut a thin strip the same depth and your shape. It needs to be long enough to go all the way around.
Cut a straight edge on the top of your silver clay and then position this on your shape. Wrap the clay around and use a craft knife to cut the clay where the two ends meet. Use your finger tip to smooth out the join.
Turn the clay over and smooth out where the side clay meets the silver base.
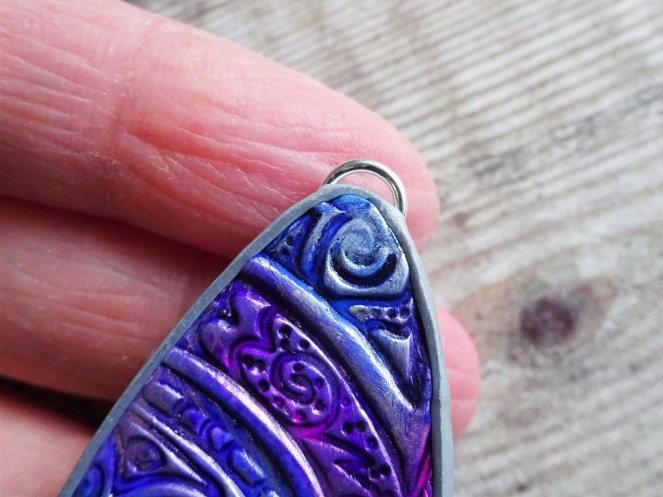
11. Either add a jump ring bail – I have a tutorial here showing how to do this or add it after baking – I show this technique in my previous blog post.
Pop this in your oven following the instructions on your packet of clay.
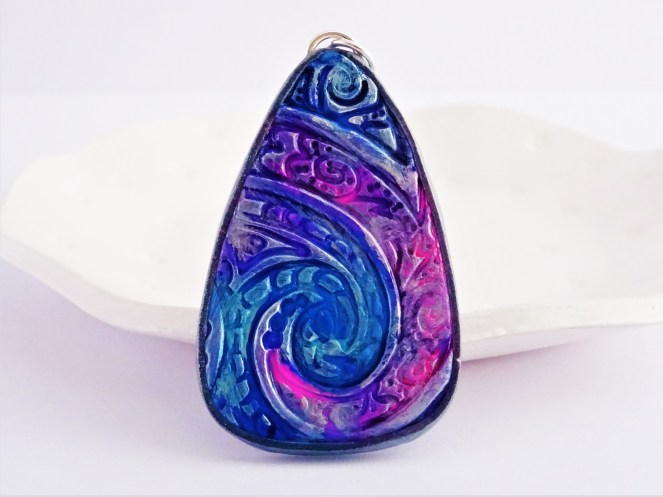
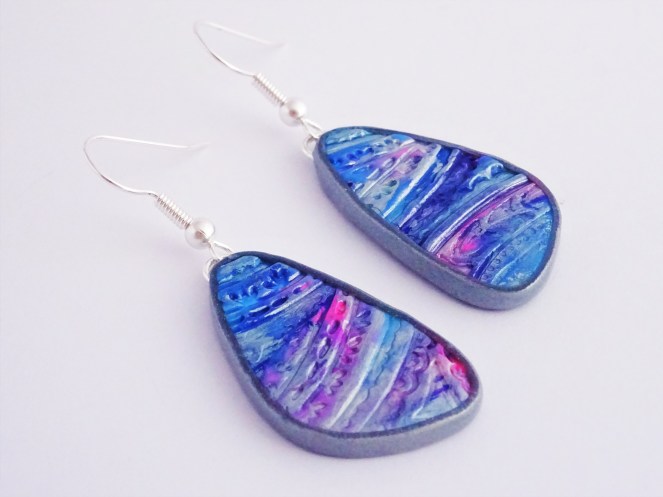
12. Once the clay is hardened and cooled give two coats of gloss varnish and leave to dry. From here make your new focal pieces into one of a kind jewellery.
Linked below are the products I have used in this project. These are affiliate links for Amazon UK and Amazon US. This just means that if you use my link to buy a product I get a very small commission. It just helps me keep on giving free tutorials like this one.
Amazon UK
Fimo Professional in White and Fimo Effect in Silver
Jaquard Pinata Alcohol Ink and Jaquard Pinata Color Extender
Ranger Alcohol Ink Silver Mixative
Efco Texture Mat – The paisley texture mat I use is out of stock so I have linked to one made by the same company that would work well for this technique.
Ranger Non Stick Craft Mat – This is what I use to protect my work surface. The alcohol inks sit on the surface are easily cleaned off. It has been invaluable for all my messy craft!
Amazon US
Fimo Professional in White and Fimo Effect in Silver
Jaquard Pinata Alcohol Ink in Baja Blue and Senorita Magenta (I have the whole Exciter Pack but I can only find individual bottles on the US Amazon)
Ranger Alcohol Ink Silver Maxative
Efco Texture Mat – The paisley texture mat I use is out of stock so I have linked to one made by the same company that would work well for this technique.
Ranger Non Stick Craft Mat – This is what I use to protect my work surface. The alcohol inks sit on the surface are easily cleaned off. It has been invaluable for all my messy craft!
If you have enjoyed this then you can check out more polymer clay tutorials here.
Don’t forget to tag me @theartisanduck on Facebook and Instagram.
The remaining oval pendant is waiting for me to bead weave a bezel around it. Keep your eyes peeled for my next tutorial!
You can watch the messy ink and clay in action in this YouTube video where I make this in green, yellow and gold.
Until next time, thanks for reading and see you soon.
Hannah x


They’re beautiful! Thank you for sharing how you made them.
Thank you Anita 🙂
I love this idea! I want some stencils so I can do this with watercolor.
Thank you. Trying to make a watercolour batik sounds a lot of fun 🙂
These are gorgeous. Such vibrant colours. And I love the texture… Very cool
Thank you Julia. It was a lot of fun to make. I actually bought the texture mat with a totally different technique in mind. Oh well, I will get round to it one day.
That’s cool though that you found a different use for it
Great makes, and fantastic tutorial Hannah. Love the jewellery! ~ Cobs. xxx
I have found your comments! I just needed to look harder 😀 Thank you Cobs. It’s such a fun and very messy technique. Hxxx
Yay! Lost and found …. ooooo, there’s a book title if ever I heard one! ~ C. x
You’ll have to write that book. Did I read in one of your posts that you are writing a book? I remember a while ago that you said that it was something that you planned on doing. Hxxx
I’m *trying* to write a book.
It’s the strangest thing … inside my head I have the most wonderful story going on… but the minute I sit to write it out, I become SO focused on being grammatically correct that I ‘lose’ the charm of the story.
It’s something I HAVE to get over.
~ C. xxx
I have every faith in you. You have such a lovely way of writing that I’m quite sure it will be the most charming and magical story. Hxxx
Ohhh, Hannah. I wish I could hug you for saying that. Bless your heart. I love you for who you are and how you are.
~ Cobs. xxx ❤
♥ ♥ ♥
Very nice! I use a watercolor brush filled with blending solution, it gives me a lot more control, especially on small pieces. For a very detailed larger project I fill multiple watercolor brushes with alcohol inks. Blending solution can be mixed in or used separately. No mess or waste 🙂
Thank you – that is such a cool tip. I have never thought about filling water brushes with anything but water! I shall keep it in mind next time the blending solution and alcohol inks are out.