


I am still making jewellery pieces using the cane I made in my last tutorial. I am always looking for new ways to make my finished jewellery pieces and, having recently sold some of my more statement necklaces on Etsy, decided that I would try more ideas for statement jewellery.
Scroll though to the end of the post if you would like a YouTube video showing a different pendant shape.
How To Make A Statement Necklace With A Polymer Clay Cane

1. Mix more of the green clay as described in the cane tutorial so that the base clay will match the cane. Roll it out on a number 5 on your clay machine (Number 1 is the thickest on mine so 5 is quite thin) and make sure that your chosen cutters fit.

2. Cut slices from the flower cane and lay them on the sheet of clay. It doesn’t matter if they overlap a little.
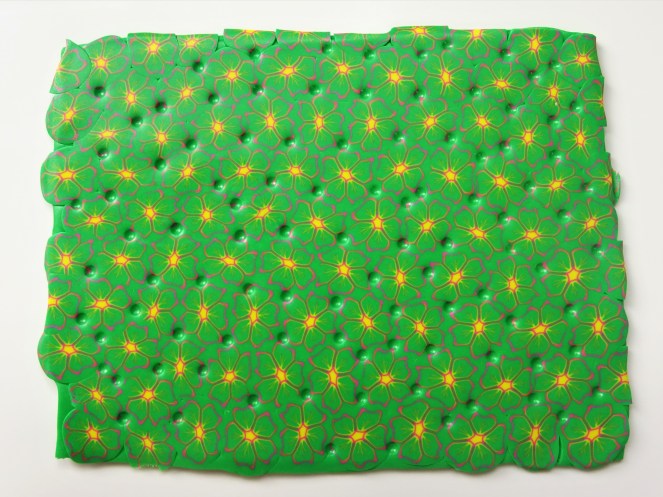
3. Roll the clay out until the gaps between the clay slices are smoothed out and joined together. Using a small ball/dotting tool press dots all around the clay sheet in the gaps between the flowers.
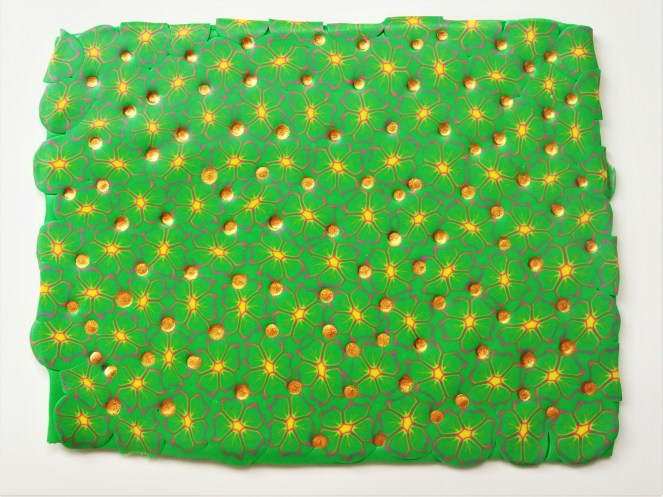
4. Use a smaller dotting tool add gold paint to the dotted holes and leave to dry thoroughly.

5. Cover the clay sheet with a thin sheet of plastic (like a sandwich bag) and cut the clay. The plastic will give a bevelled edge to the clay.

6. Make some clay snakes from the green clay mix with a clay extruder.

7. Roll more of the green clay mix through on a number 5 on your clay machine big enough for the cut shapes. Place the cut shapes on top leaving just enough space in between for the clay snakes.

8. Wrap a snake of cane around the top and bottom shapes. Smooth out the joins a little but don’t worry about making in perfect.
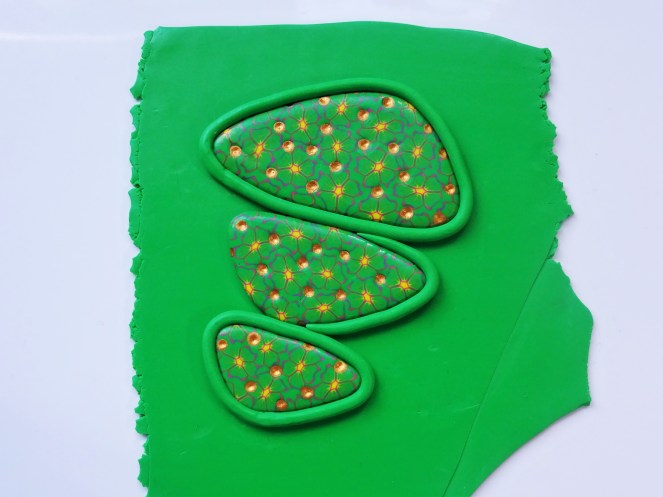
9. Roll one end of a clay snake to make the top pointed so that it fits in the space between the top and bottom pieces. Cut the clay snake to the right length and roll the other end to make it more pointed. Put this into position around the middle shape.

10. Repeat step 9 to wrap the clay around the other side of the middle shape.

11. Using the larger of the two ball tools from earlier texturize the clay snake around the pieces.

12. Once all the clay is texturized use a craft knife to carefully cut around the shape.

13. Using the same ball tool texture around the edge of the cut shape. This will help hide any seam from the two layers of clay and will hide any imperfections from cutting the shape. Put this is your oven to harden according to the instructions on your clay packet.
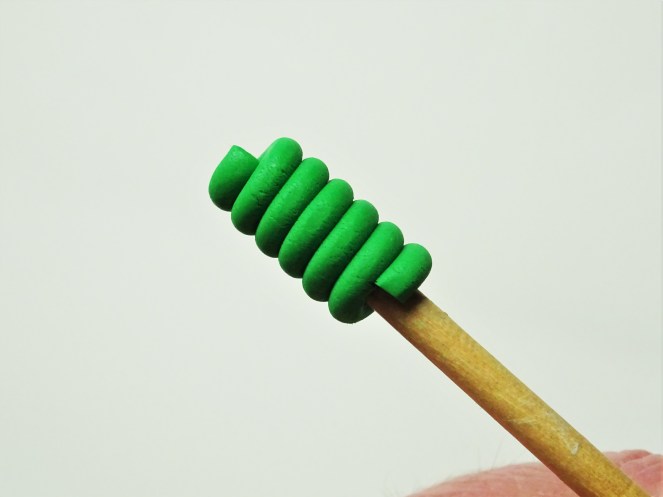
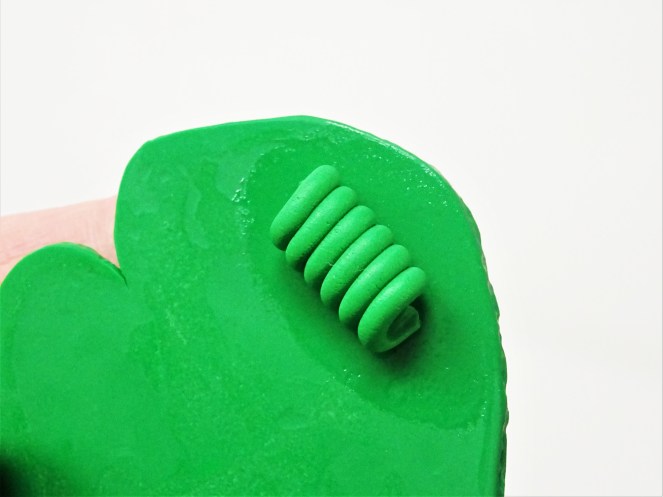
14. Once the clay pendant is cooled take more of the green clay snake and wrap in around something, such as a paint brush handle, to form the bail. Make sure the hole made is big enough to take the intended stringing material.
15. Use your finger to rub some liquid clay onto the part of the pendant where you are going to stick your bail. Position the bail you have just created and put the pendant back into your oven at the instructions on the liquid clay bottle.

16. Let your pendant cool and then finish with two coats of gloss varnish. I have strung mine with 3 strands of brown cotton cord.
Have a play around to see what shape pendants you can come up with. The picture below uses two different size teardrop shaped cutters. I am already planning on expanding the technique so watch this space!

If polymer clay tutorials are your thing, and lets face it you wouldn’t be here if it wasn’t, don’t forget to check out my other tutorials and sign up for my mailing list to keep you up to date with my latest tutorials.
You can find this flower cane here to see how I made the flower petals graduate from yellow up to pink. It looks very cool.
Thanks for reading. See you soon 🙂
Hannah x

