

Please note – this post contains affiliate links for products used in this tutorial.

I love books and reading. At any one time I will have several books on the go – actual proper paper books on my bedside table, one (maybe two) on the kindle app on my tablet and I am absolutely addicted to audio books for whilst I am crafting and doing housework. I am horribly guilty of judging a book by it’s cover and being drawn towards books with beautifully illustrated front covers. Then there are vintage leather bound books with lovely little details the likes of which we don’t get on modern books today. I imagine they are all filled with magical tales ready to take you on exciting adventures. I am assuming that my inspiration for today’s tutorial is obvious – I wanted to make a piece of jewellery reminiscent of old fashioned fairy tales with mysterious worlds and adventures.
Each book in this stack is individually decorated so each one has it’s own unique charm. It’s a fun opportunity to see what you have around your craft space or possibly home to help create texture in your clay. This tutorial is for a necklace pendant but you could skip adding the hole for a head pin and keep this as a little ornament.
Once Upon A Time –
Polymer Clay Vintage Books Necklace Tutorial

Condition the polymer clay by either rolling through a polymer clay/pasta machine or by warming between the hands. Condition thoroughly until the clay is soft enough to work with and no longer brittle.
Mix the colours to make the desired book colours. To dull the Bordeaux and Leaf Green add a small amount of Chocolate and to darken the Chocolate brown add a small amount of black. For the white pages add small amount of Ochre and Chocolate to the white clay so that it has a creamier colour.

For the pages roll out the cream coloured clay to just over 2mm thick or the thickest setting on the clay machine. For the book covers roll out the red, green and brown clay to just under 2mm thick or the second thickest setting on the clay machine.
Make templates from card for the pages and book cover. The page template measures 2.25cm x 1.25cm and the book cover measures 3.5cm x 2.25cm. Put the relevant templates on the various clay colours and cut around.
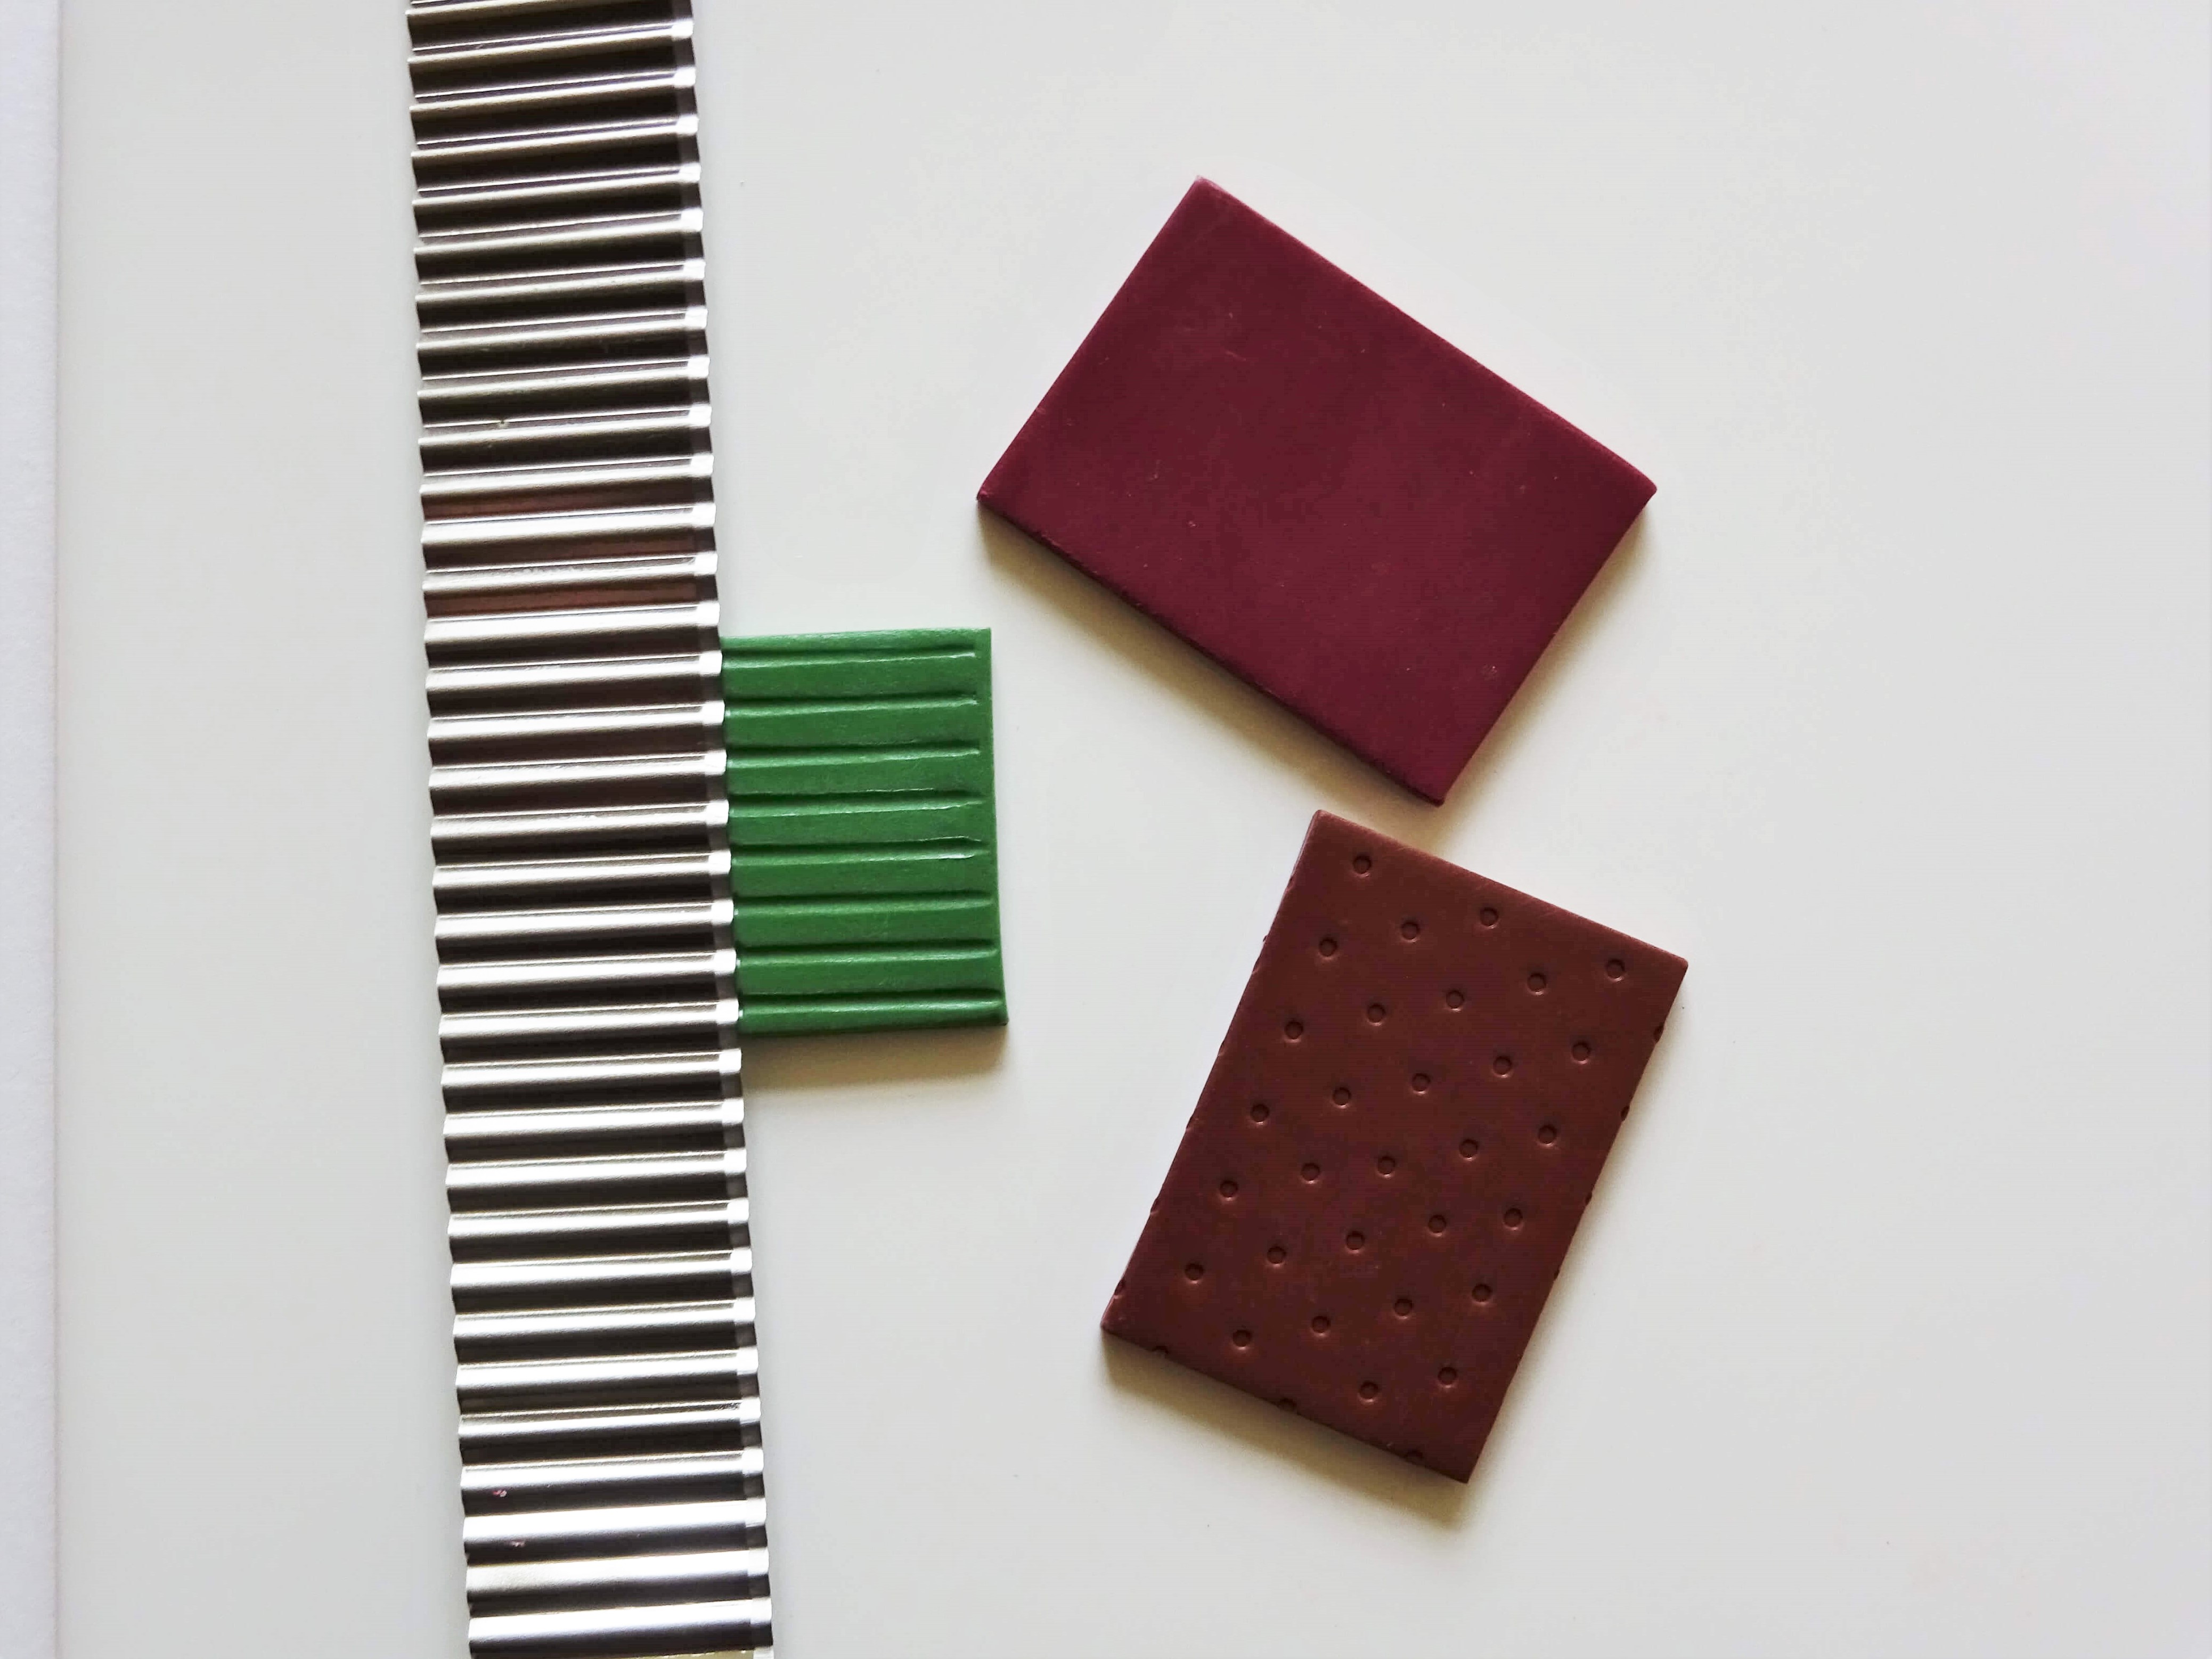
To add details to the book covers look around the home for any interesting embossed patterns that will leave an impression in the clay – fabric, lace, scrunched up tin foil, fancy buttons etc.
On the red clay I have rolled the textured grip on a craft knife, green pressed in a wavy clay blade and brown pressed a paper crafting embossing folder. Spray the clay lightly with water before making any pattern so that the embossing tool won’t stick to the clay.

Put the book cover templates back on the red, green and brown clay to make sure they are still the correct size and that the edges are even (pressing on the textures into the clay may have squashed the clay and altered the size). Cut any excess clay off. Using a finger lightly dust craft chalk over the embossed details to enhance it. Use a darker shade chalk than the clay colours, for example green uses dark green chalk etc.

Picking up the cream colour clay, use a long blade and gently press it along all the edges to imitate the look of pages. Repeat this on all 3 cream rectangles. Please be careful of your hands when pushing the blade into the clay!
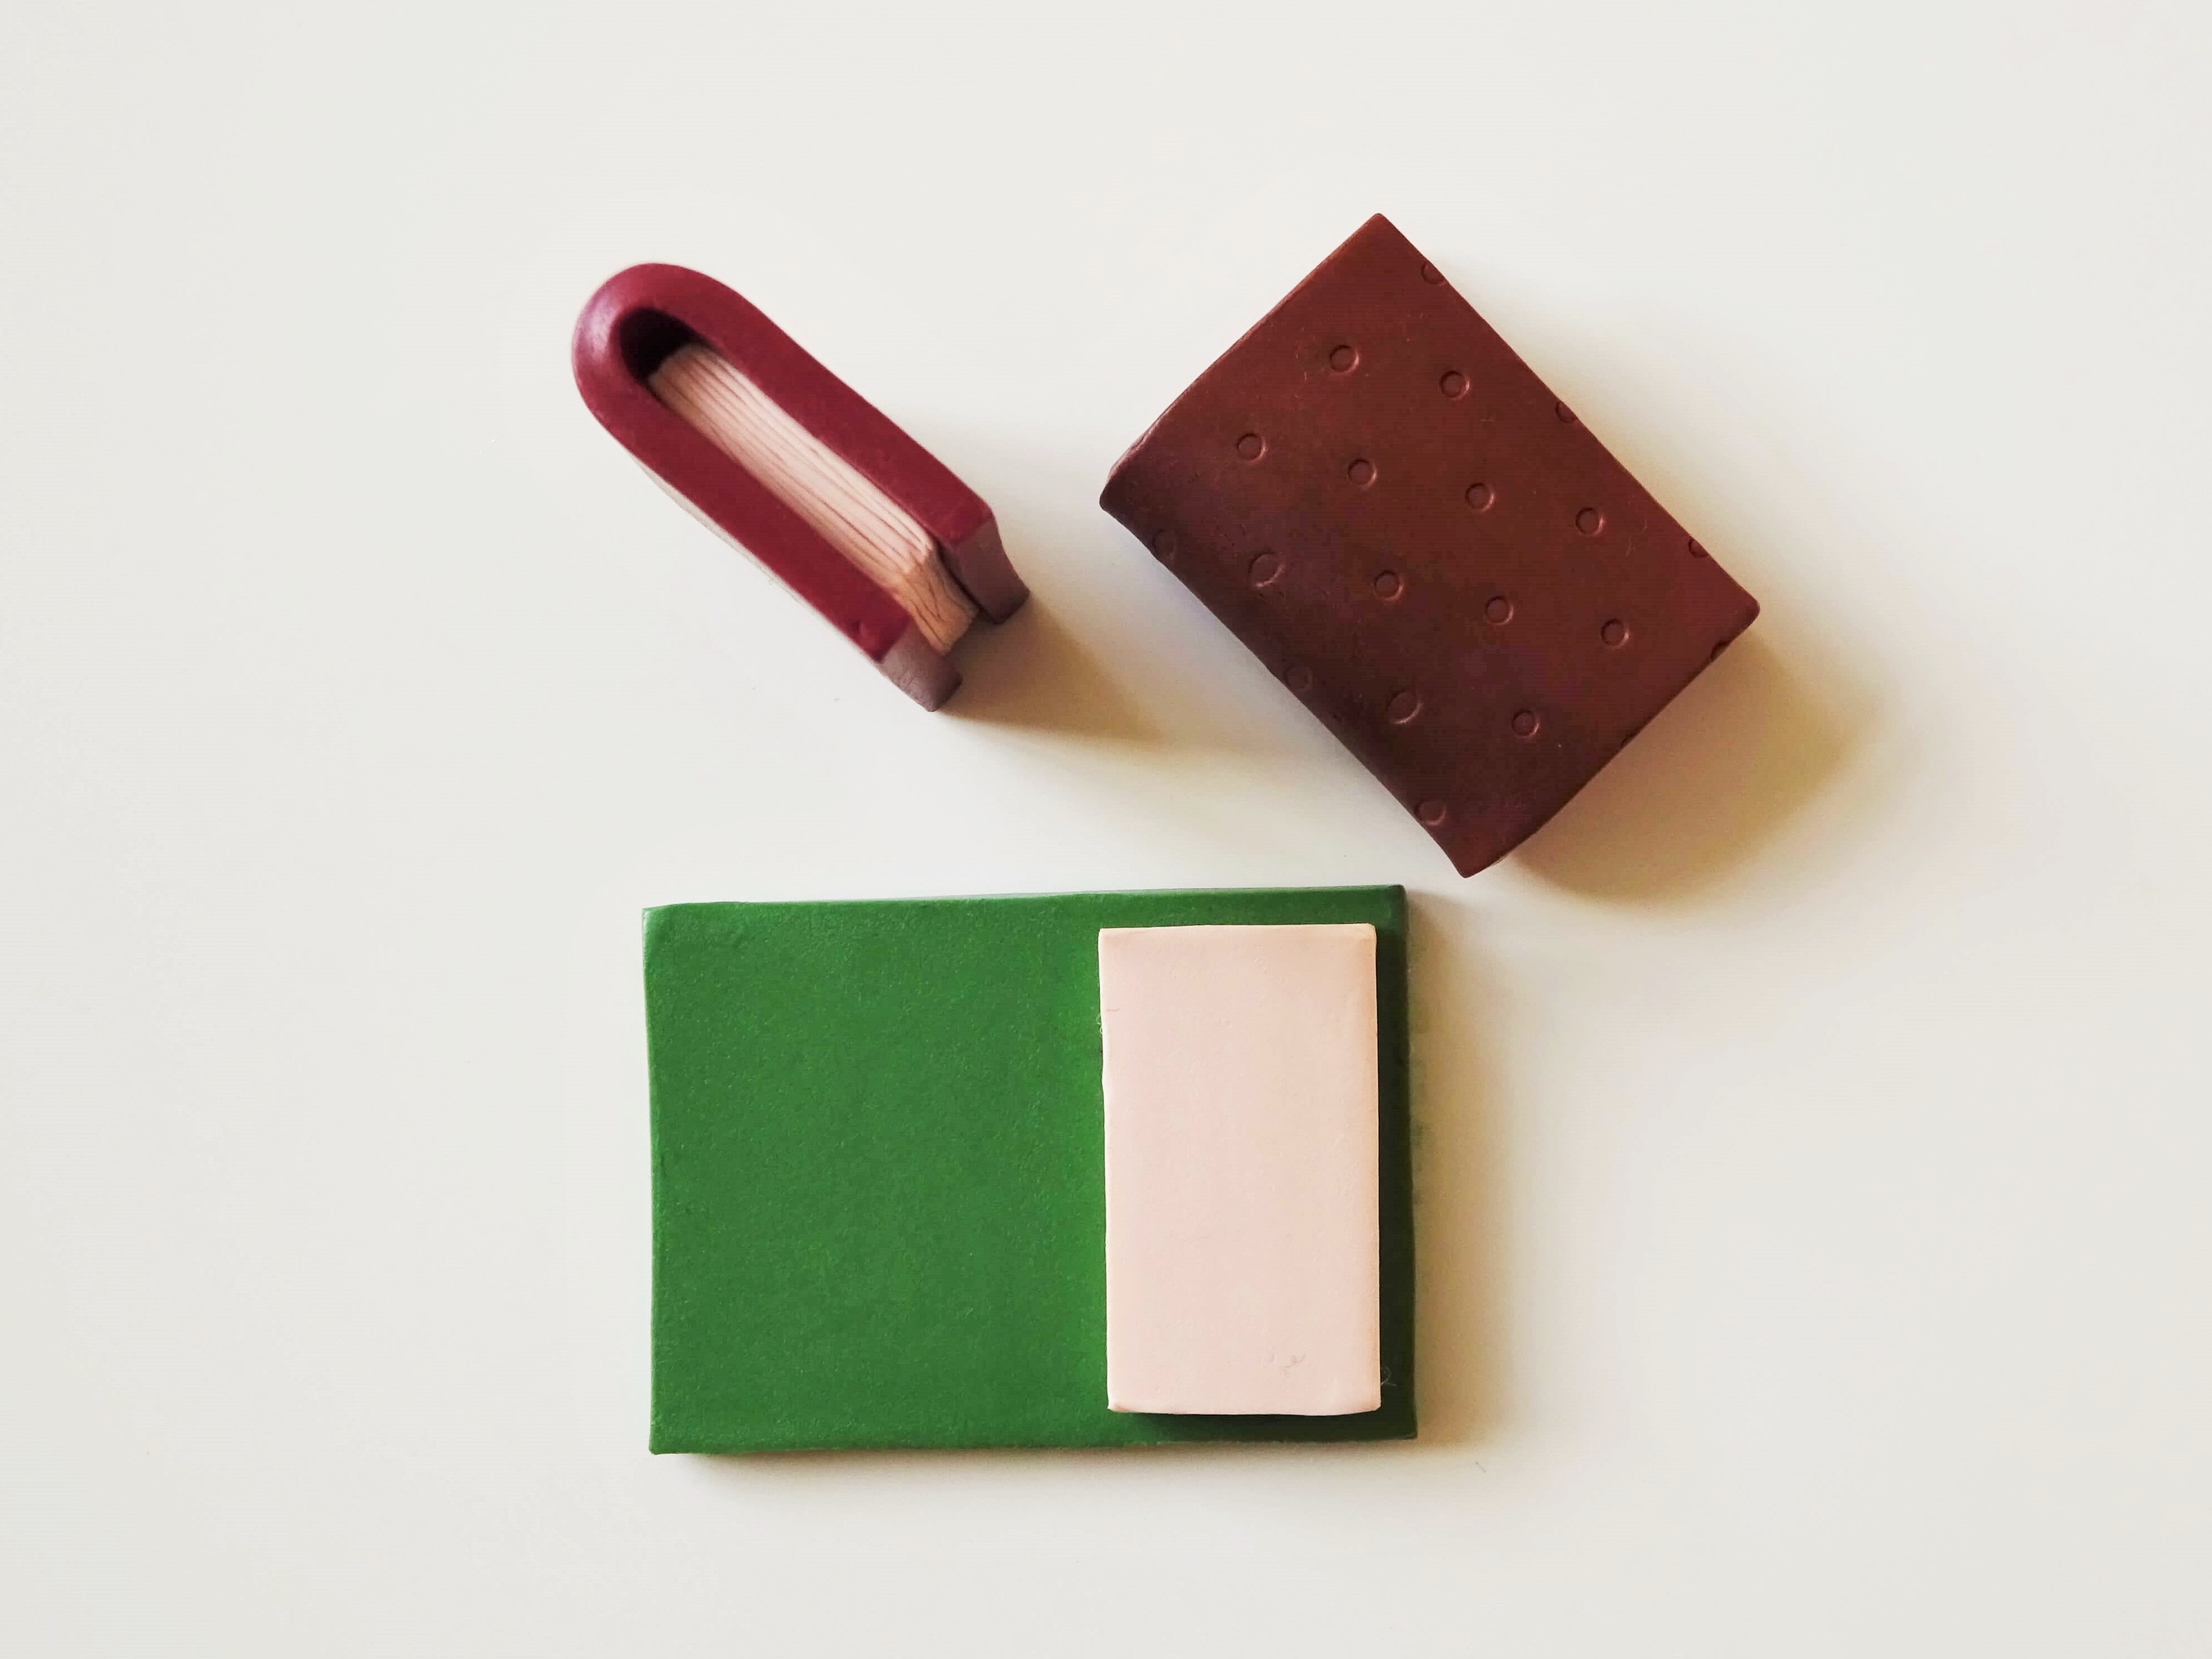
Position the pages in one half of each book cover and then fold the cover over to complete the book. Press each book cover firmly enough so that it all sticks together but not so firmly that the clay is distorted or that the detail on the book covers is lost. Make sure that the book pages are facing forward so that the detail added in the previous step isn’t hidden when you fold the book covers over.
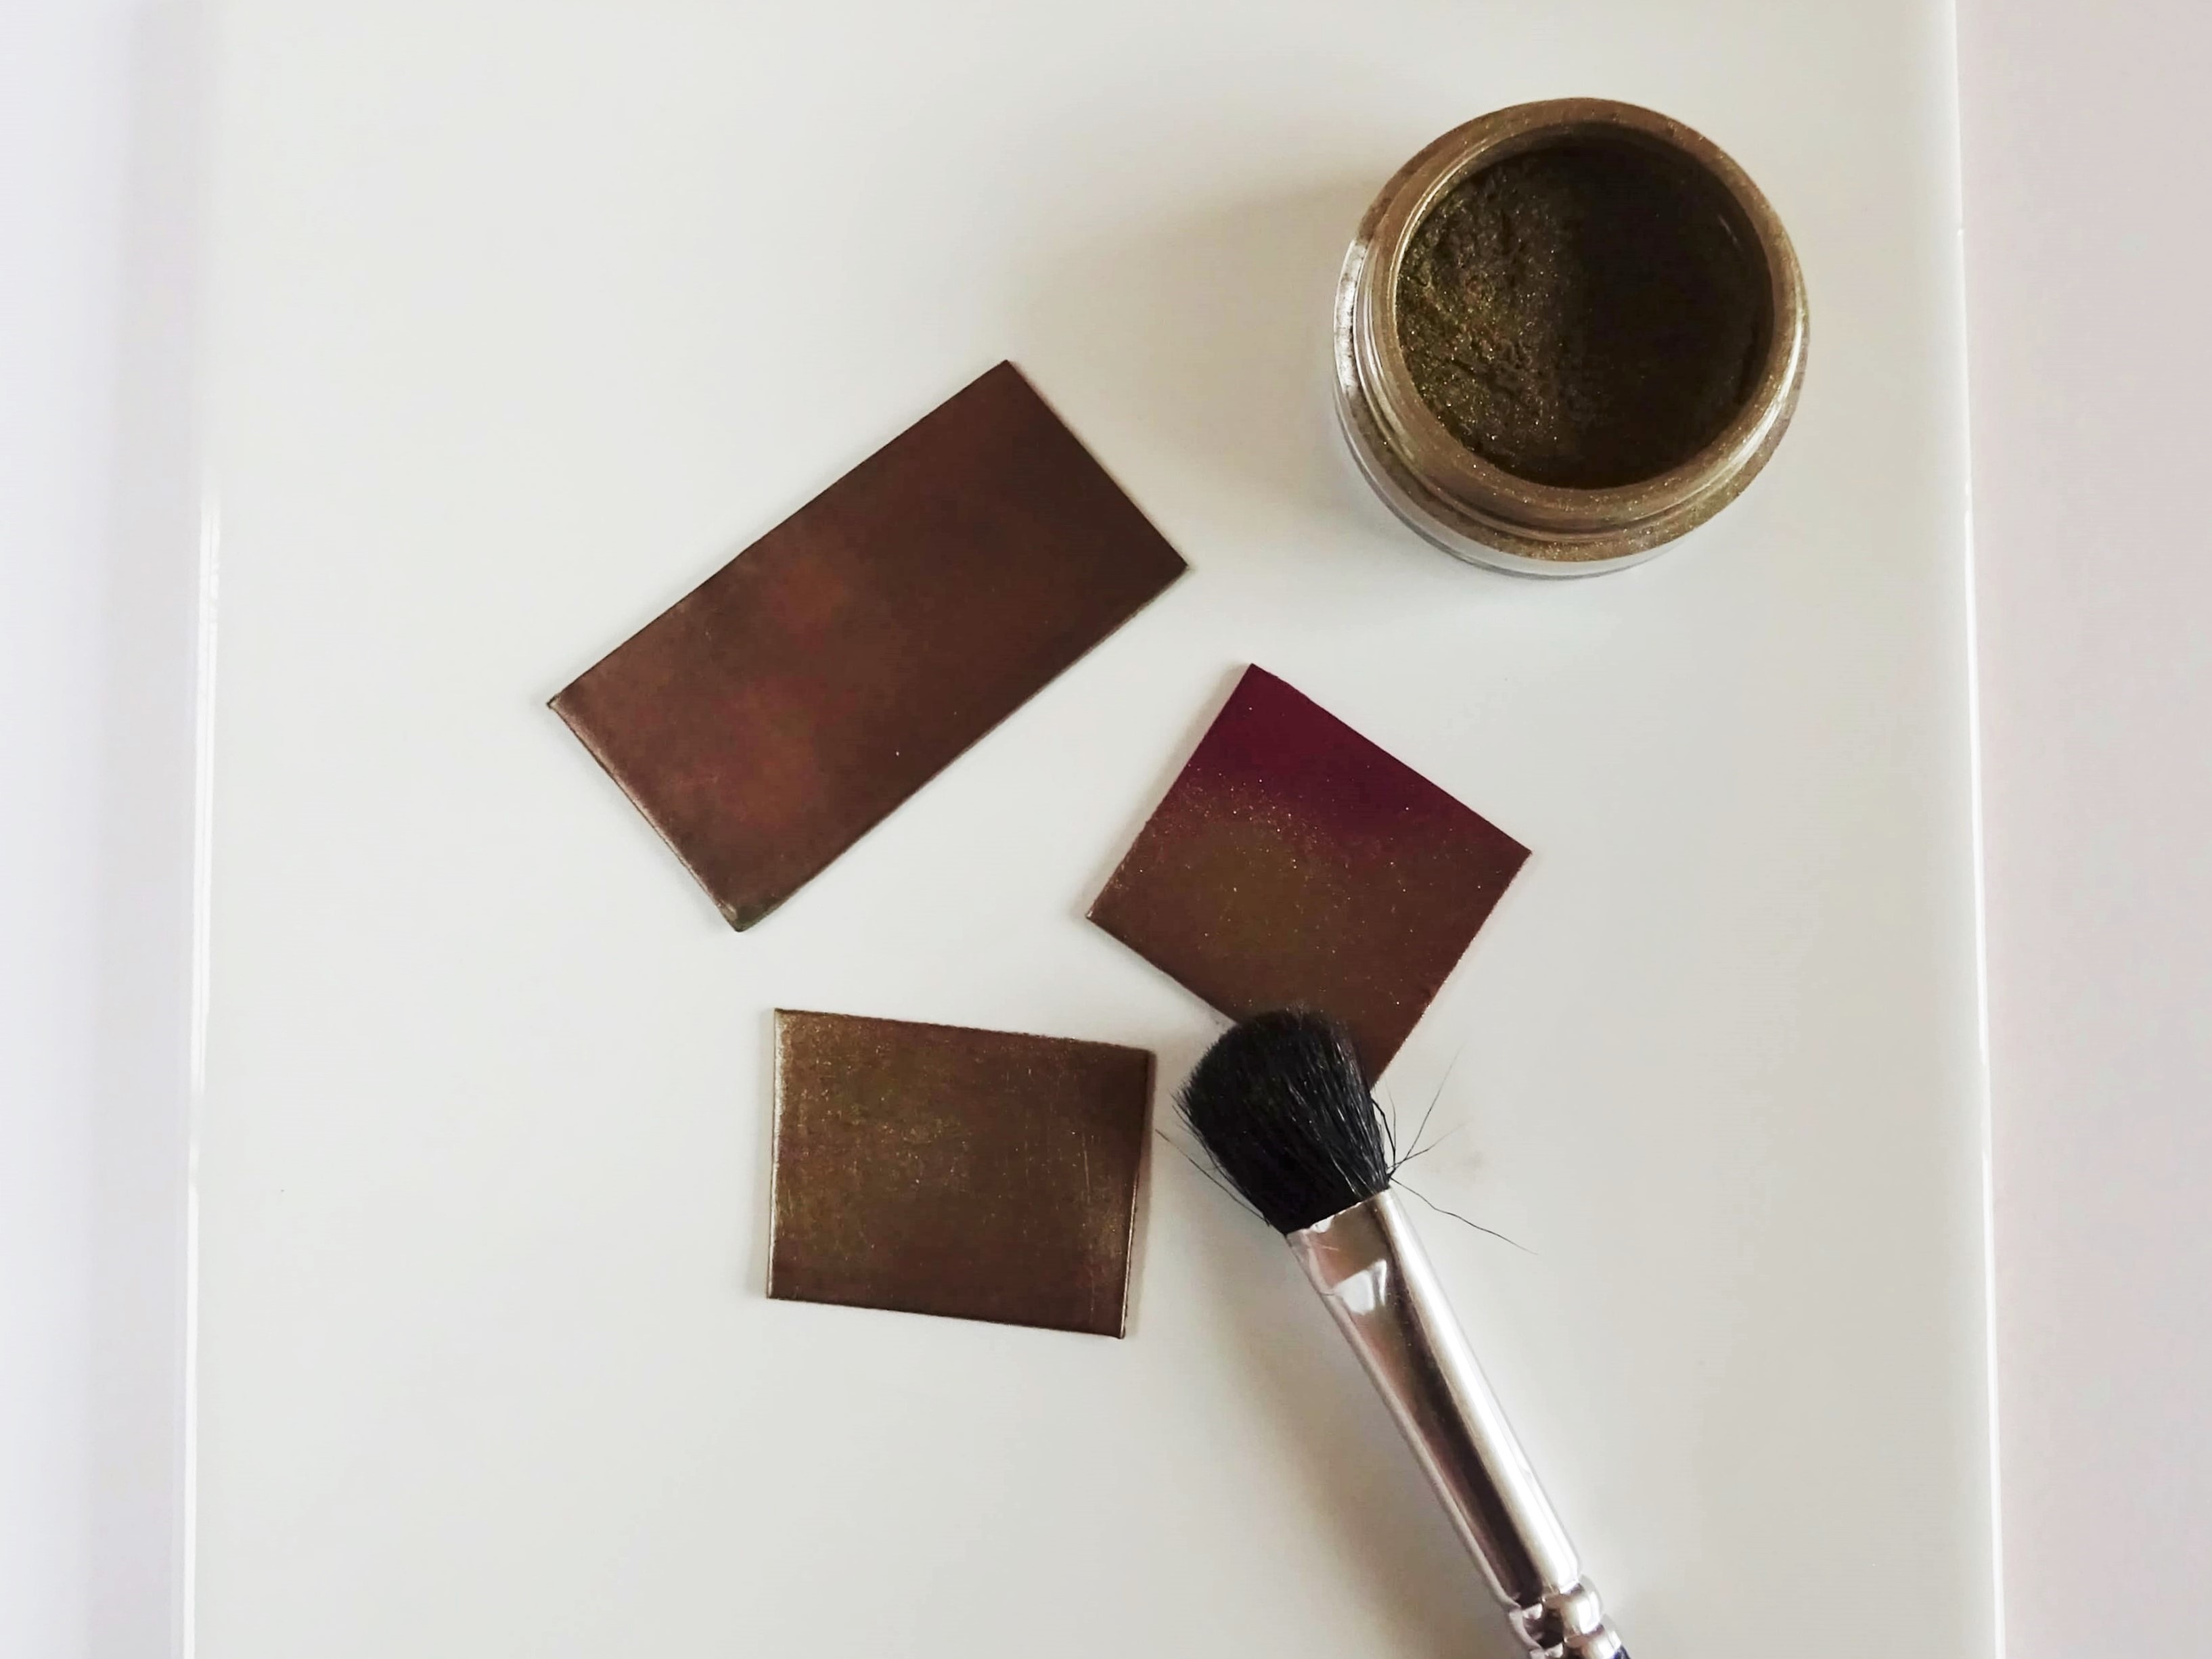
Using the excess clay mixes from step 1 roll out the red, green and brown clay to just less than 1mm thick or 5th thickest setting on the clay machine. Using a soft brush dust Ranger Perfect Pearls in Heirloom Gold over the top of the red and brown clay and the colour Cappuccino over the brown clay.

Using this brown clay coated with Perfect Pearls cut a strip 1mm wide and lay it on the brown book near the spine front and back. Cut off any excess clay and press gently to make sure it sticks onto the book.
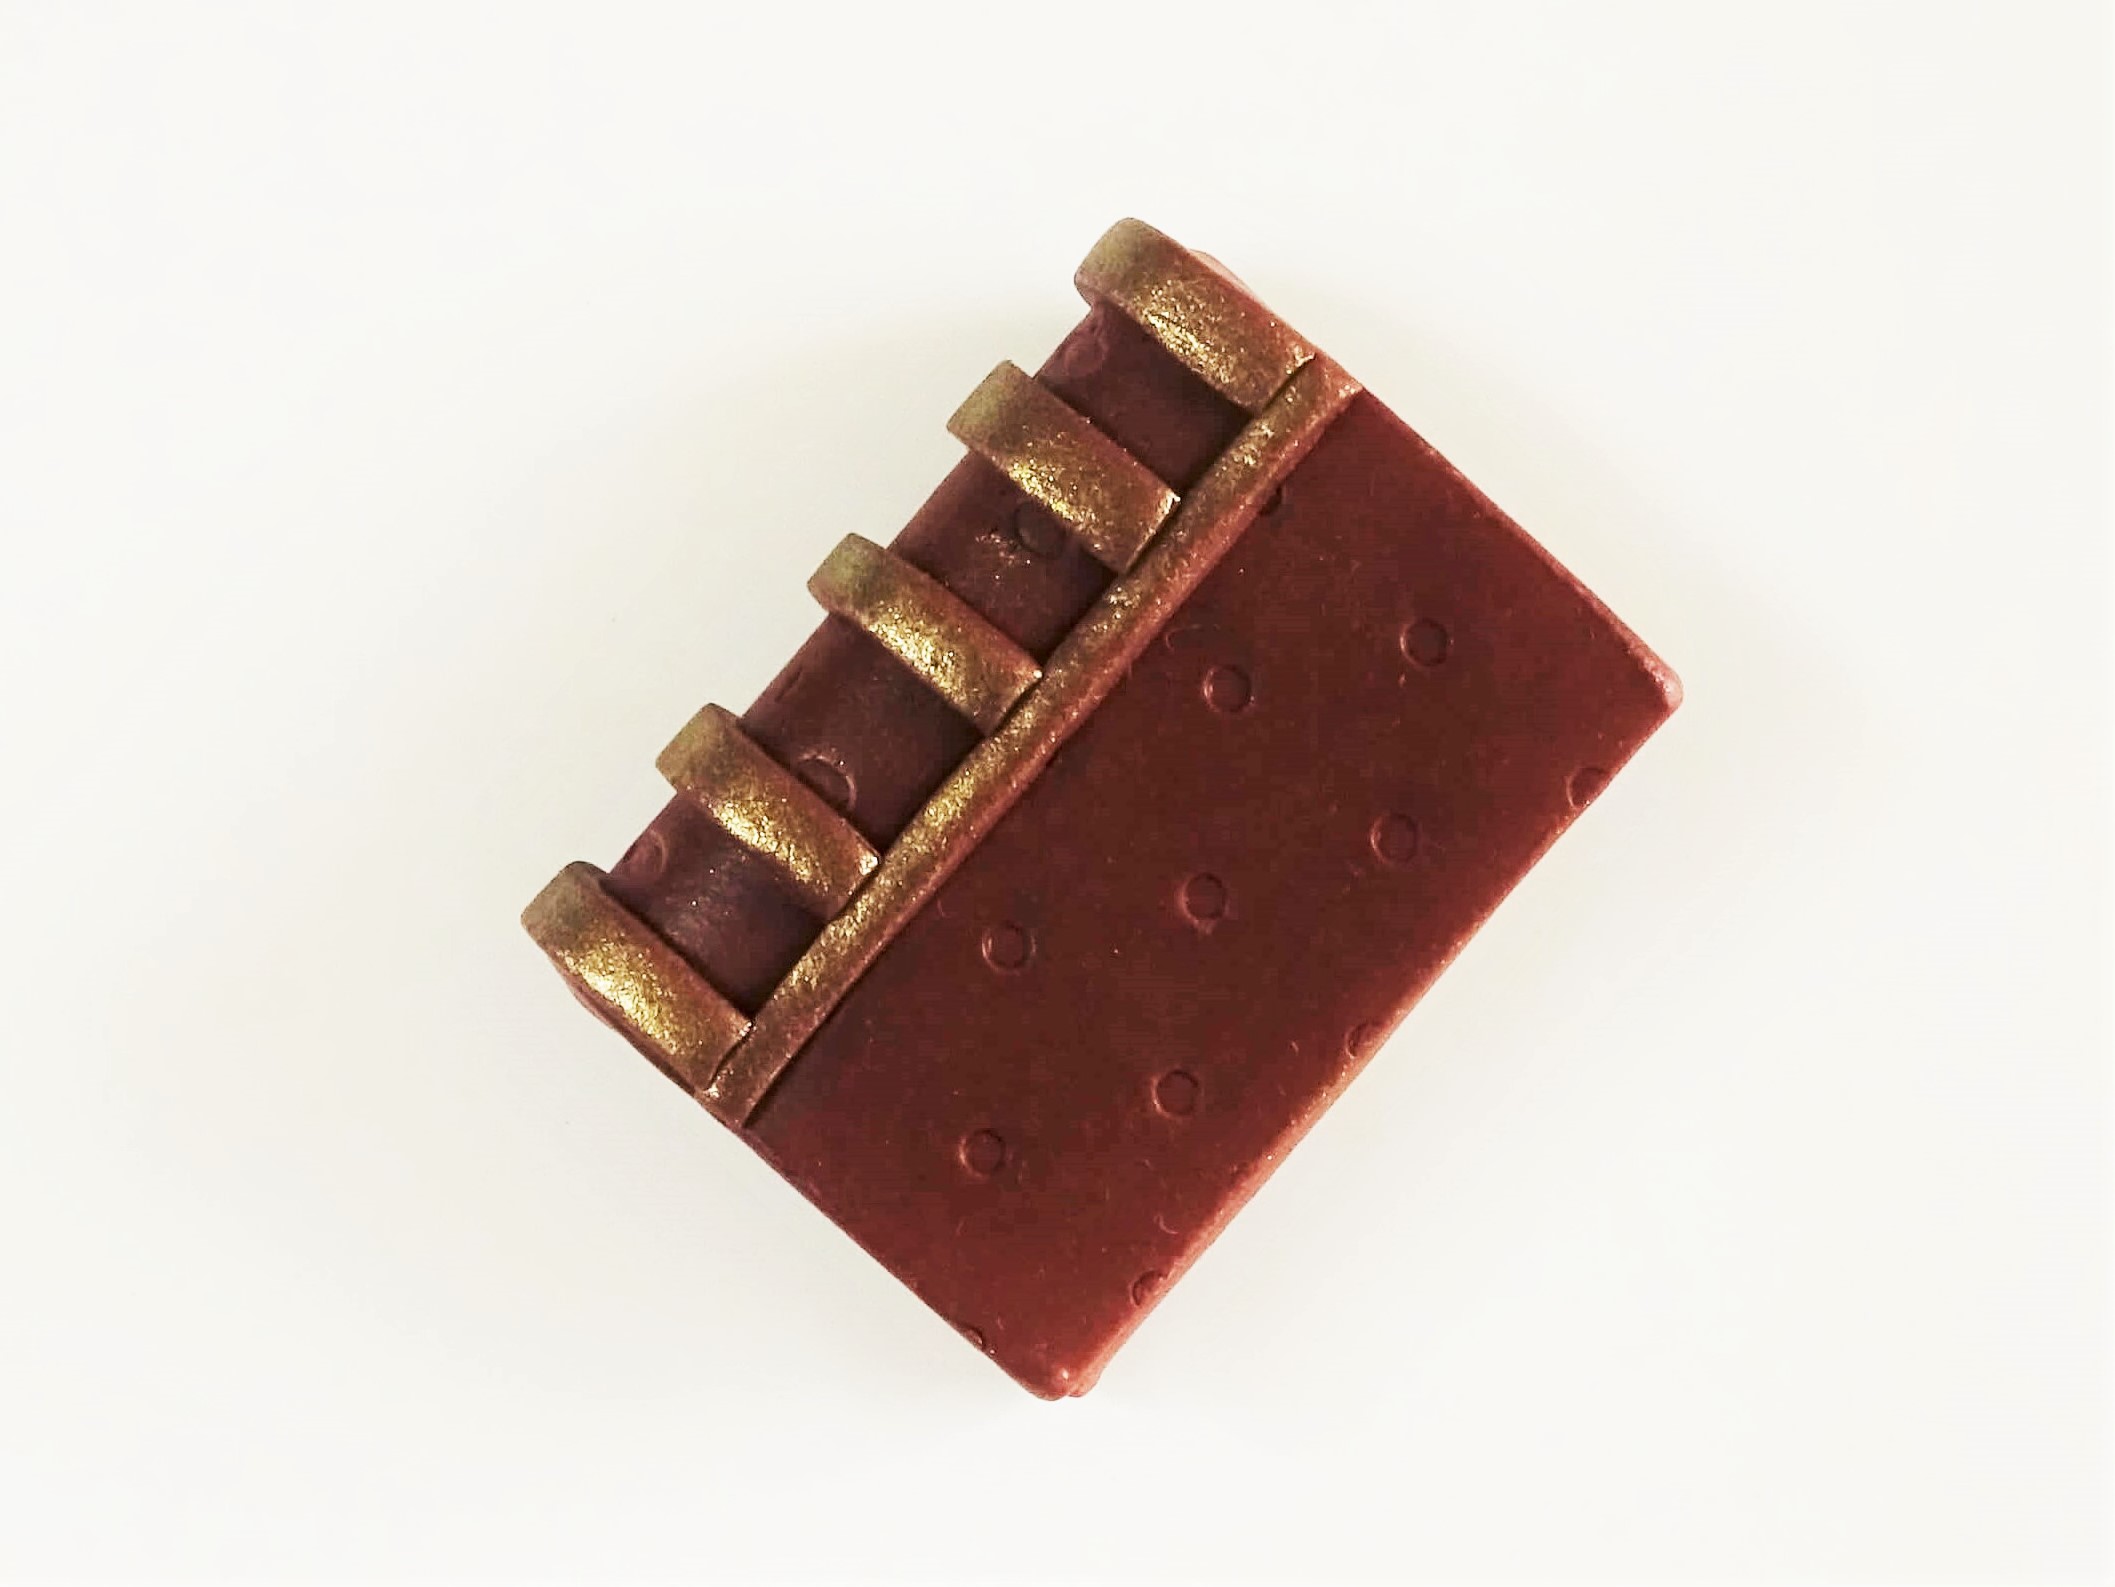
Cut another strip of this brown clay 2mm wide and wrap it around the book so that it reaches the detail added in step 8 on both sides and cut the excess off. Add this step to either end of the book first, then in the middle and finally at the two places in between. This ensures relatively even placement.
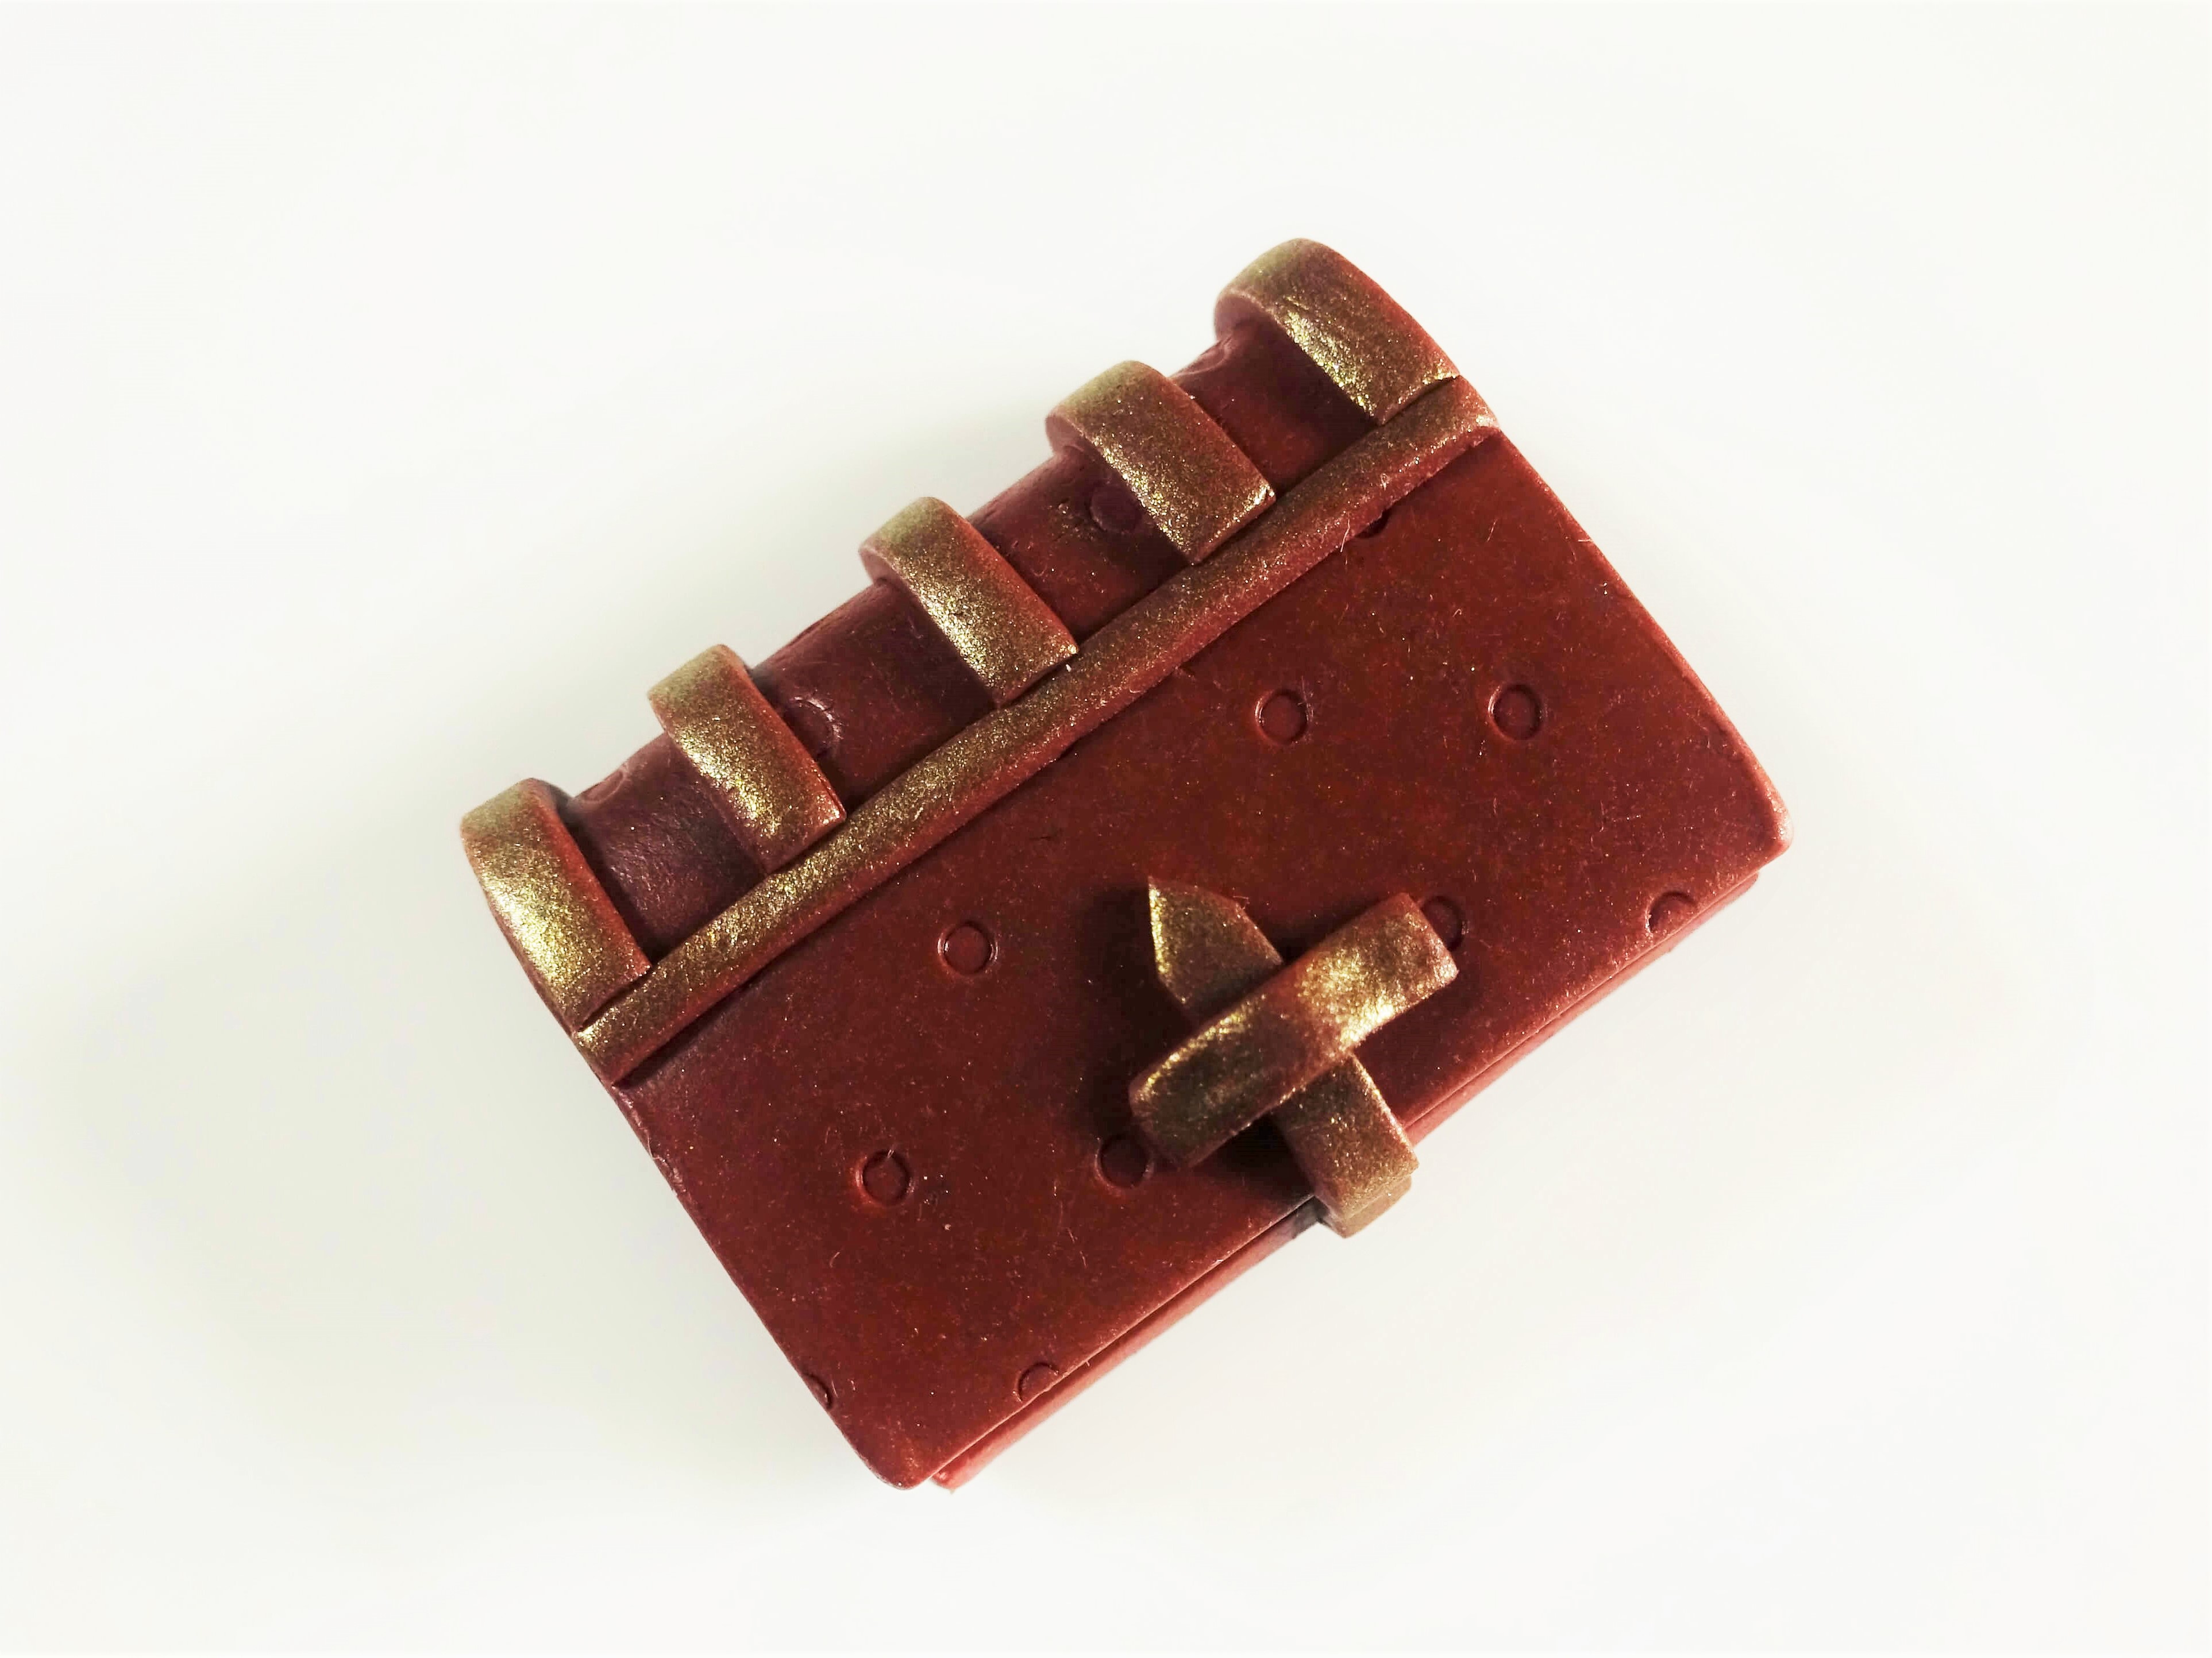
Using the same brown clay from step 8 cut a strip 1.75cm x 2mm and use a craft knife to cut a point at one end. Put this around the book cover as though it is a clasp with the pointed end on the top of the book. Cut another piece of clay 7.5mm x 2mm and place it over the piece just added to make the fastening for the clasp. Put this book to one side.

Using the green clay covered in Perfect Pearls from step 7 cut a piece 1mm thick and add it along the front and back covers and add 3 strips around the spine. Put this book to one side.
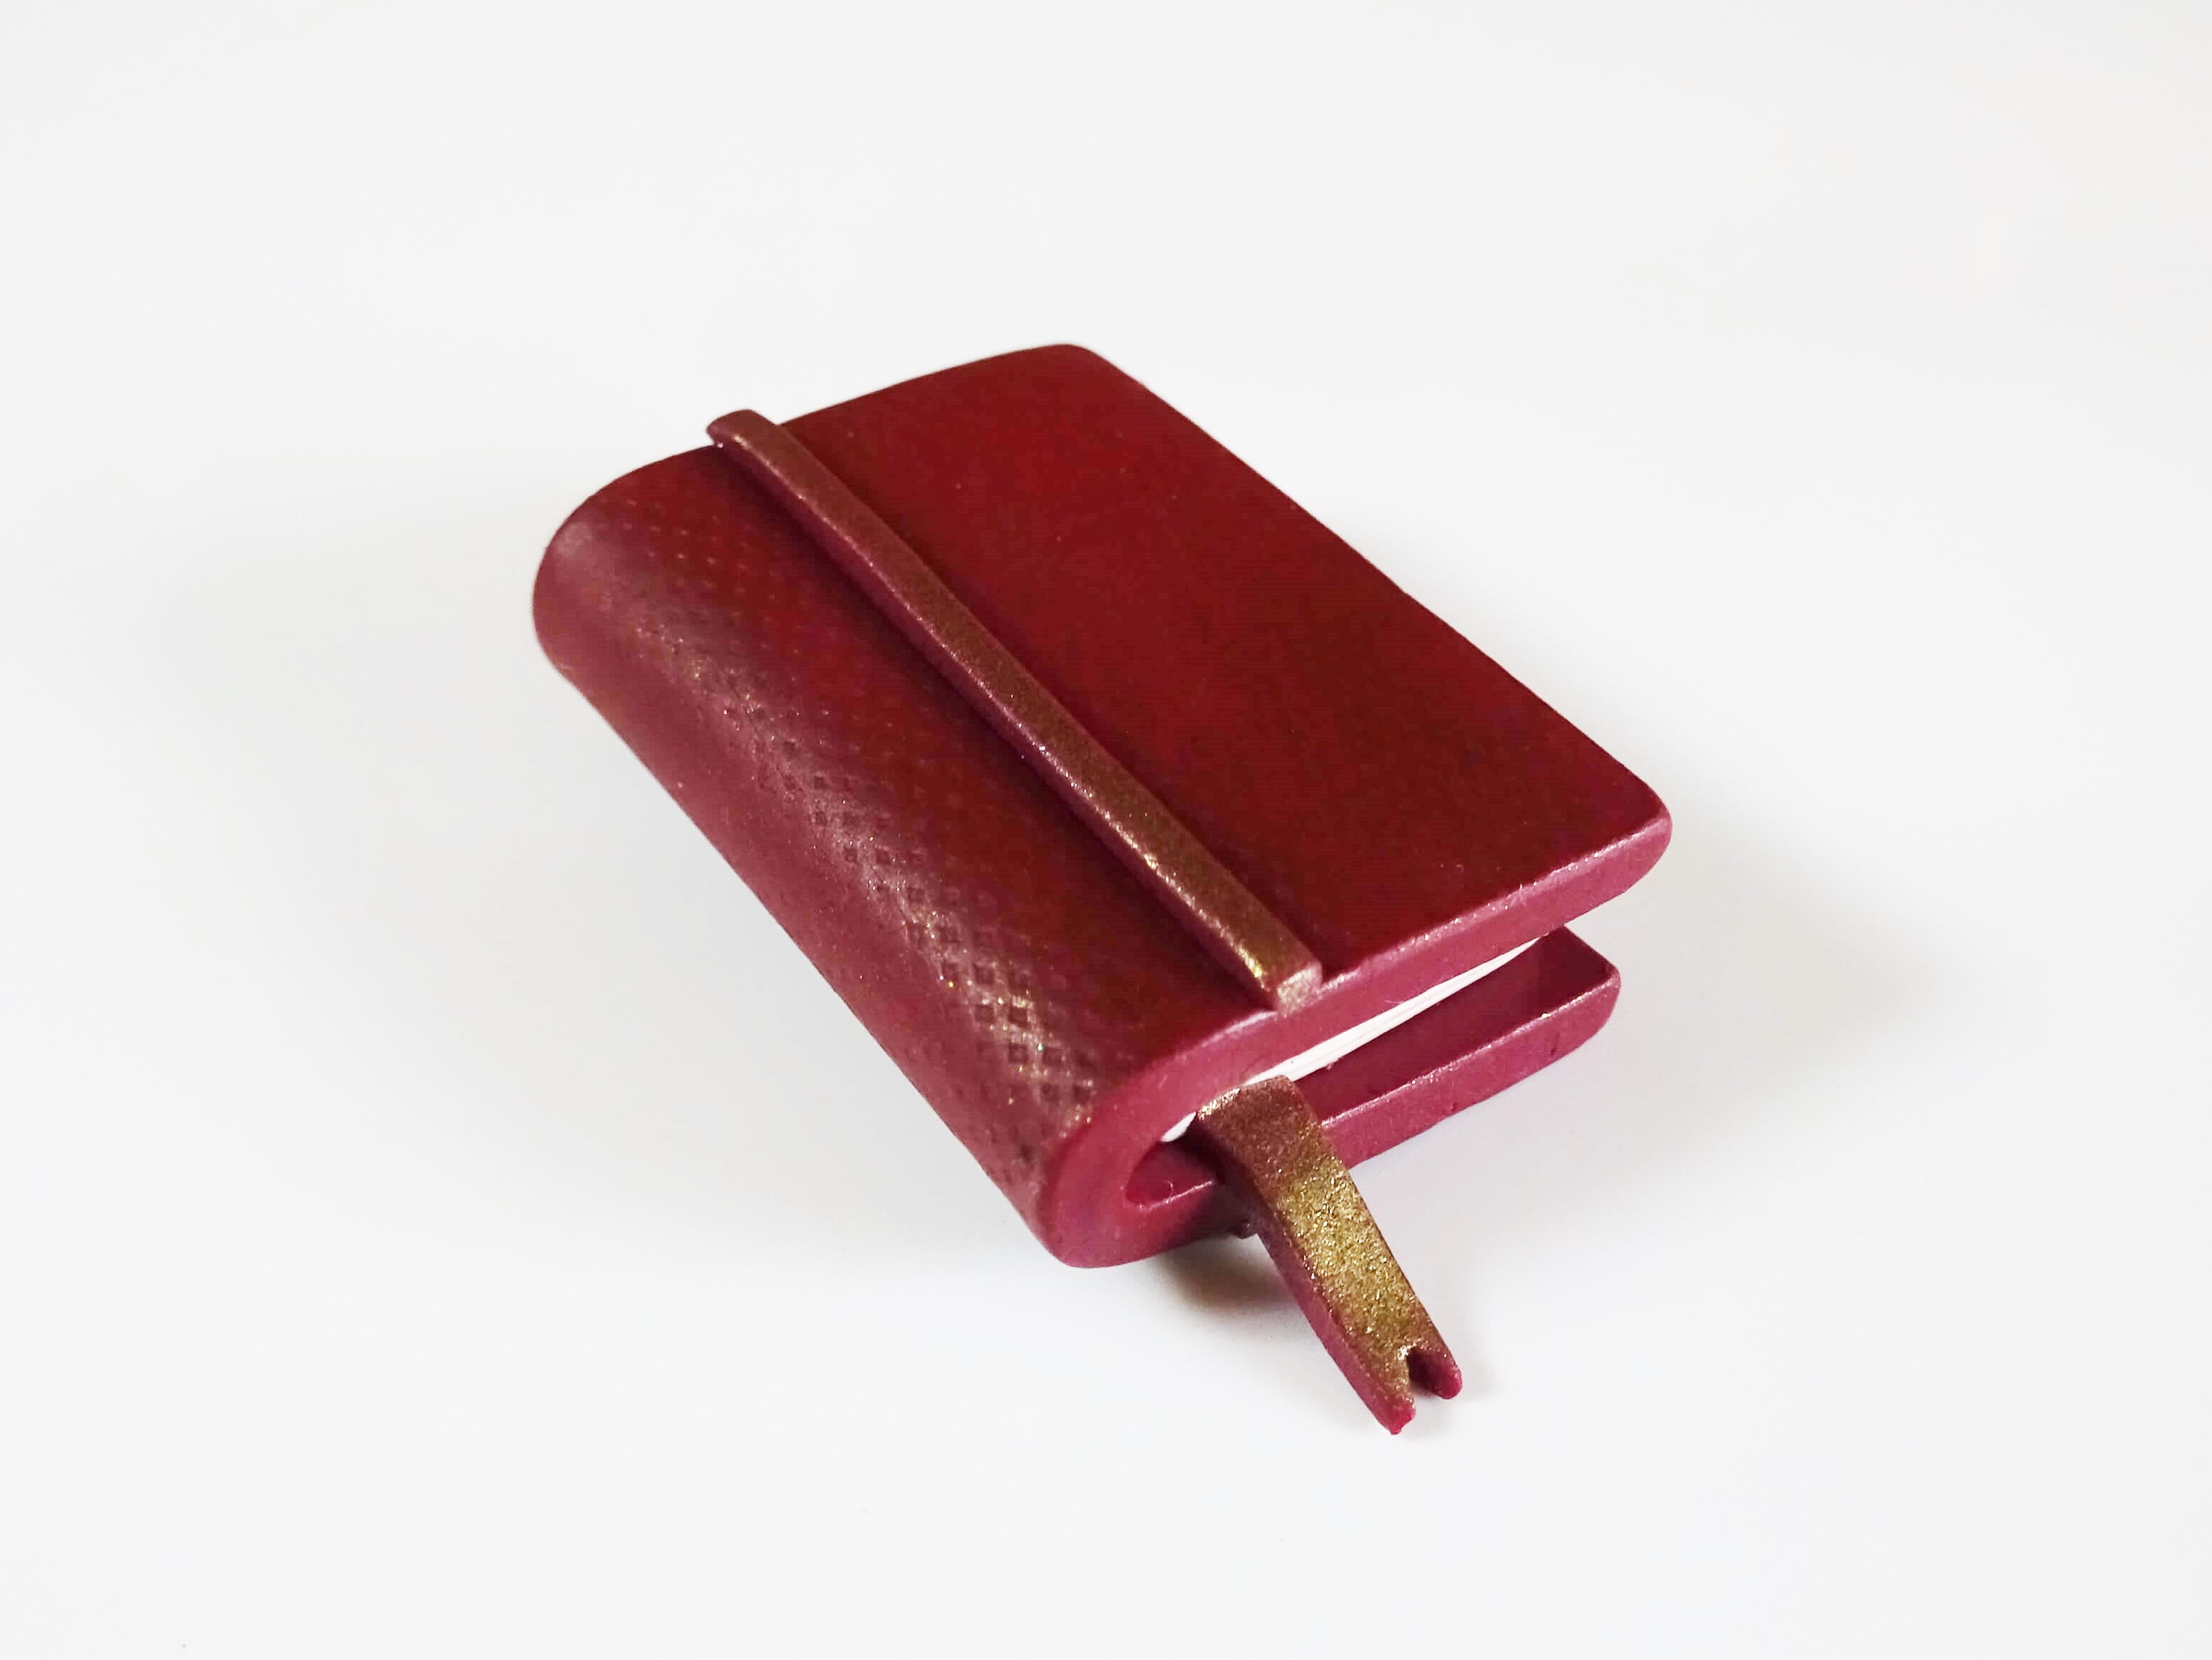
Using the red clay covered in Perfect Pearls from step 8 cut a 1mm thick strip and add it to the front and back of the red book near the book spine. For the bookmark cut another small strip and use a craft knife to cut a small ‘v’ in the end. Place it at the end of the red book towards the spine as shown and make sure it is firmly attached to the clay book.

Stack the books with the green on the bottom, red in the middle and brown on top. Position them as though they have been roughly stacked. Press all the books together so that they all stick to each other. Gently press the red bookmark onto the green book to help secure it and ensure that it isn’t easily damaged.
If you are making this into a necklace pendant Using a long sharp tool (or a cocktail stick) poke a hole from the top straight through to the bottom. Take the same tool through the bottom of the hole to neaten it up.

Harden in the oven according to the instructions on the clay packet and leave to cool. Apply 2 thin coats of Fimo gloss varnish leaving it to dry between coats.

Using antique gold findings put a head pin through the stack of books and finish with a wrapped chain. Add this onto a 32” chain with a jump ring.
You are now ready to wear your new necklace and take it with you on your adventures.

Links below for products used are Affiliate links for Amazon (UK, United States and Canada). This just means that if you use my link to buy a product I earn a very small commission, at no extra expense to you (you pay the same regardless how you find the item). Every little extra helps me to offer free tutorials.
Amazon UK
Fimo Professional in – White, Black, Chocolate, Leaf Green and Ochre
Craft chalk
Ranger Perfect Pearls in Heirloom Gold
Ranger Perfect Pearls in Cappuccino
Amazon US
Fimo Professional in – White, Black, Chocolate, Leaf Green and Ochre
Craft chalk
Ranger Perfect Pearls in Heirloom Gold
Amazon Canada
Fimo Professional in – White, Black, Chocolate, Leaf Green and Ochre
Craft chalk
I hope that this week tutorial helps you make your own set of story books full of fun and imagination. I have many more polymer clay tutorials if would like to see more and to stay up to date with tutorials and all the goings on with The Artisan Duck then don’t forget to subscribe.
Until next time, happy reading!
Hannah x


I do love this. Great teacher gift.
Thank you 😀 I had never thought of them as a teacher gift but, your right, they would make a lovely present.
Thanks Hannah for another wonderful tutorial.. adorable and I want😻
Thank you Joyce, I’m glad you enjoyed it. Let me know if you make them 😊