
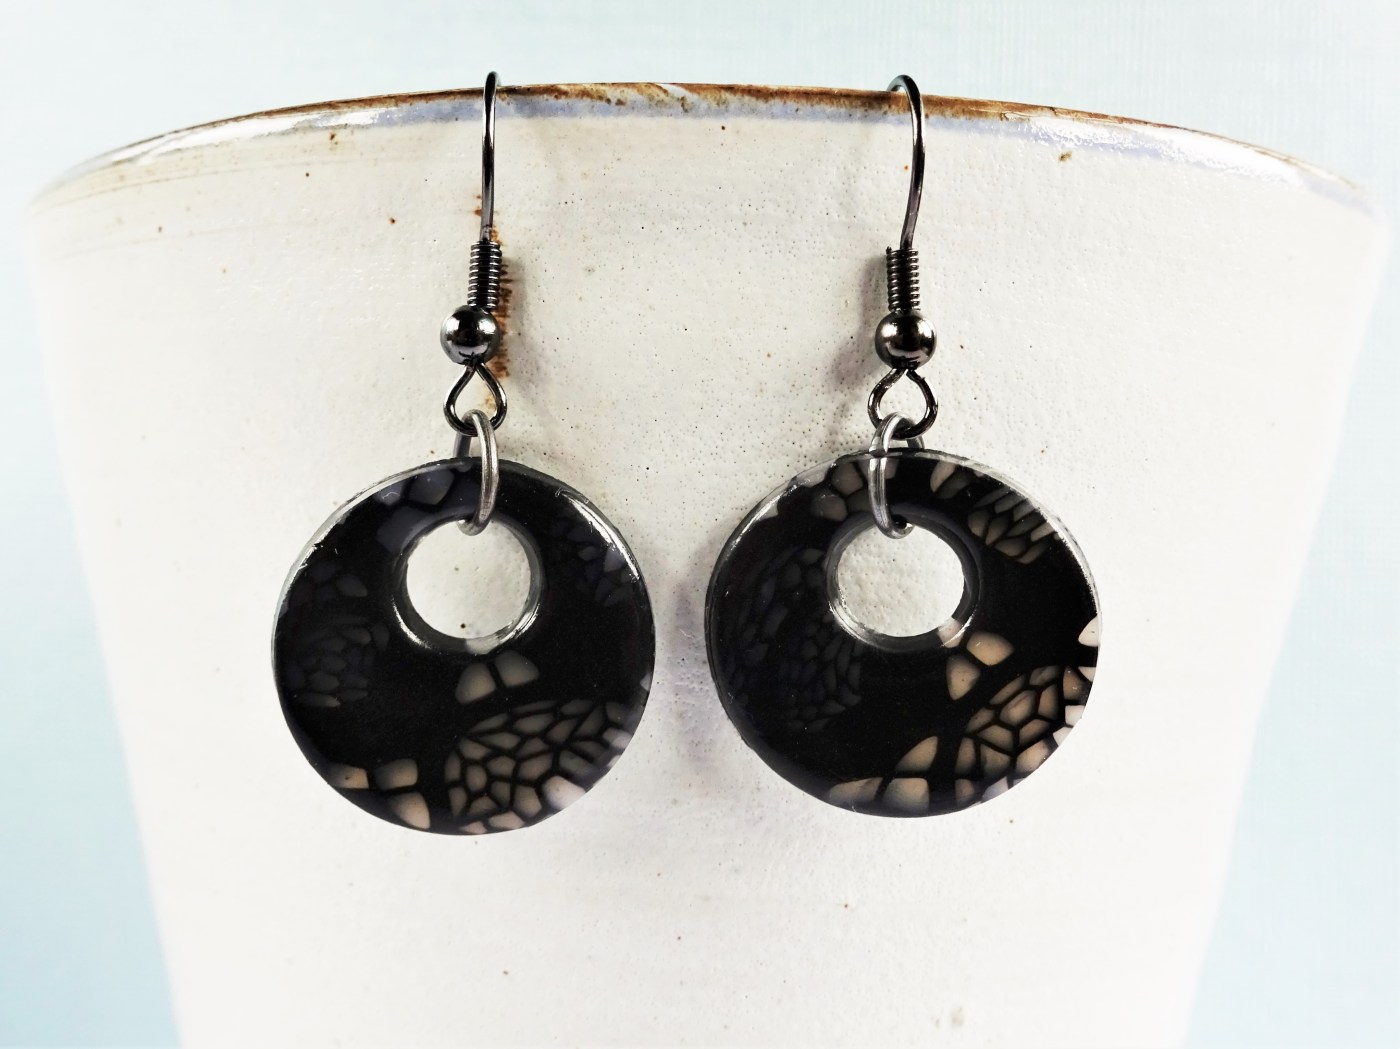
I made these some time ago but never got around to blogging them (mainly because I’m pretty rubbish at blogging at the moment!) My aim was to give the impression of a delicate lace pattern but in polymer clay. I figured that using black for the ‘lace’ and translucent to support the pattern was the best way to go.

I made a polymer clay cane, then took thin slices and (hesitantly) rolled them through my pasta machine. I say hesitantly because this can cause distortion of the cane slice. I really wish I had remembered to take a photo of a full slice of cane before cutting as it was quite something!
I must be honest here and say that there was an awful lot of clay at the end where the pattern distorted too much to make useable jewellery. I also didn’t anticipate just how thin I would have to roll it to really make use of the translucency.
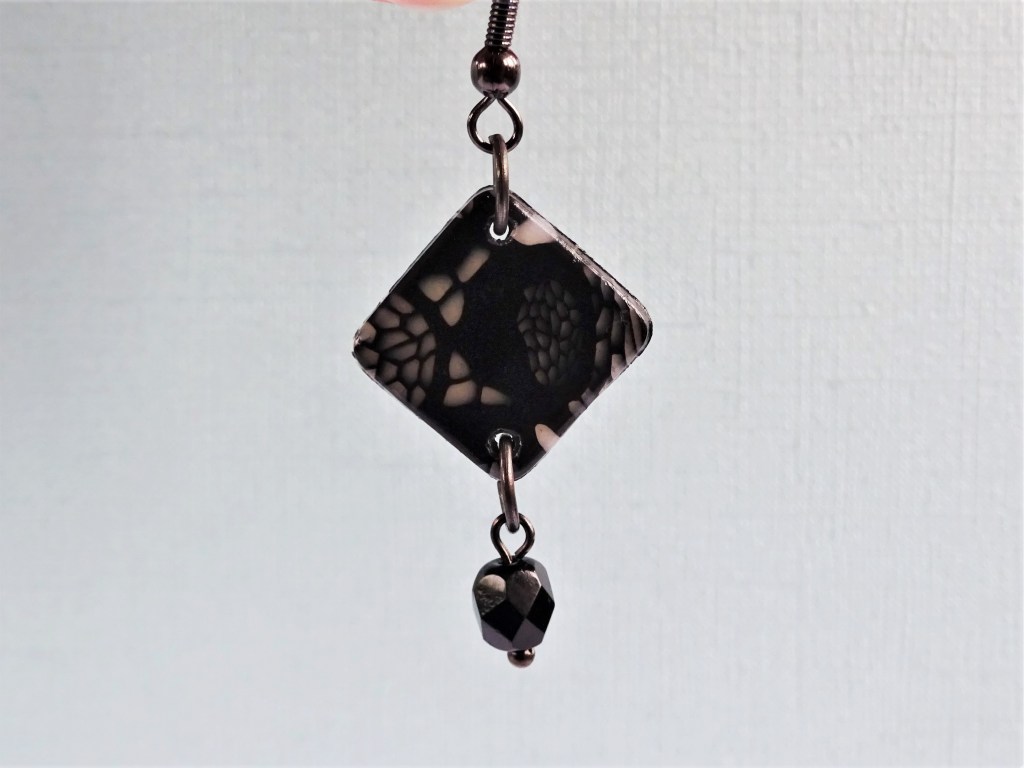
The pieces that did work I was really happy with. I made a variety of shapes and teamed them with black faceted beads.
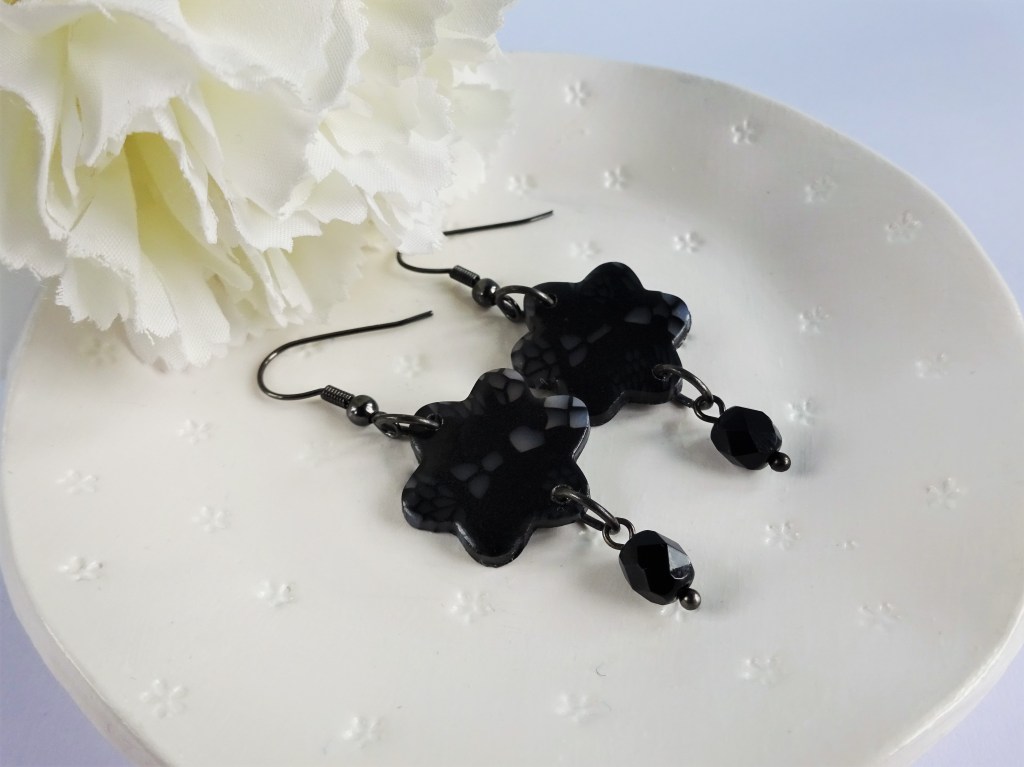
This was a bit of an experiment of my part but I think the earrings that did work are very pretty. I’m imagining glamorous hair up dos with the light shining through the earrings.
I hope you have had a lovely weekend – where do they go though?!
Hannah x


How pretty! A hair up do would show them off well.
Thank you. I love the idea of them almost having a hidden pattern – they look like black and grey away from the light and then when you hold them up to the light the pattern really pops.
Oh, they are beautiful!! 💜
Thank you 🙂
These are so unusual , and just stunning.
Thank you so much 🙂
Gorgeous! This was made some time ago so you’ve probably seen this by now, but for others reading your tutes:
to get a slice of clay very thin without distortion: put your slice of translucent cane on a plain piece of translucent the same thickness. Change your number to two thicker, run the joined pieces through. Change to the next thinner level and run through again.
You can keep doing this all the way to 9, or whatever your thinnest setting is. (I have an Atlas so 0 is thickest, 9 thinnest, though I don’t go past 7 usually) just keep repeating.
So, 1) roll a piece of clay the same color and thickness as your cane slice or slab/veneer.
2) Join them, then put through pasta machine set 1 thicker than what they were separately.
3) Roll once through at the next number down (thin) by one setting. Repeat. You now have a piece one level thinner with no distortion.
For even thinner, repeat from the beginning. If you’re working with soft clay and/or it’s warmed up a lot, let it rest first.
It sounds like a lot but it’s quick and easy. I’m just terrible at directions 🙂
Thanks. I think part of the problem here is that I didn’t reduce the cane sufficiently before cutting so any slight effort to make it a little thinner meant that I lost some of the detail in the jewellery pieces – I mean that once I had thinned the slice out further I had spread the design more so cutting small pieces for earrings ended up with the design looking really zoomed into one small section (if you see what I mean). Thanks for the tip though – I’ve learned from some very bad results not to touch the clay machine once I have make my veneer. I always seem to mess it up in some way! I shall try your tip next time.