
The day ran away with me yesterday and I didn’t manage to finish my Inktober ‘drawing’ so I’m posting this a day late but I hope yesterday’s polymer clay post made up for it.
Day 6 was ‘Husky’ and I must admit to feeling a little defeated before I had even started. Roll on a busy day with the kids where I mulled over what options I had and decided that just drawing a dog wasn’t quite the direction I wanted to go in. The truth is, I had a box of stamp carving supplies sitting in a cupboard and I saw an opportunity to try a new craft whilst still keeping in with the spirit of Inktober – just as the ink is permanent so is that cut of the carving tool. I was banking on the fact that I felt the drawing could be kept simple ie, easier to carve, whilst still making it clear what the subject was and it would look good in black and white.
I took step by step photos of the whole process for anyone interested so this will be a slightly longer Inktober post. Cup of tea ready? I shall jump in…..
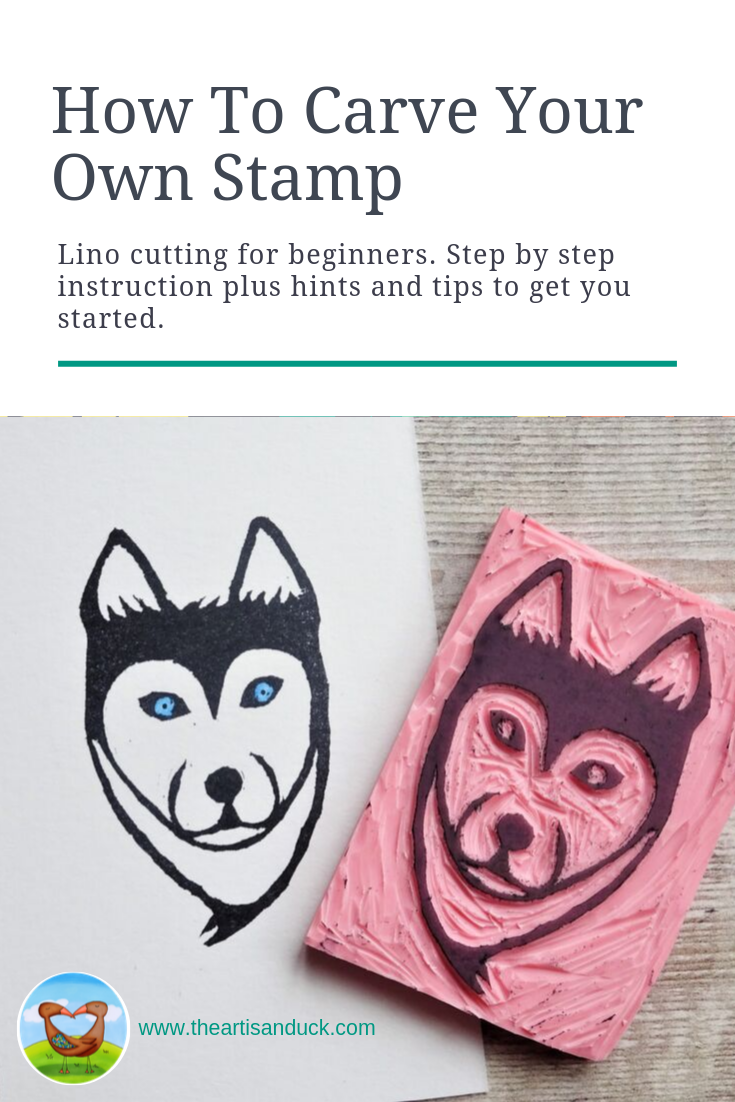
How I Lino Cut My Own Stamp

1) I began by drawing a few ideas and once I had a drawing I was happy with I traced over with some tracing paper and pencil. I made sure the lines were dark on the tracing as I was going to transfer these onto my carving block.

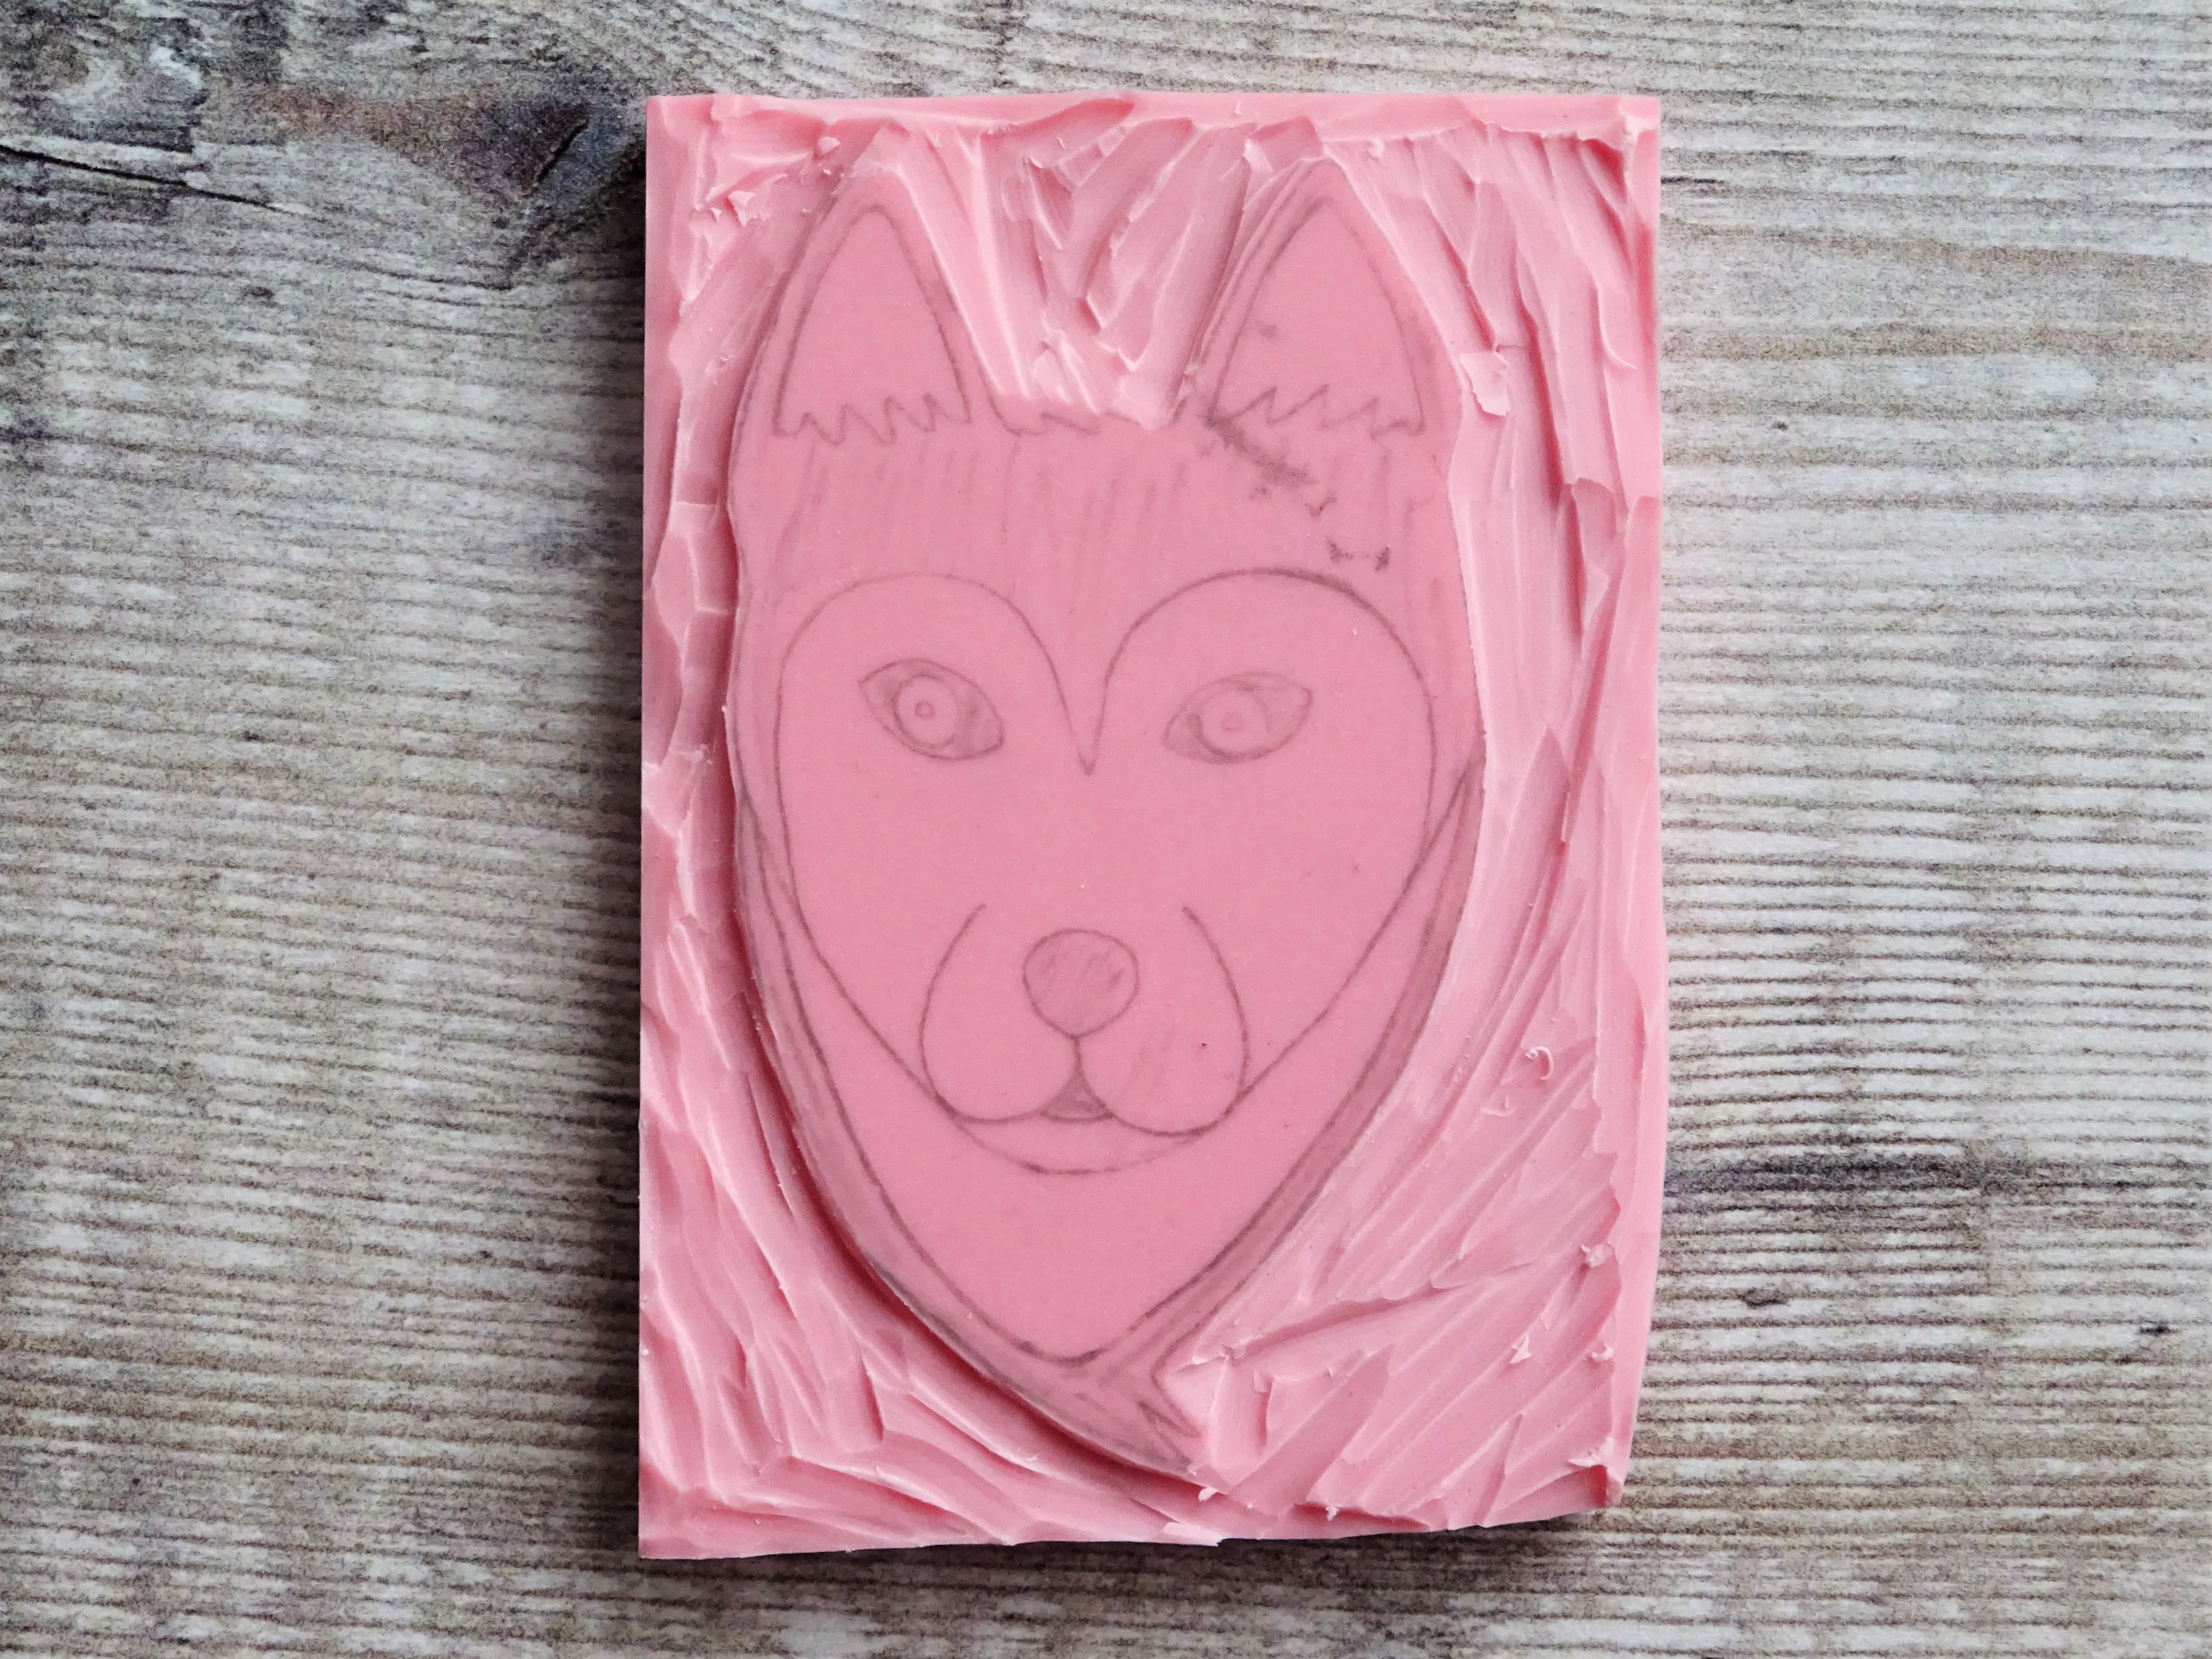
2) I turned my traced image over so that the graphite from my pencil was on the carving block. I redrew over my lines. I didn’t need to press hard at all for this to work. The graphite transferred easily onto the block.

3) Here is my image ready for carving. I used my pencil to lightly shade in the places that were to be kept black and therefore not cut. I also went back in after this photo was taken and thickened up the lines that I needed to keep between the white sections for definition around the jaw and nose area.
4) I began cutting around the edges of my block with the biggest carving blade I have. I only have two in my set (the other is for detail).
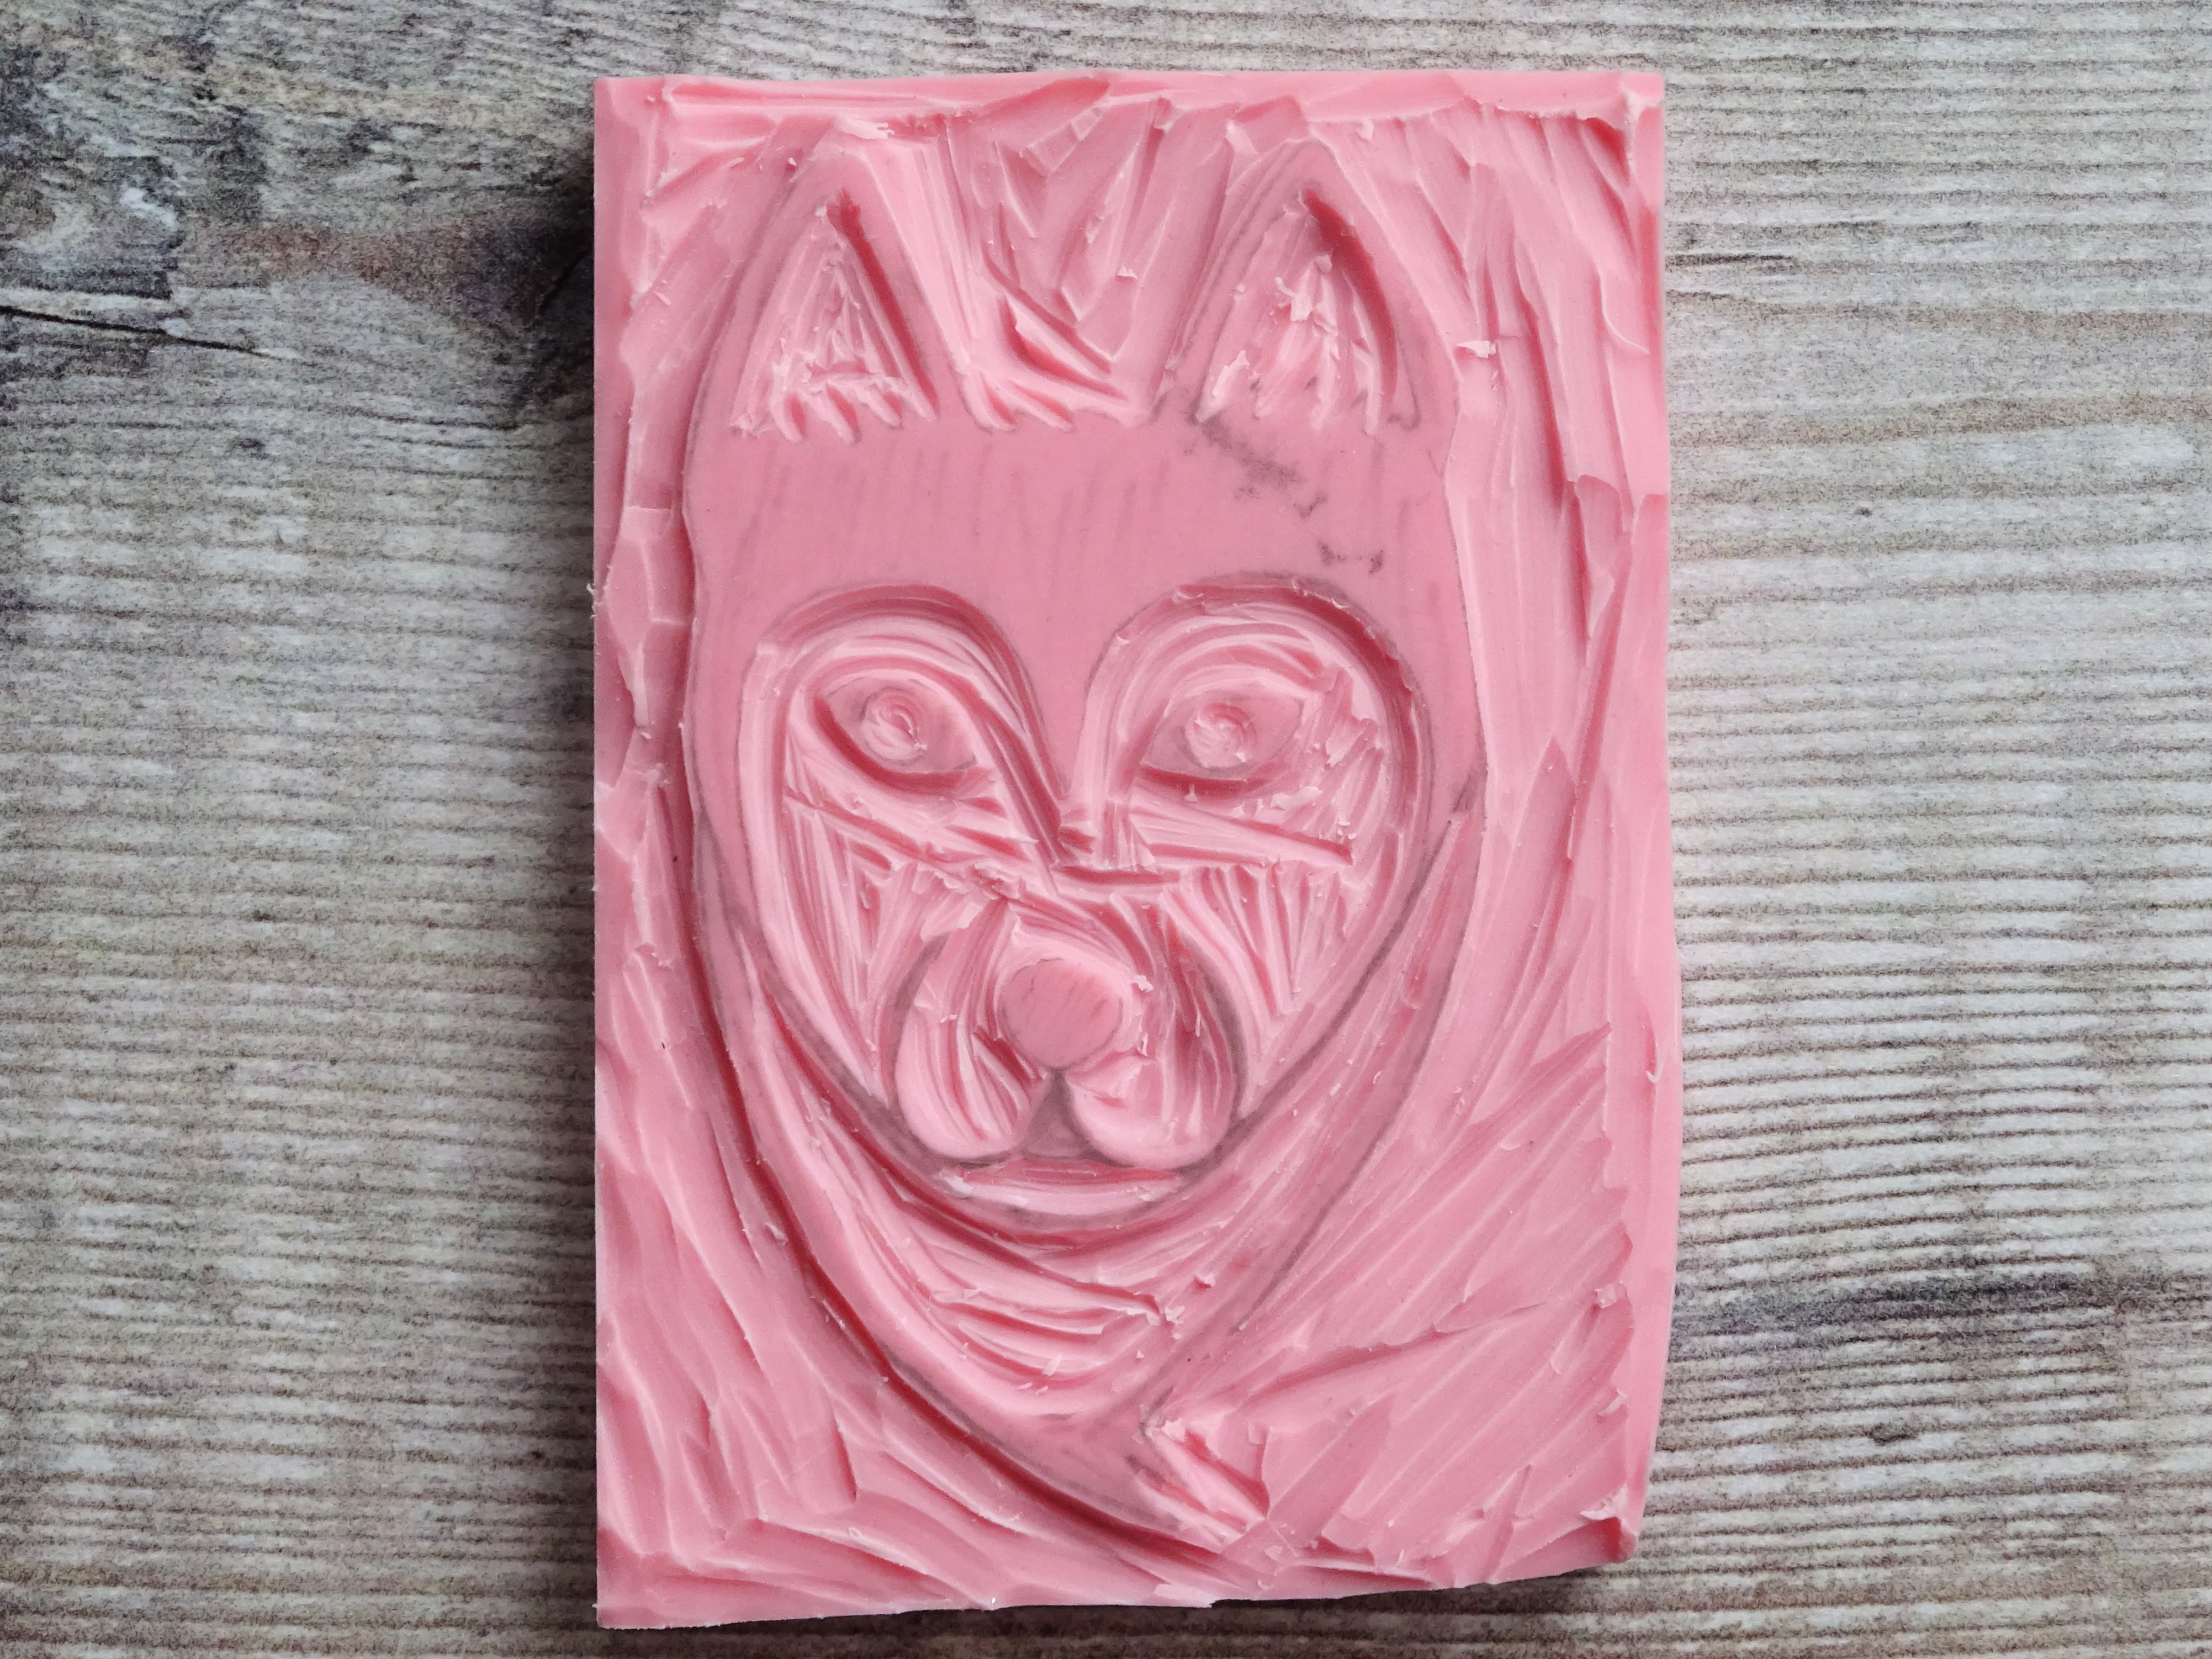
5) Eeek, time to cut the details. I switched to a smaller cutting blade and slooooowly started going around the details. This was by far the hardest and most risky part of the whole process.

6) I used a black ink pad from my card making days to ink up my stamp. As you can see, there were a few bits that I needed to go back and carve.

7) My second time stamping it the image is a lot cleaner but I didn’t press hard enough on one side. Also, I couldn’t cut around his pupils so he looks quite scary here!

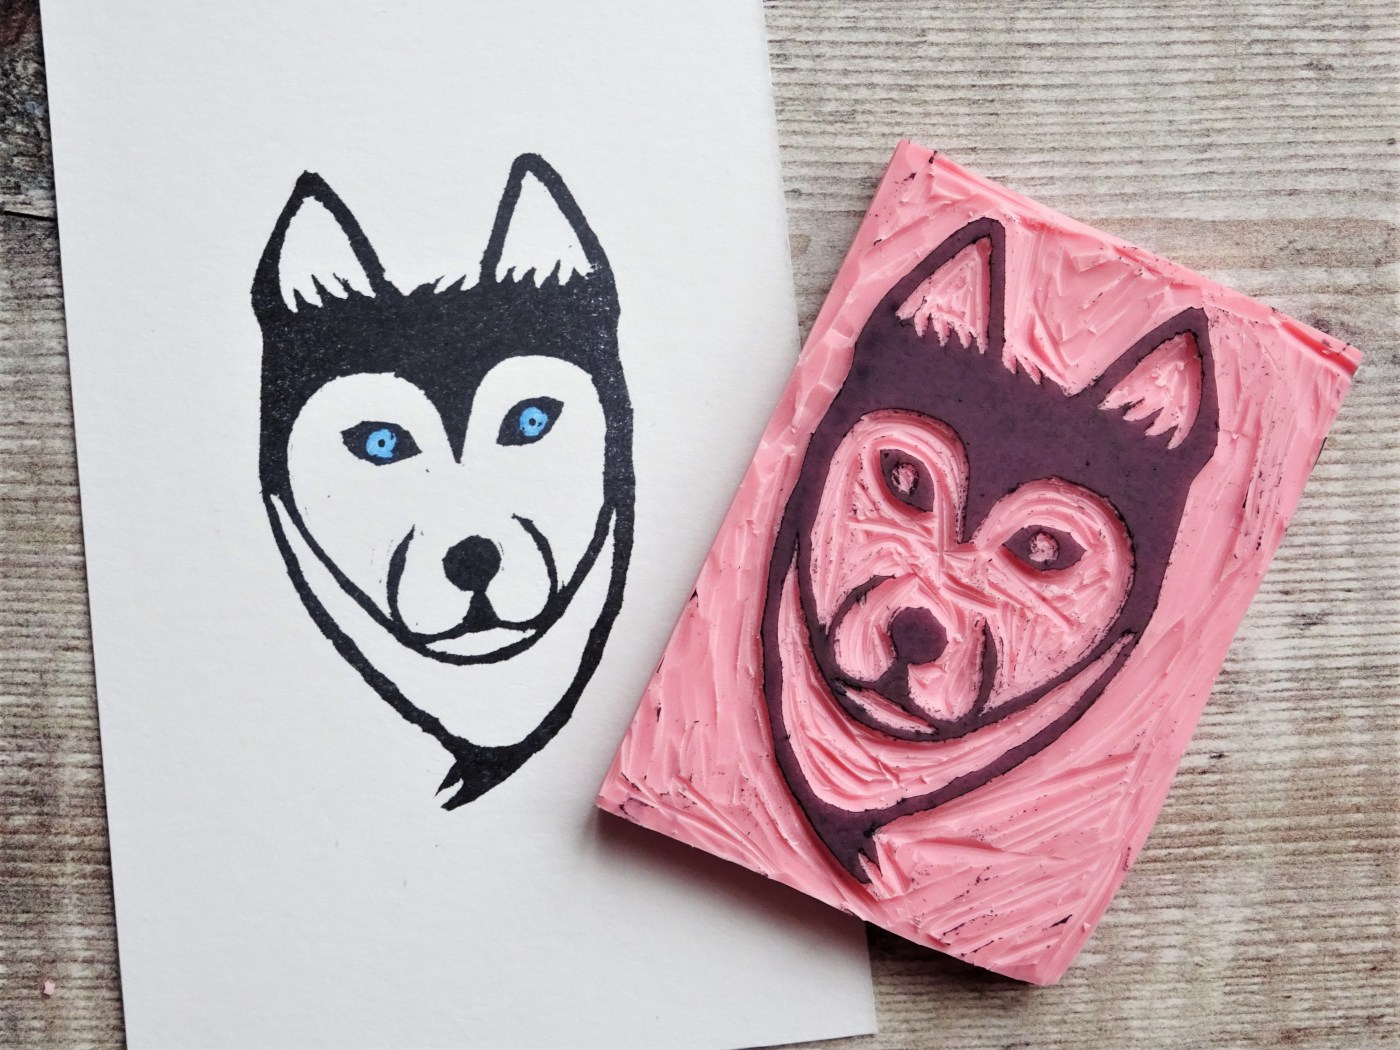
8) Here is the finished picture. I had to colour his eyes blue after seeing these gorgeous dogs whilst on holiday this year. I saw two together and their eyes were striking. Oh, I also added pupils.
Overall I thoroughly enjoyed this whole process and it felt like a little break from the previous Inktober drawings I have done (check them out here if you fancy seeing some suspicious looking fish and colourful collage).
So, what have I learned about stamp carving I hear you ask (ok, maybe not but I’m going to tell you anyway).
Tips for getting started with Stamp Carving (Lino cutting)
1) Have a plan. Decide right at the drawing stage what lines are going to be cut and which ones left. Indecision with the blade in your hand will possibly result in making a mistake and once it’s cut there is no going back.
2) Start with a simple drawing. It is so tempting to get carried away and want to try something elaborate but carving a design is very different from drawing with a pencil.
3) Before carving your image try on the edges or on some scrap block to see how the blade feels and moves. You can gauge from here how hard to press to cut and how fine a line you can get with the different blades.
4) Take is slow. It really only takes a second of rushing to ruin the whole design.
5) Cut away from your hand because I can only imagine how easy it would be to cut yourself if your hand slipped or the tool skidded out of the block.
6) When cutting move the block to follow the line of cutting as opposed to moving the tool. I found I could get a smoother line by slowly moving my block whilst the tool kept relatively still.
So, are you a stamp carver? Do you have anymore hints and tips for me because believe me this is definitely an artform that I plan to try again. I would love to hear them.
Hannah x


Interesting! I don’t think I’m brave enough to try it — I’m not safe with any sort of cutting implements in hand LOL. It looks like it was a fun project, and a great way to use the “husky” prompt.
I must confess that I was so careful as I was terrified I’d slip whilst cutting and hurt myself. It was a lot of fun though.
Those are fun! I find the act of carving weirdly satisfying. Haven’t done any in quite a while though. I should get back into it. Thanks for the post!
Thanks, glad you enjoyed it 😀 ooh, carving the stamp was very satisfying. It was odd though not really knowing what the end result would be.
This is just stunning. I need to have another go at lino carving
Thank you. I found lino cutting really therapeutic. Maybe because it was a different craft so I put no expectations on the end result. When I have a little more time I will return to it and have another go.