

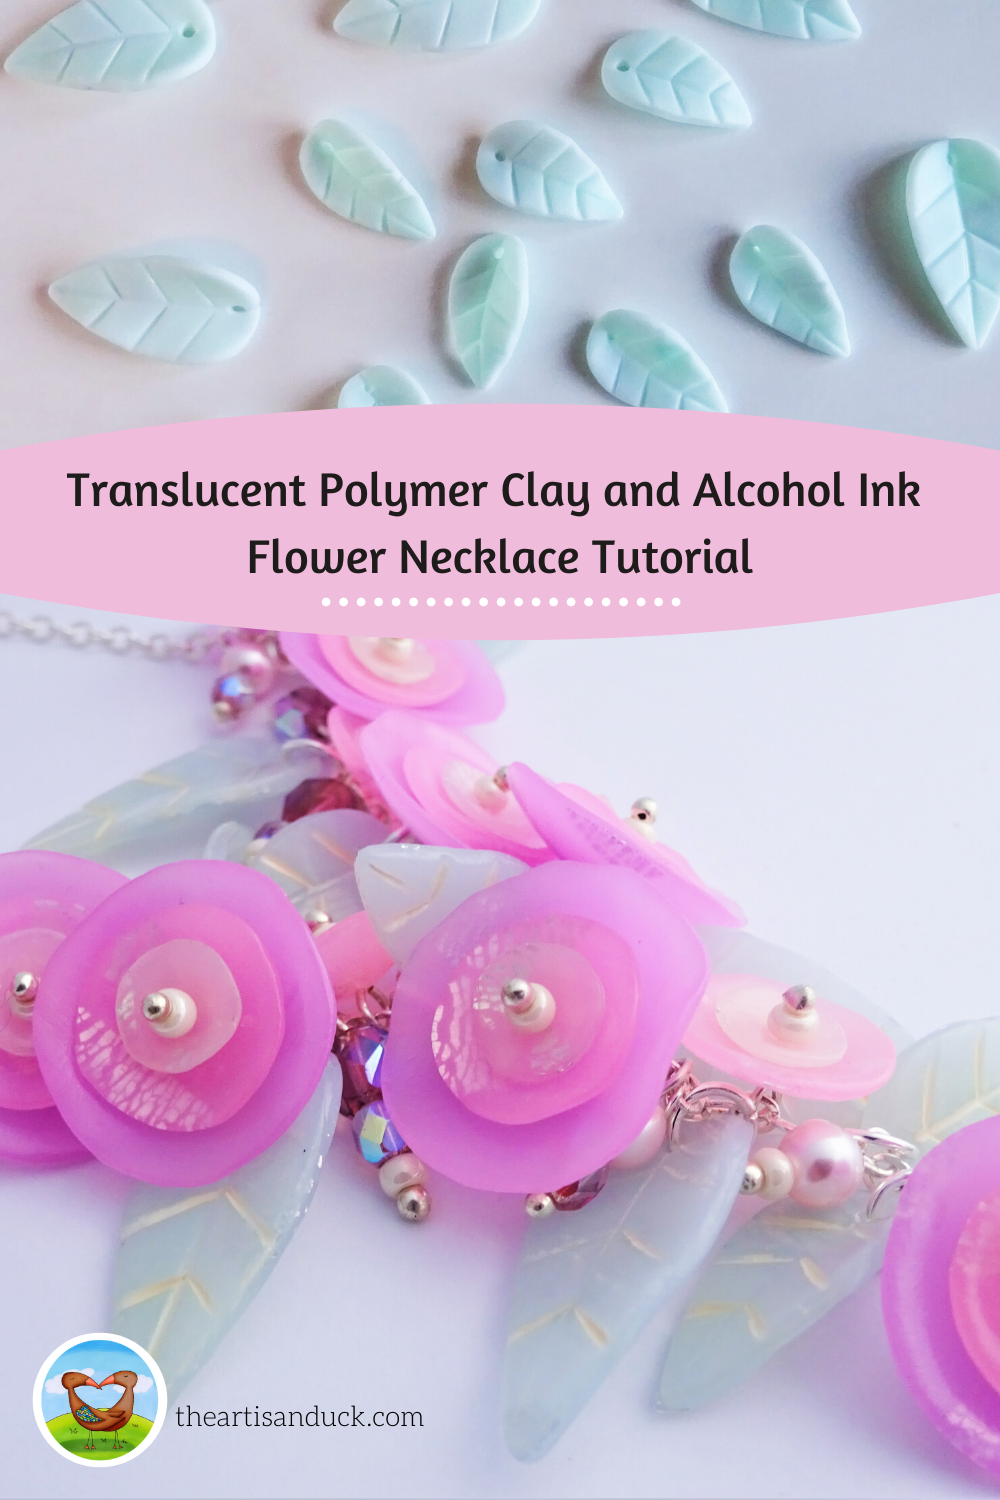
I think we can all agree, if you live in the Northern Hemisphere, we are all ready for the first signs of spring. With that in mind today’s polymer clay tutorial is a spring flower necklace.
To keep the flowers and leaves light and airy I have used translucent clay and tinted it with alcohol inks. I have raided my bead stash for seed beads, pearls and faceted beads in all sizes in pink and purple to help accent the flowers.
Translucent Polymer Clay and Alcohol Ink Flowers and Leaves Tutorial
You will need –
- Fimo Translucent clay
- Pinata Alcohol ink in –
- Passion Purple
- Senorita Magenta
- Sunbright Yellow
- Rainforest Green
- Acrylic paint in beige
- Fimo silver foil
- Fimo gloss varnish
- Selection of pink and purple beads (pearls, seed beads, faceted beads)
- Silver plated head pins (I like the ones with the ball head)
- Silver plated chain
- Silver plated jump rings
- Silver plated clasp

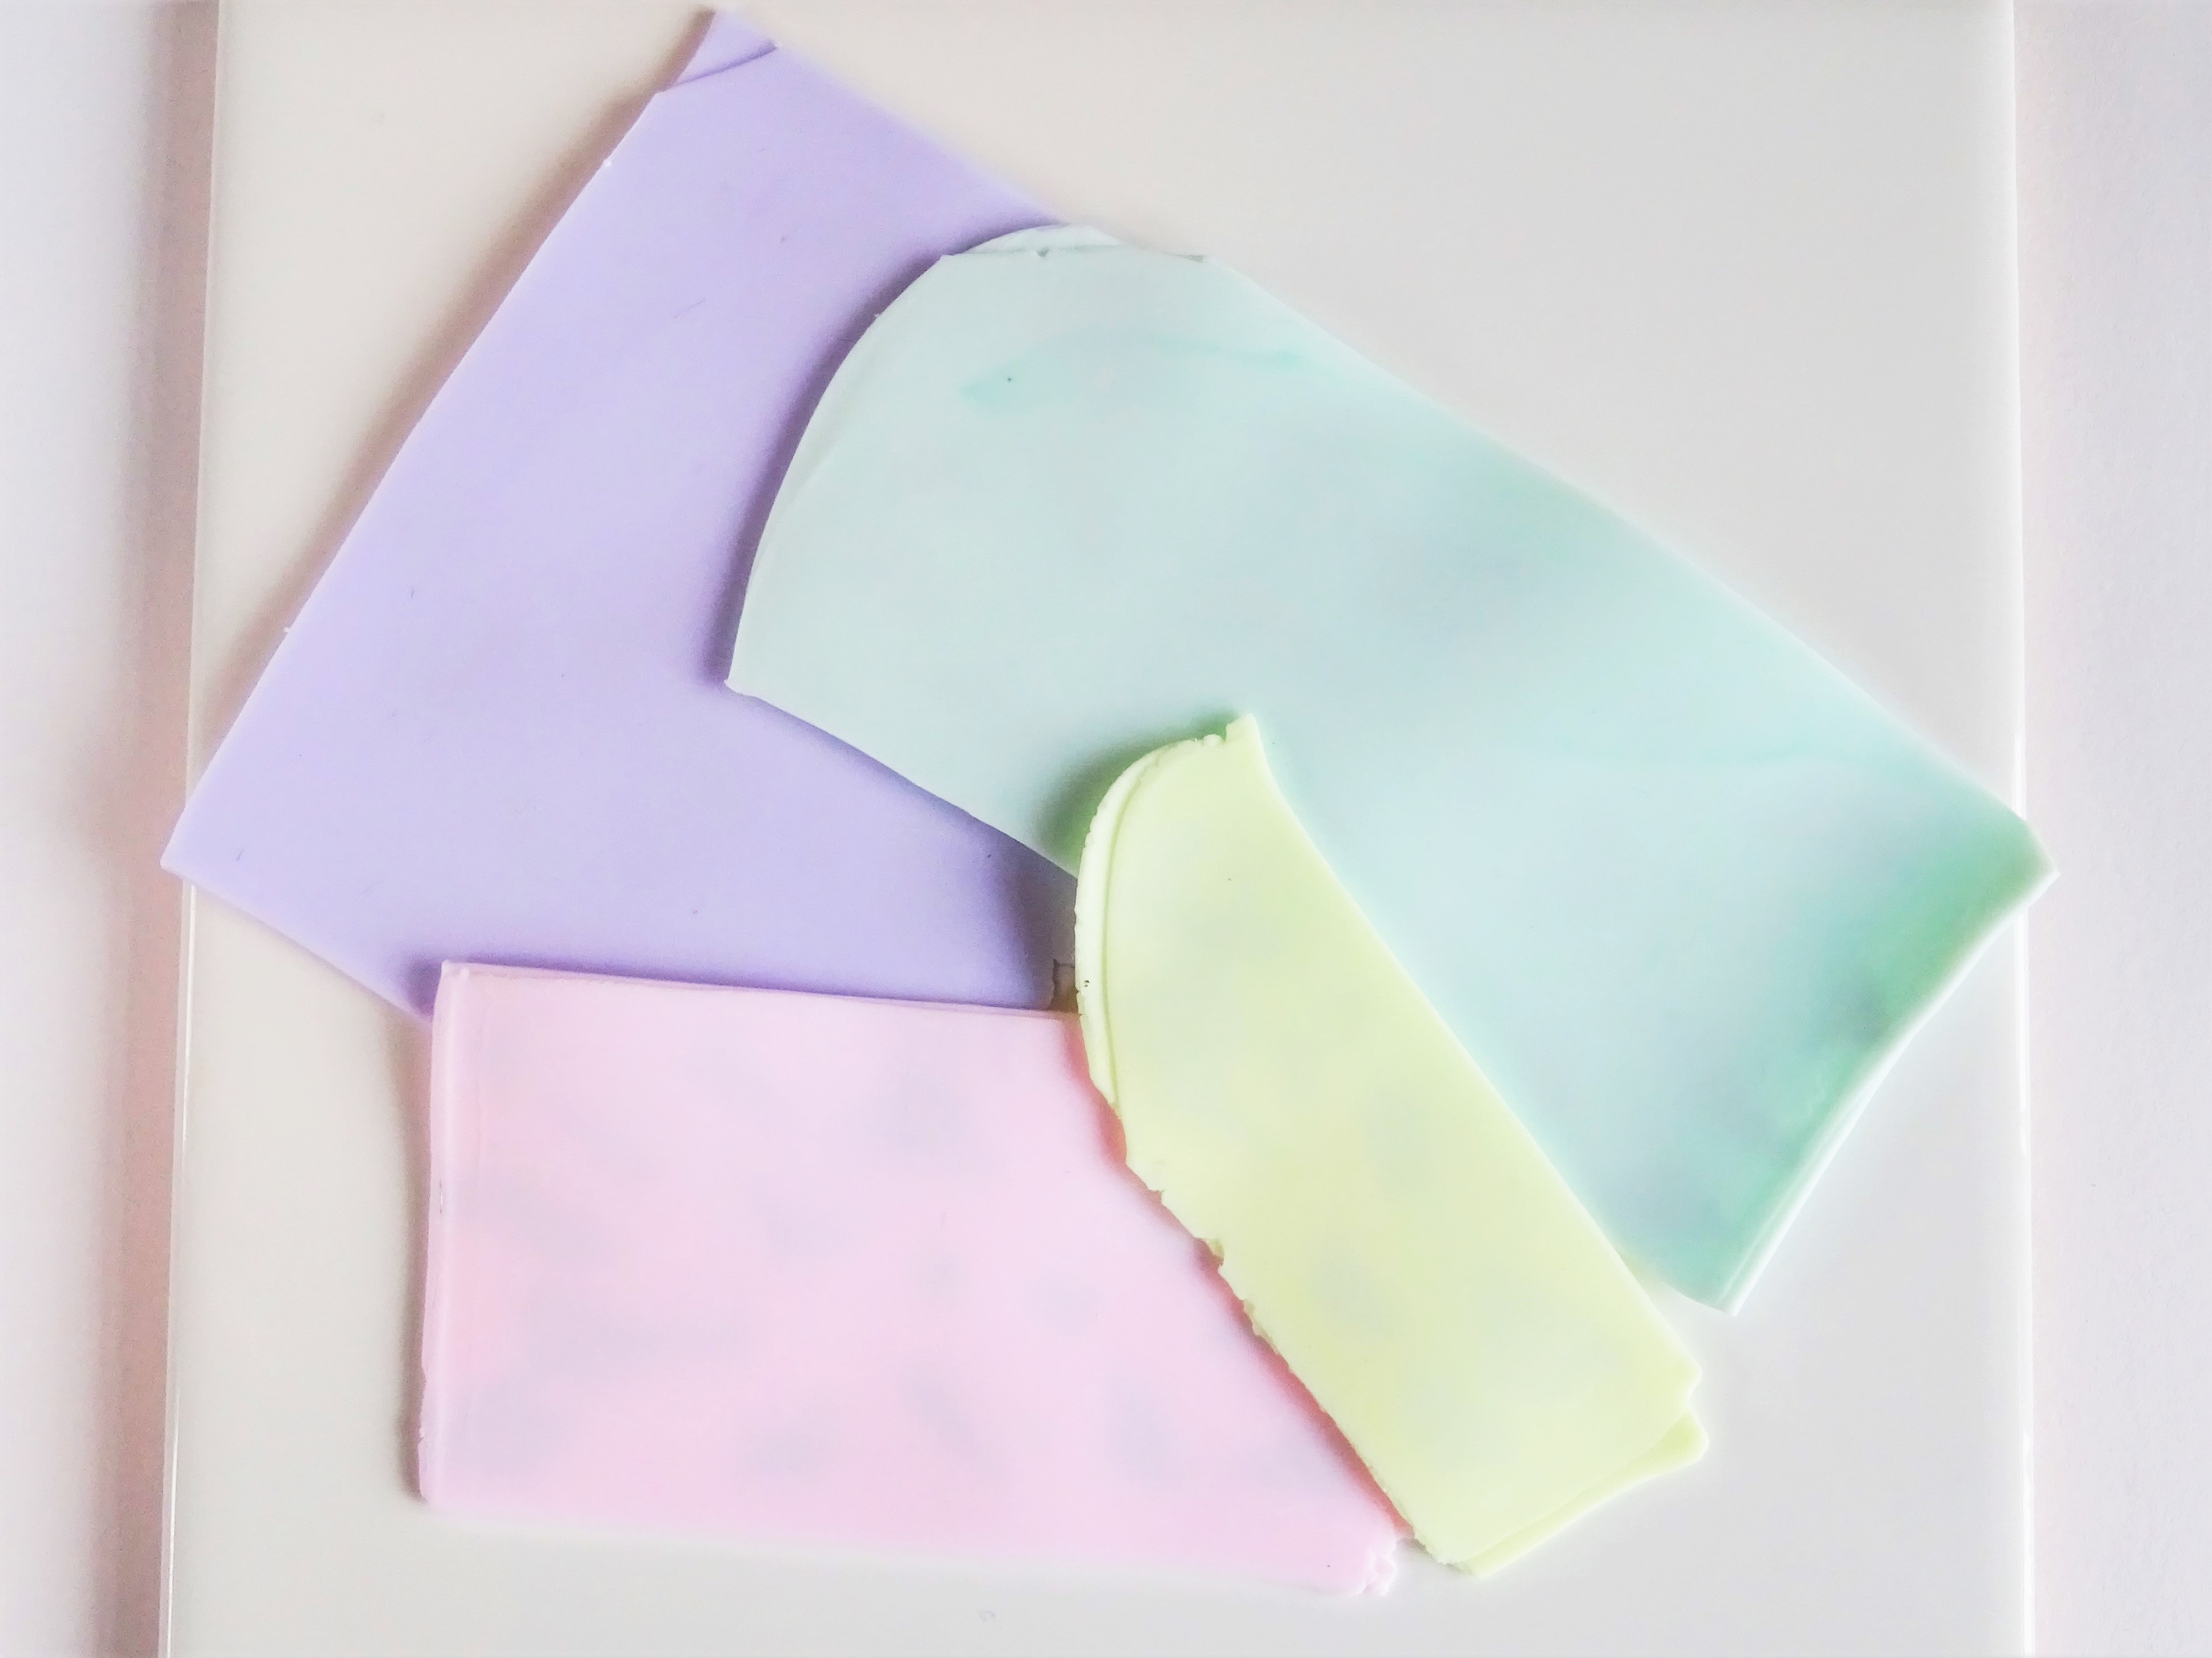
1) Soften about half a block of translucent clay. Roll out and split into 4 – two bigger, 1 medium and 1 small. Put a small dot of green and purple onto one each of the larger pieces, pink onto the medium size and yellow on the smallest. Leave the ink dry thoroughly before mixing.
Just add a small dot of colour. A little goes a long way and the colour will intensify once the clay in hardened.

2) Once the ink is dry mix the colour into the clay until you have an even colour.

3) Roll out on a number 4 on your clay/pasta machine and halve each colour. On one half of each colour put small dots of silver foil. This will add texture and a interest to the flowers and leaves but it is not essential if you do not have any foil to use.
4) Put the other half of the clay on top and roll out on a number 3 on your clay/pasta machine.
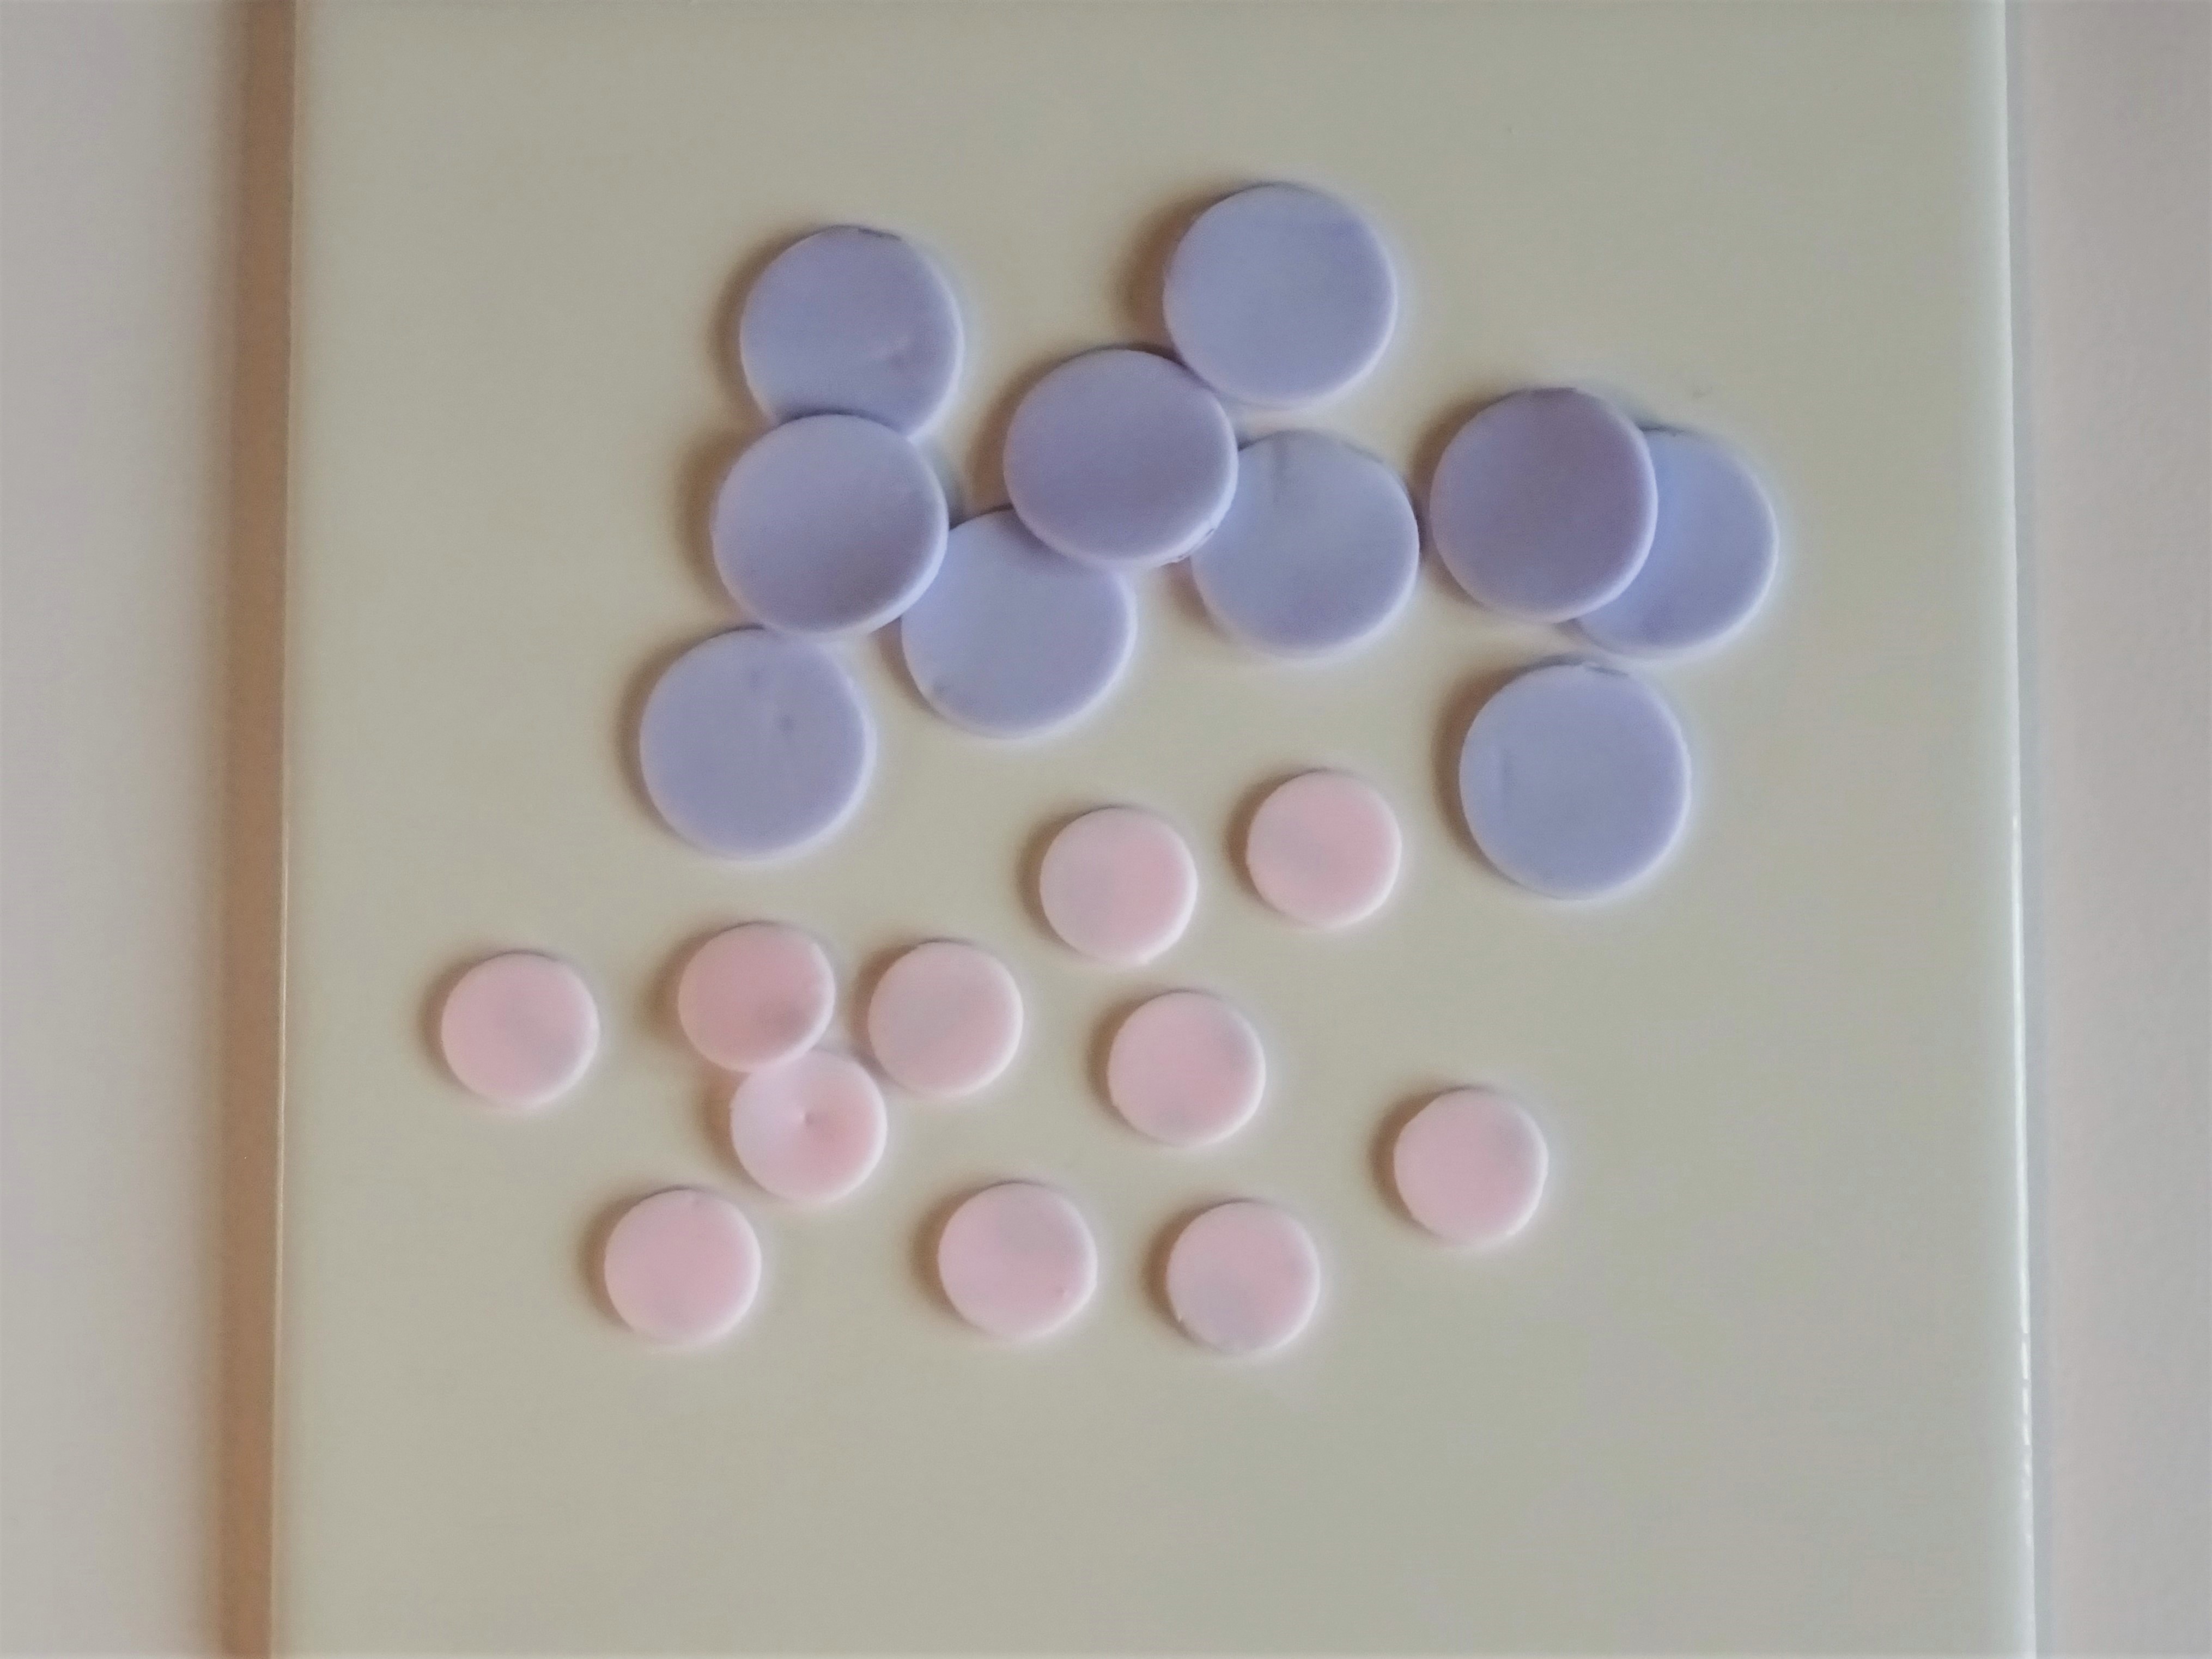
5) Cut 10 purple circles and 11 pink cirlces from the clay. The purple cirlce is 2cm round and the pink in 1.5cm round.

6) Pinch the edges of the circles to make them less perfect and press into the palm of your hand, pressing a finger in the centre, to make the clay dome.

7) Cut the yellow with a cirlce measuring about 0.8cm round. I cut 13 circles. Repeat the process of pinching the edges of the clay and shape them into domes on your little finger.

8) Cut teardrops from the green clay to make the leaves using 2 different size cutters. 7 teardrops measuring 2.5cm long and 9 teardrops at 2cm long. Go around the edge of each one to smooth the crisp edges.

9) Using a blunt tool, like a cocktail stick, add centres and veins to the leaves, poke a hole at the rounded end big enough to fit a jump ring and curve the teardrops to give them some movement.

10) Layer up the circles in size order, the largest circle on the bottom, and poke a hole through the middle of each one. Put the flowers and leaves in the oven according to the instructions on the packet and harden.

11) Once the leaves have cooled paint over the top with the beige paint, one at a time, making sure it gets into all the veins. Take a tissue and wipe over the top of the leaf. This will remove the paint from the top of the leaf but leave it in all the veins.

12) Give all the flowers and leaves two coats of fimo varnish.

13) Put a size 8 seed bead on a head pins and put one flower per head pin. Turn a loop at the back of the flower.

14) Cut two lengths of chain at 8.75″ long and another at 1.5″ long. Connect the lengths if chain with a jump ring with the shorter piece in the middle.

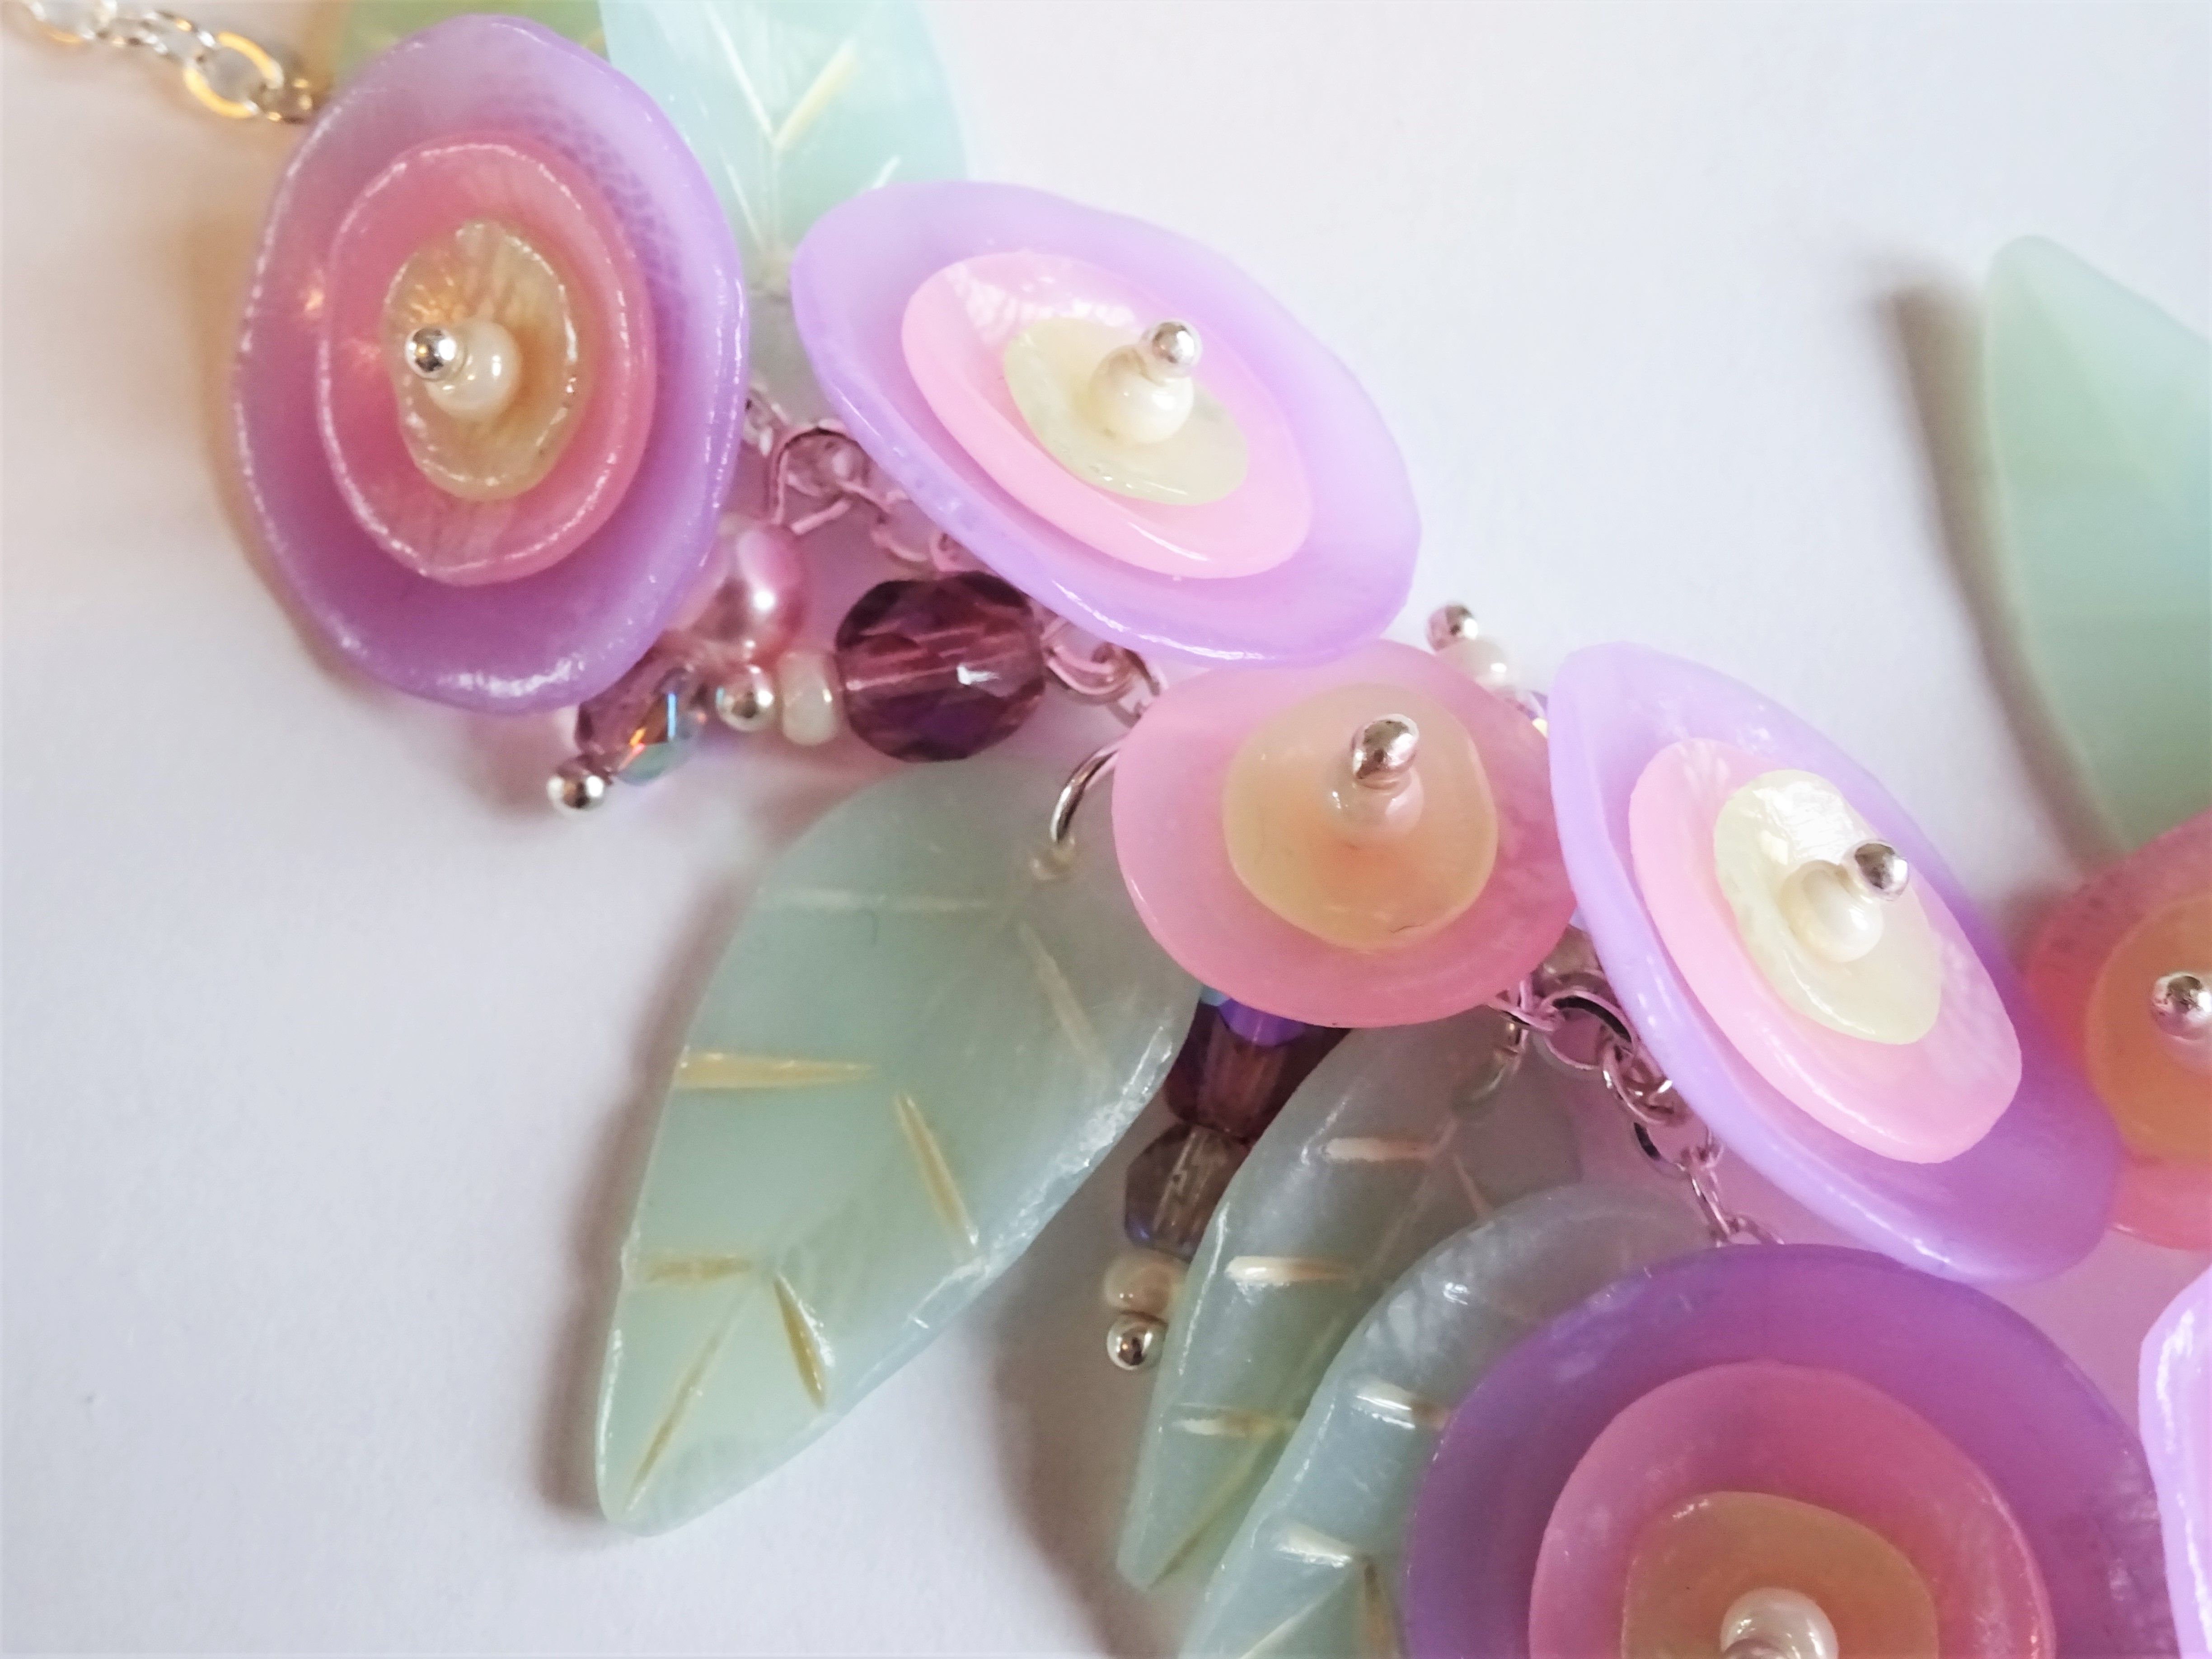
15) Start adding the flowers and leaves to the shorter length of chain. Attach the leaves with jump rings and the flowers by twisting to open the loops at the back.

16) Continue adding the flowers and leaves and add beads on head pins to fill in the gaps.

17) Start to build up one side of the chain with leaves and flowers.

18) Build up the second side checking the balance of the beading as you go.

19) Finish adding all the leaves and flowers.
20) Add more beads along the both sides of the chain.
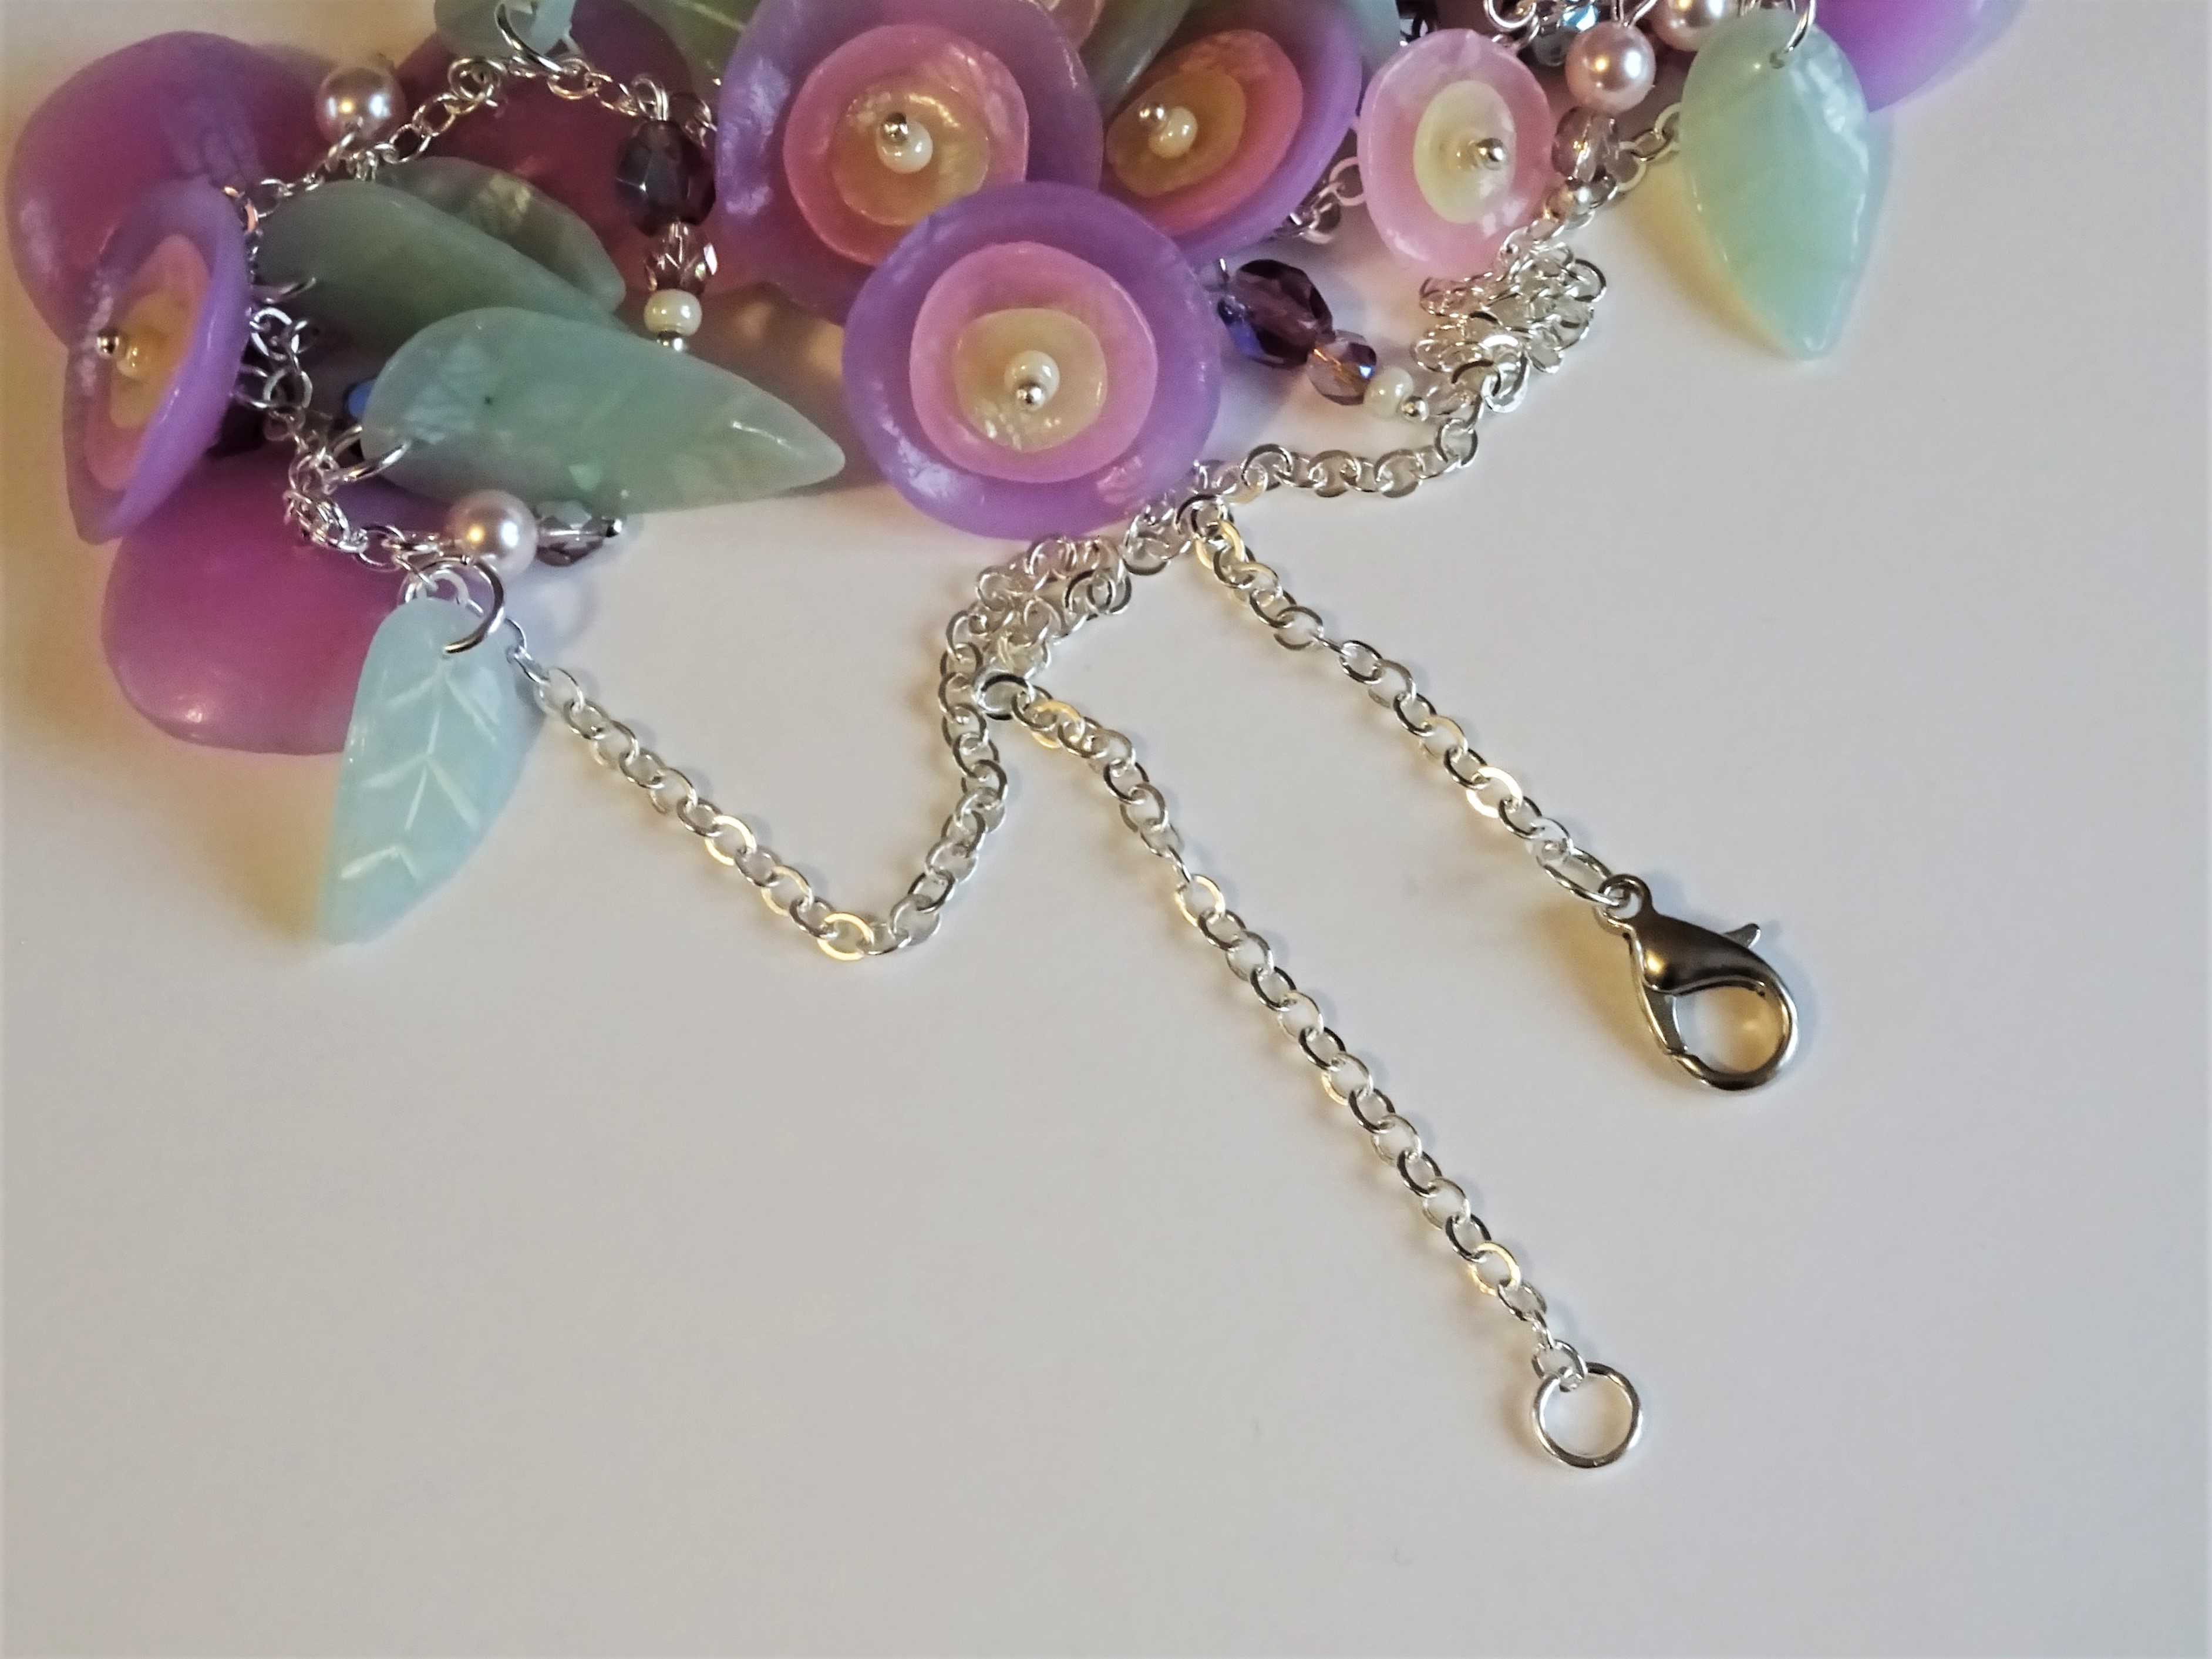
21) Add the clasp to the chain.

22) Sit back to admire all your hard work 🙂
Honestly, this was such a fun necklace to make and it is great for using up odd and ends of beads in your stash.
What other colours would you make it in? I think it would look incredible in rich berry tones.
There is another polymer clay leaf tutorial here using the watercolour technique and more polymer clay tutorials here.
If you would like to see more tutorials from me don’t forget to sign up to my mailing list and then they will be emailed to you 🙂
As ever, if you make and share on social media don’t forget to tag me so I can see your work.
Hannah x


That is so pretty. Thank you for being so generous with your expertise and sharing your designs. I doubt if I will ever make them as I have too many hobbies already but that is not the point – I value the way some bloggers share freely when they could charge.
Ah, thank you so much. I really enjoy putting the tutorials together. It is a great way to push myself to try new things. I too love seeing how things are made (I think programmes showing behind the scenes of factories etc so fascinating!) and I spent years looking at pretty pictures on pinterest of polymer clay and beadweaving wondering just how it was possible and struggling to find the answers.
Very fresh and Spring like.
Thank you. I could do with spring now!
me too and some drying out
Ha ha, yes, that too. Not sure when it will happen though 😆
Absolutely gorgeous 💖 As we are having a long winter in the UK this has been a ray of sunshine..🙏🏽🙏🏽
Ah, thank you so much. I’m glad my tutorial gave you a glimmer of brightness today. It really has felt like the longest winter hasn’t it? I’m ready for a little more sunshine now ☀