
Please note – this post contains affiliate links. All links are marked clearly as such.
I have spent some time over the last few weeks thinking about what polymer clay tutorial I could do next and, with Valentine’s day on the horizon, I wanted it to have a heart type theme. I struck onto the idea of a ring dish as it is different to my normal jewellery tutorials and it would be great to make something that we can use to store our handmade jewellery. If hearts are not your thing then this trinket dish would also look great with flowers, stars or maybe keep it plain and just add the glitter base.
Polymer clay ring dishes are actually really simple to make and I was worried that this would mean that the tutorial was over before it actually got started so I threw a few fun techniques in to make it more interesting. The first is to give the clay a speckled look and the second is that really fun glittery base.
I made ring dishes a few years ago to use in my jewellery photography with a much simpler technique and finish. I didn’t photograph them for a tutorial but I did write a blog post about the resulting polymer clay ring dishes with a basic outline as to how they were made so if you like the thought of making your own then it’s worth a read.
Before you begin with the conditioning your clay you will need to find two circular items – a larger one to cut around and a smaller one to shape around. I used two candle holders; my largest circle measures 4″round and my smallest circle measured just under 2.5″ round. You will also need some chalk for that speckled clay, liquid clay and craft glitter for that base.
There is a YouTube video at the bottom of this post if you would like to see any aspect of making this ring dish in any more detail.
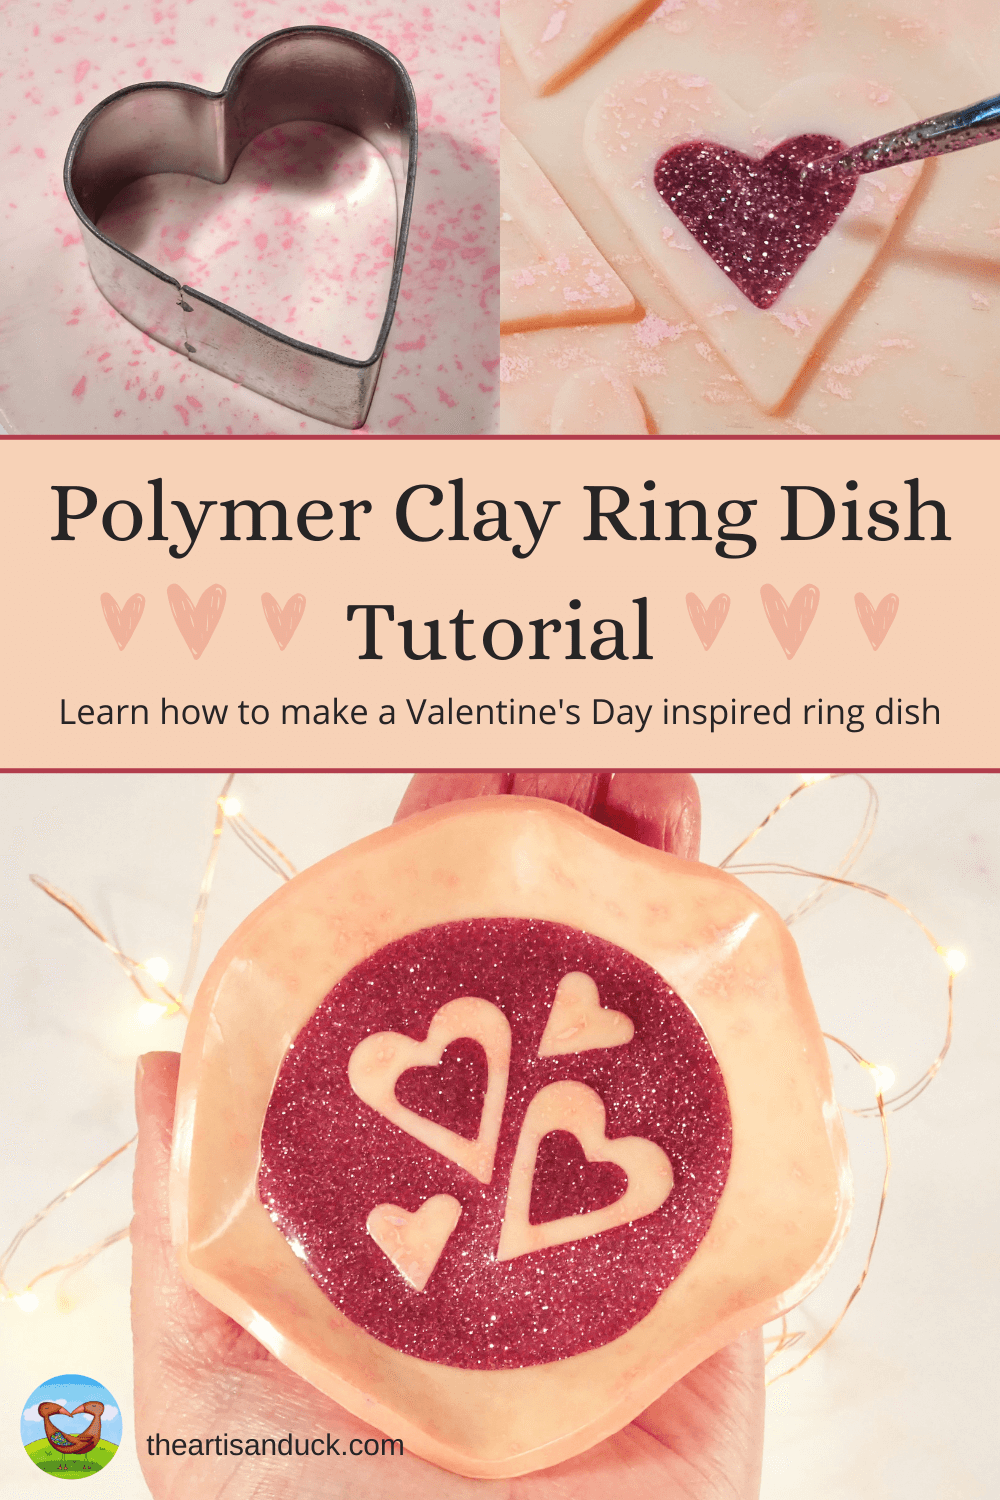
How To Make Polymer Clay Ring Dishes – A Valentine’s Day Edition
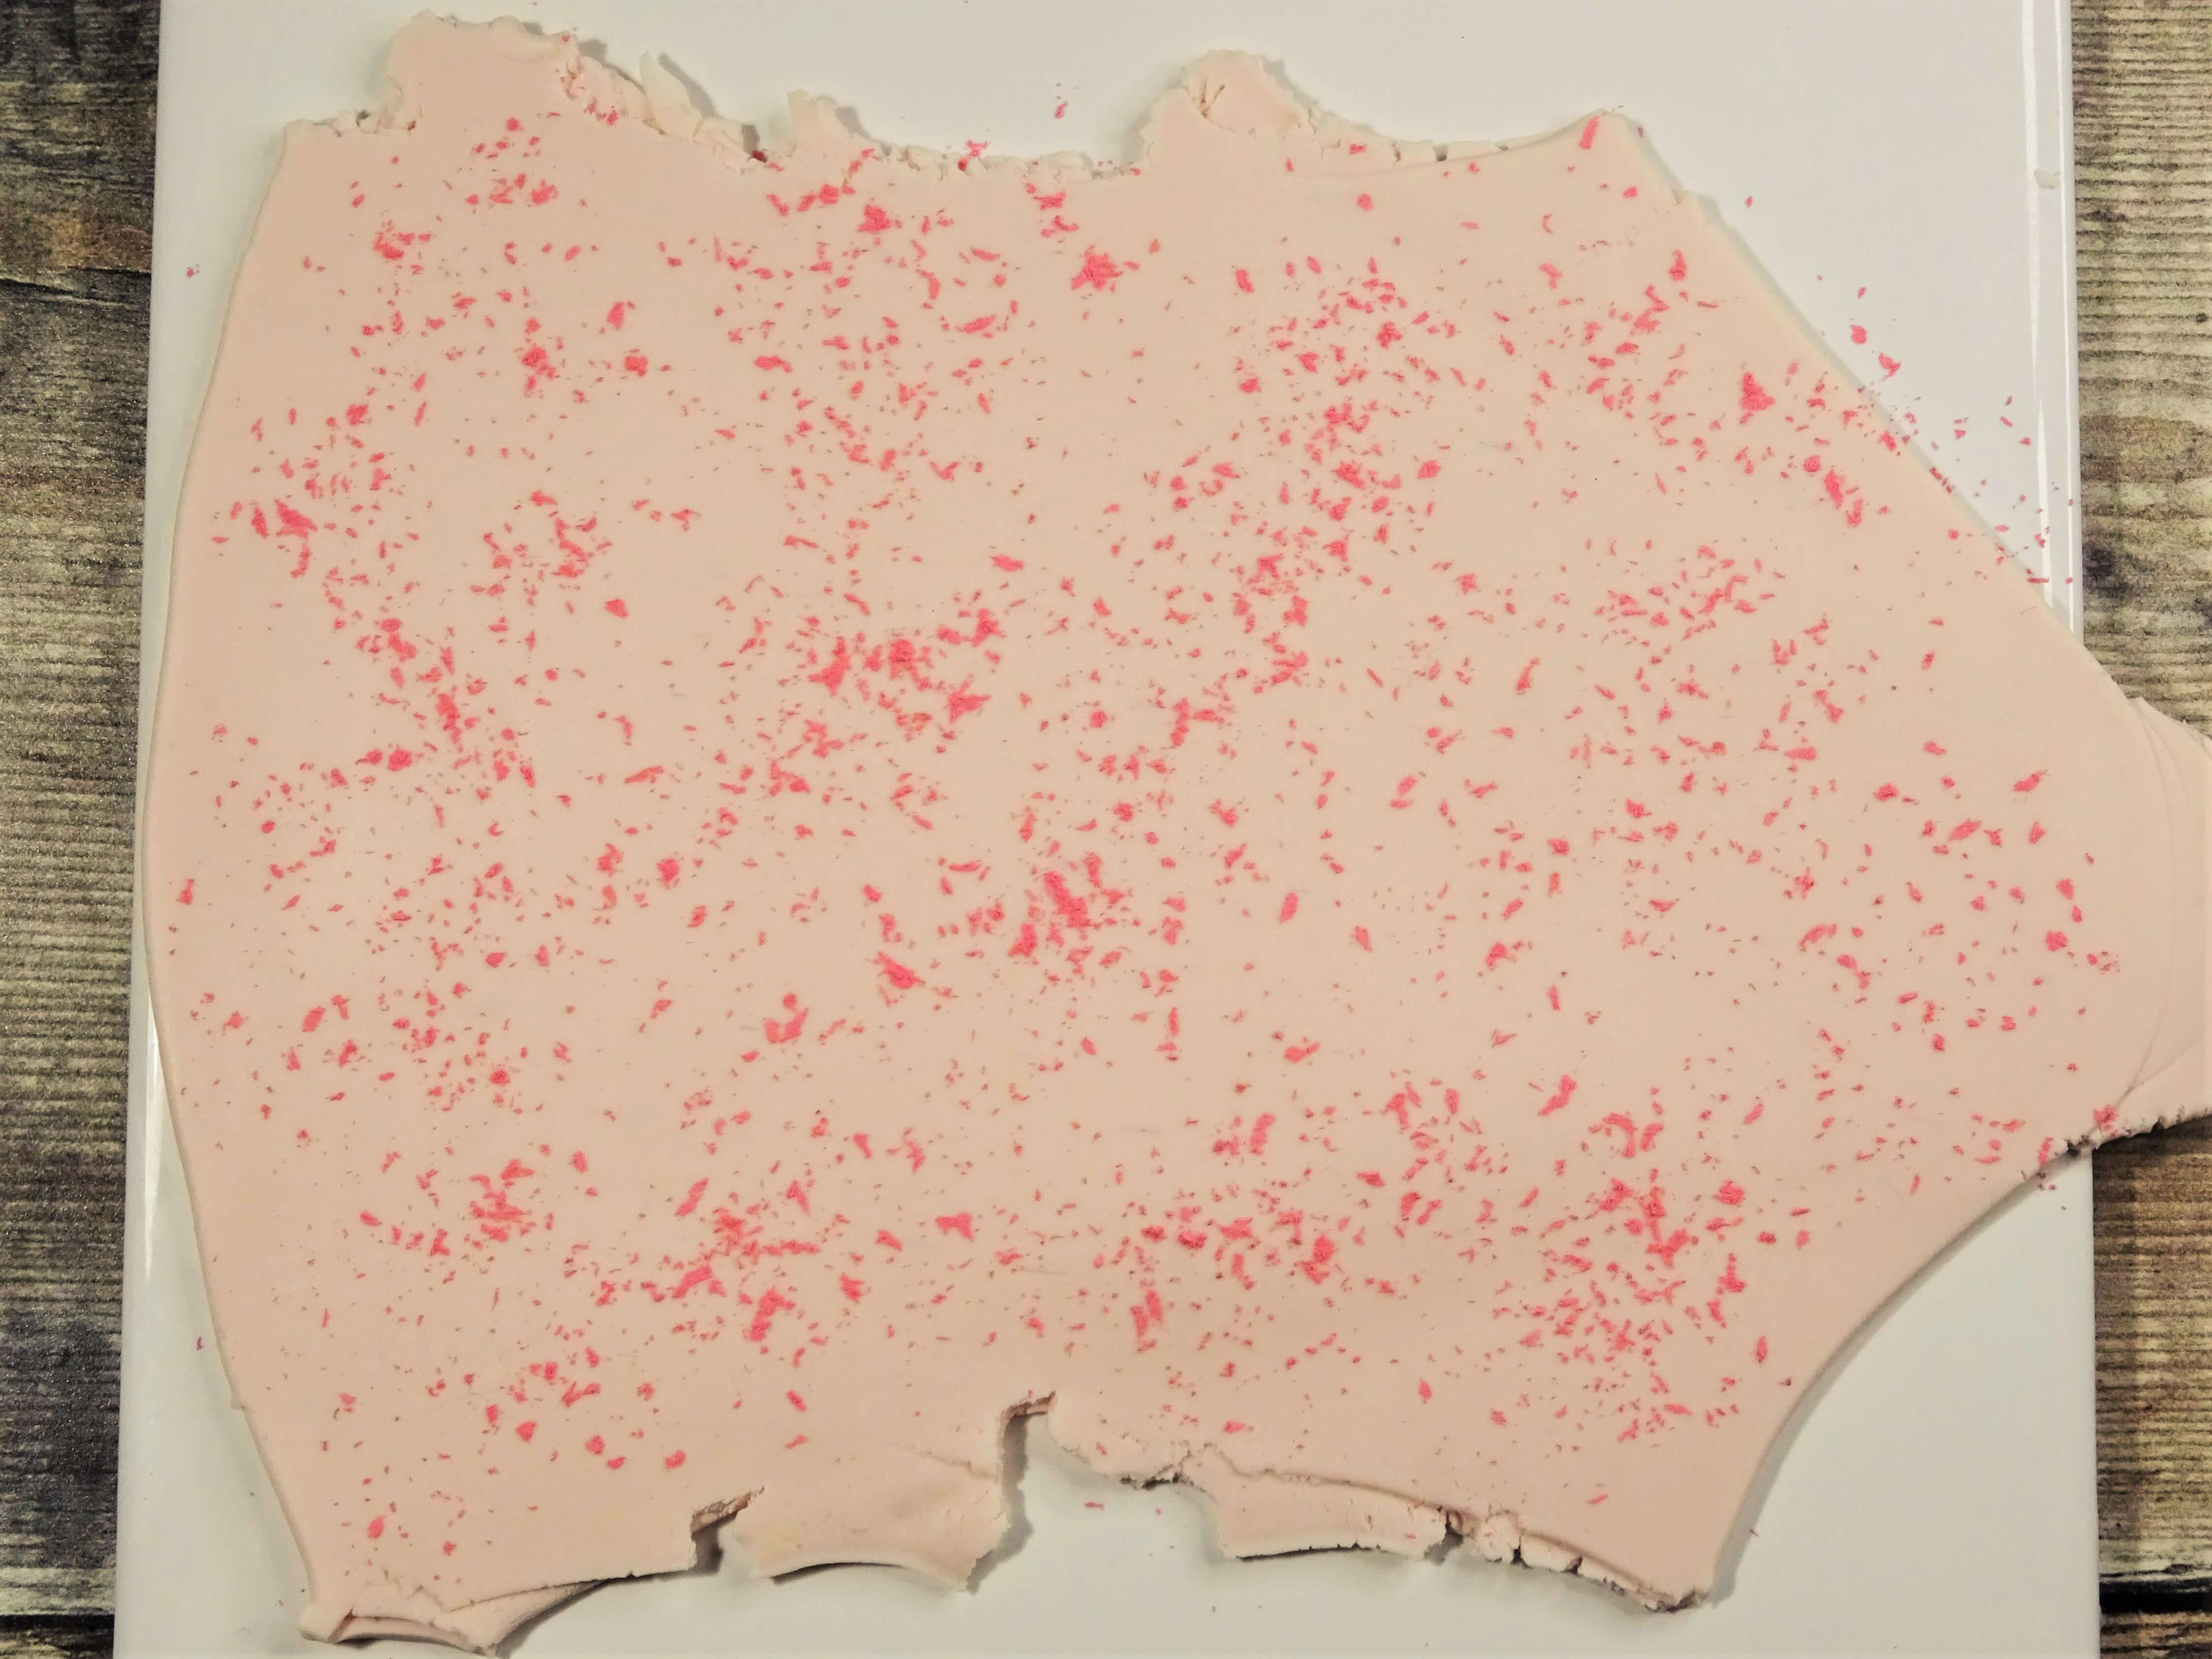
Condition your chosen clay well and roll out on a number one on your clay machine (the thickest setting). Make sure the finished size is big enough for your largest circle to comfortably fit onto it. If you want your ring dish to have a speckled finish, grab some craft chalk and a craft knife and use the knife to scrape off chalk onto the surface to the clay. Roll over the clay with an acrylic roller to embed the chalk into the clay and repeat on the other side to have the pattern on both sides.
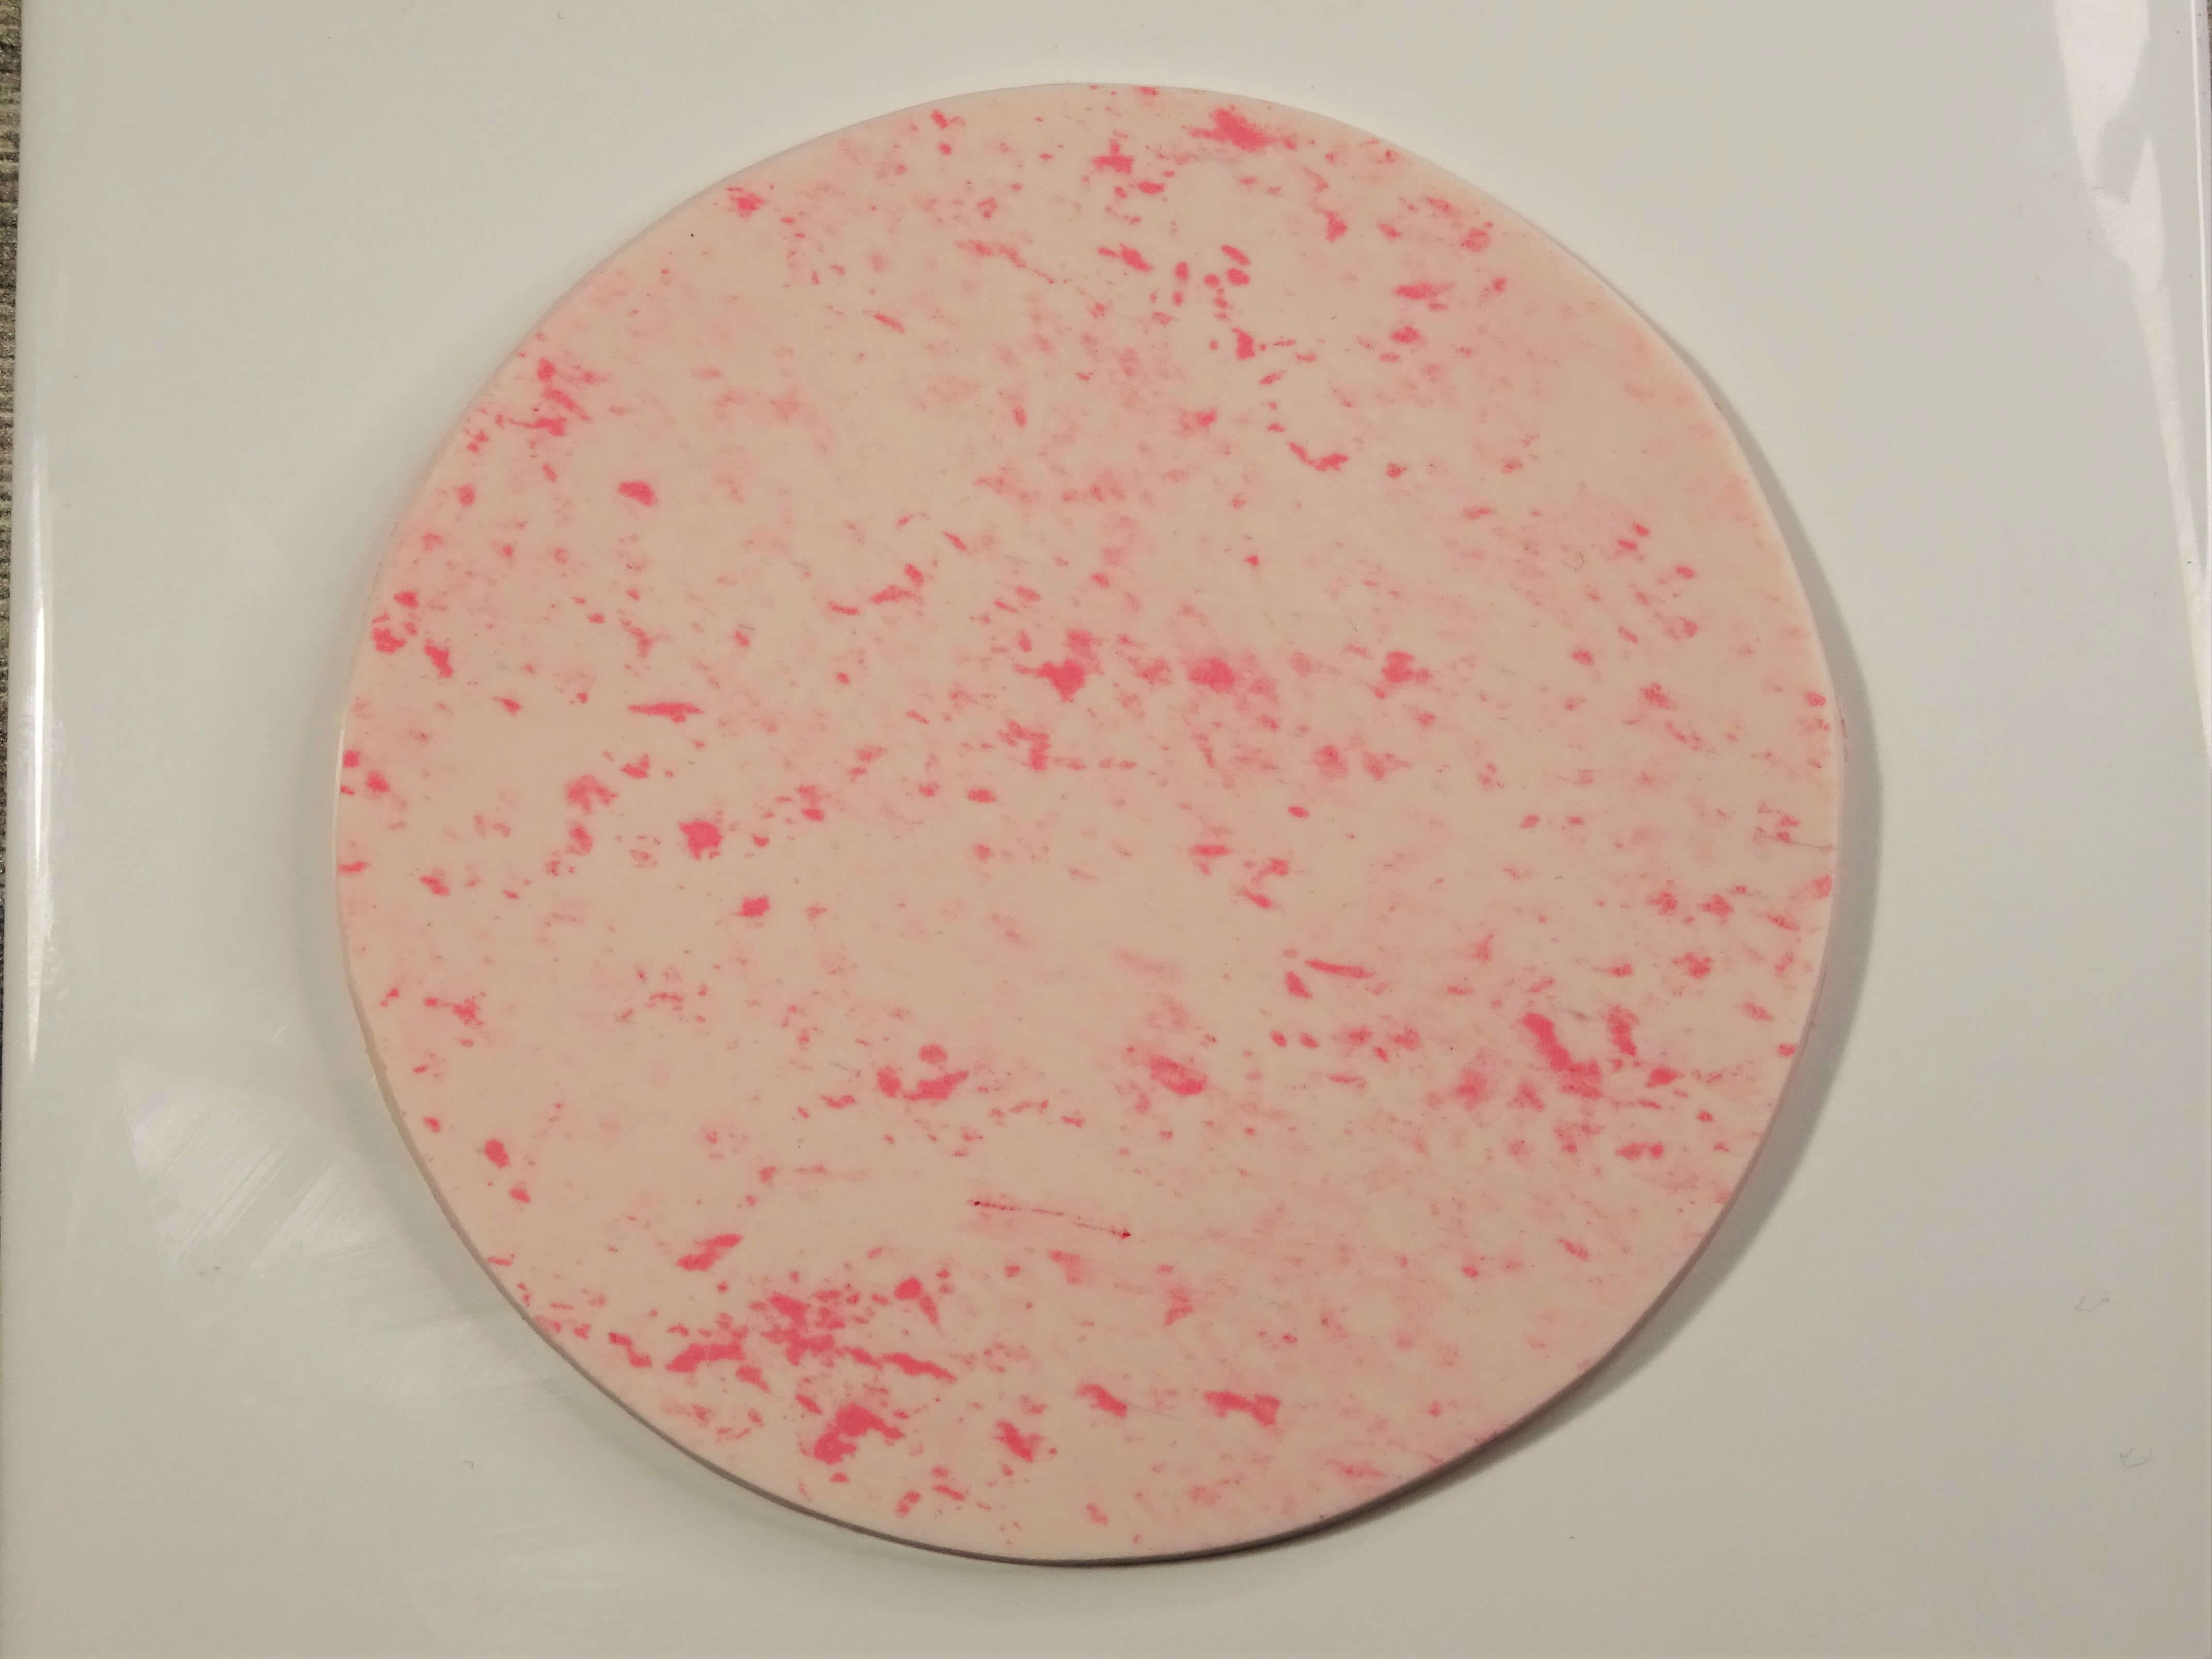
Carefully cut around your largest circle shape and use your finger to smooth out any unevenness around the cut edge.
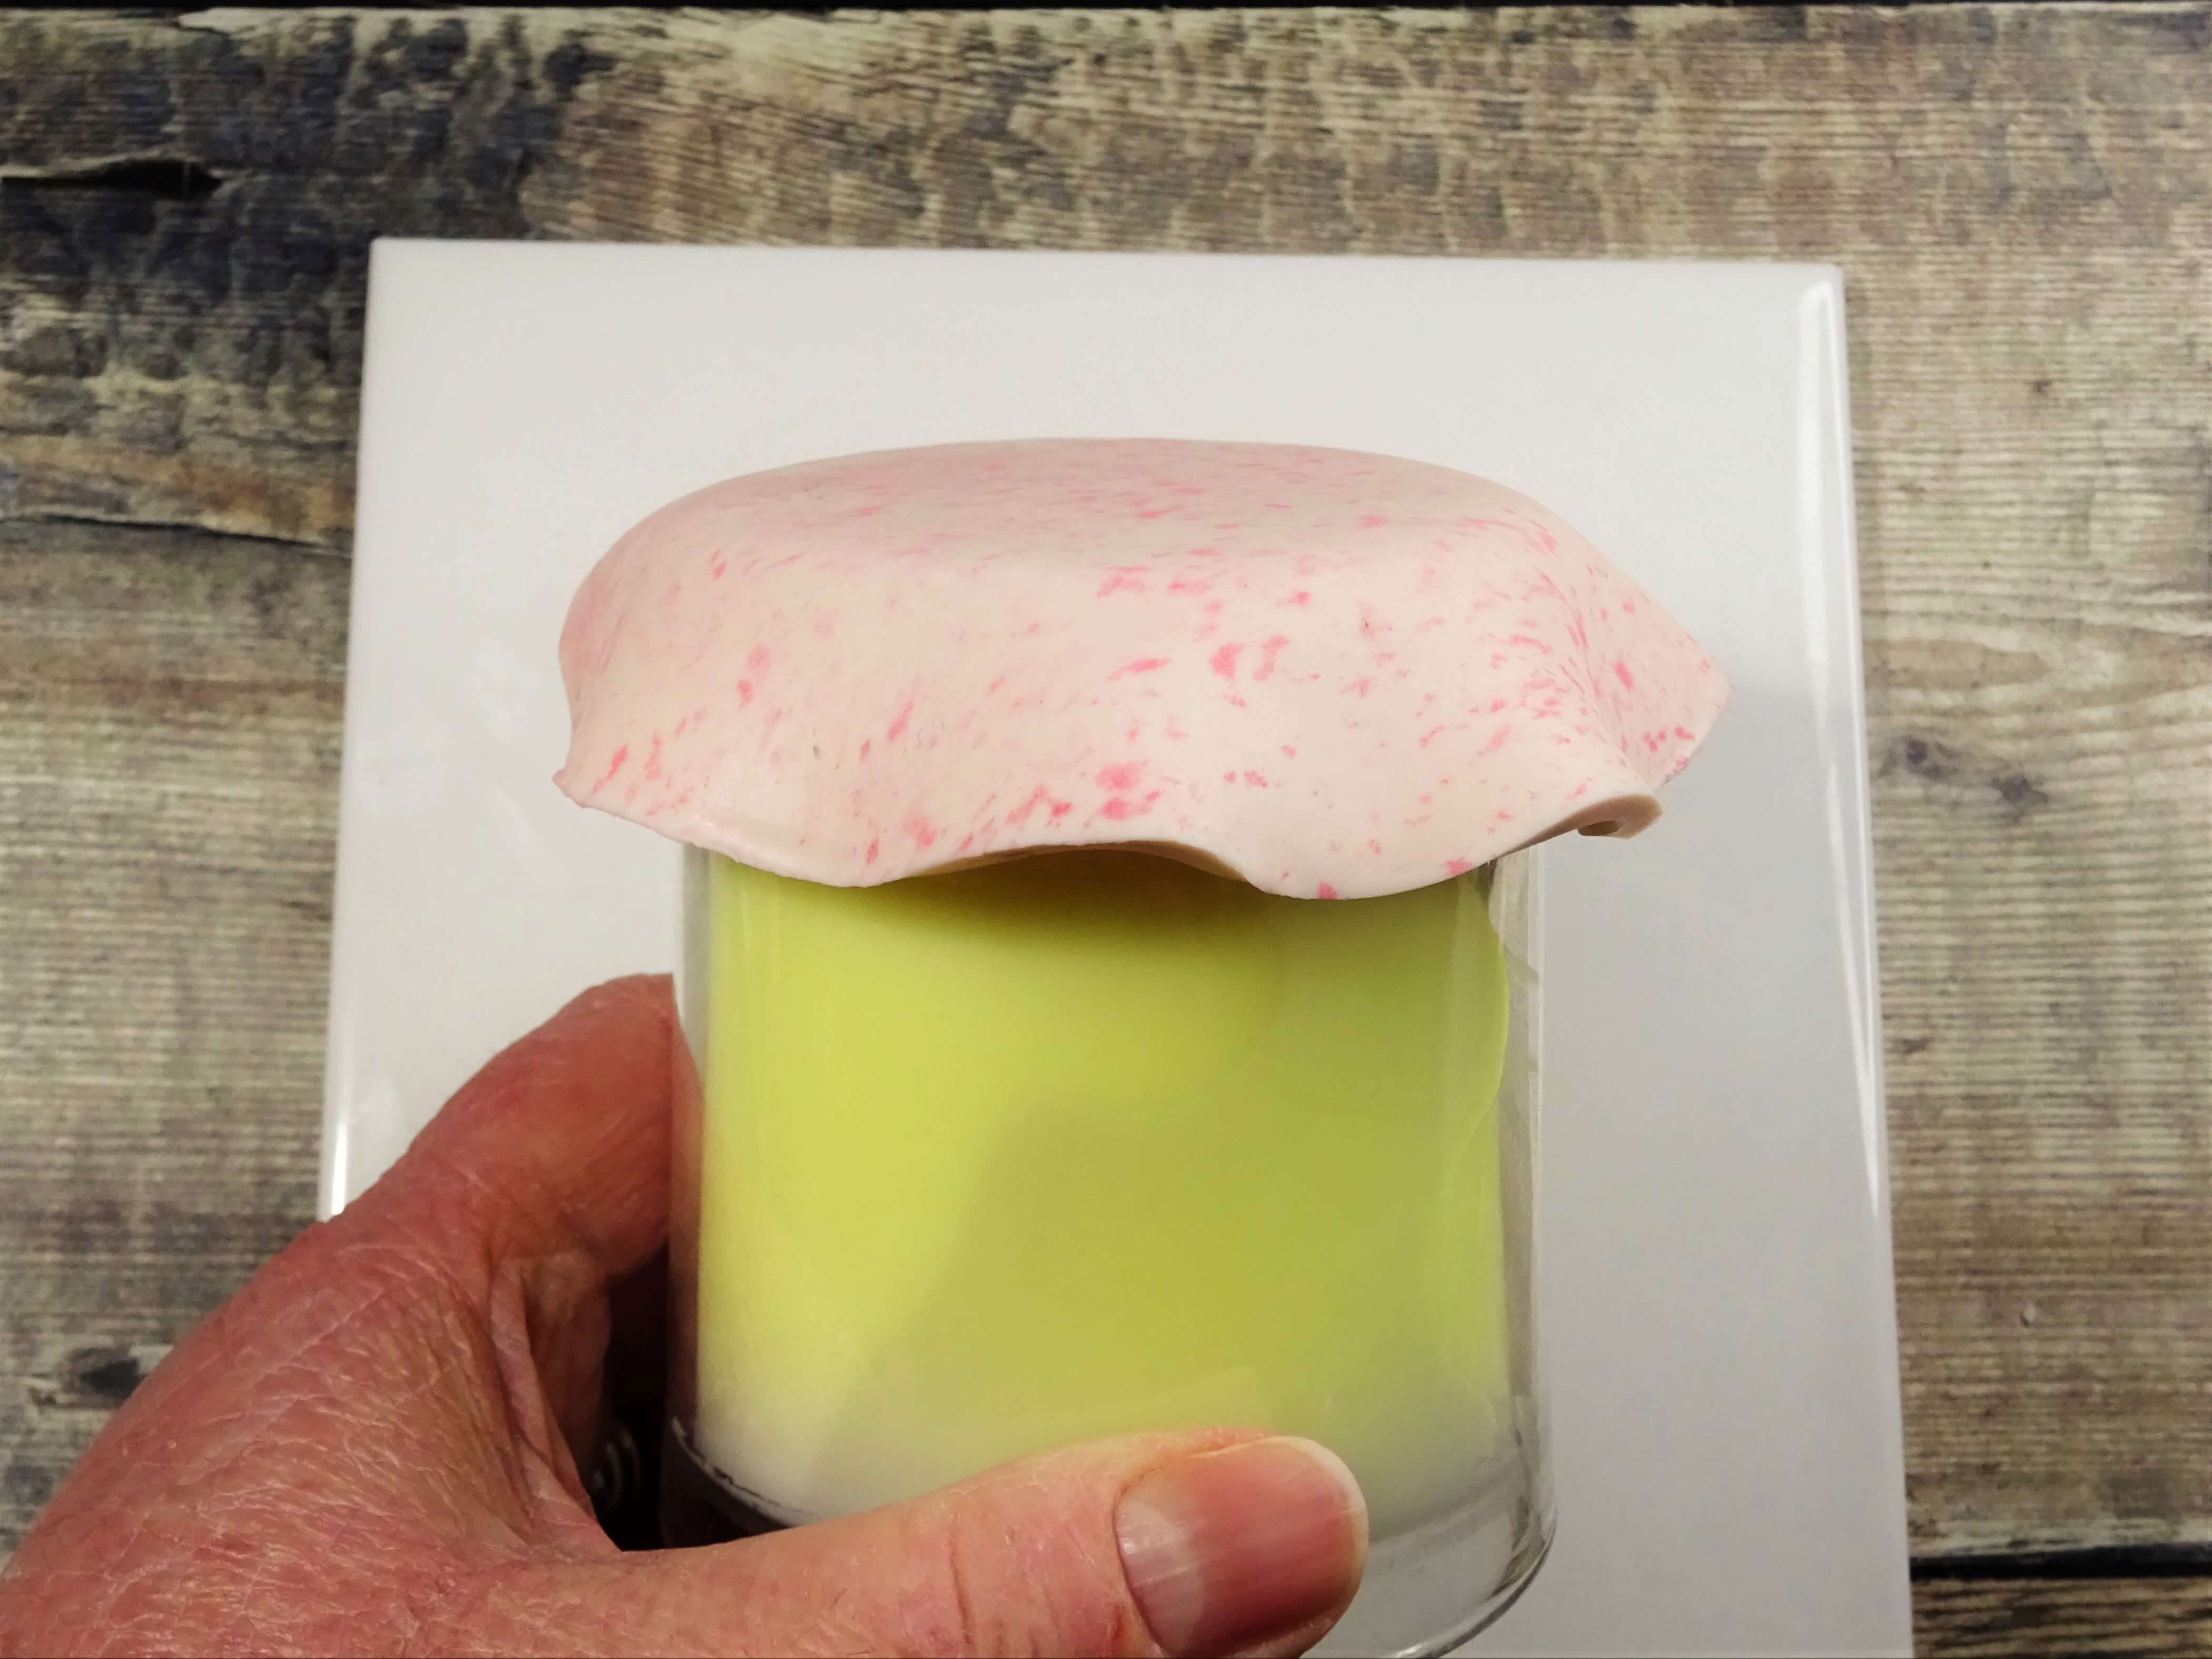
Position your clay in the middle on the flat end of your smallest round circle shape. Press gently so that the clay curves around the shape whilst maintaining a flat base to the clay. Press around the edge of the circle so that it leaves a round impression inside the clay. You will need this as a guide for adding that glittery base.

Carefully remove your newly formed dish and set to one side.
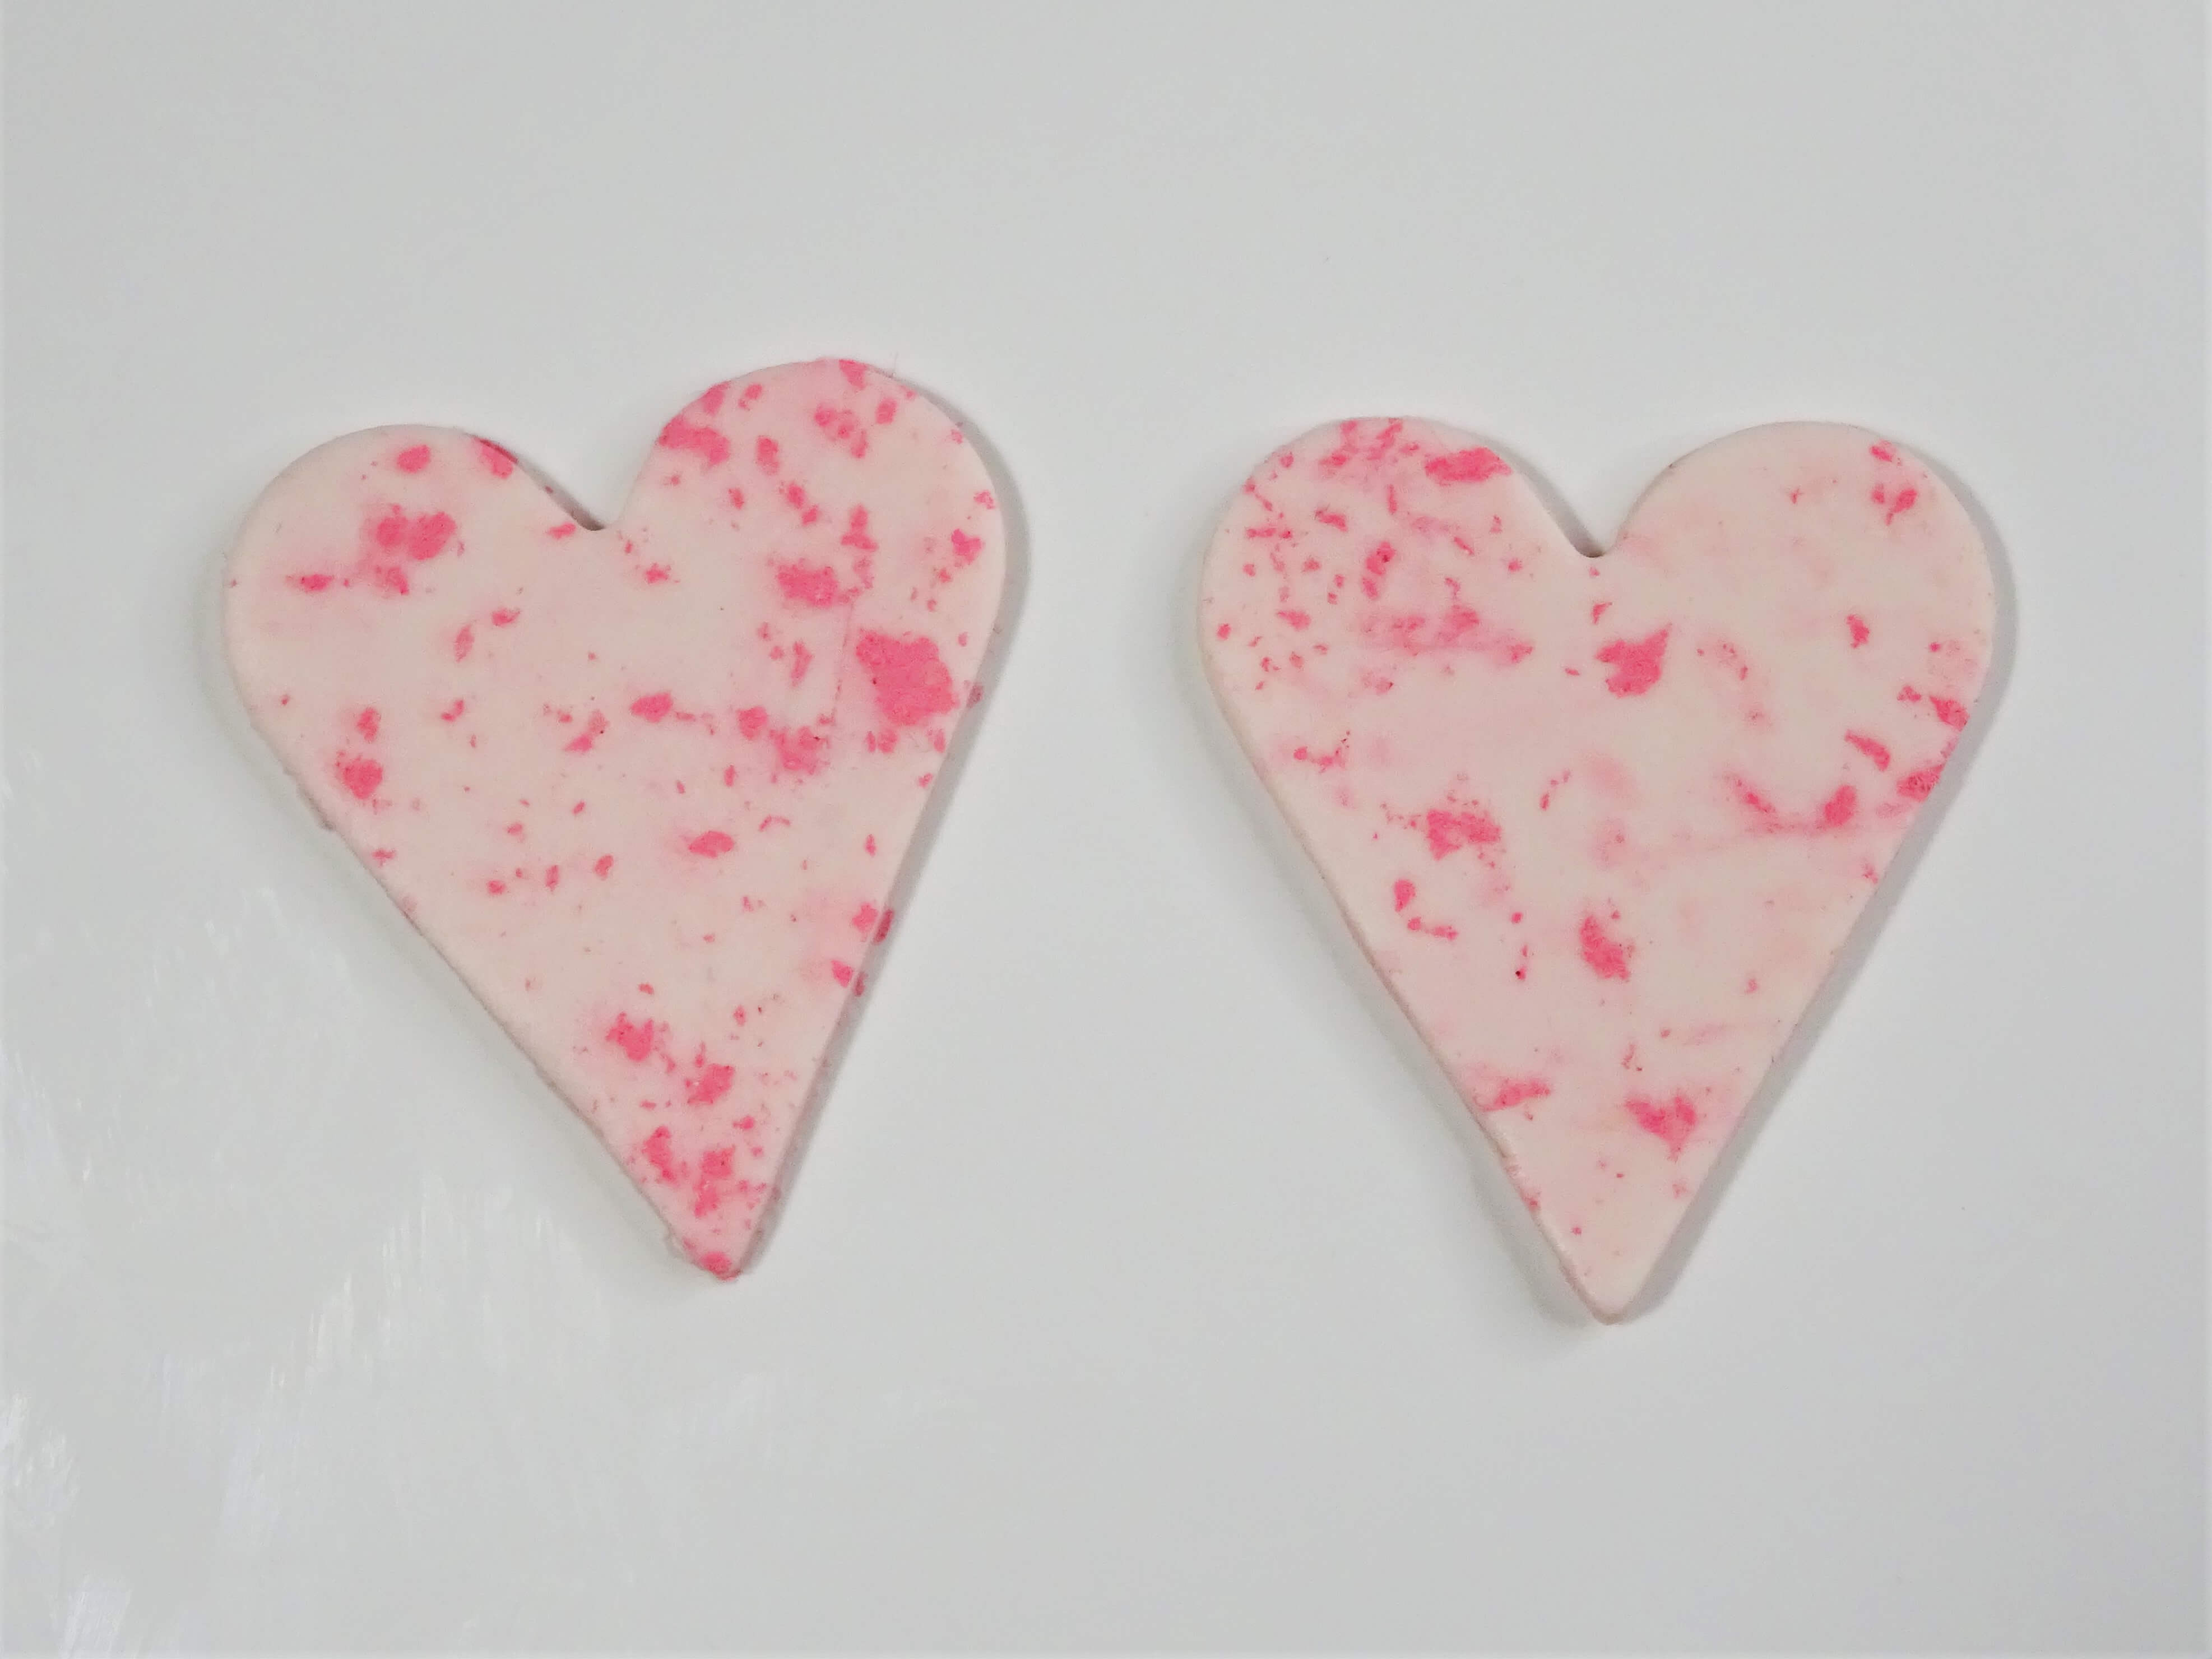
Roll out the scrap clay that was left from when the circle was cut onto a number 4 on your clay machine. Add the speckled finish as in step 1. Cut two hearts from the clay (I used the middle sized hearts from the set linked below. Just check that your hearts will sit comfortably inside the middle of the ring dish).
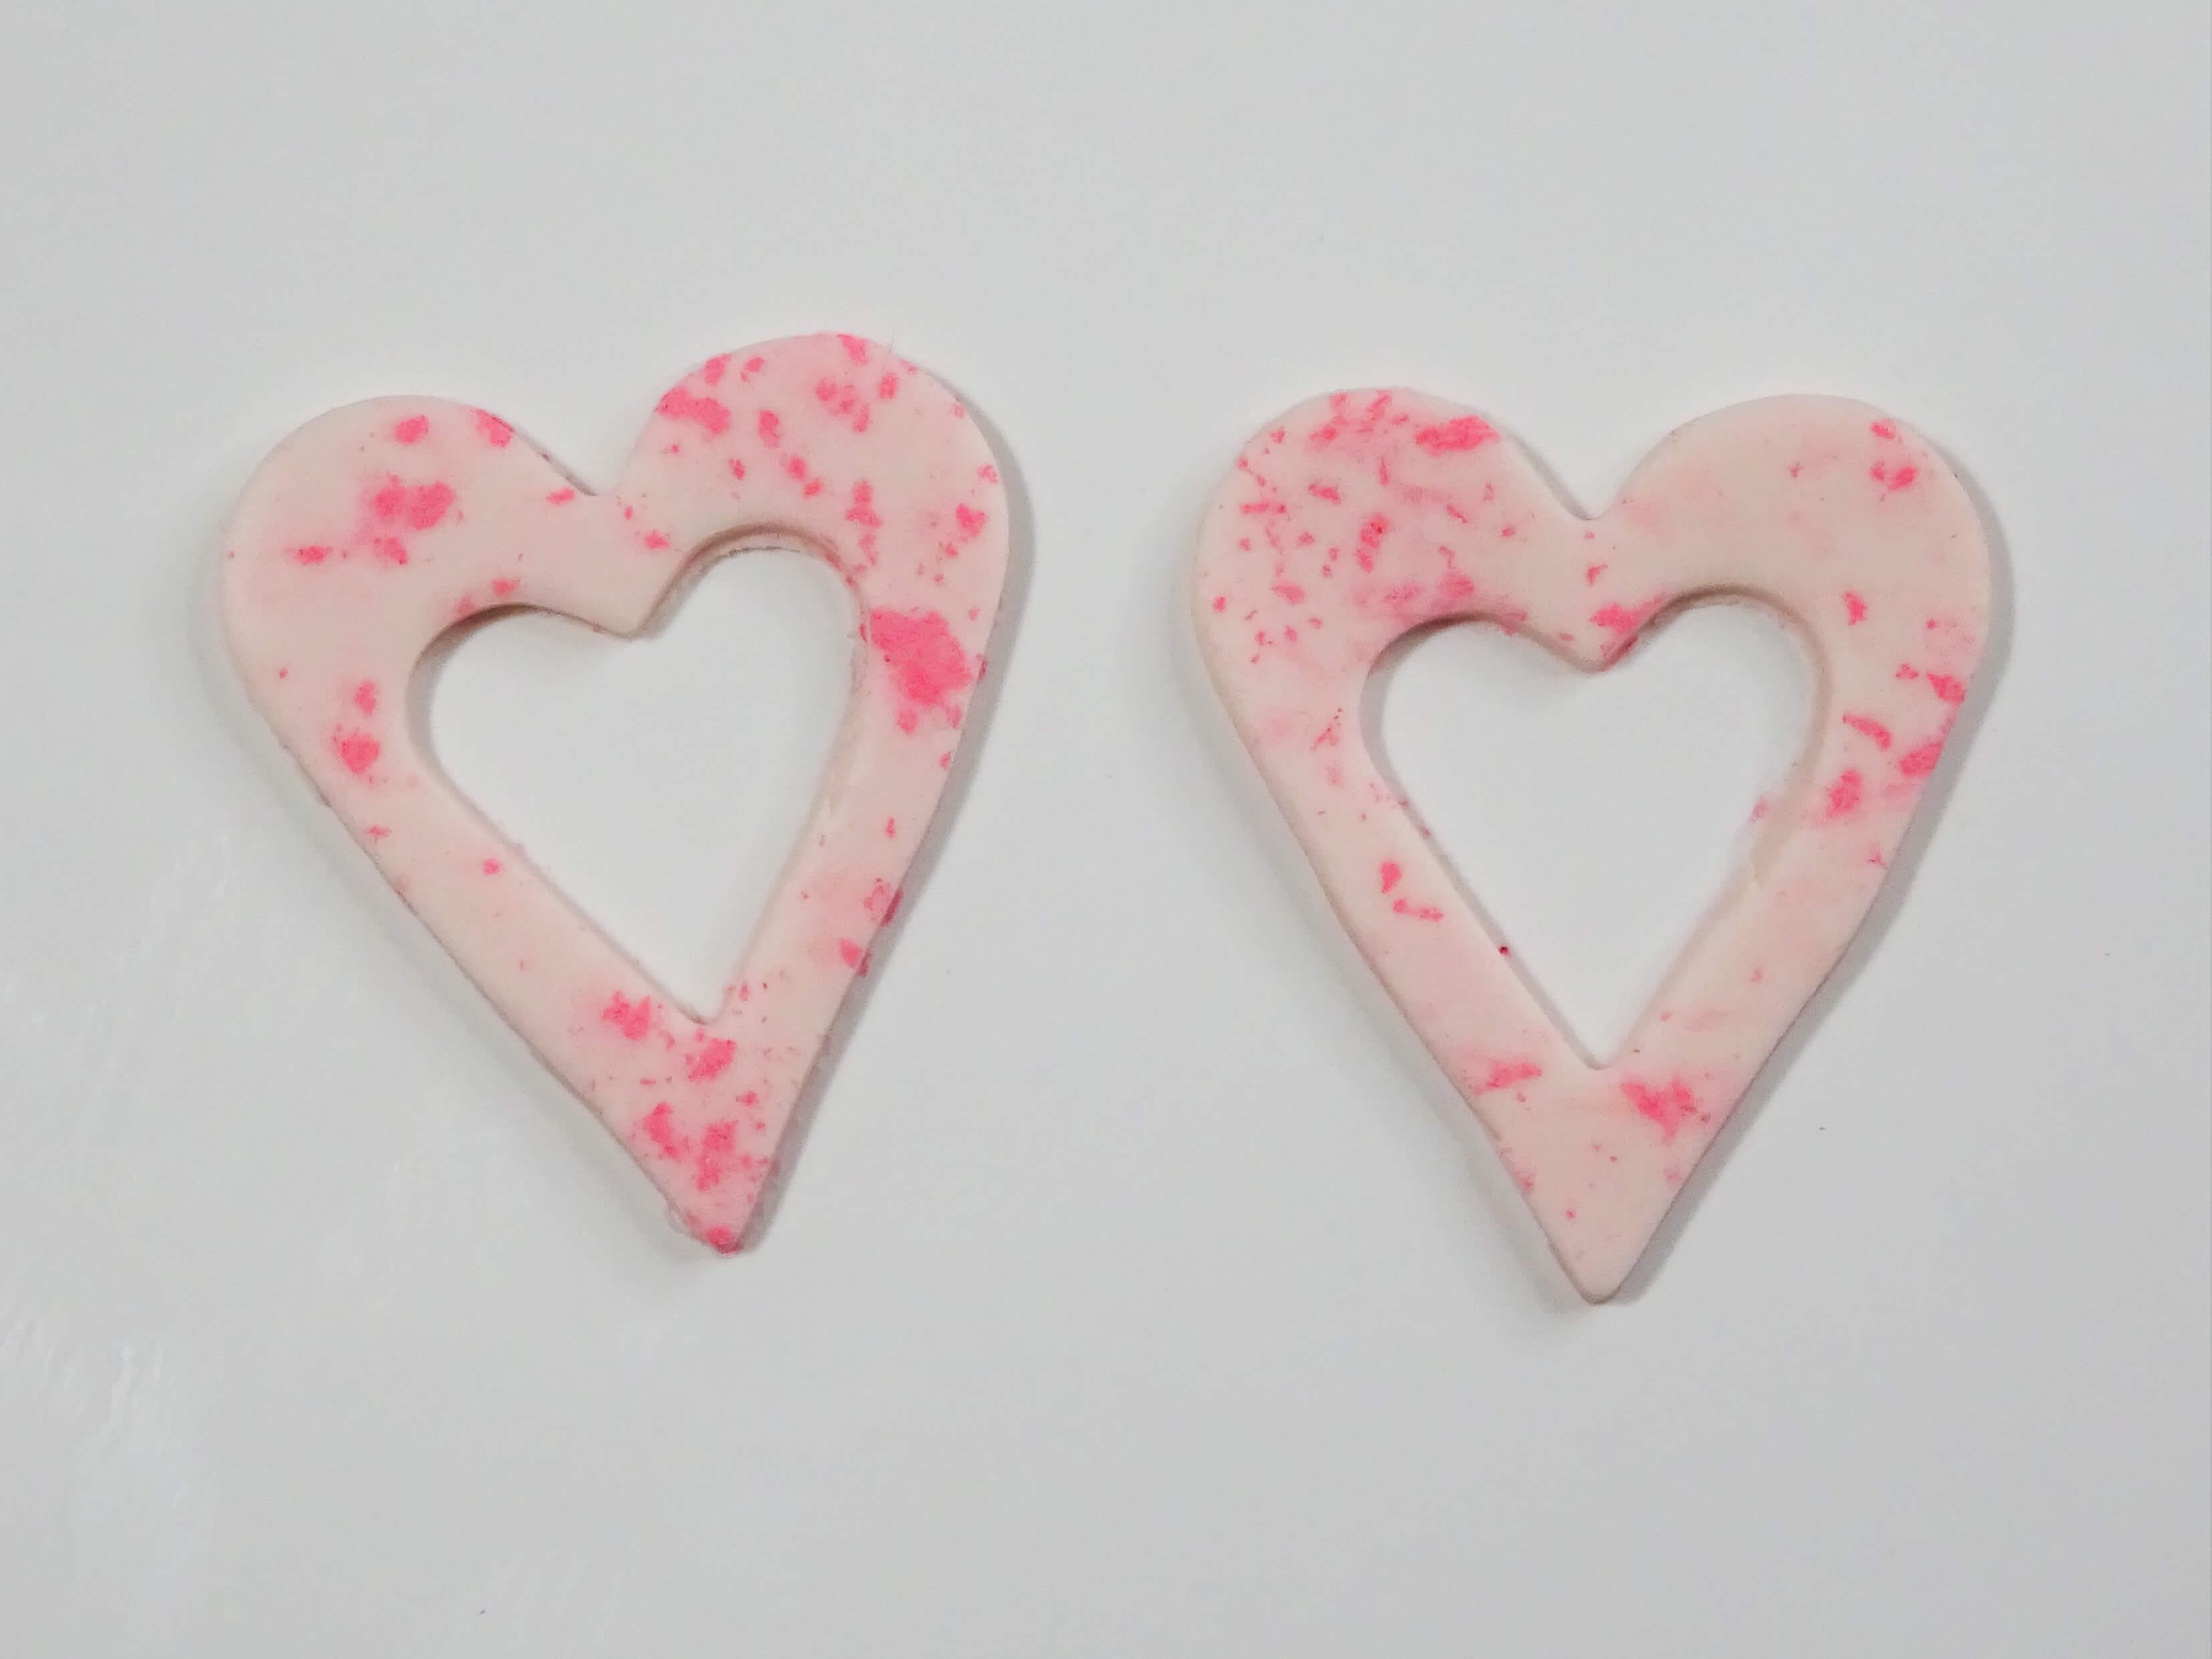
Cut out a smaller heart from the inside of both heart shapes and run your finger around the outside of the shapes to smooth any rough edges.
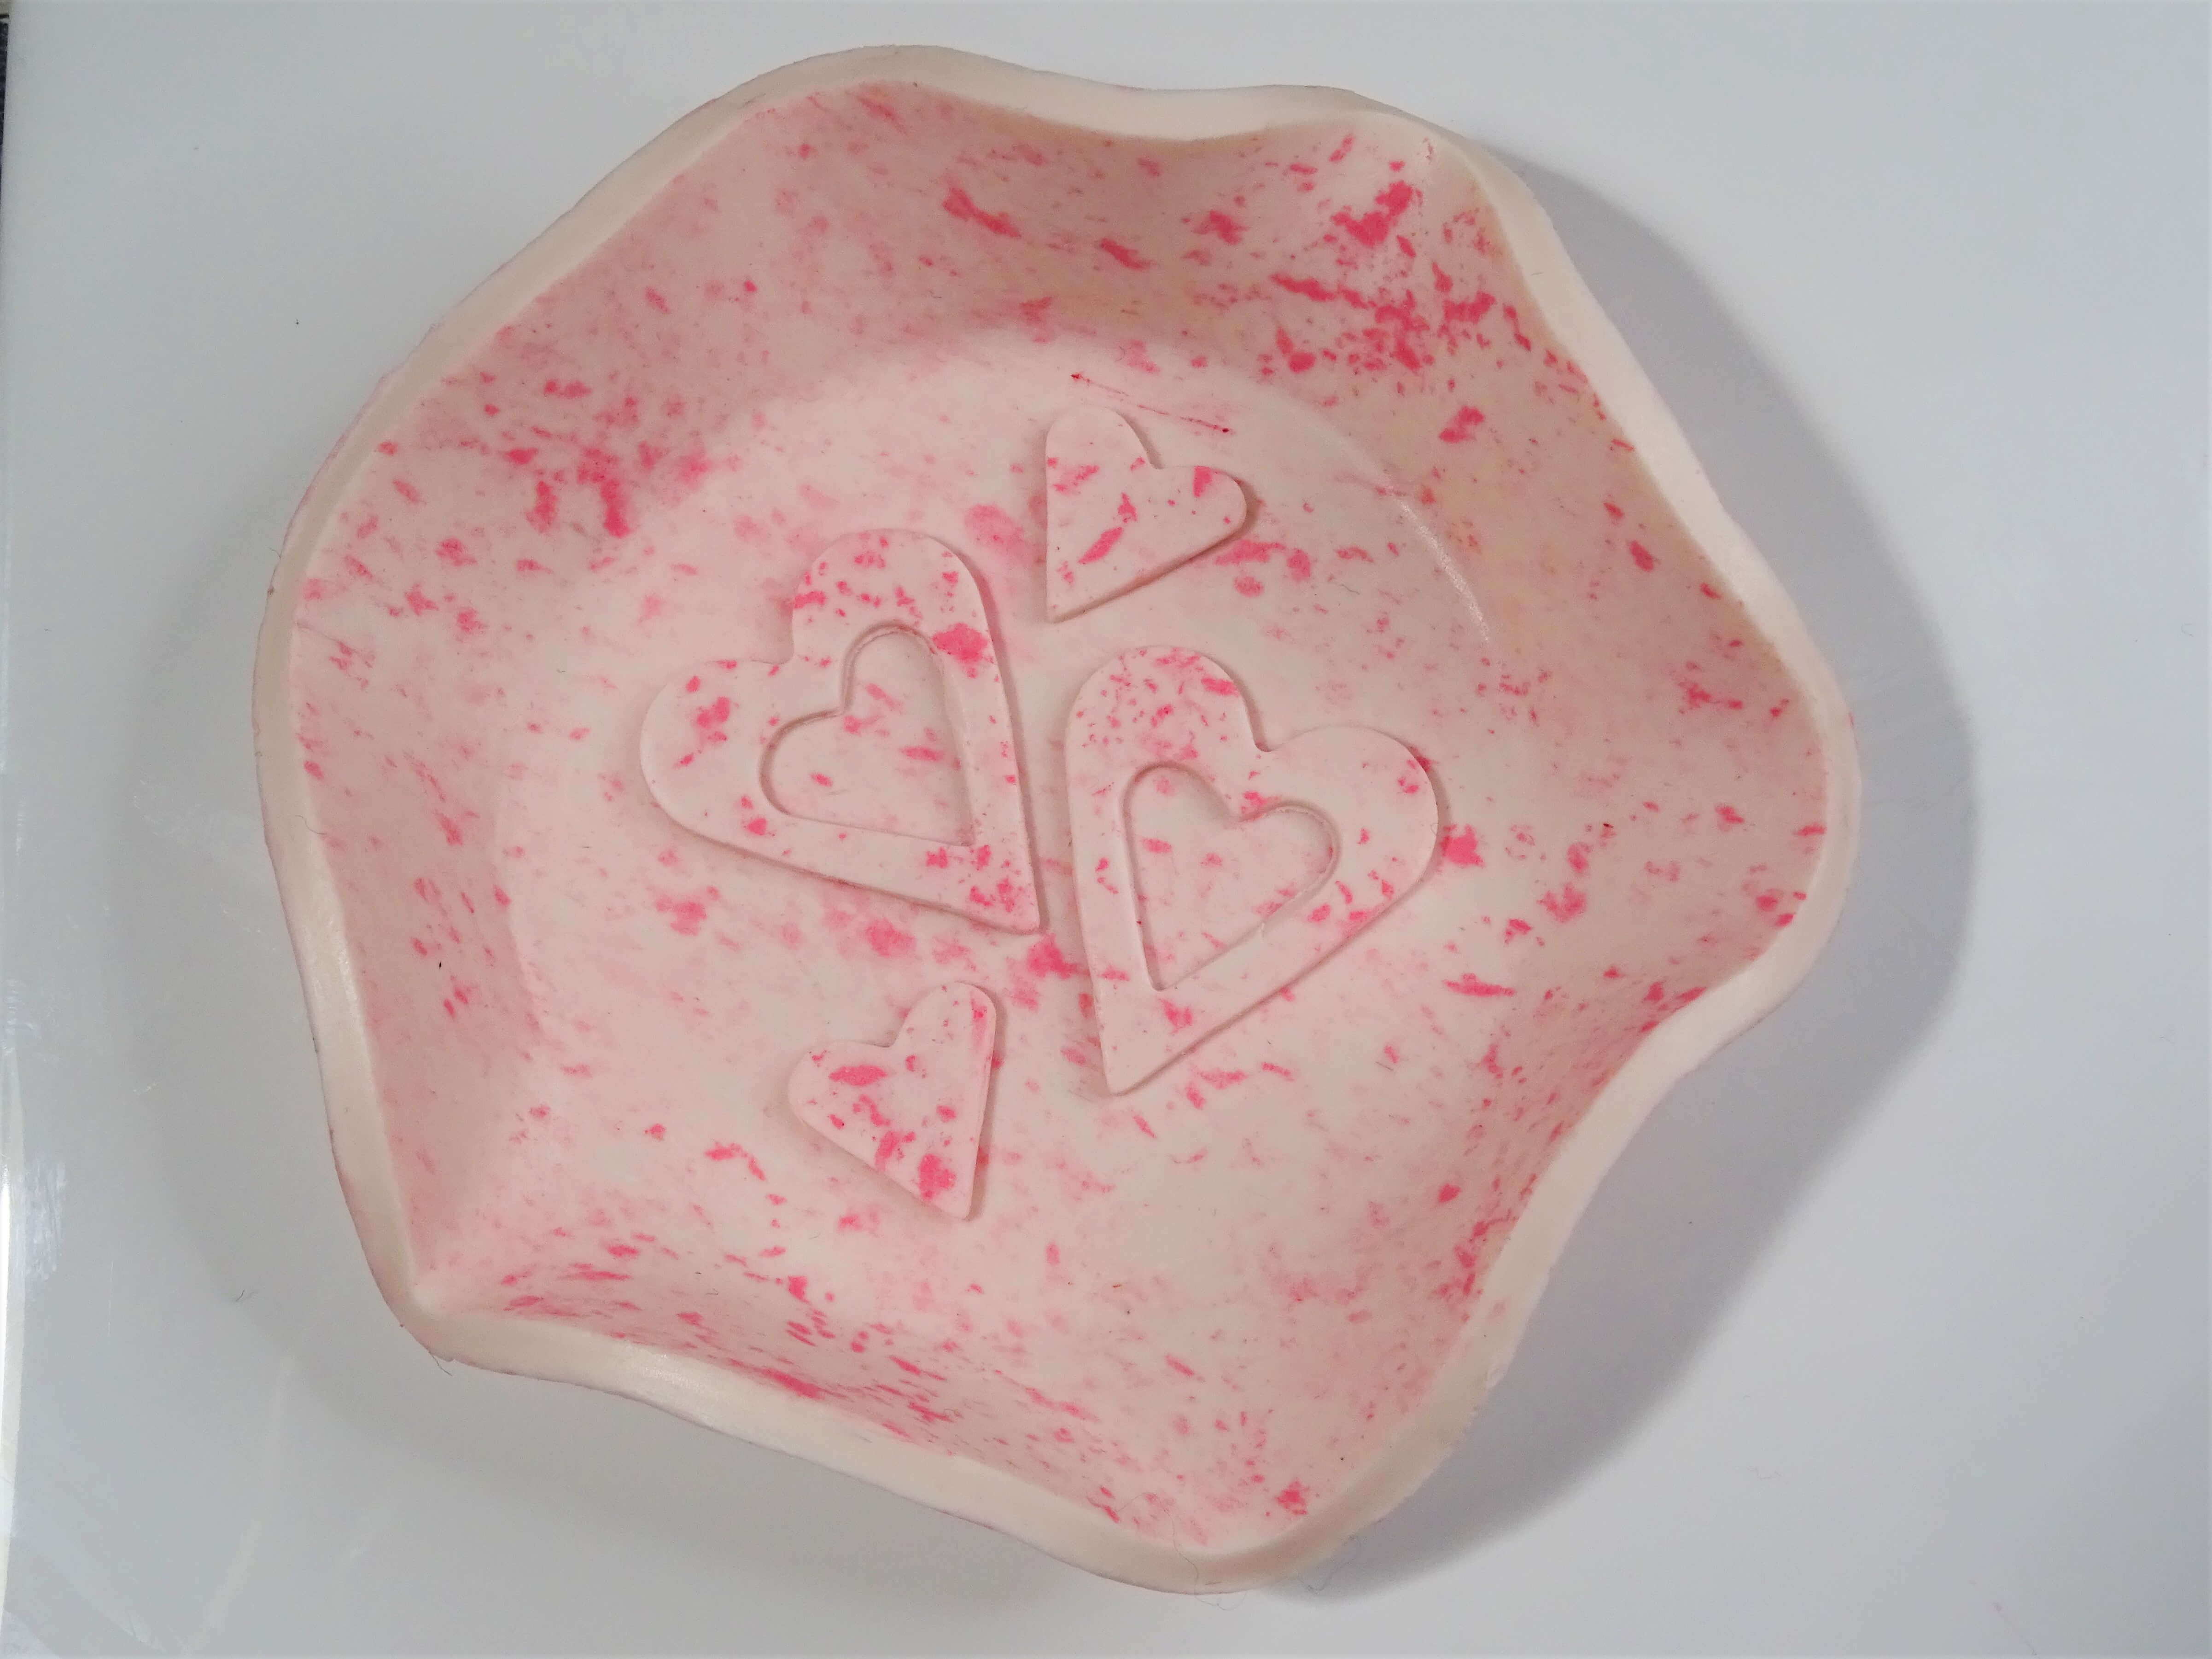
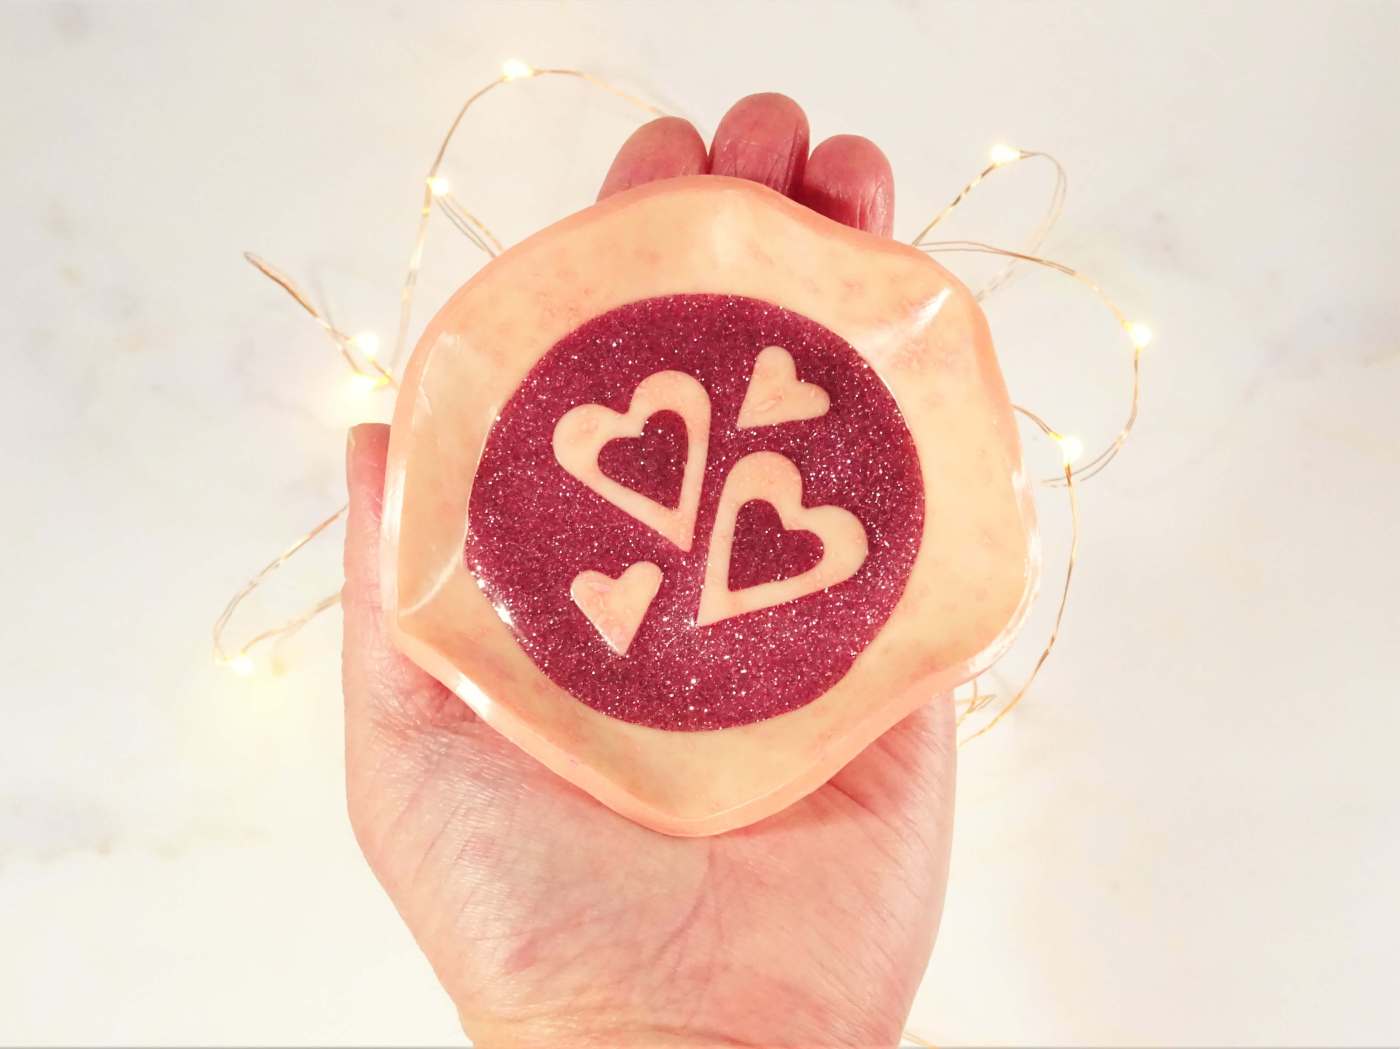
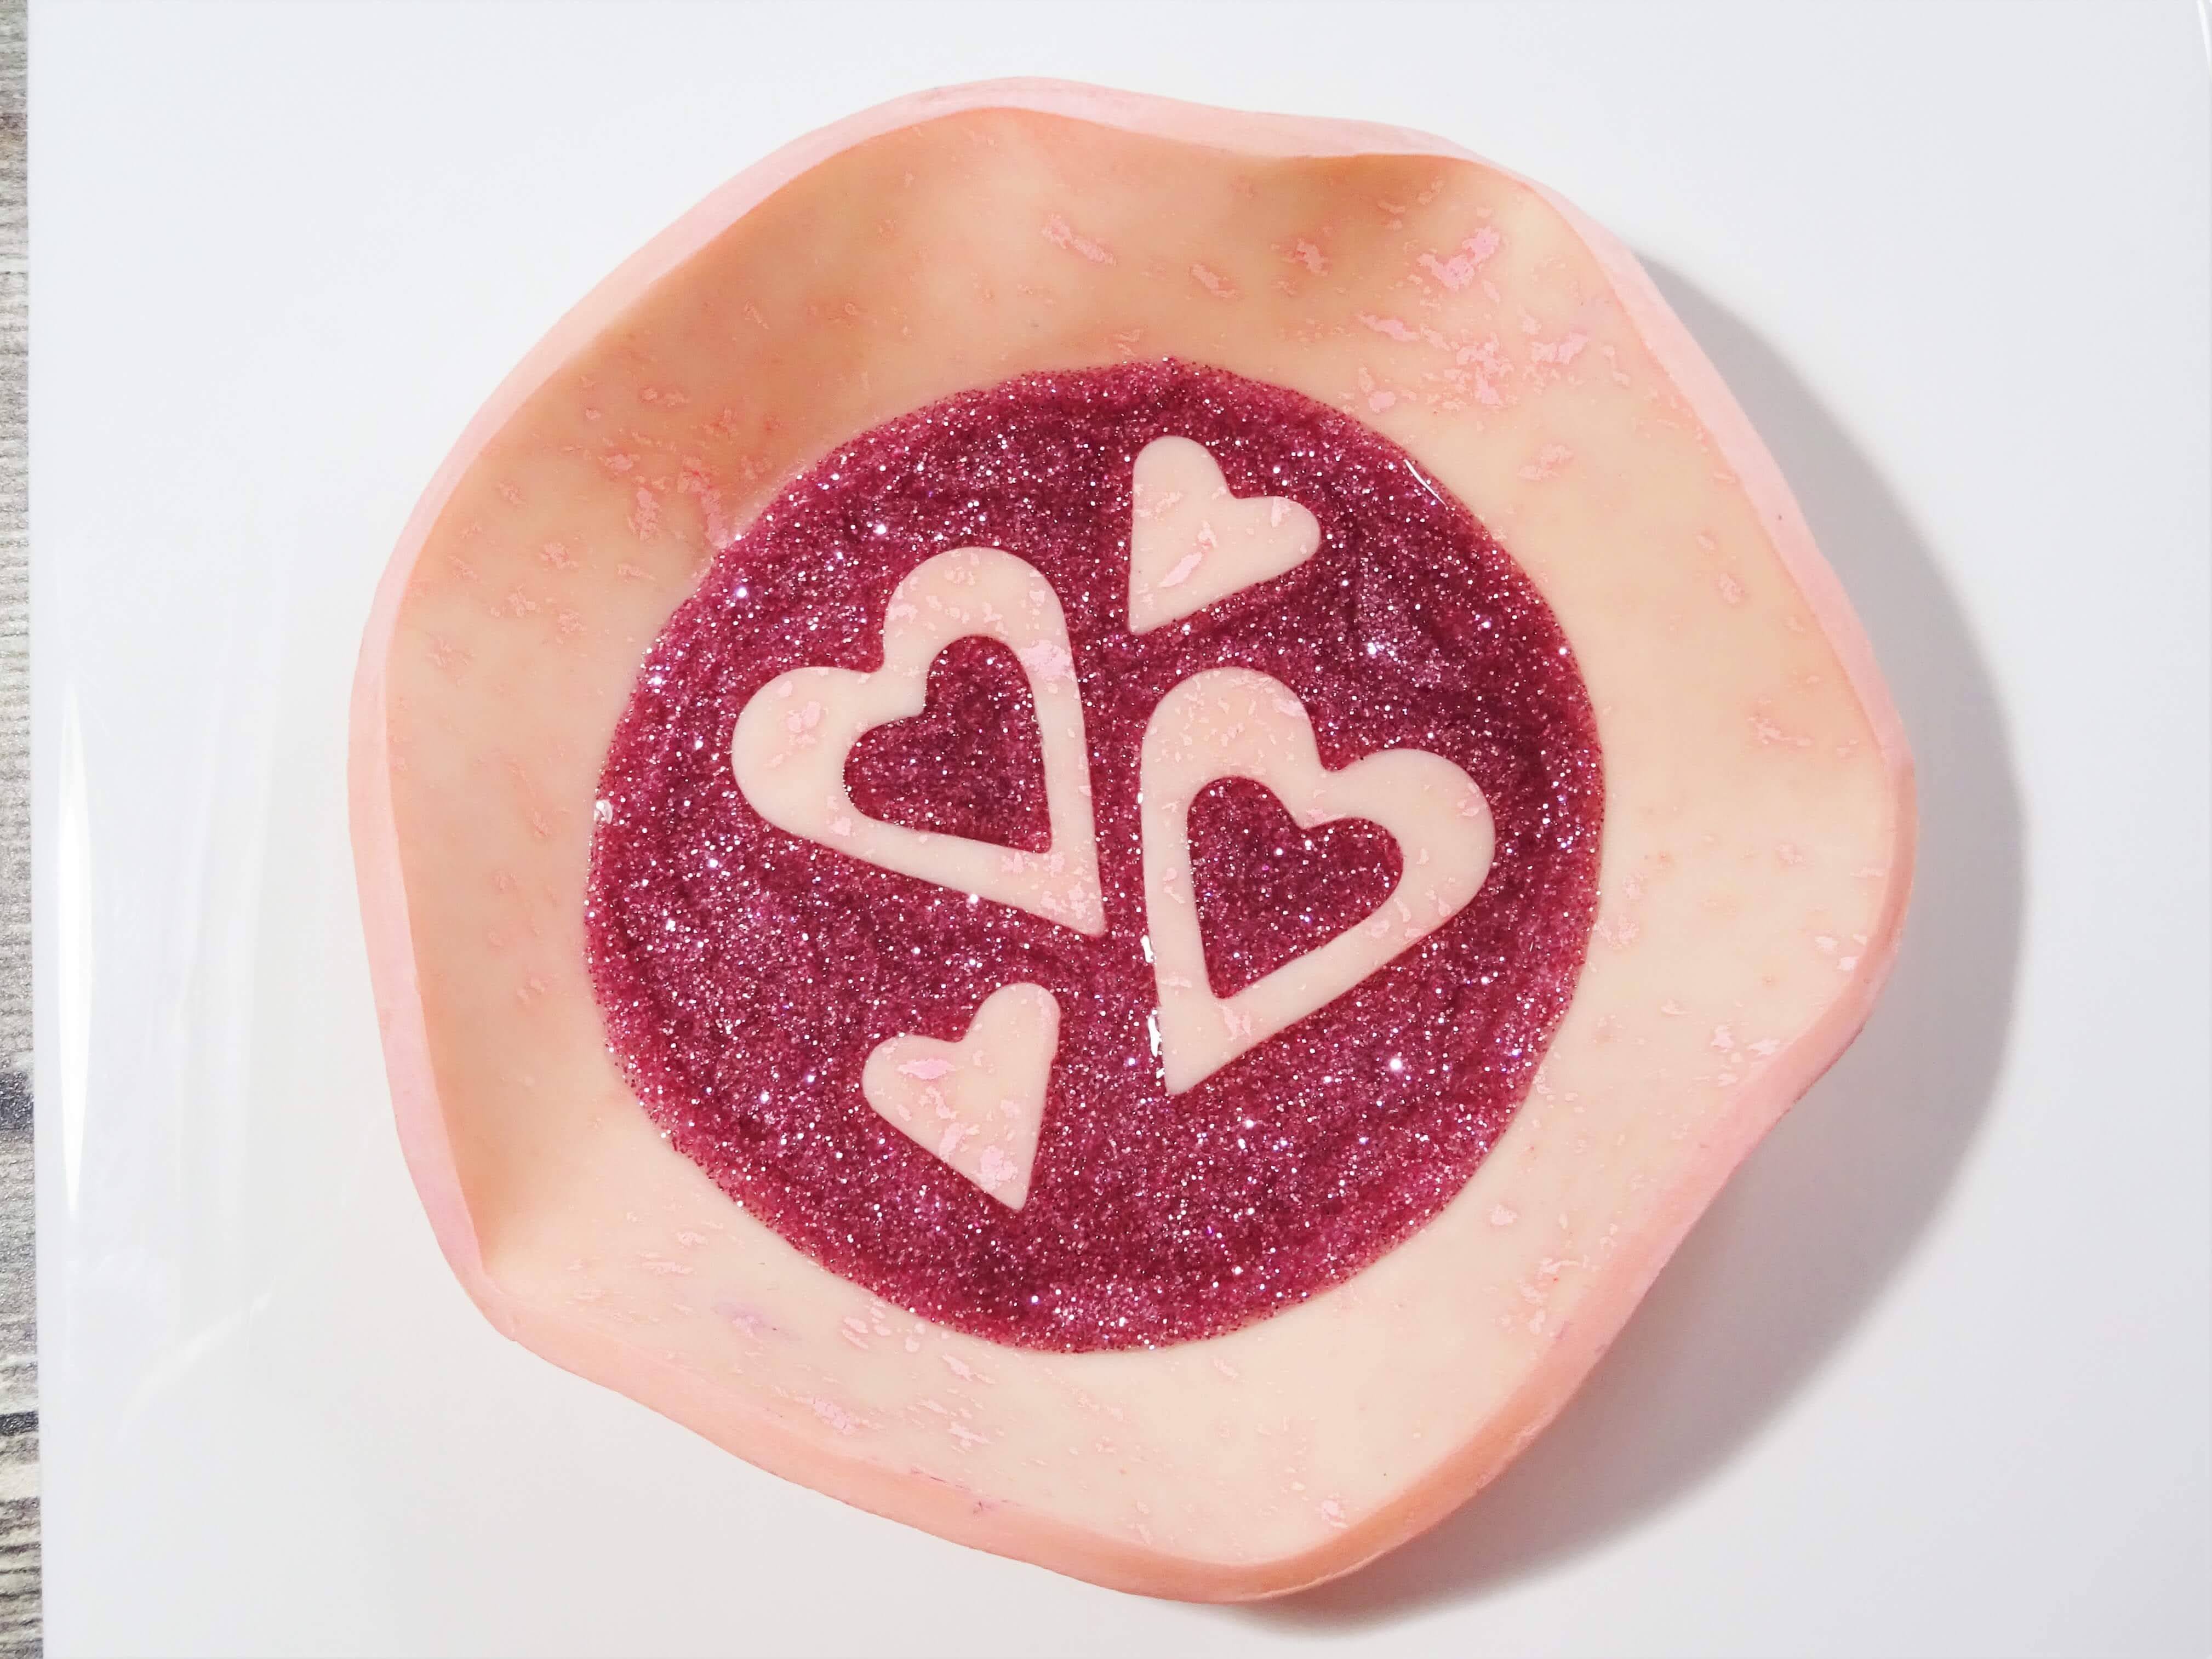
Position your hearts as you wish in the base of your dish. I also cut two small hearts as further decoration and added them to the ring dish. Put the ring dish in the oven and harden according to the instructions on the packet of clay. Leave to cool before moving on the next step.
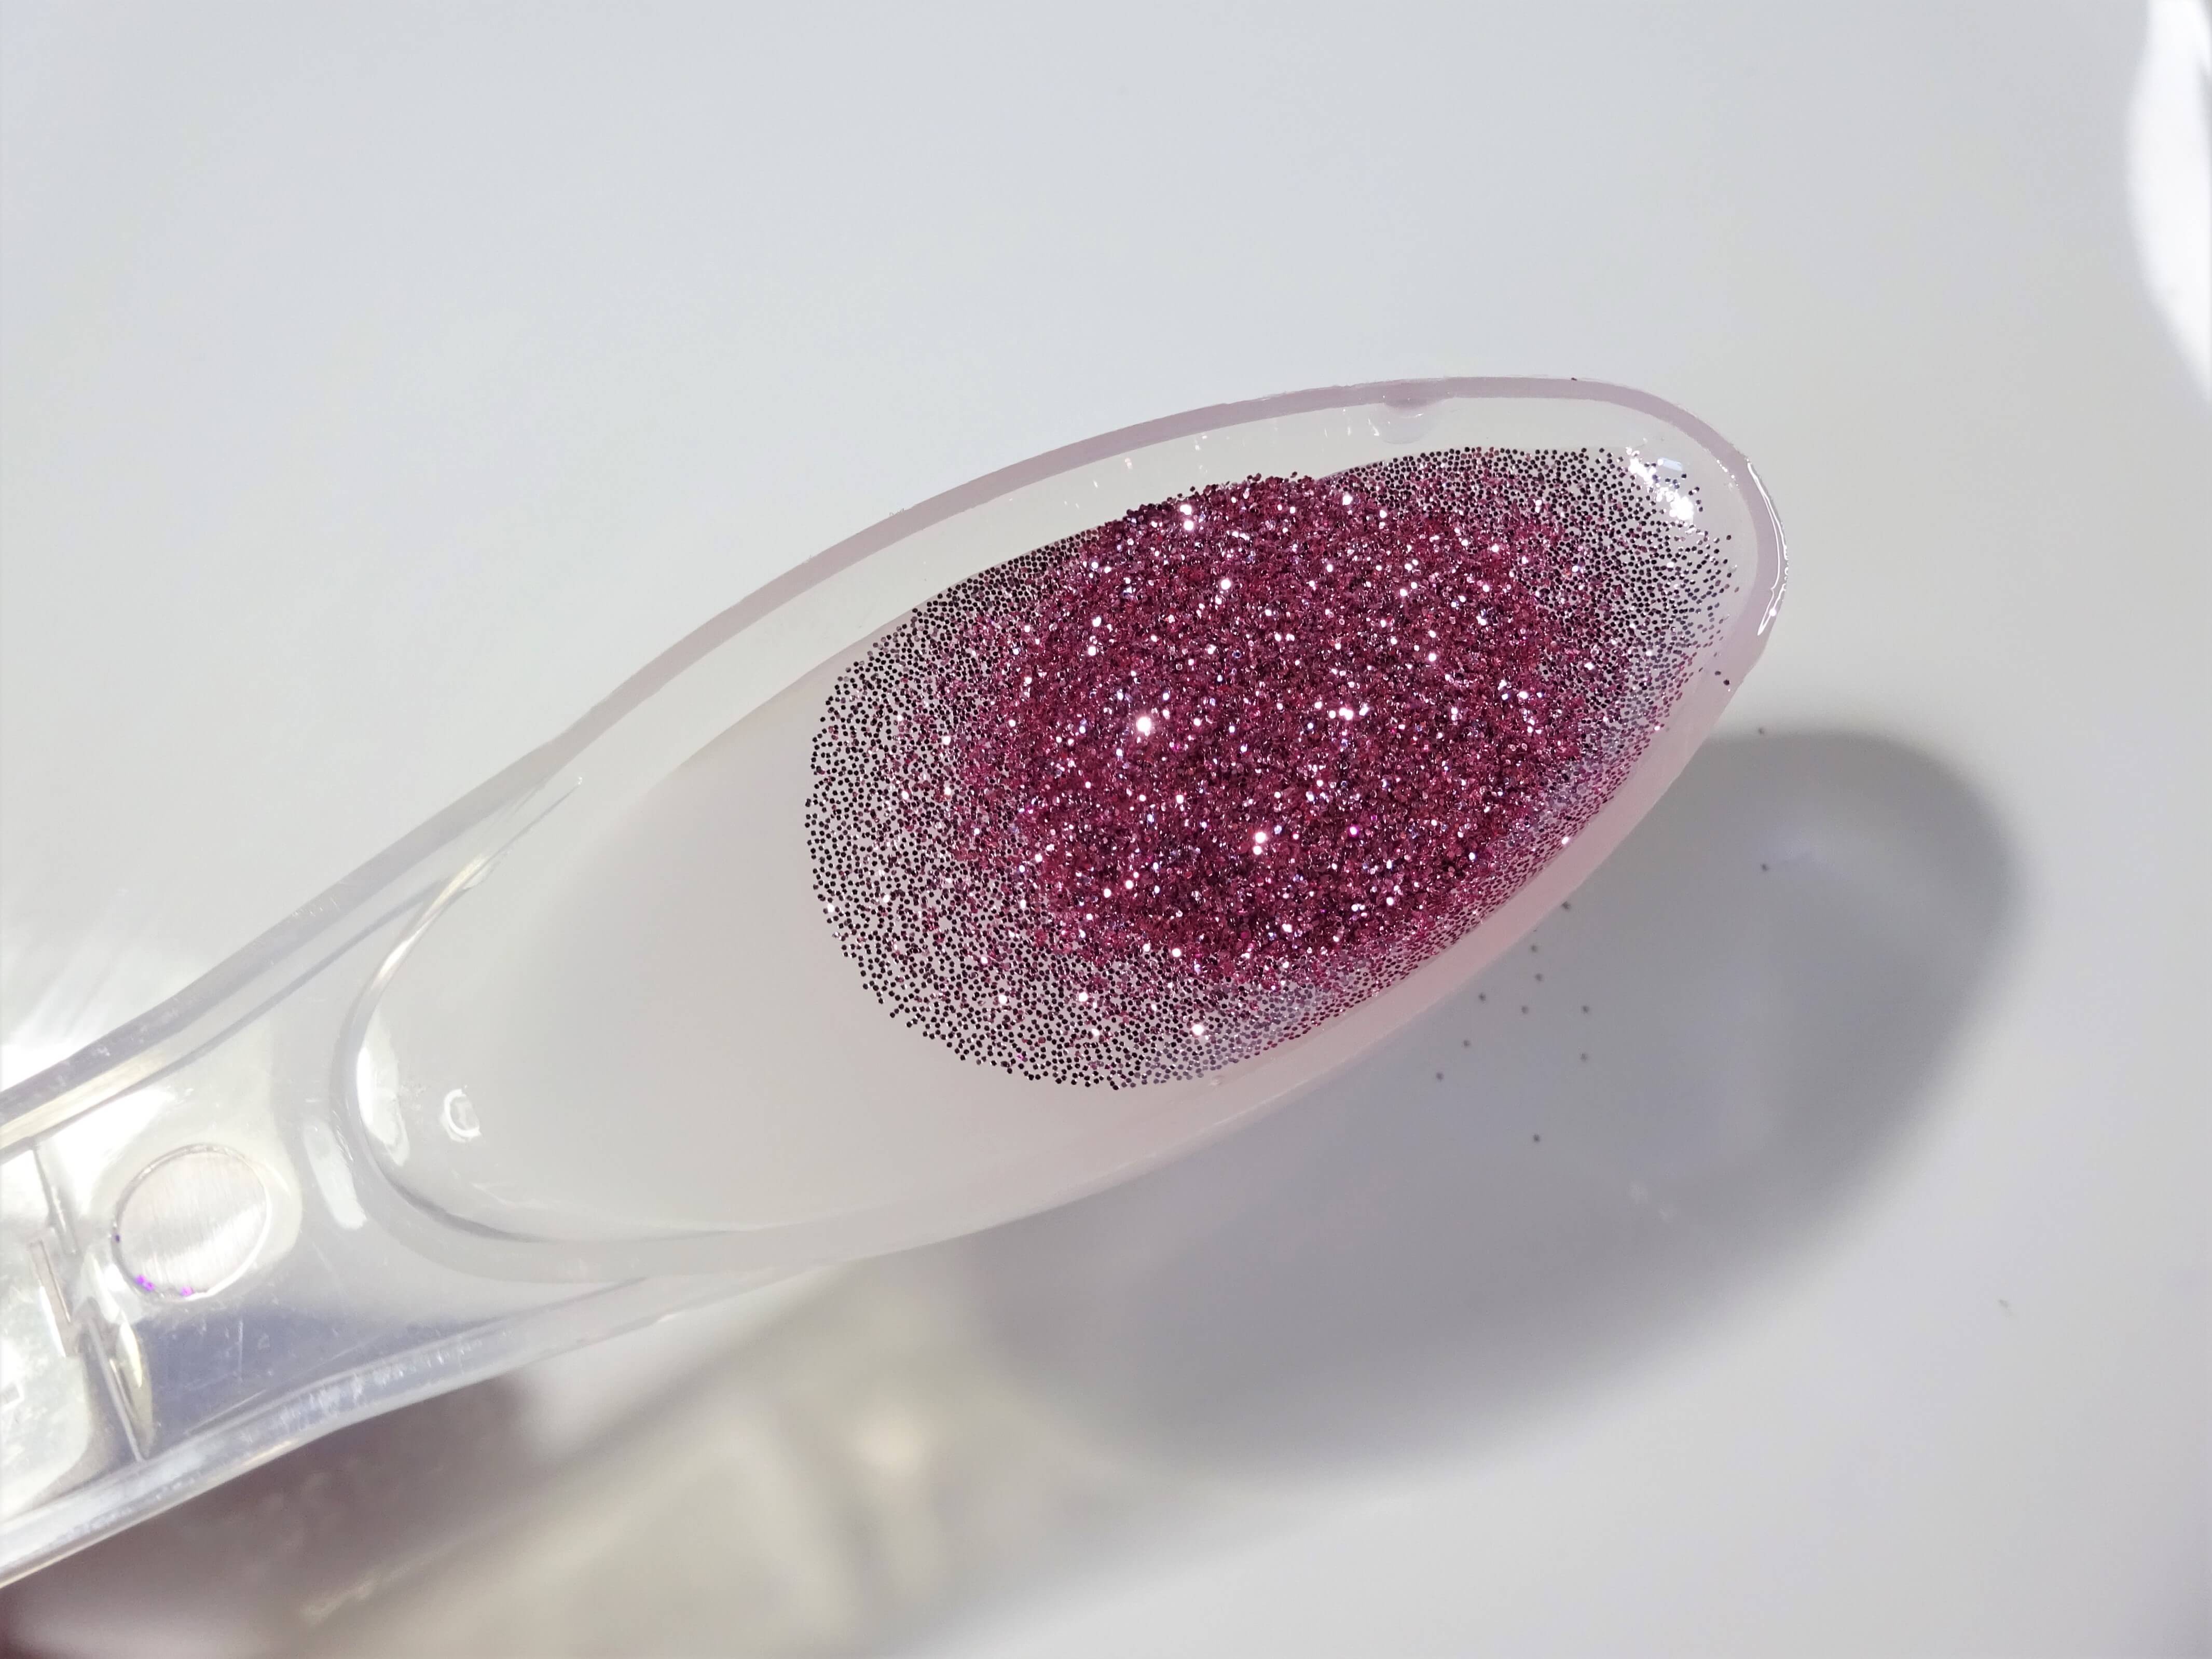
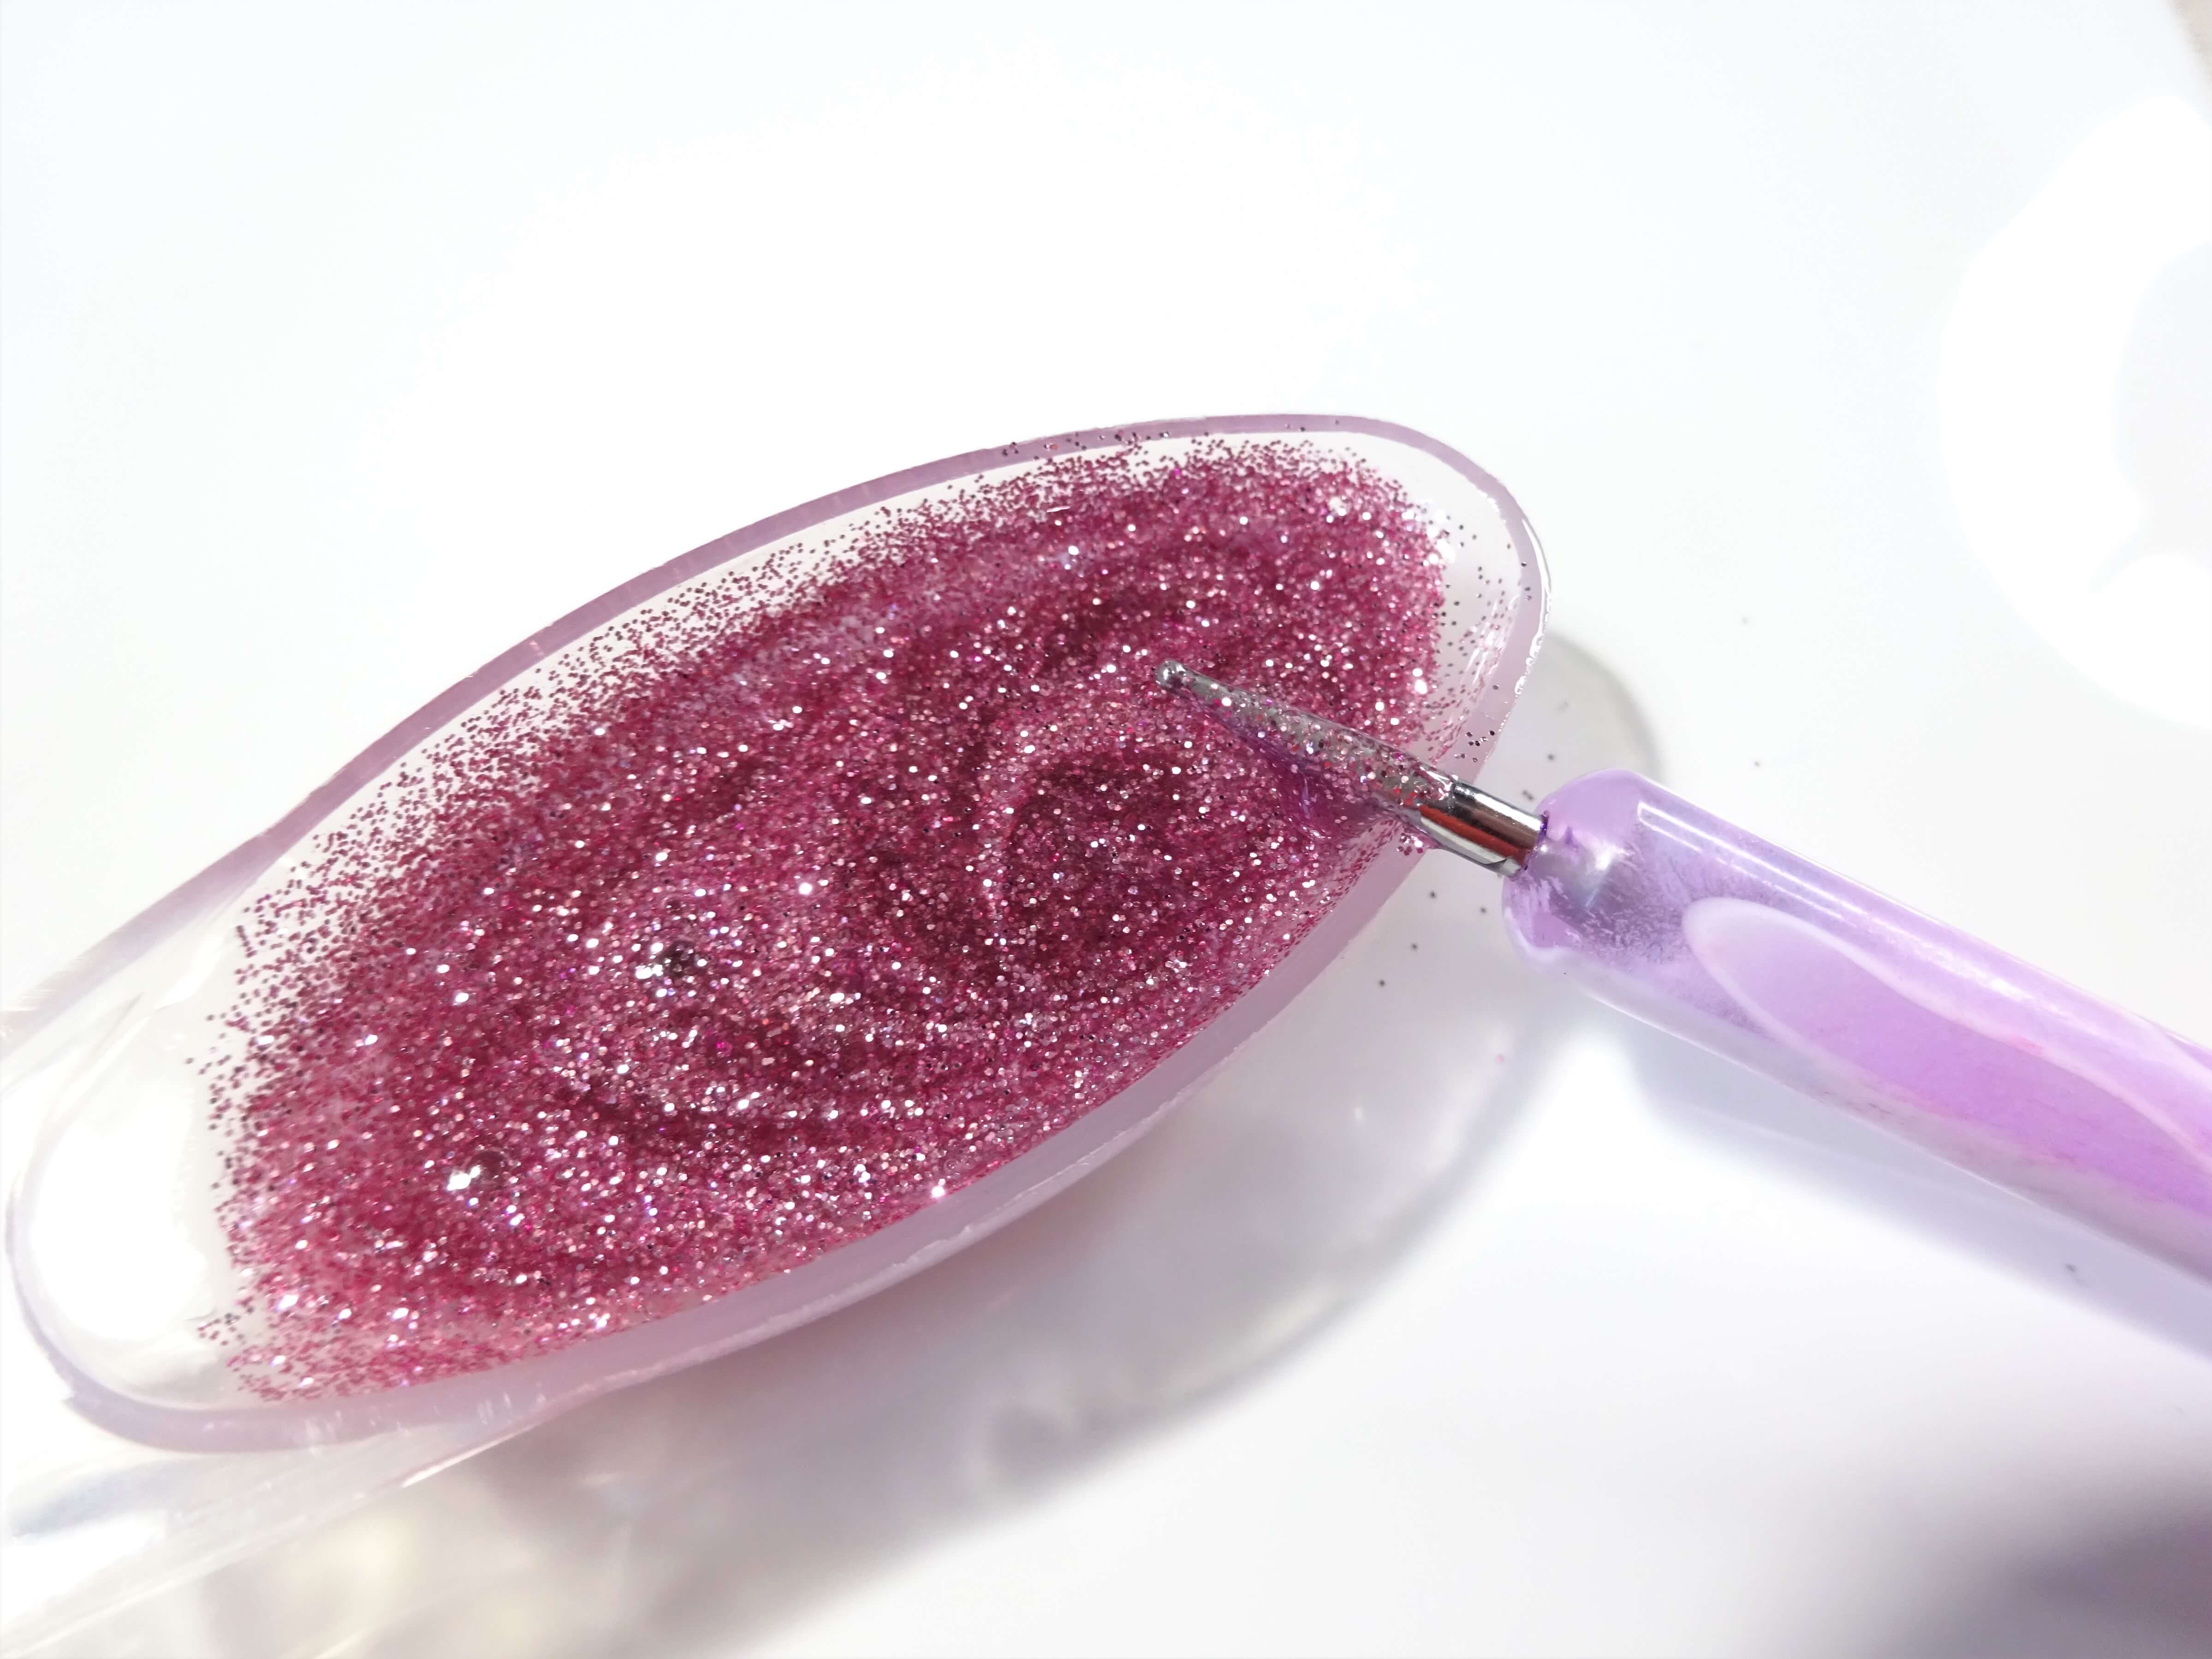
Pour some liquid clay into a small pot or something similar (it will easily wipe out when you have finished) and pour some glitter on top. Mix them together will a small tipped ball tool. You need a high density of glitter to liquid clay as otherwise it won’t give a nice coverage on your ring dish.
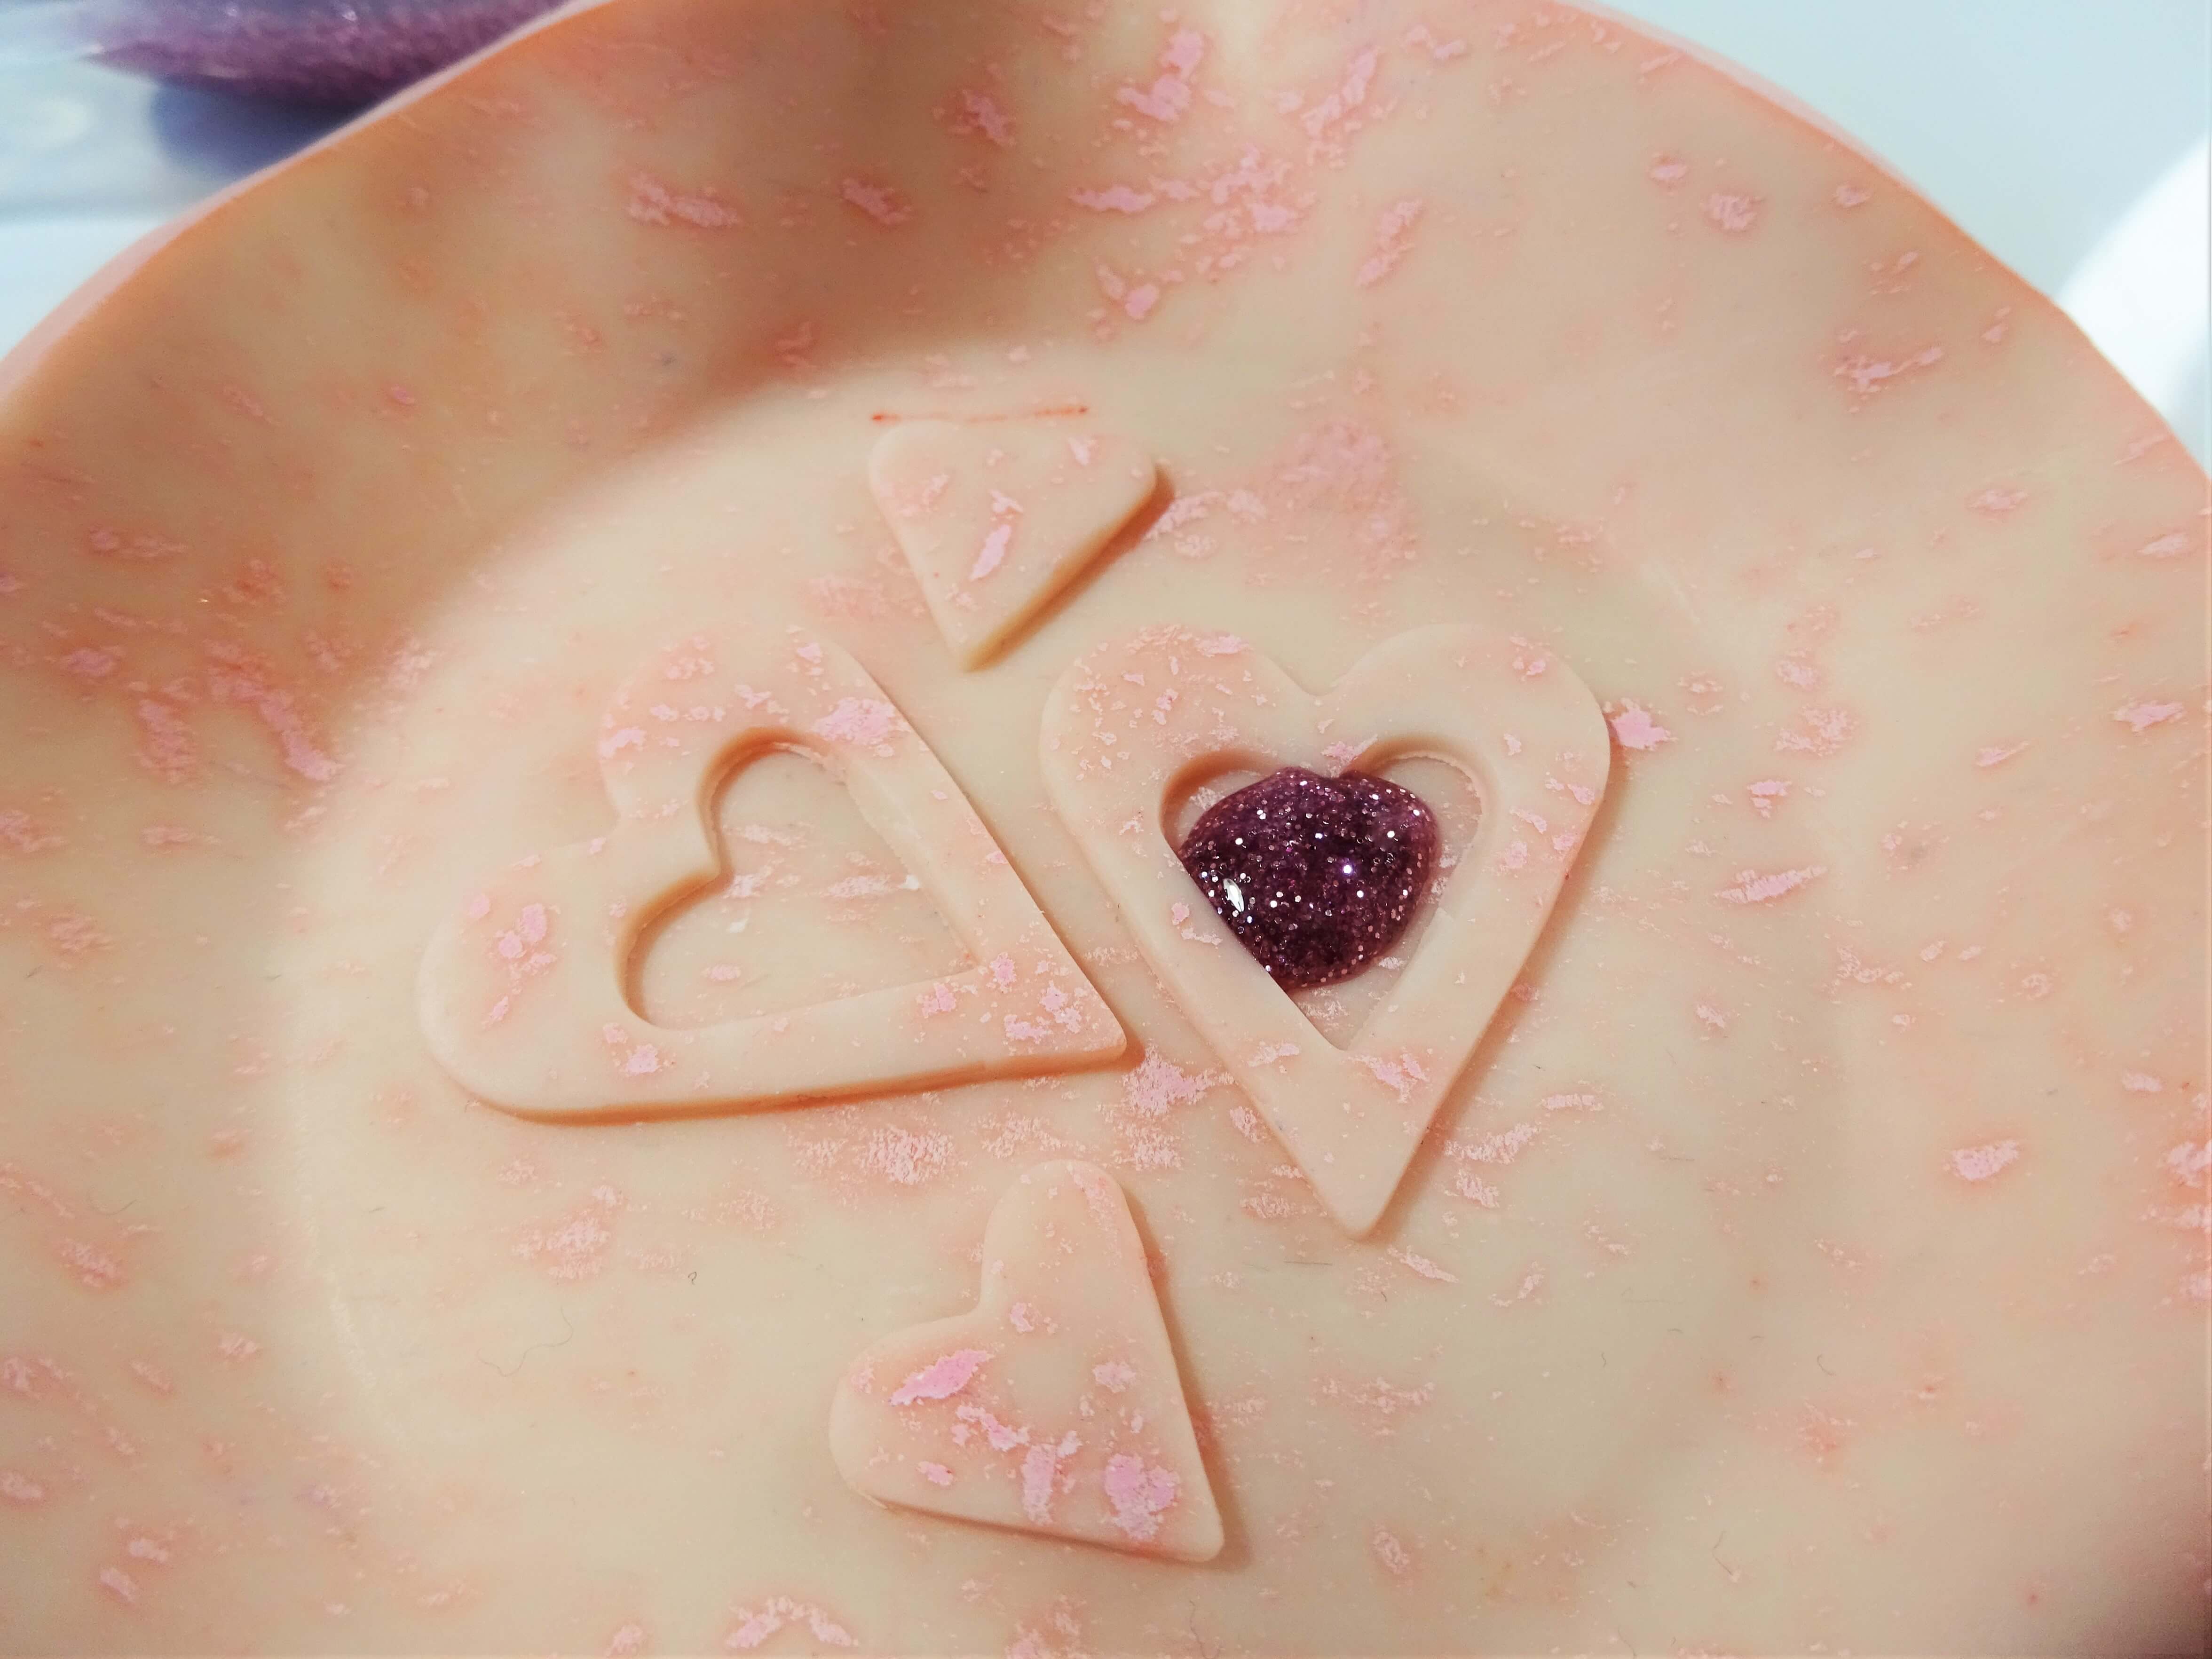
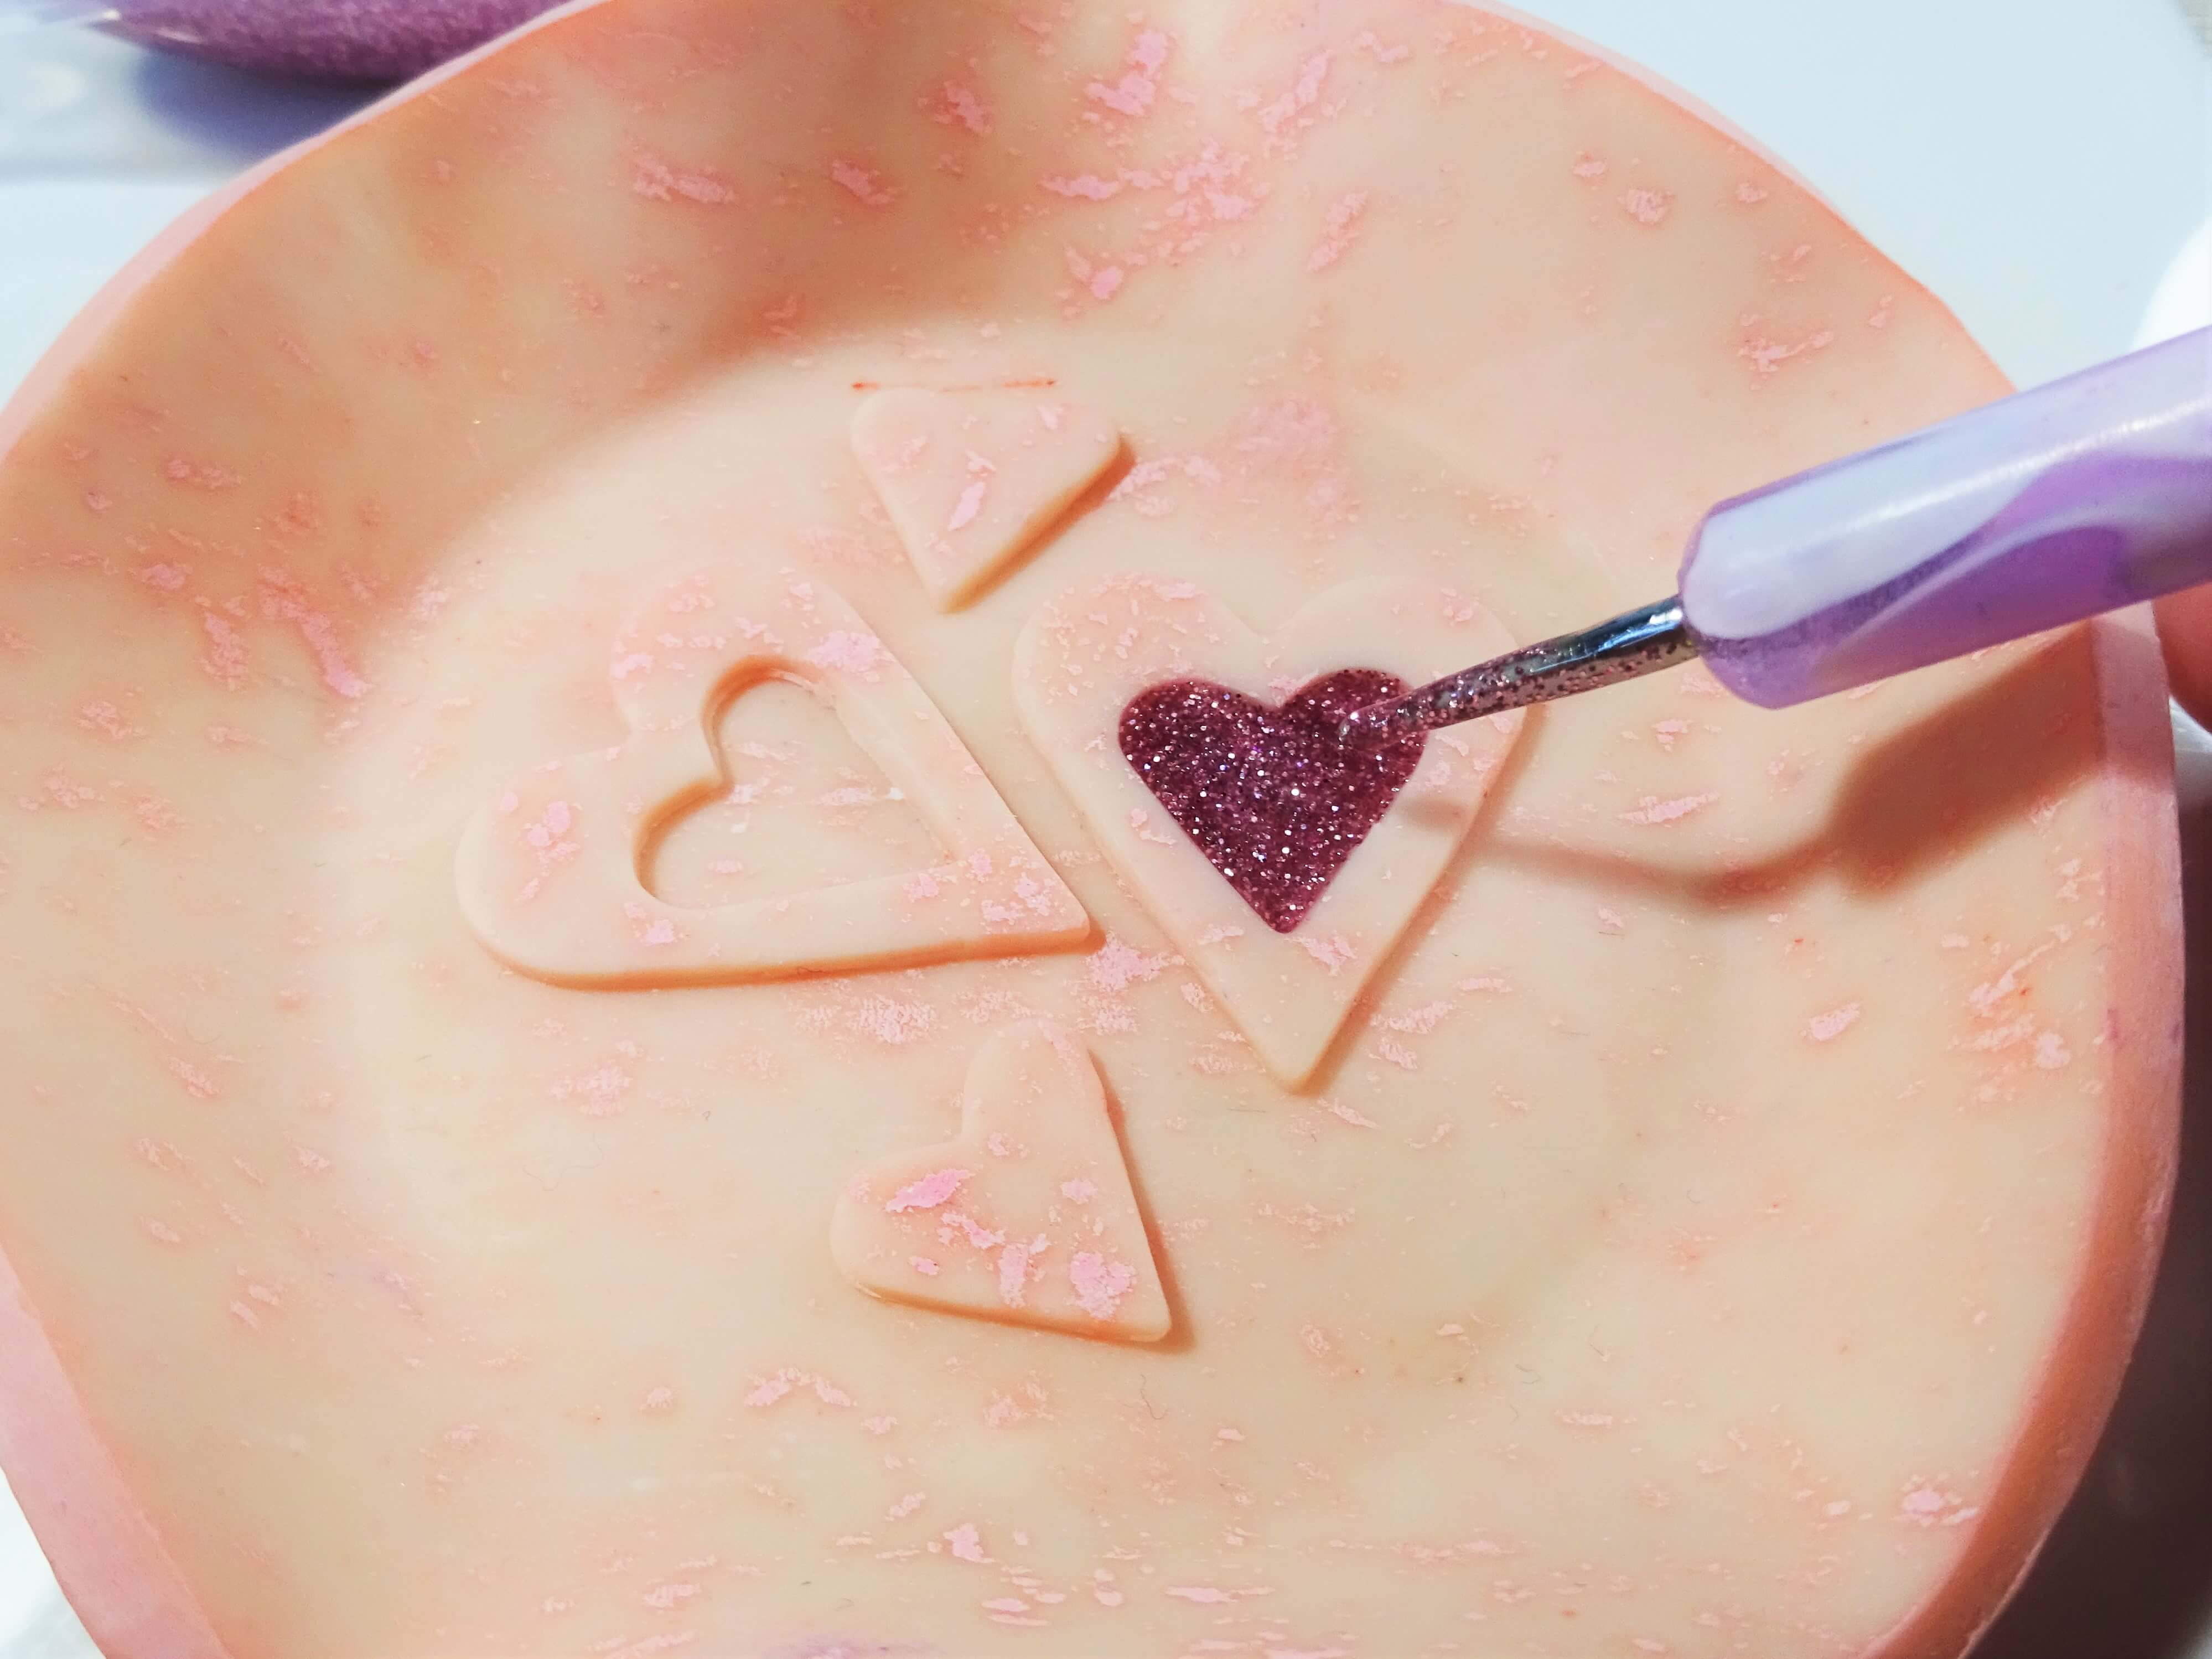
Begin by dropping a small amount of liquid clay into the heart shapes (picture 9a) and use your small ball tool to move the liquid clay around to fill the heart shape (picture 9b). Add sufficient liquid/glitter clay mixture so that it reaches the top of the heart shape.
Continue by filling the second heart and then pour the remaining mix into the bases, a little at a time, and use the ball tool again to help it move around the base. Use the tip of your tool to form a nice edge. Put the clay ring dish back into your oven and harden using the instructions on your liquid polymer clay bottle.
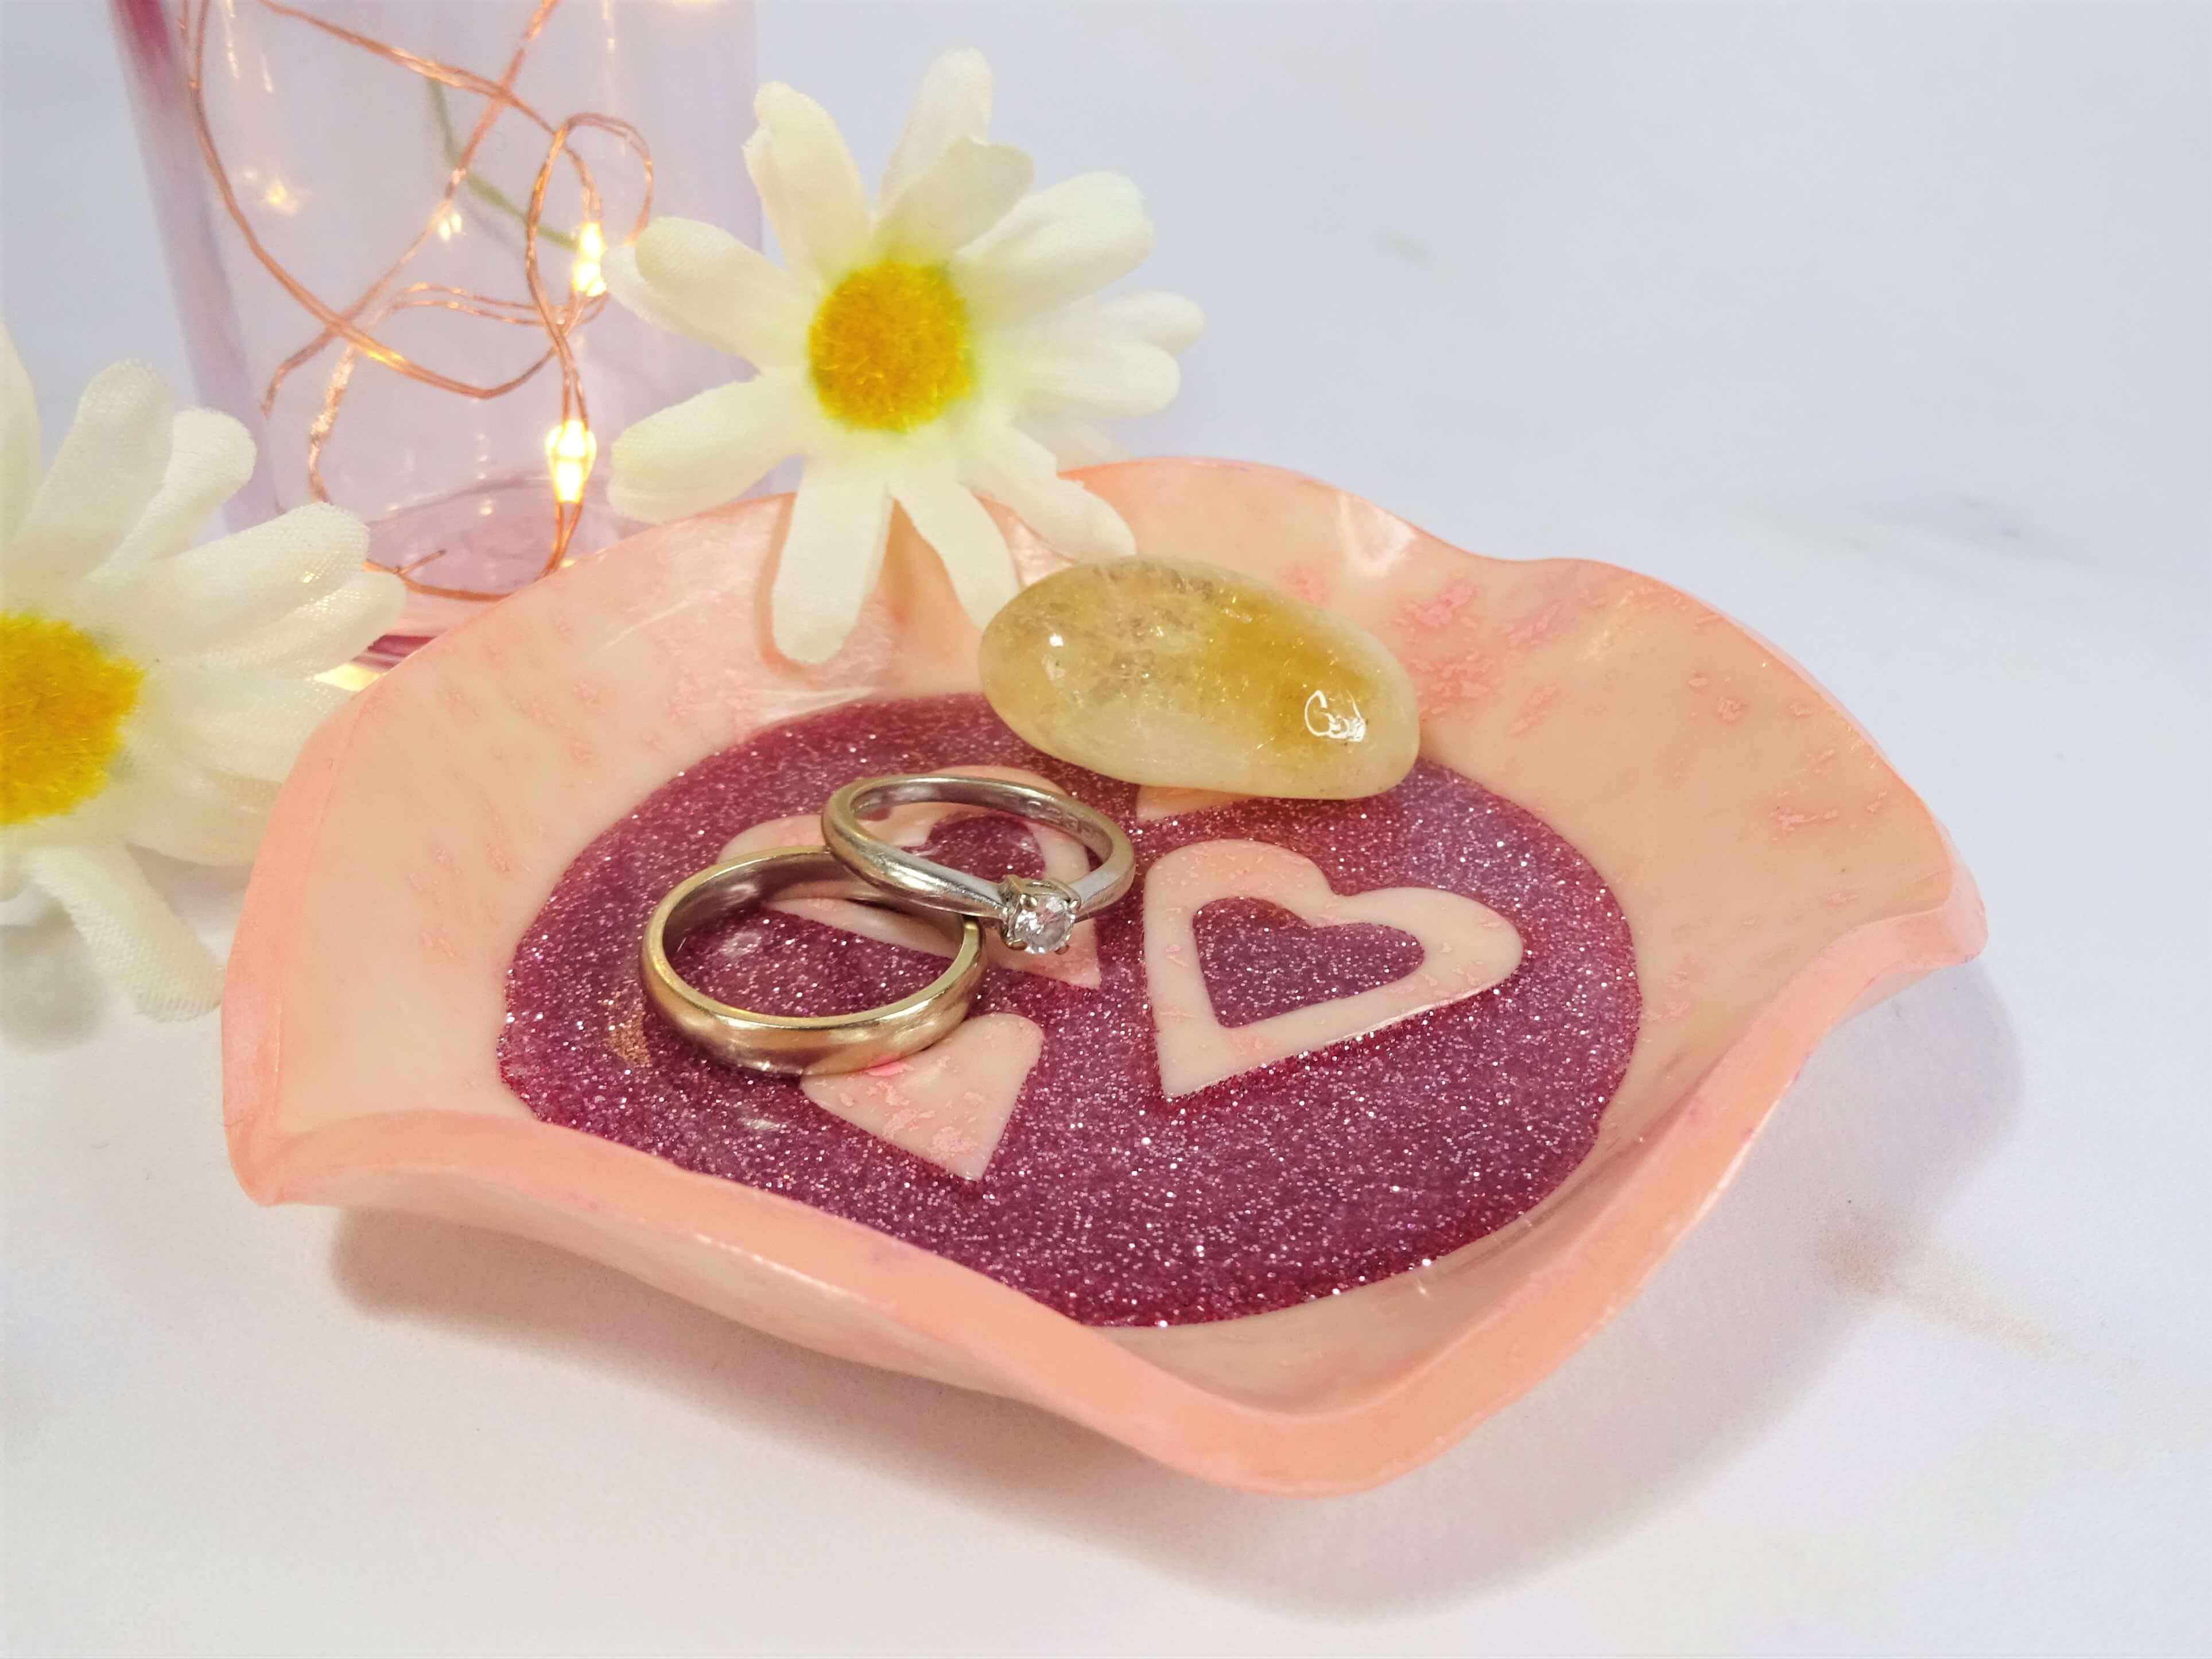
Once the polymer clay ring dish has cooled down, give two coats of varnish to protect that chalk speckled detail and your dish is now ready to be used for your jewellery and trinkets. The glitter is fully encased in the liquid clay so none will come off when you touch it.
If you are still on the hunt for another Valentine’s Day polymer clay tutorial then check out my Polymer Clay Extruder Heart Cane and if the liquid polymer clay and glitter combo has you intrigued then I have a Polymer Clay Christmas Ornament Tutorial using a similar technique.
Links below for products used are Affiliate links for Amazon (UK, United States and Canada). This just means that if you use my link to buy a product I earn a very small commission, at no extra expense to you (you pay the same regardless how you find the item). Every little extra helps me to offer free tutorials.
UK – Affiliate Links
Liquid Polymer Clay, Cutting Shapes, Fimo Varnish, Polymer Clay Machine
US – Affiliate Links
Liquid Polymer Clay, Cutting Shapes, Fimo Varnish, Blades, Polymer Clay Machine
I hope you have enjoyed this tutorial and feel inspired to have a go as making your own ring dish.
Hannah x


Leave a comment