
A beginner friendly bead weaving tutorial for easy seed bead stars and how to make them into a fun pair of earrings.

I am taking a slow and steady approach to the start of the year (some may argue that that is my approach all year round!) and thought that you can’t get much better than some stress free beading after all the hustle and bustle of Christmas and new year celebrations. These easy, beginner friendly, seed bead stars may be the perfect antidote.
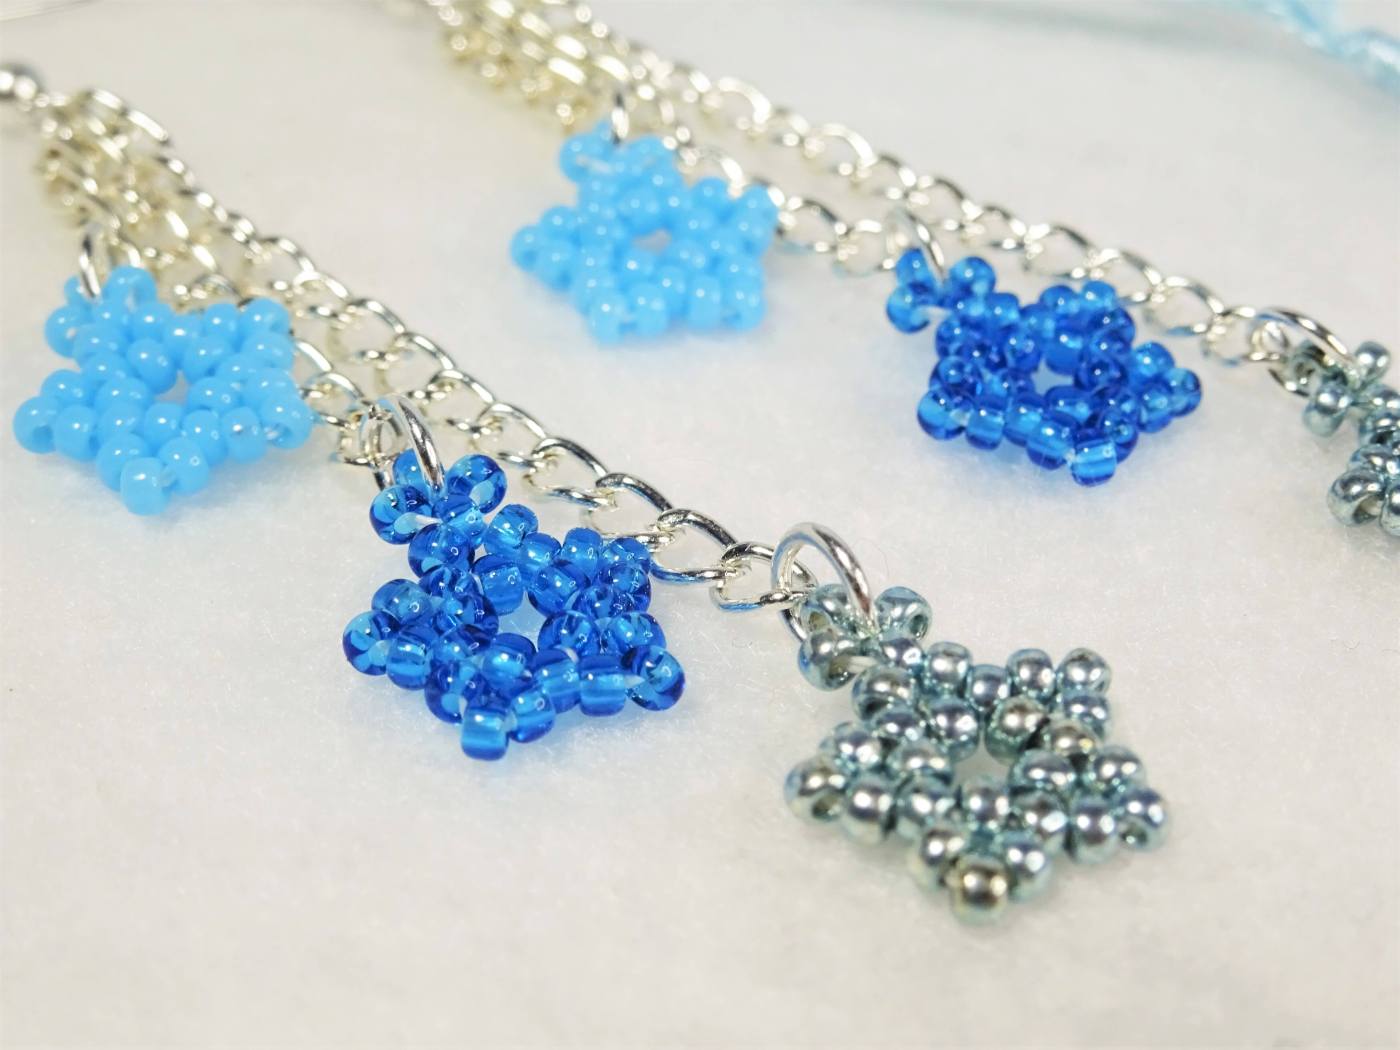
These bead weaving stars are so simple that I extended the tutorial to show how I make them into a pair of earrings. Whilst I’m not from the US, I think that if you were and made them in red, white and blue they would make a perfect pair of earrings 4th of July celebrations.
I am using size 11 seed beads and my trusty Wildfire thread in 0.15mm, Silver plated chain, 5mm jump rings and fish hook earring wires.
I won’t keep rambling so……
How To Make Seed Bead Star Earrings
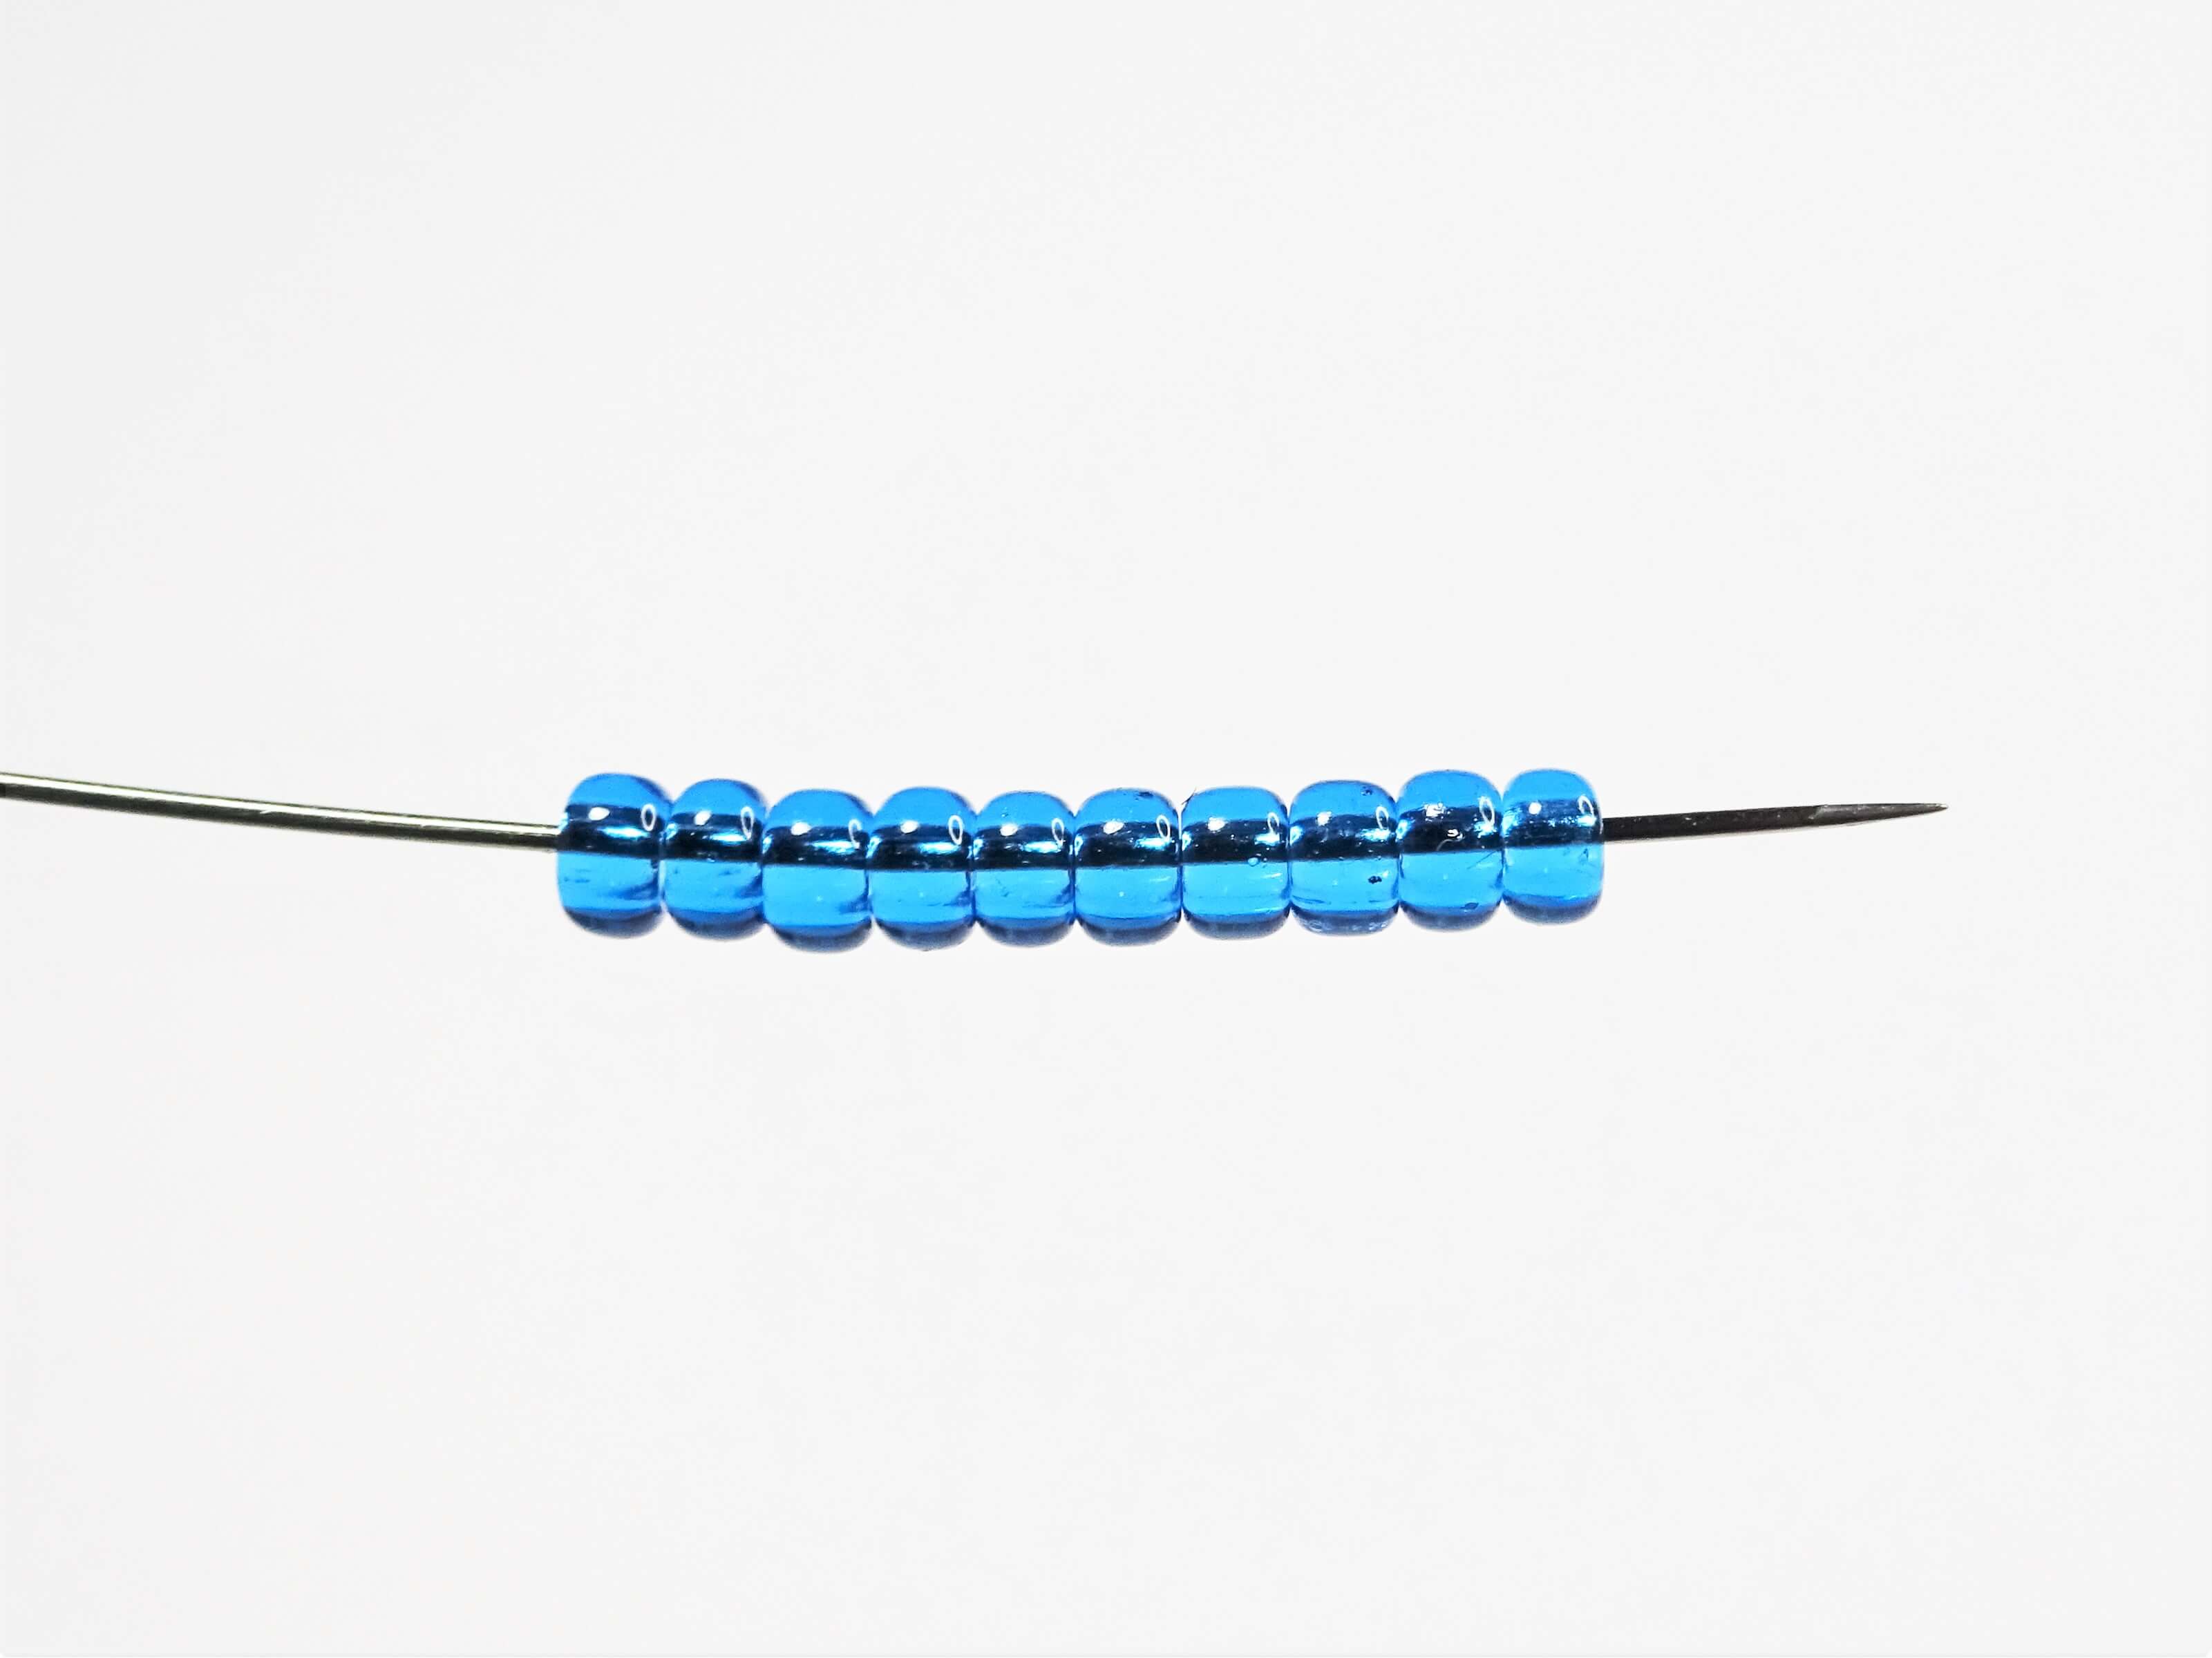
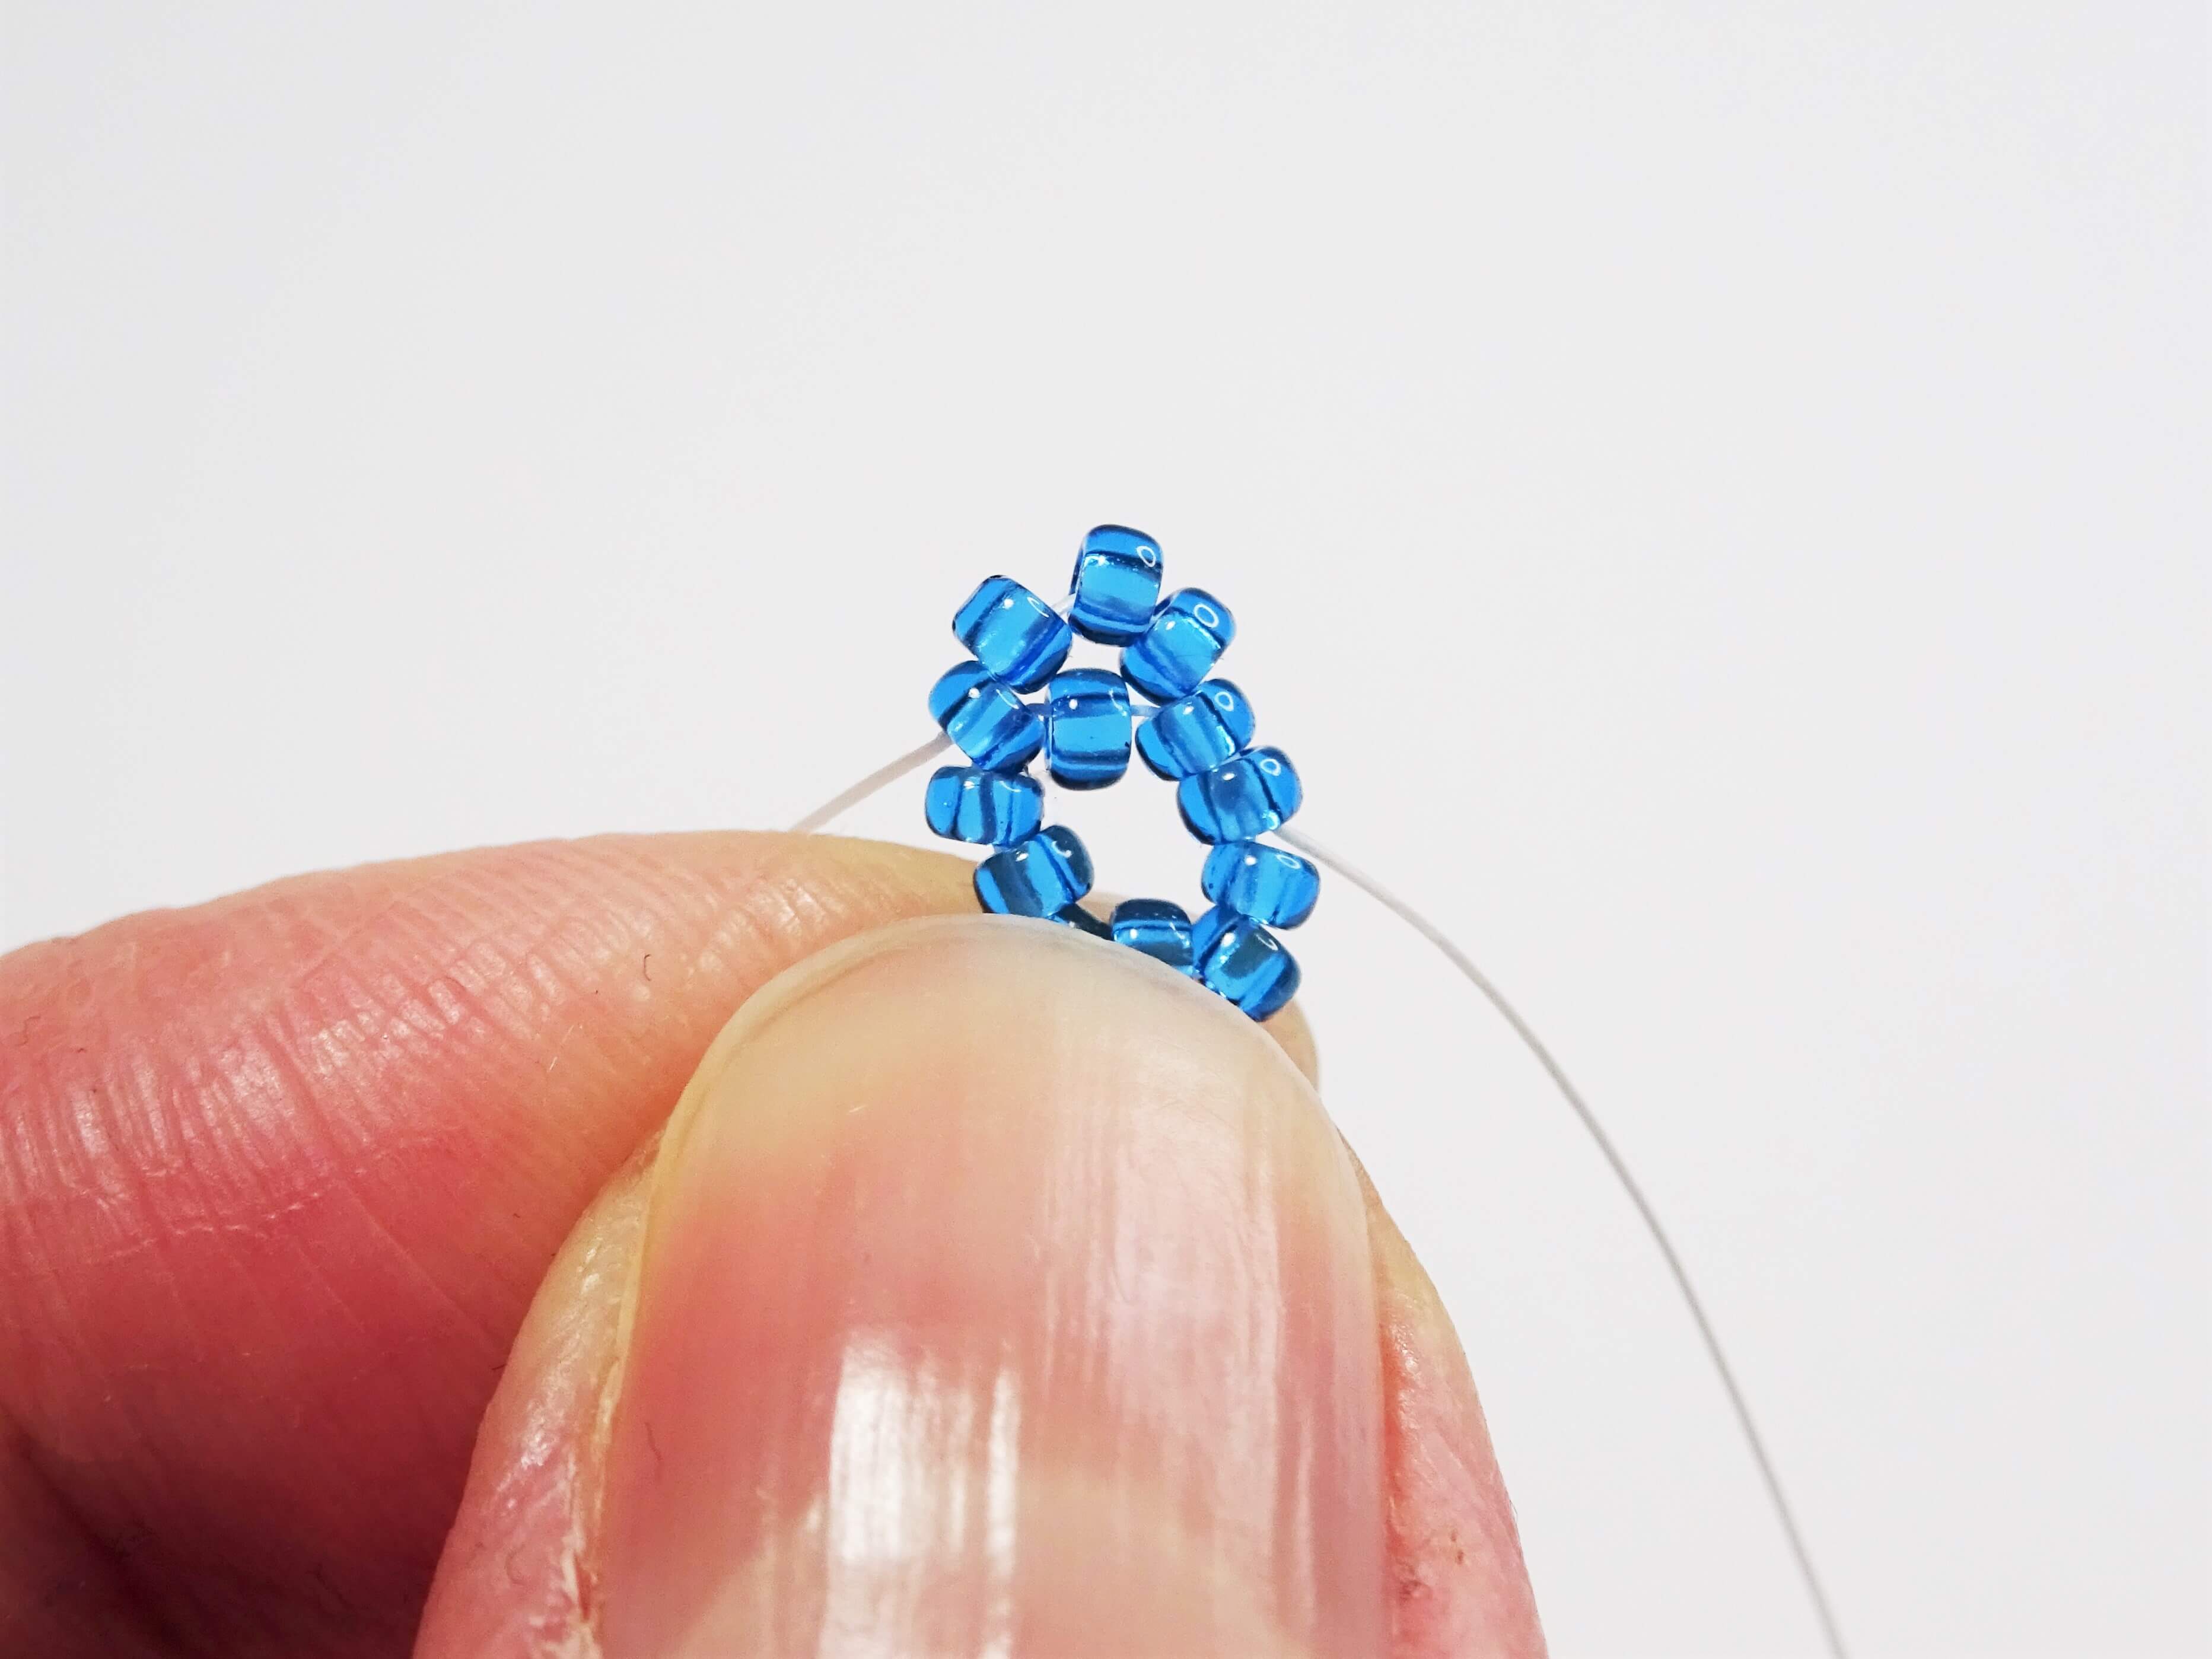
Begin by cutting a small length of beading thread (you’ll use less than an arm length for one star) and adding a needle. Pick up 10 seed beads on the needle.
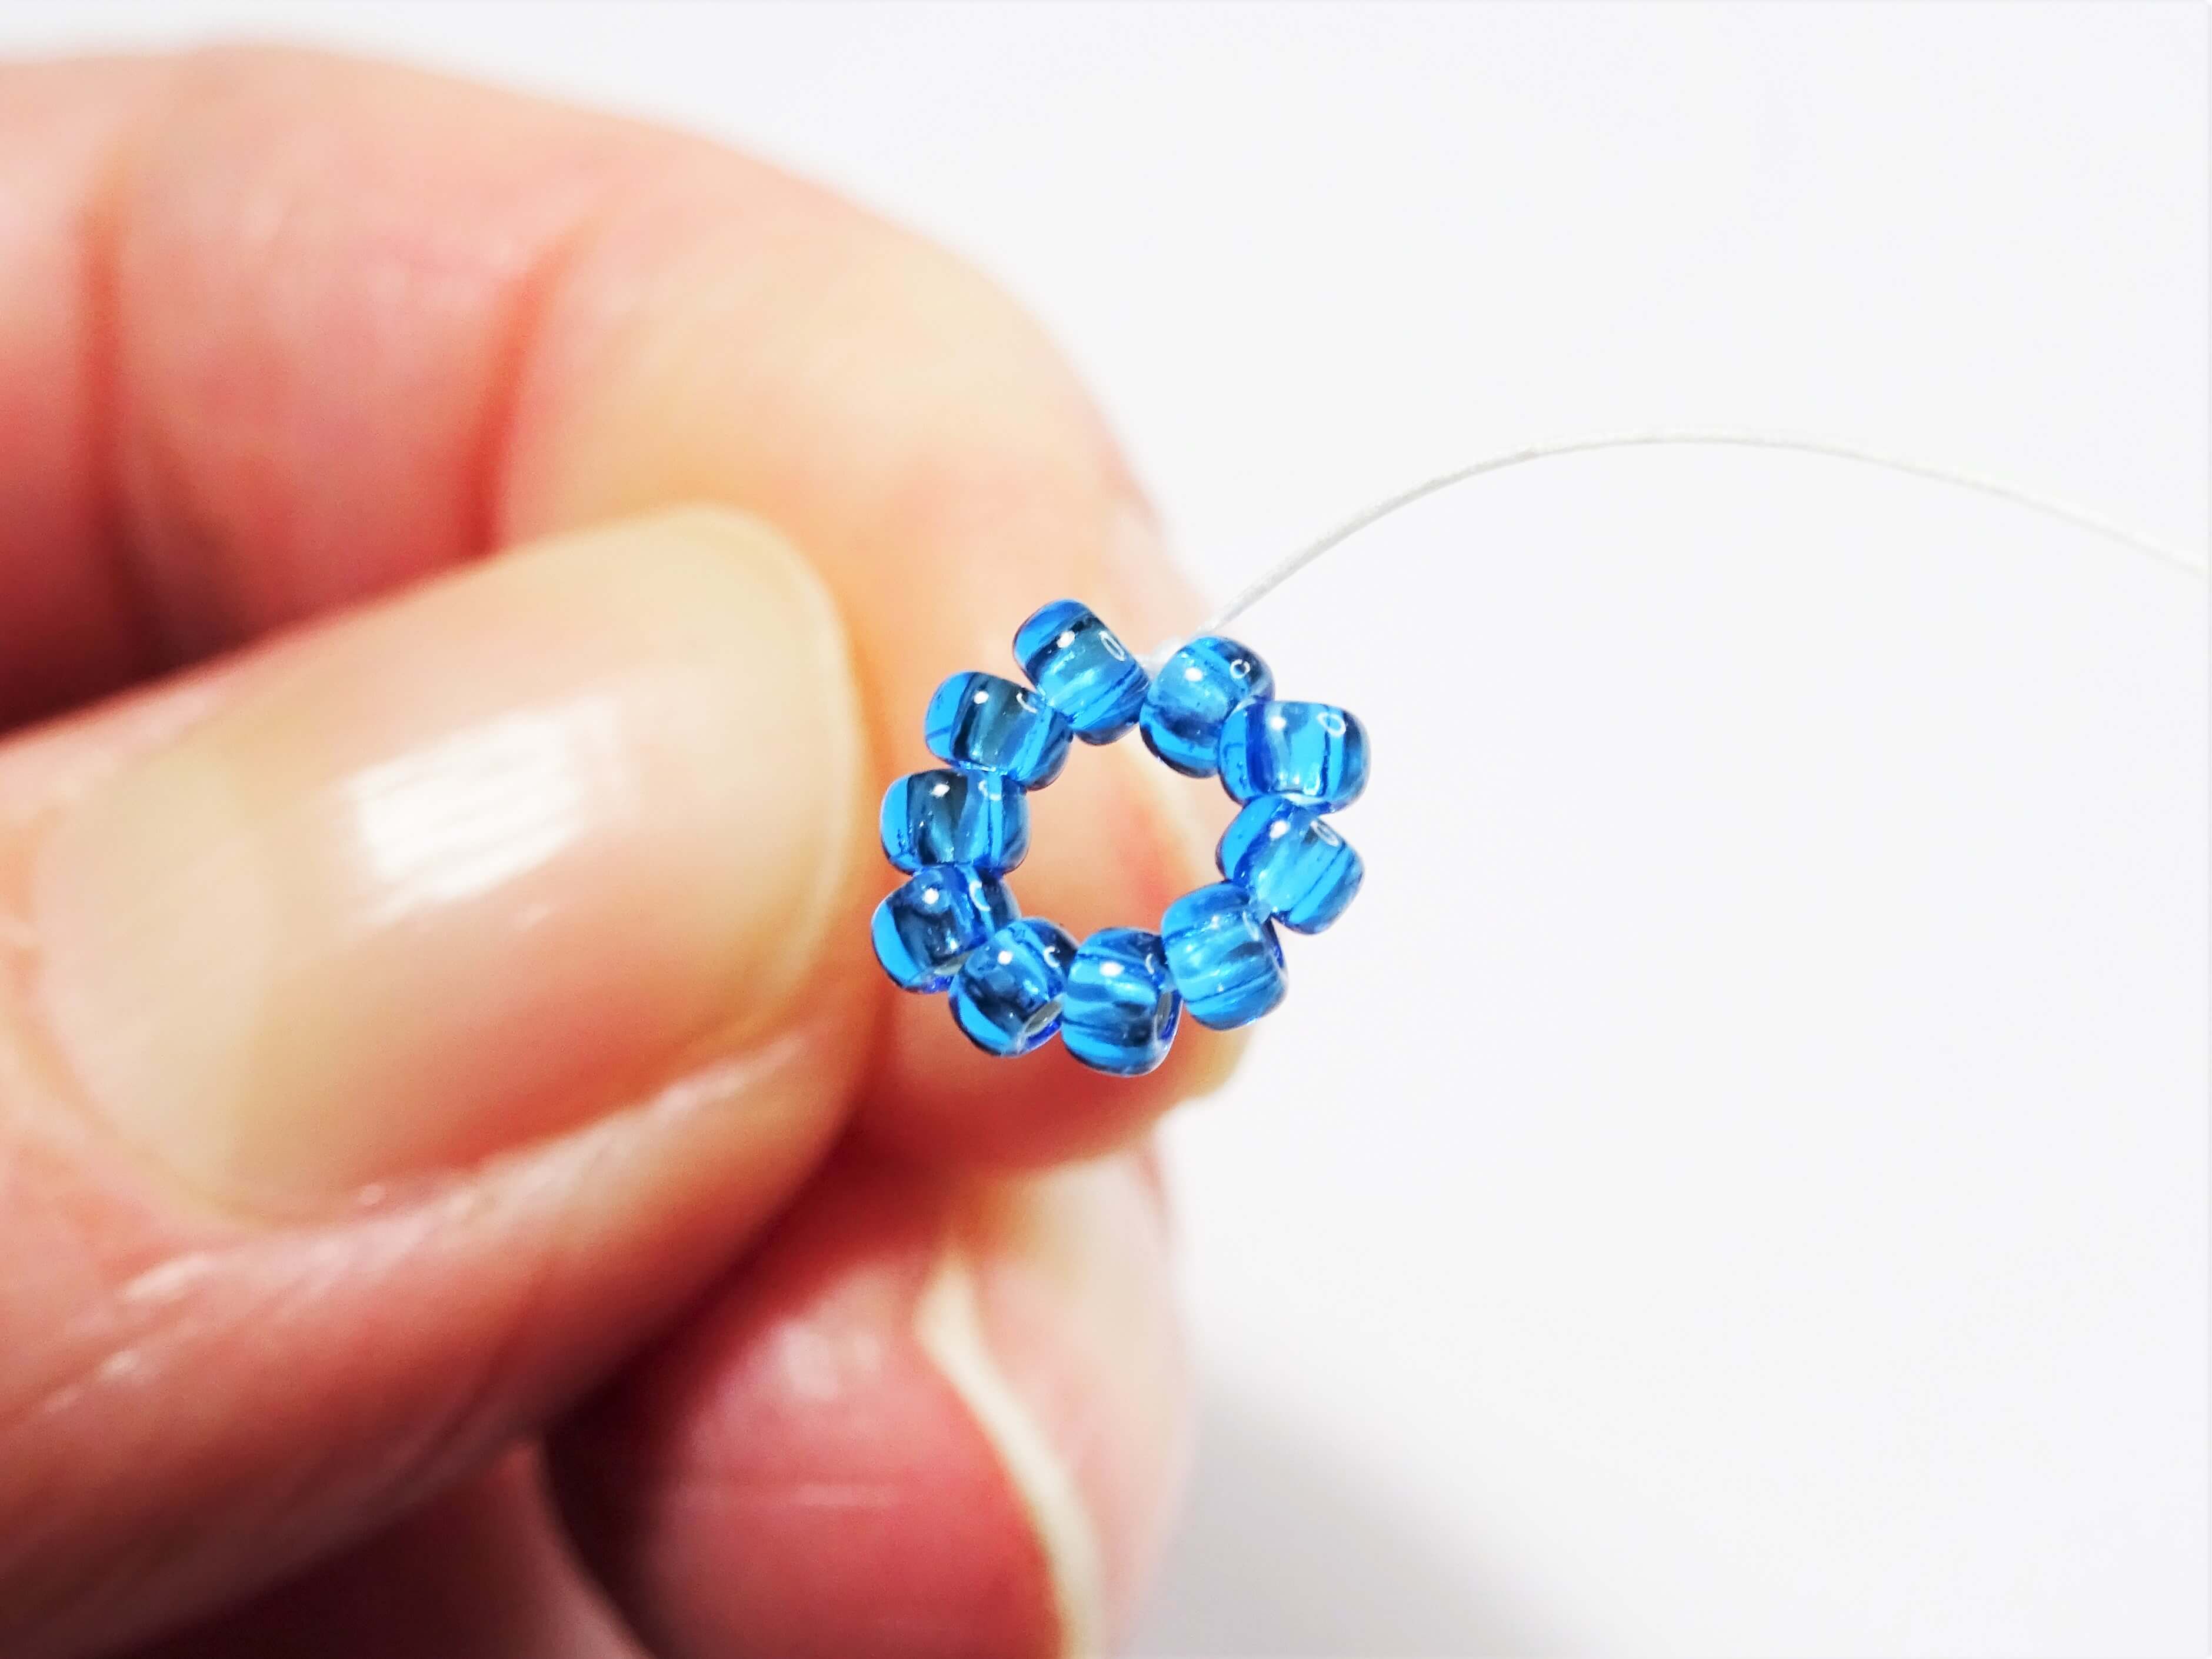
Pull the beads down towards the end of the thread but leave sufficient thread at the end so it can be knotted and weaved in at the end. Tie an overhand knot in the thread to pull the beads into a circle. Take the needle through two or so beads to pull the knot into a bead. This forms the centre of the seed bead star.
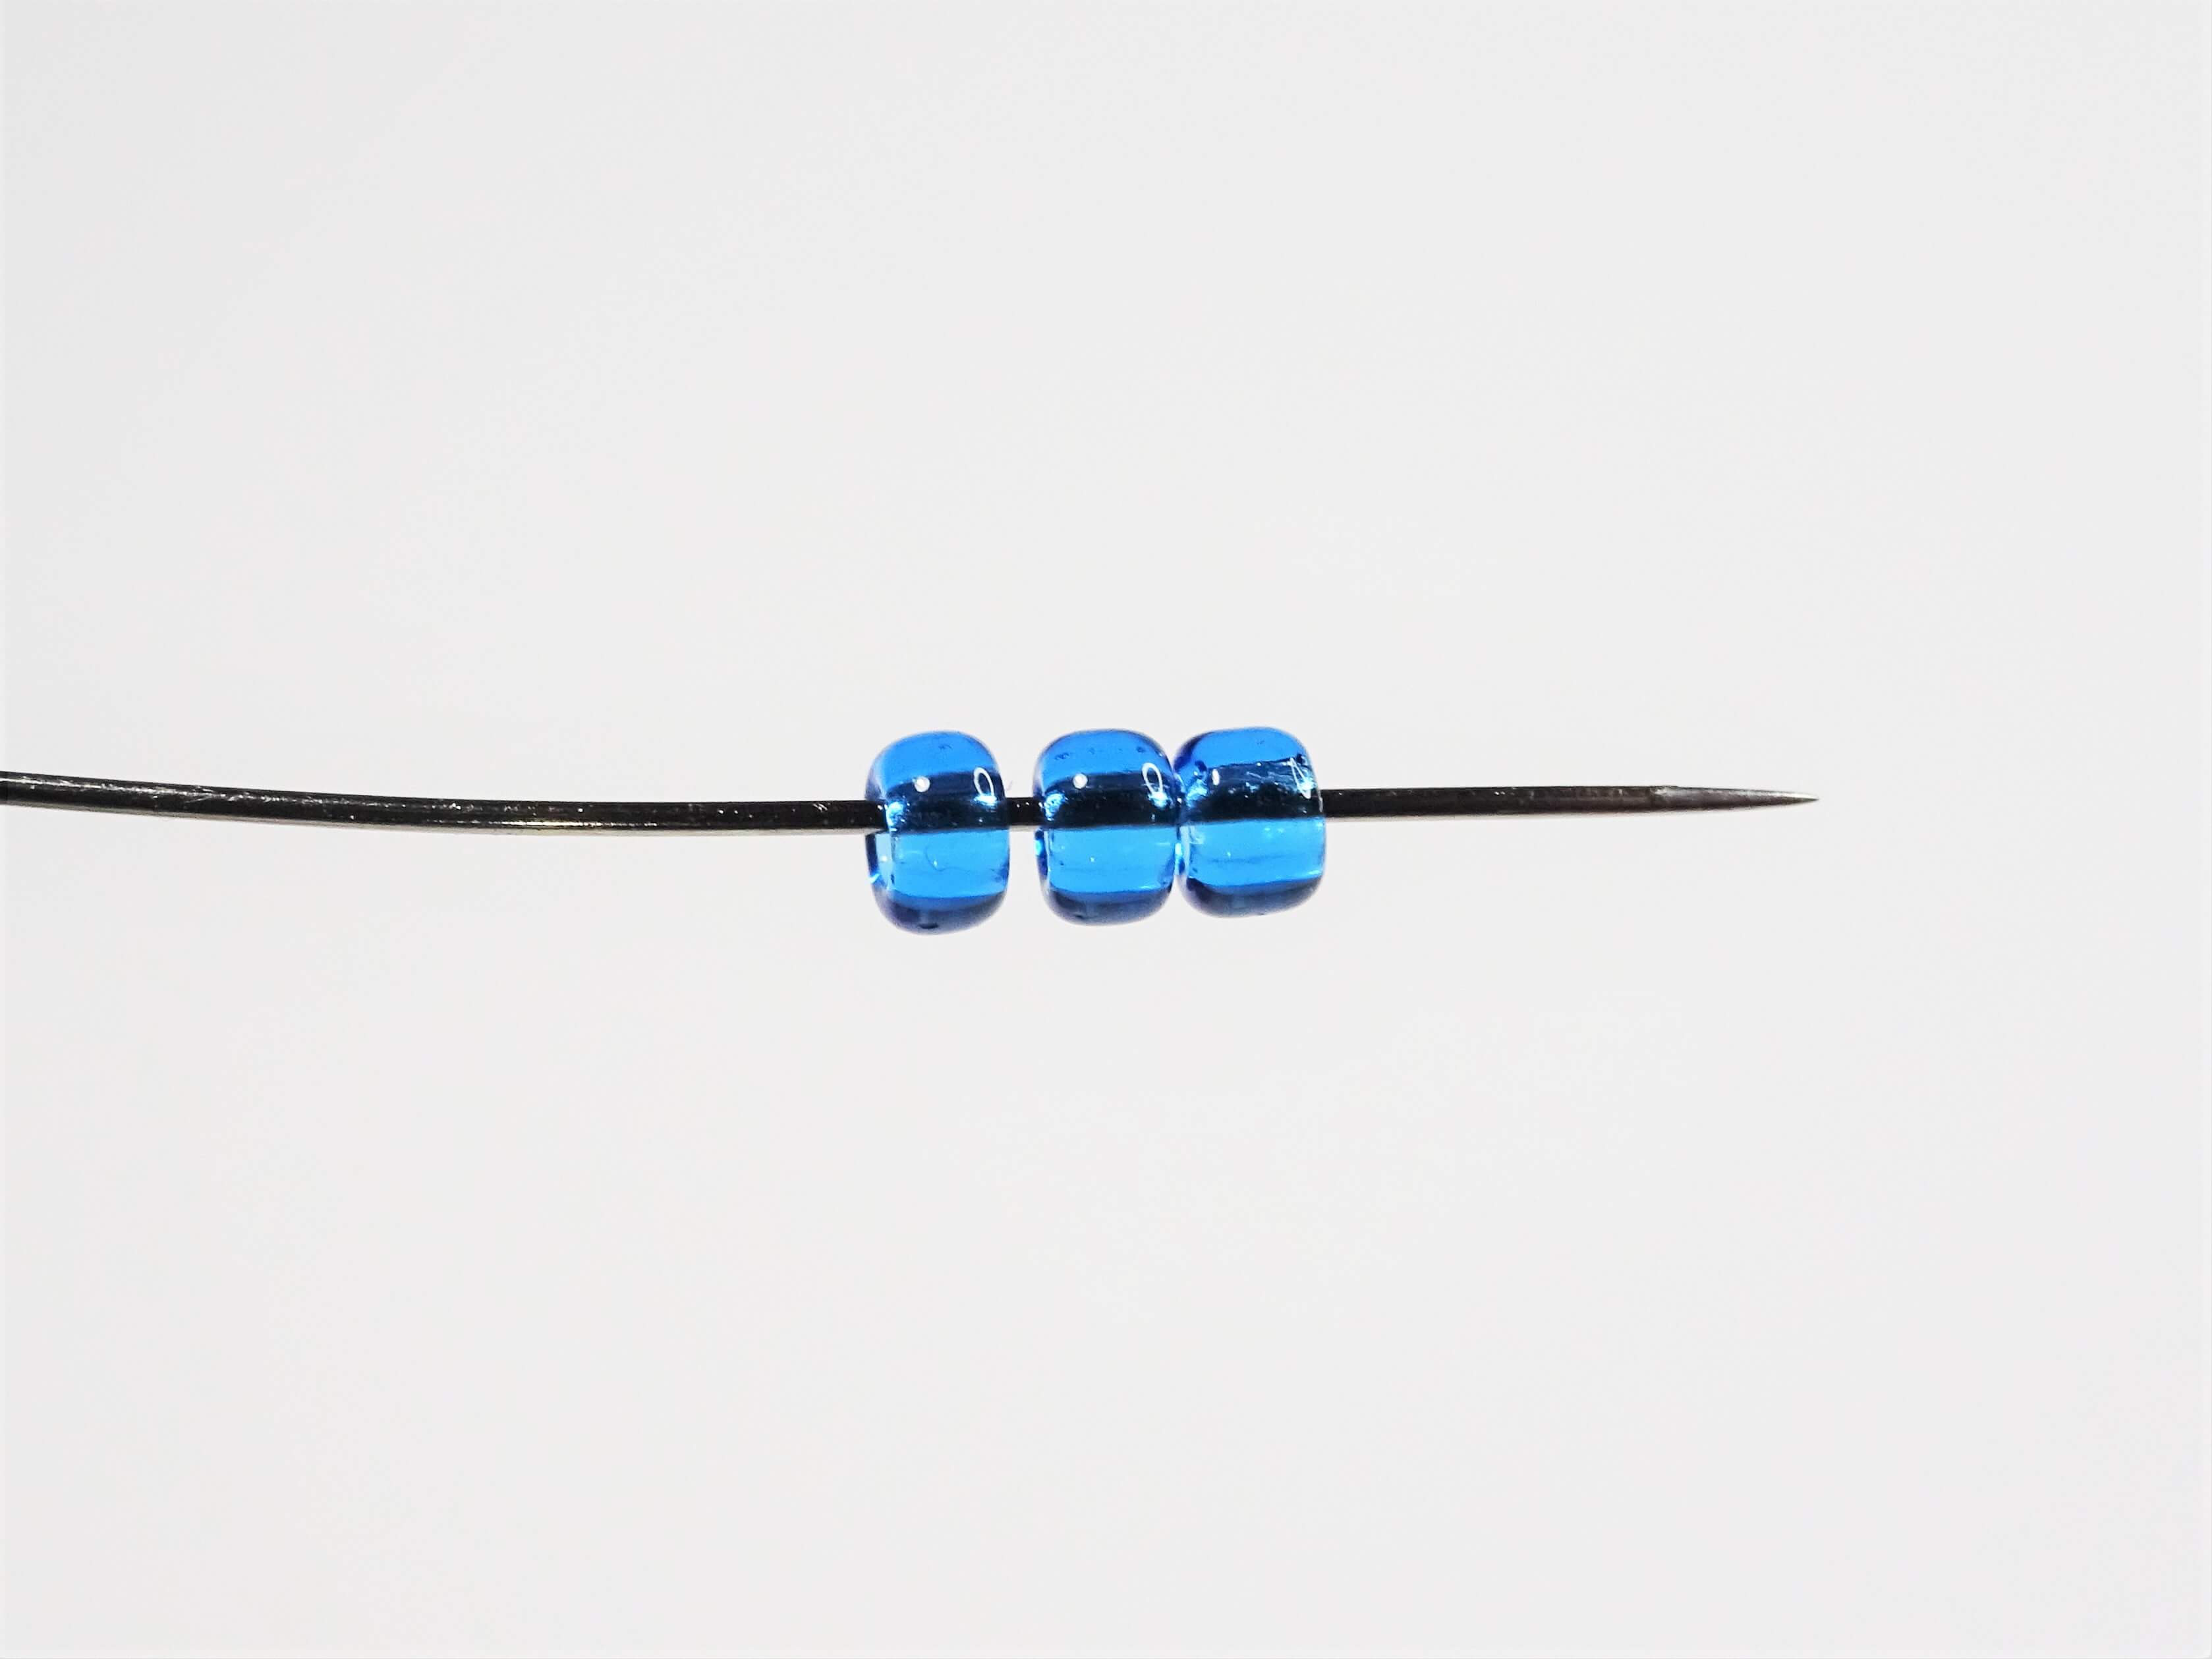

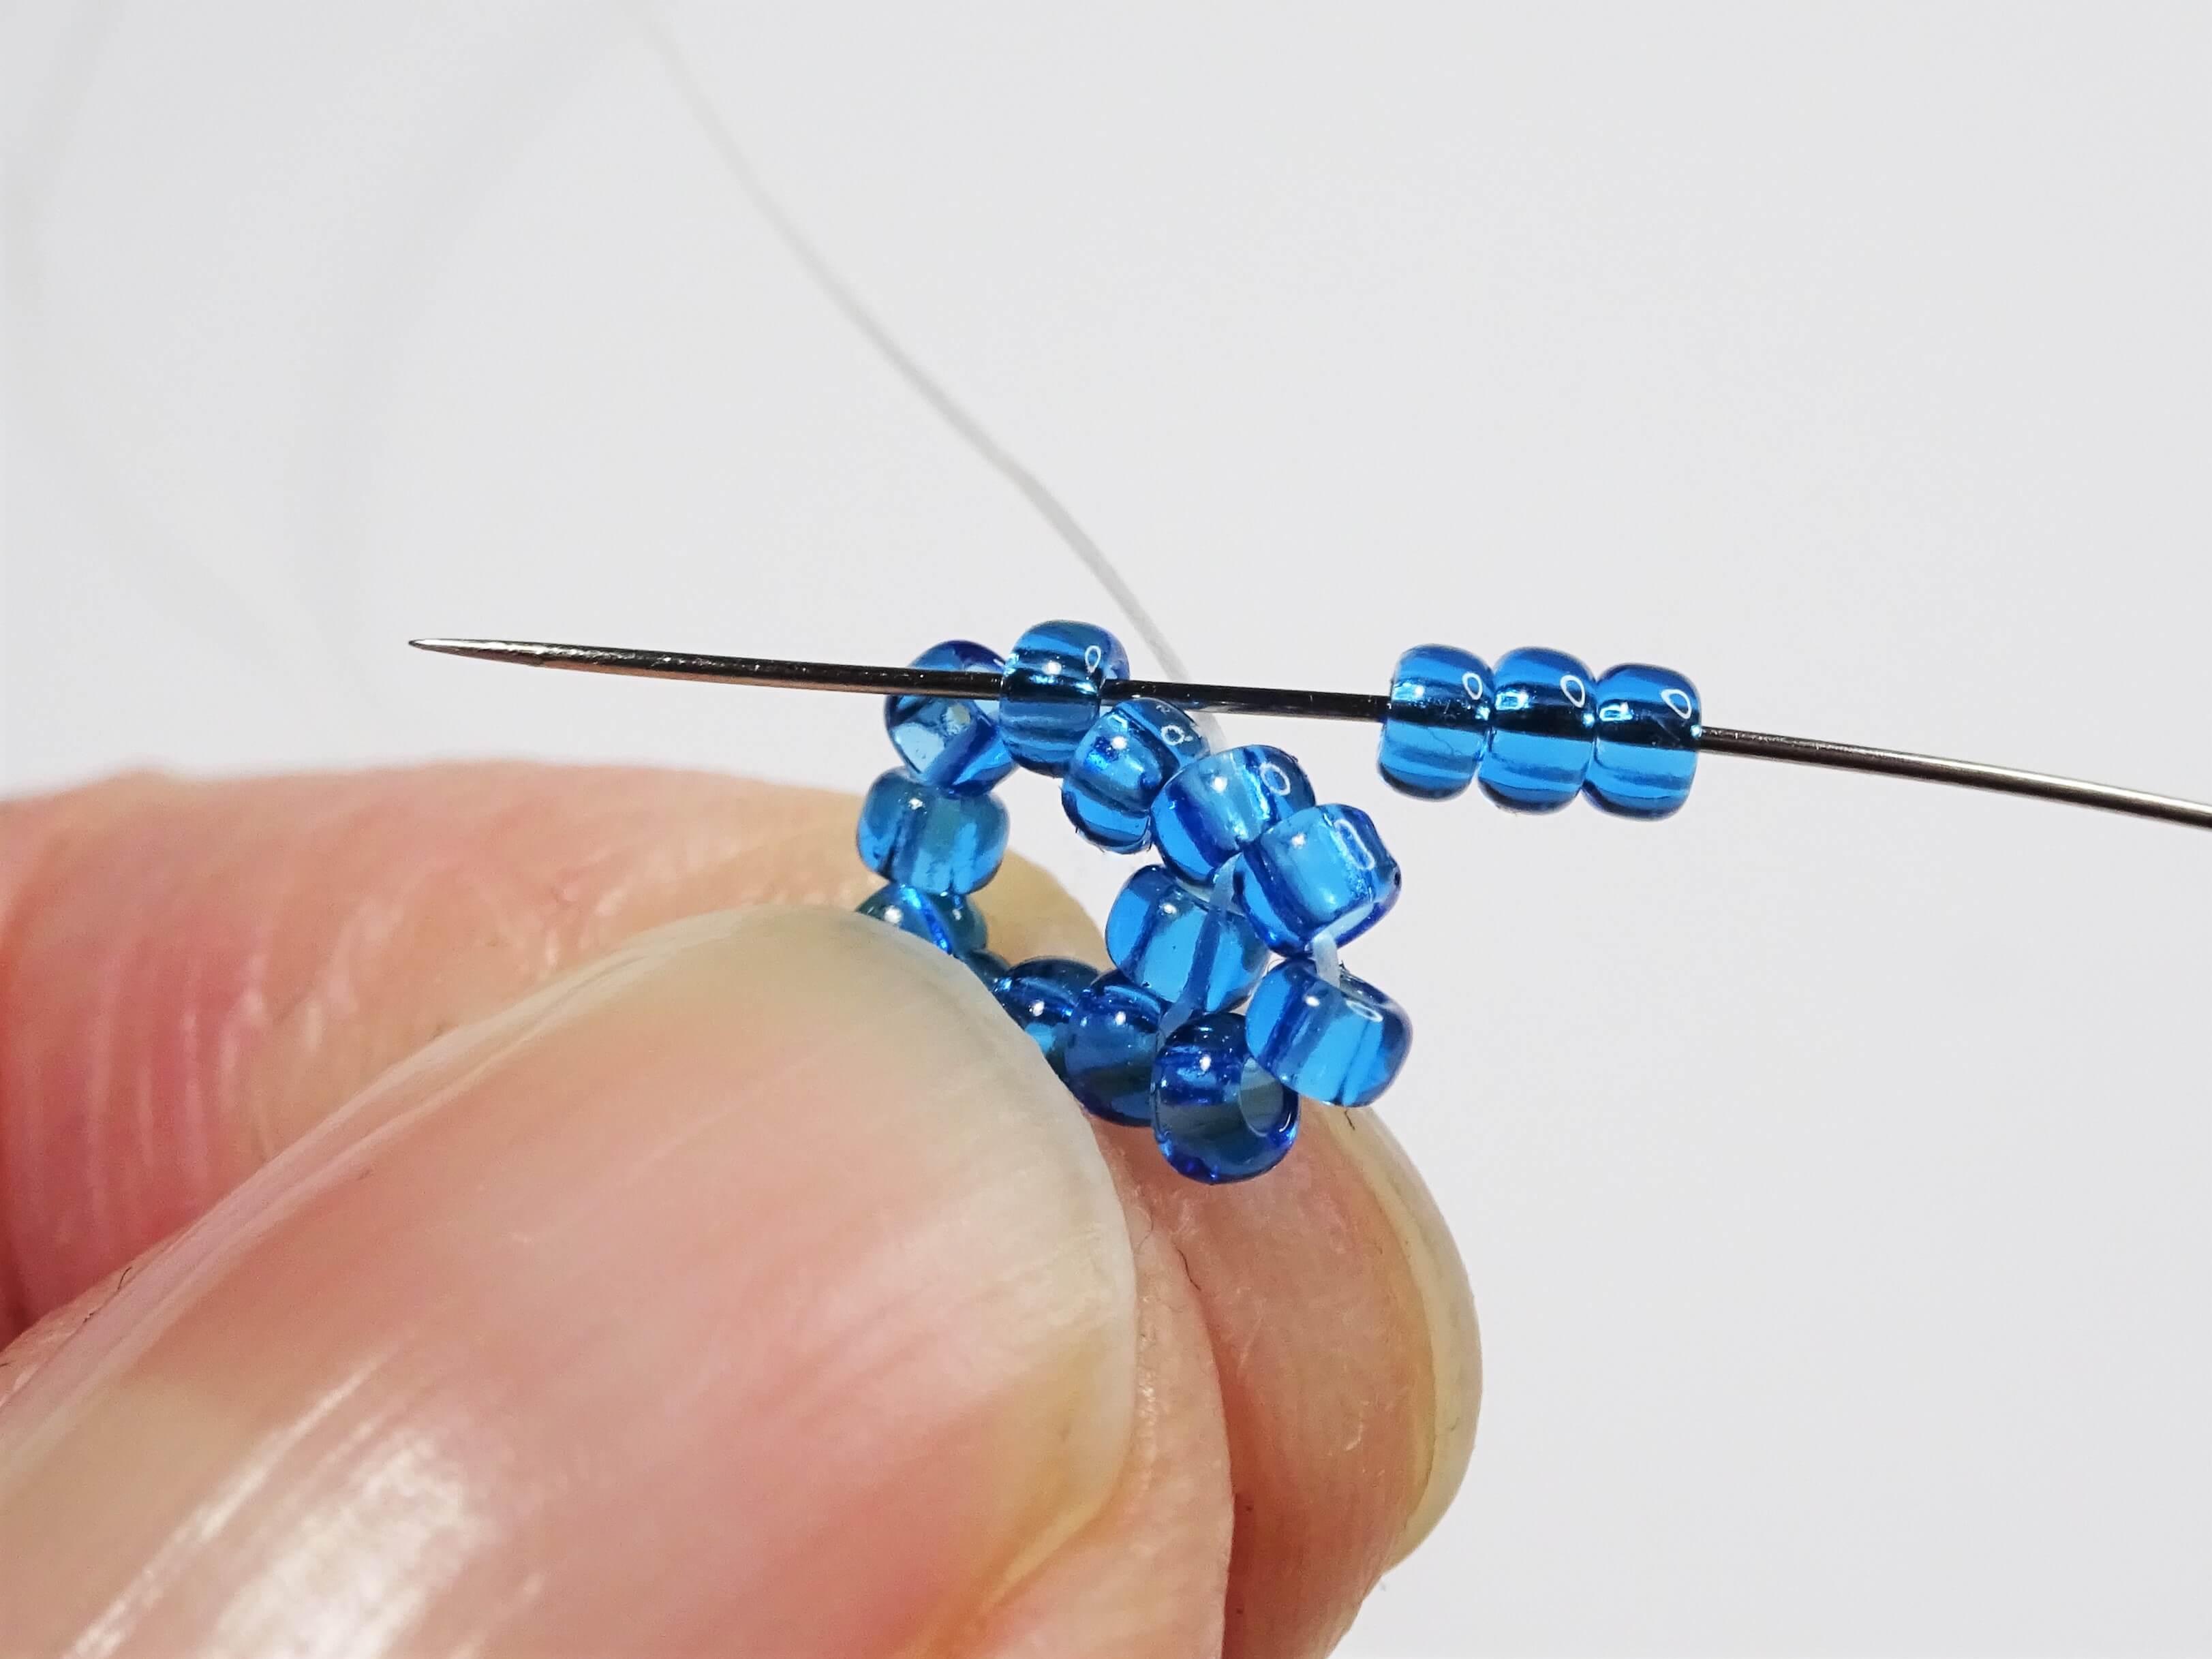
Pick up 3 more seed beads (Picture 3a). From where you exiting, miss out the next bead along and then take your needle into the bead after that ( if you count the bead you are exiting from as bead 1, miss out 2 and take your needle into 3).
When you pull the thread tight the 3 new beads should sit like a little triangle on top of the beaded circle.
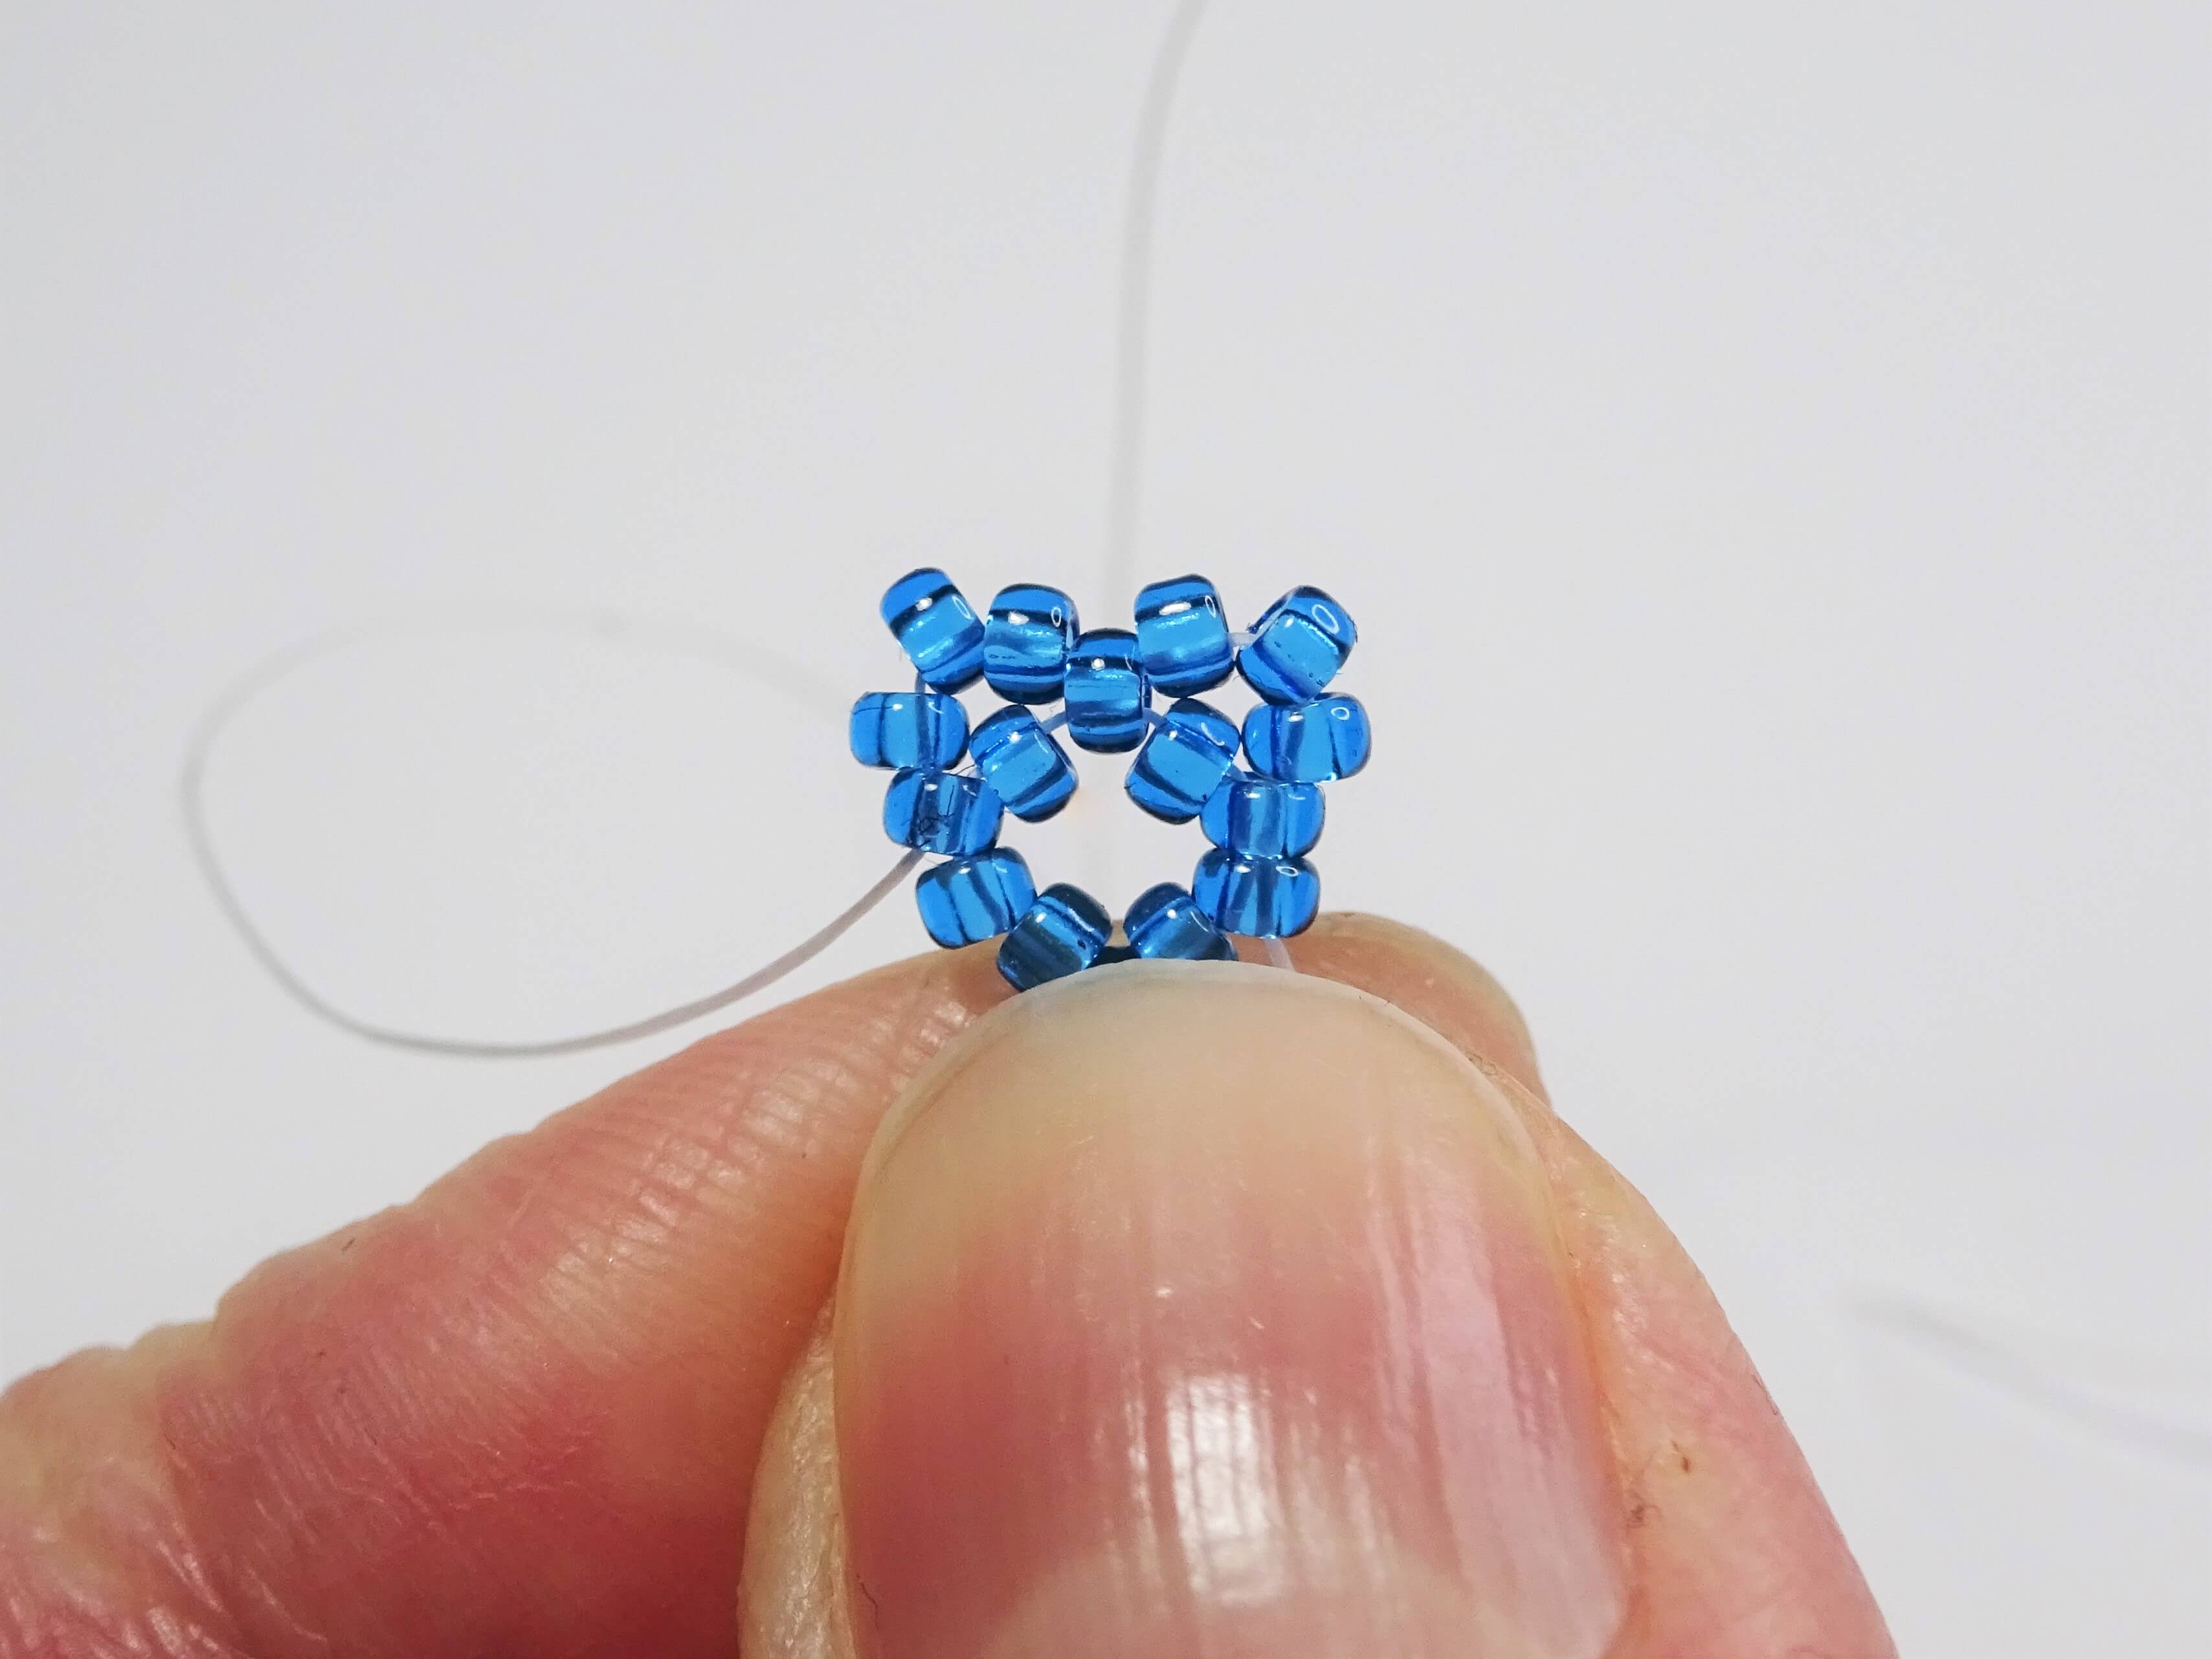
Continue by picking up a further 3 beads, skipping over a bead and then taking the needle into the bead after that just as you did in step 3 (picture 5a). Once the thread is pulled through there will be two points added to your beaded star.
Continue all around the circle, adding 3 further points, in exactly the same way. Your basic star shape is formed. Continue onto the next step if you want to add a loop for a jump ring…..
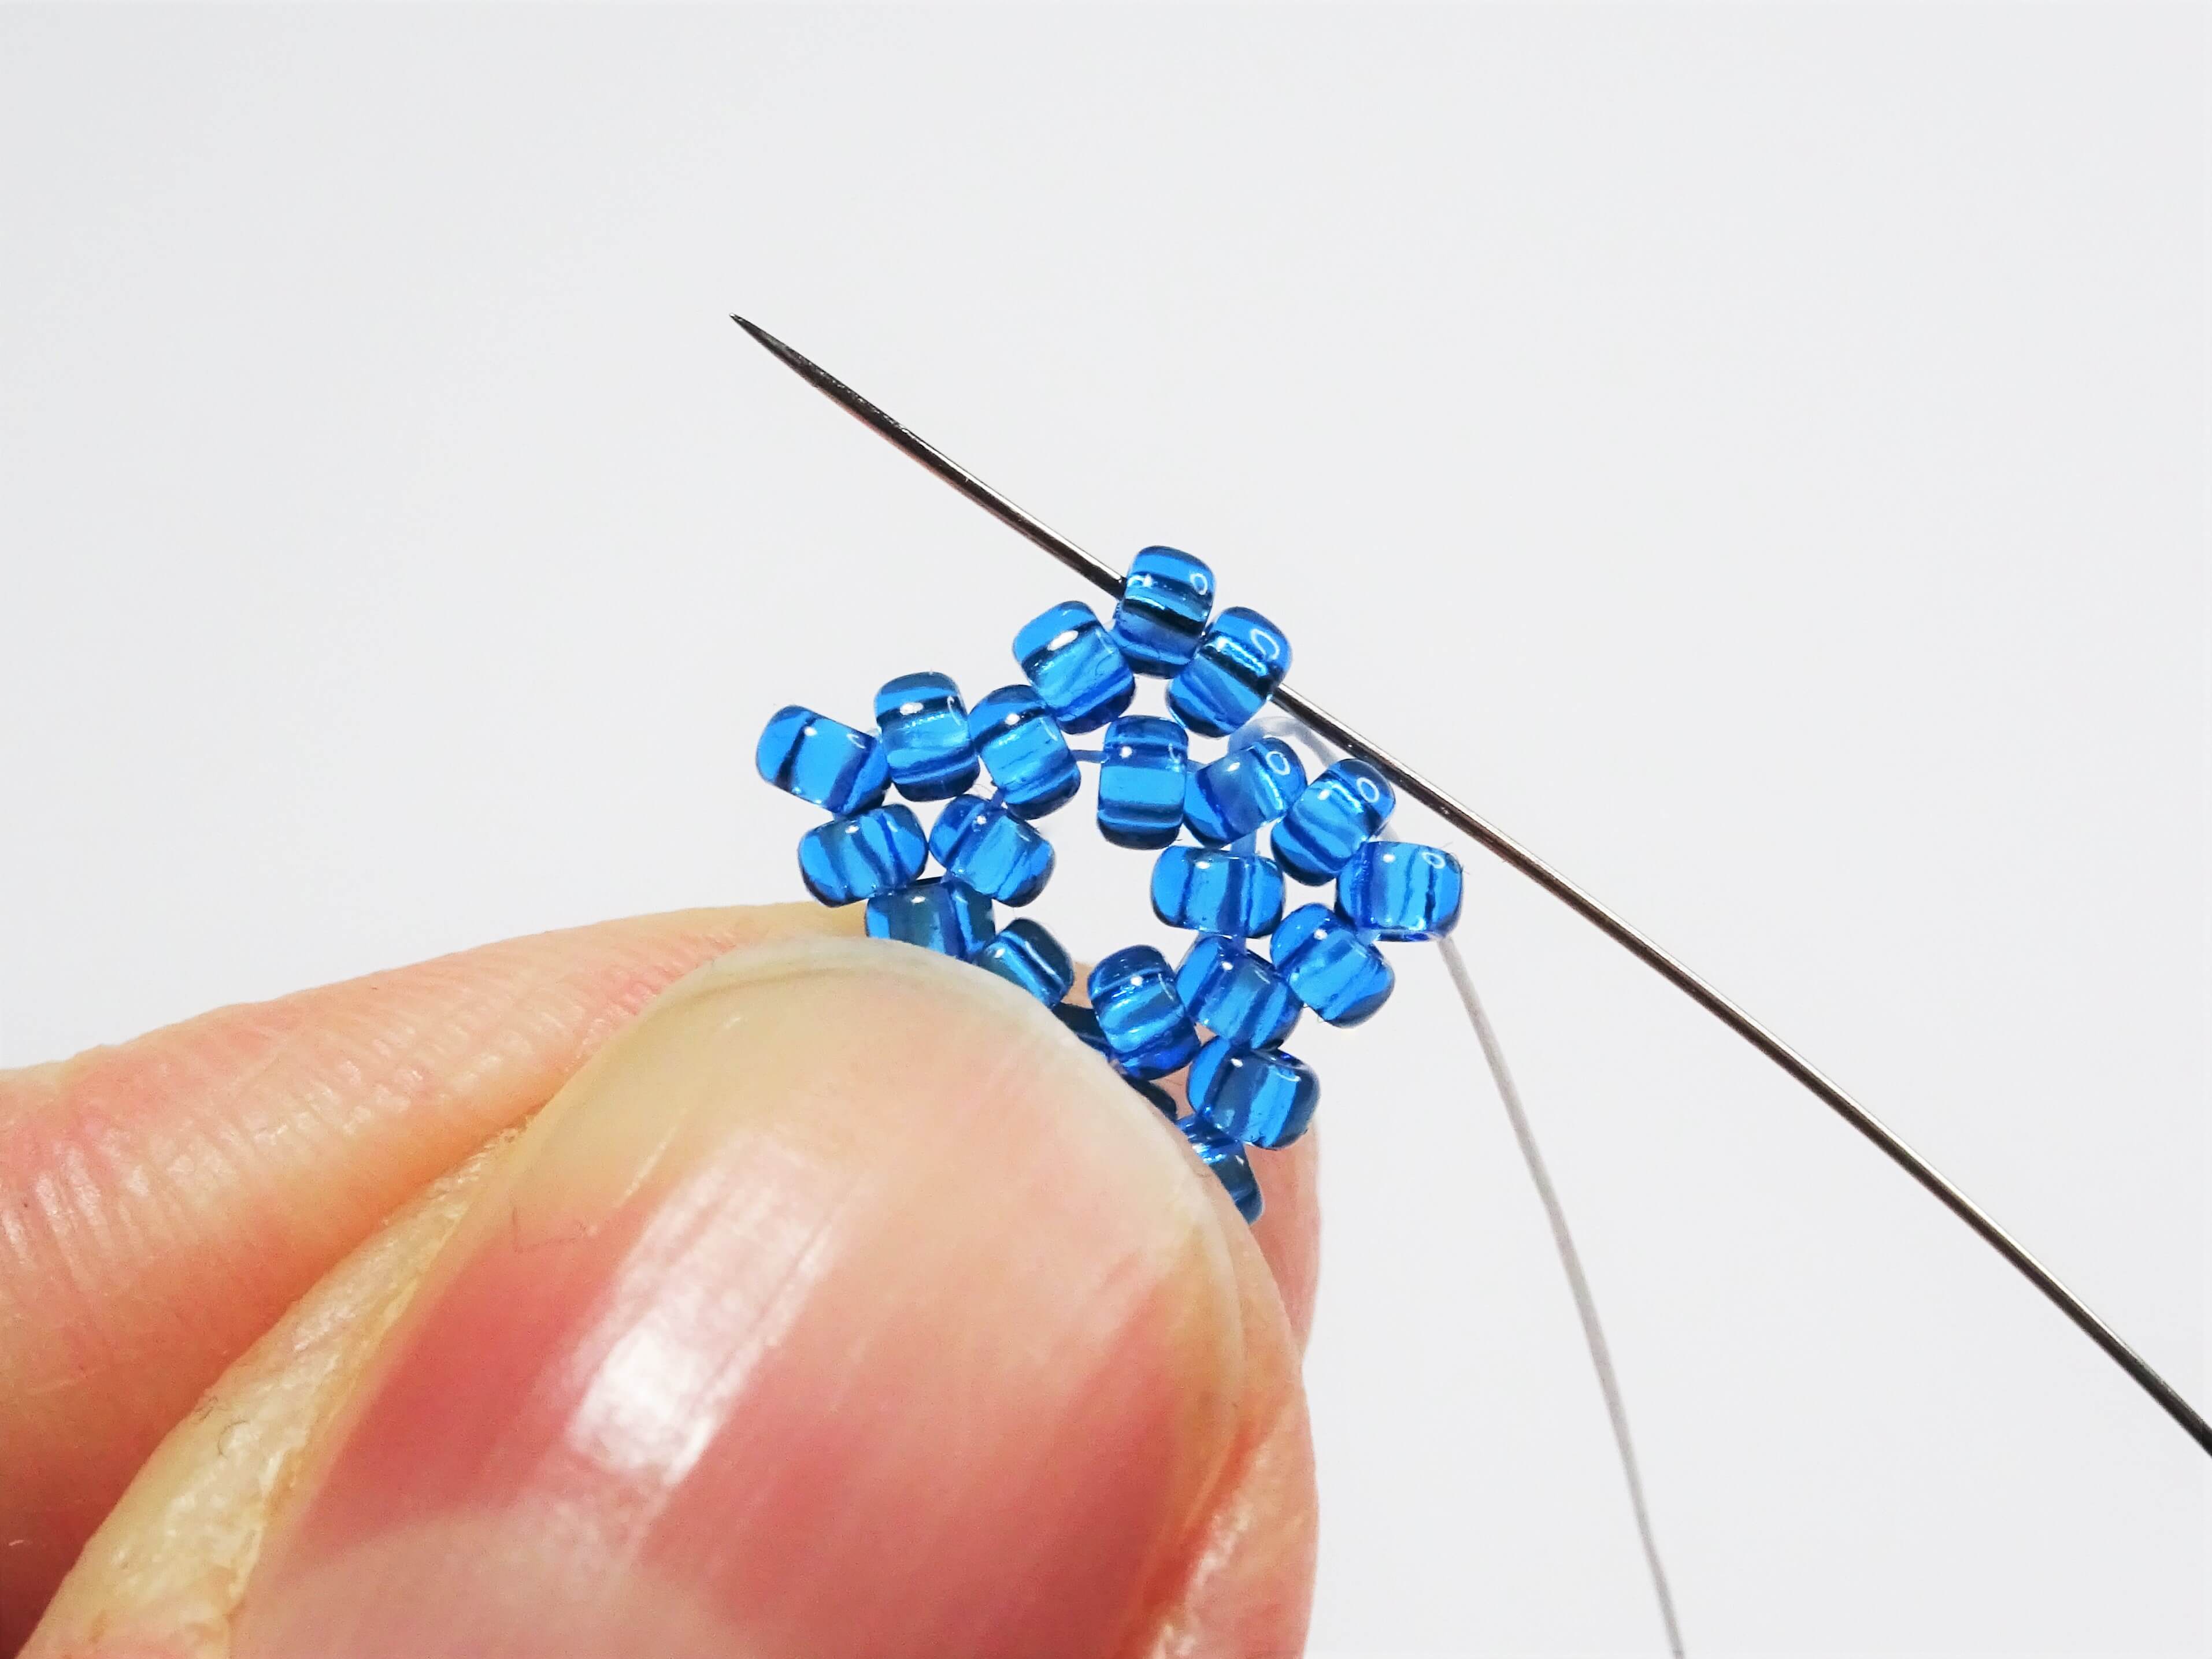
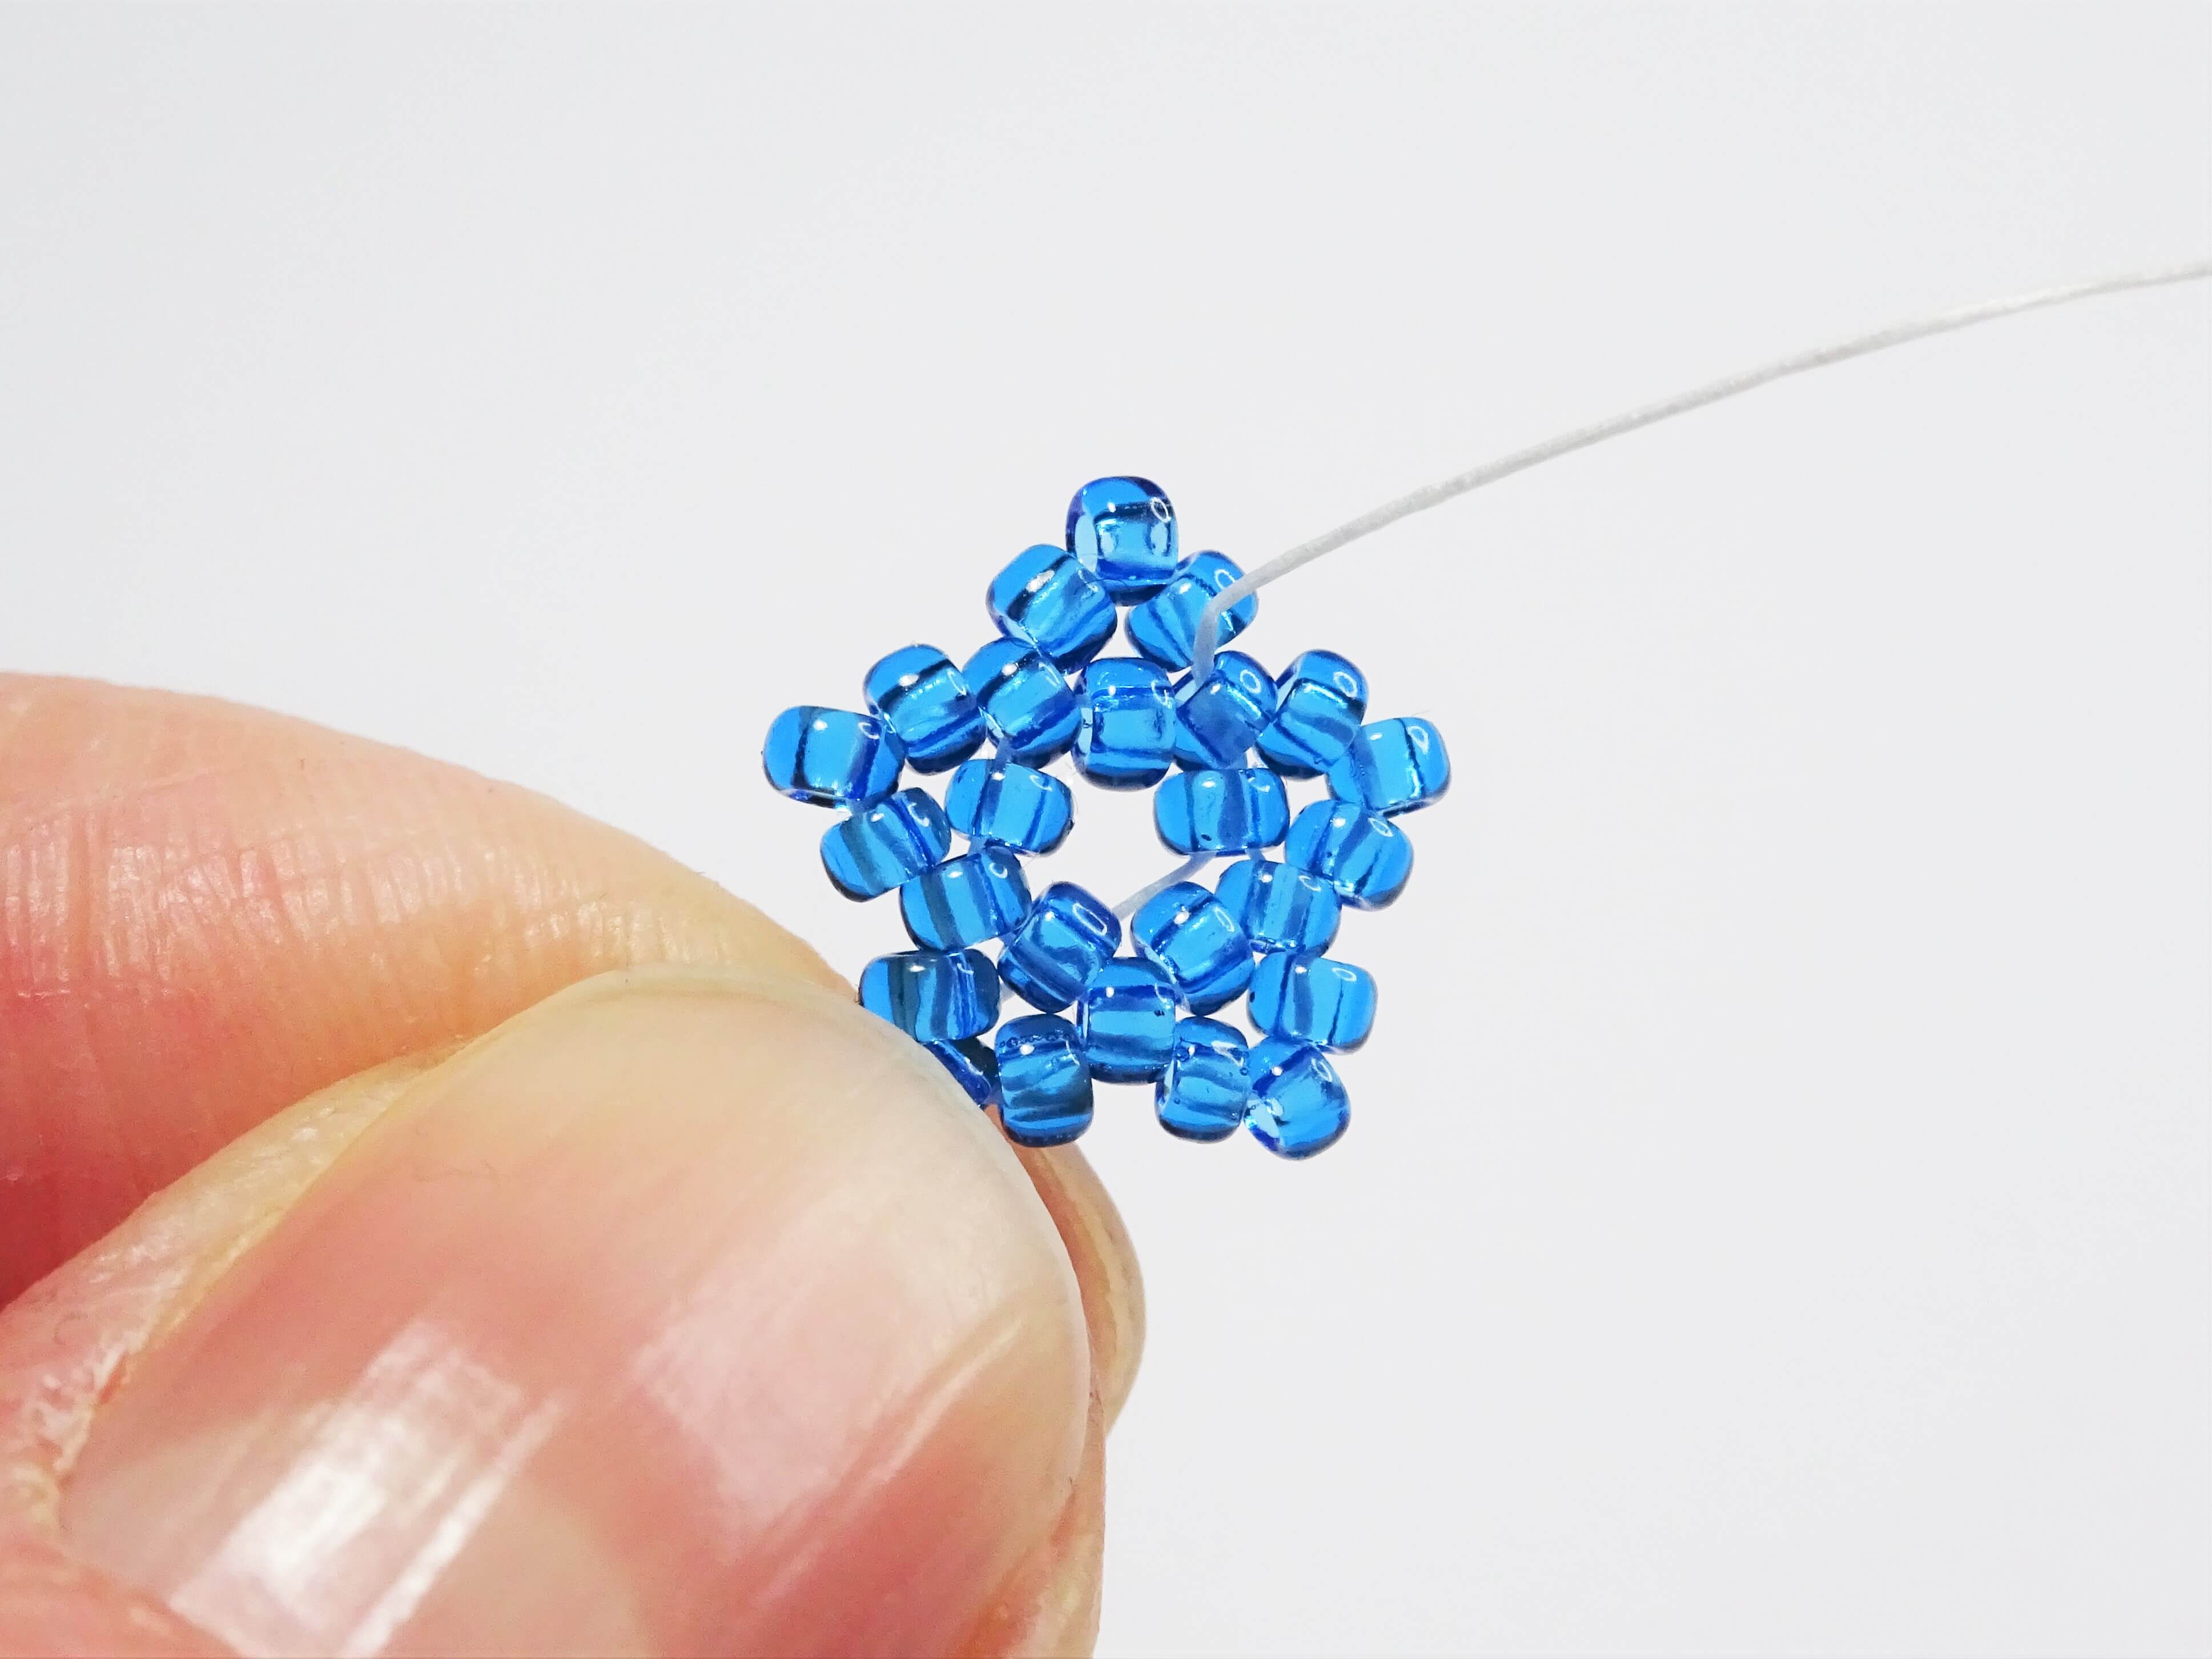
To add a beaded loop, take the needle through the beaded star so the it exits out the top of one of the star points.

Pick up 3 more seed beads and take the needle back through the bead you exited from but from the opposite side.
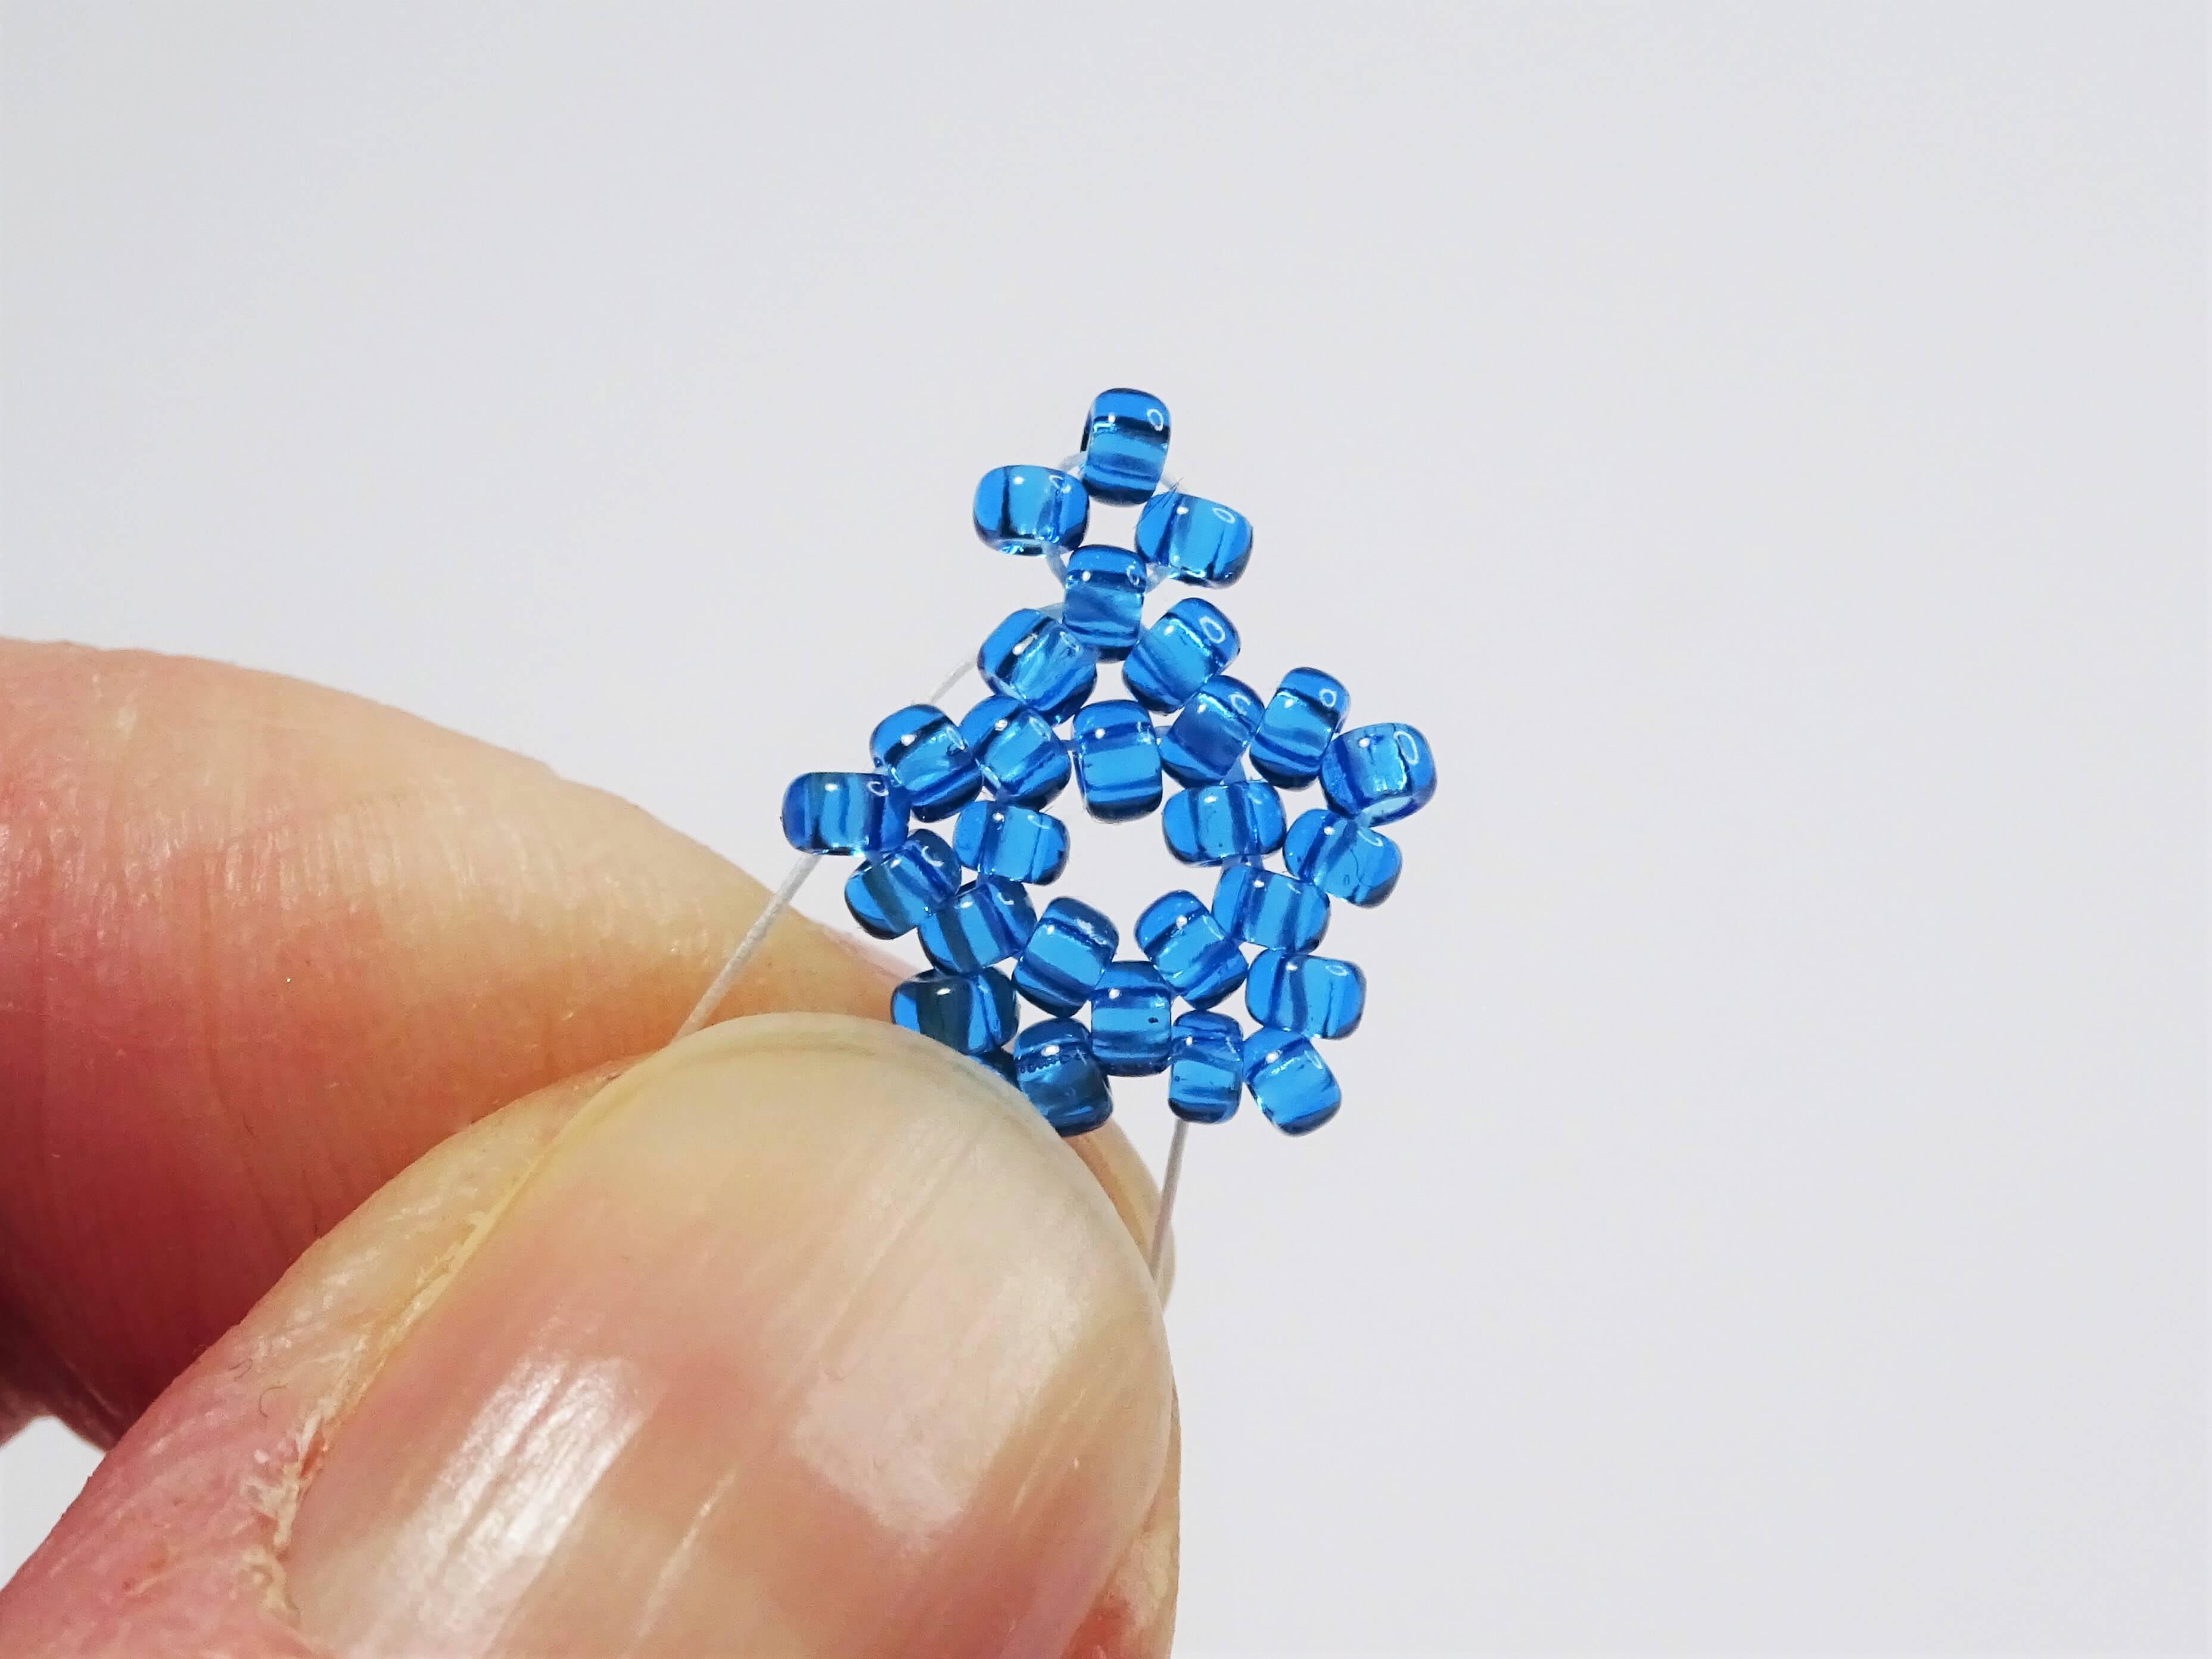
Once the thread is pulled tight the beads will form a loop. Take needle through this beaded loop again to reinforce it.
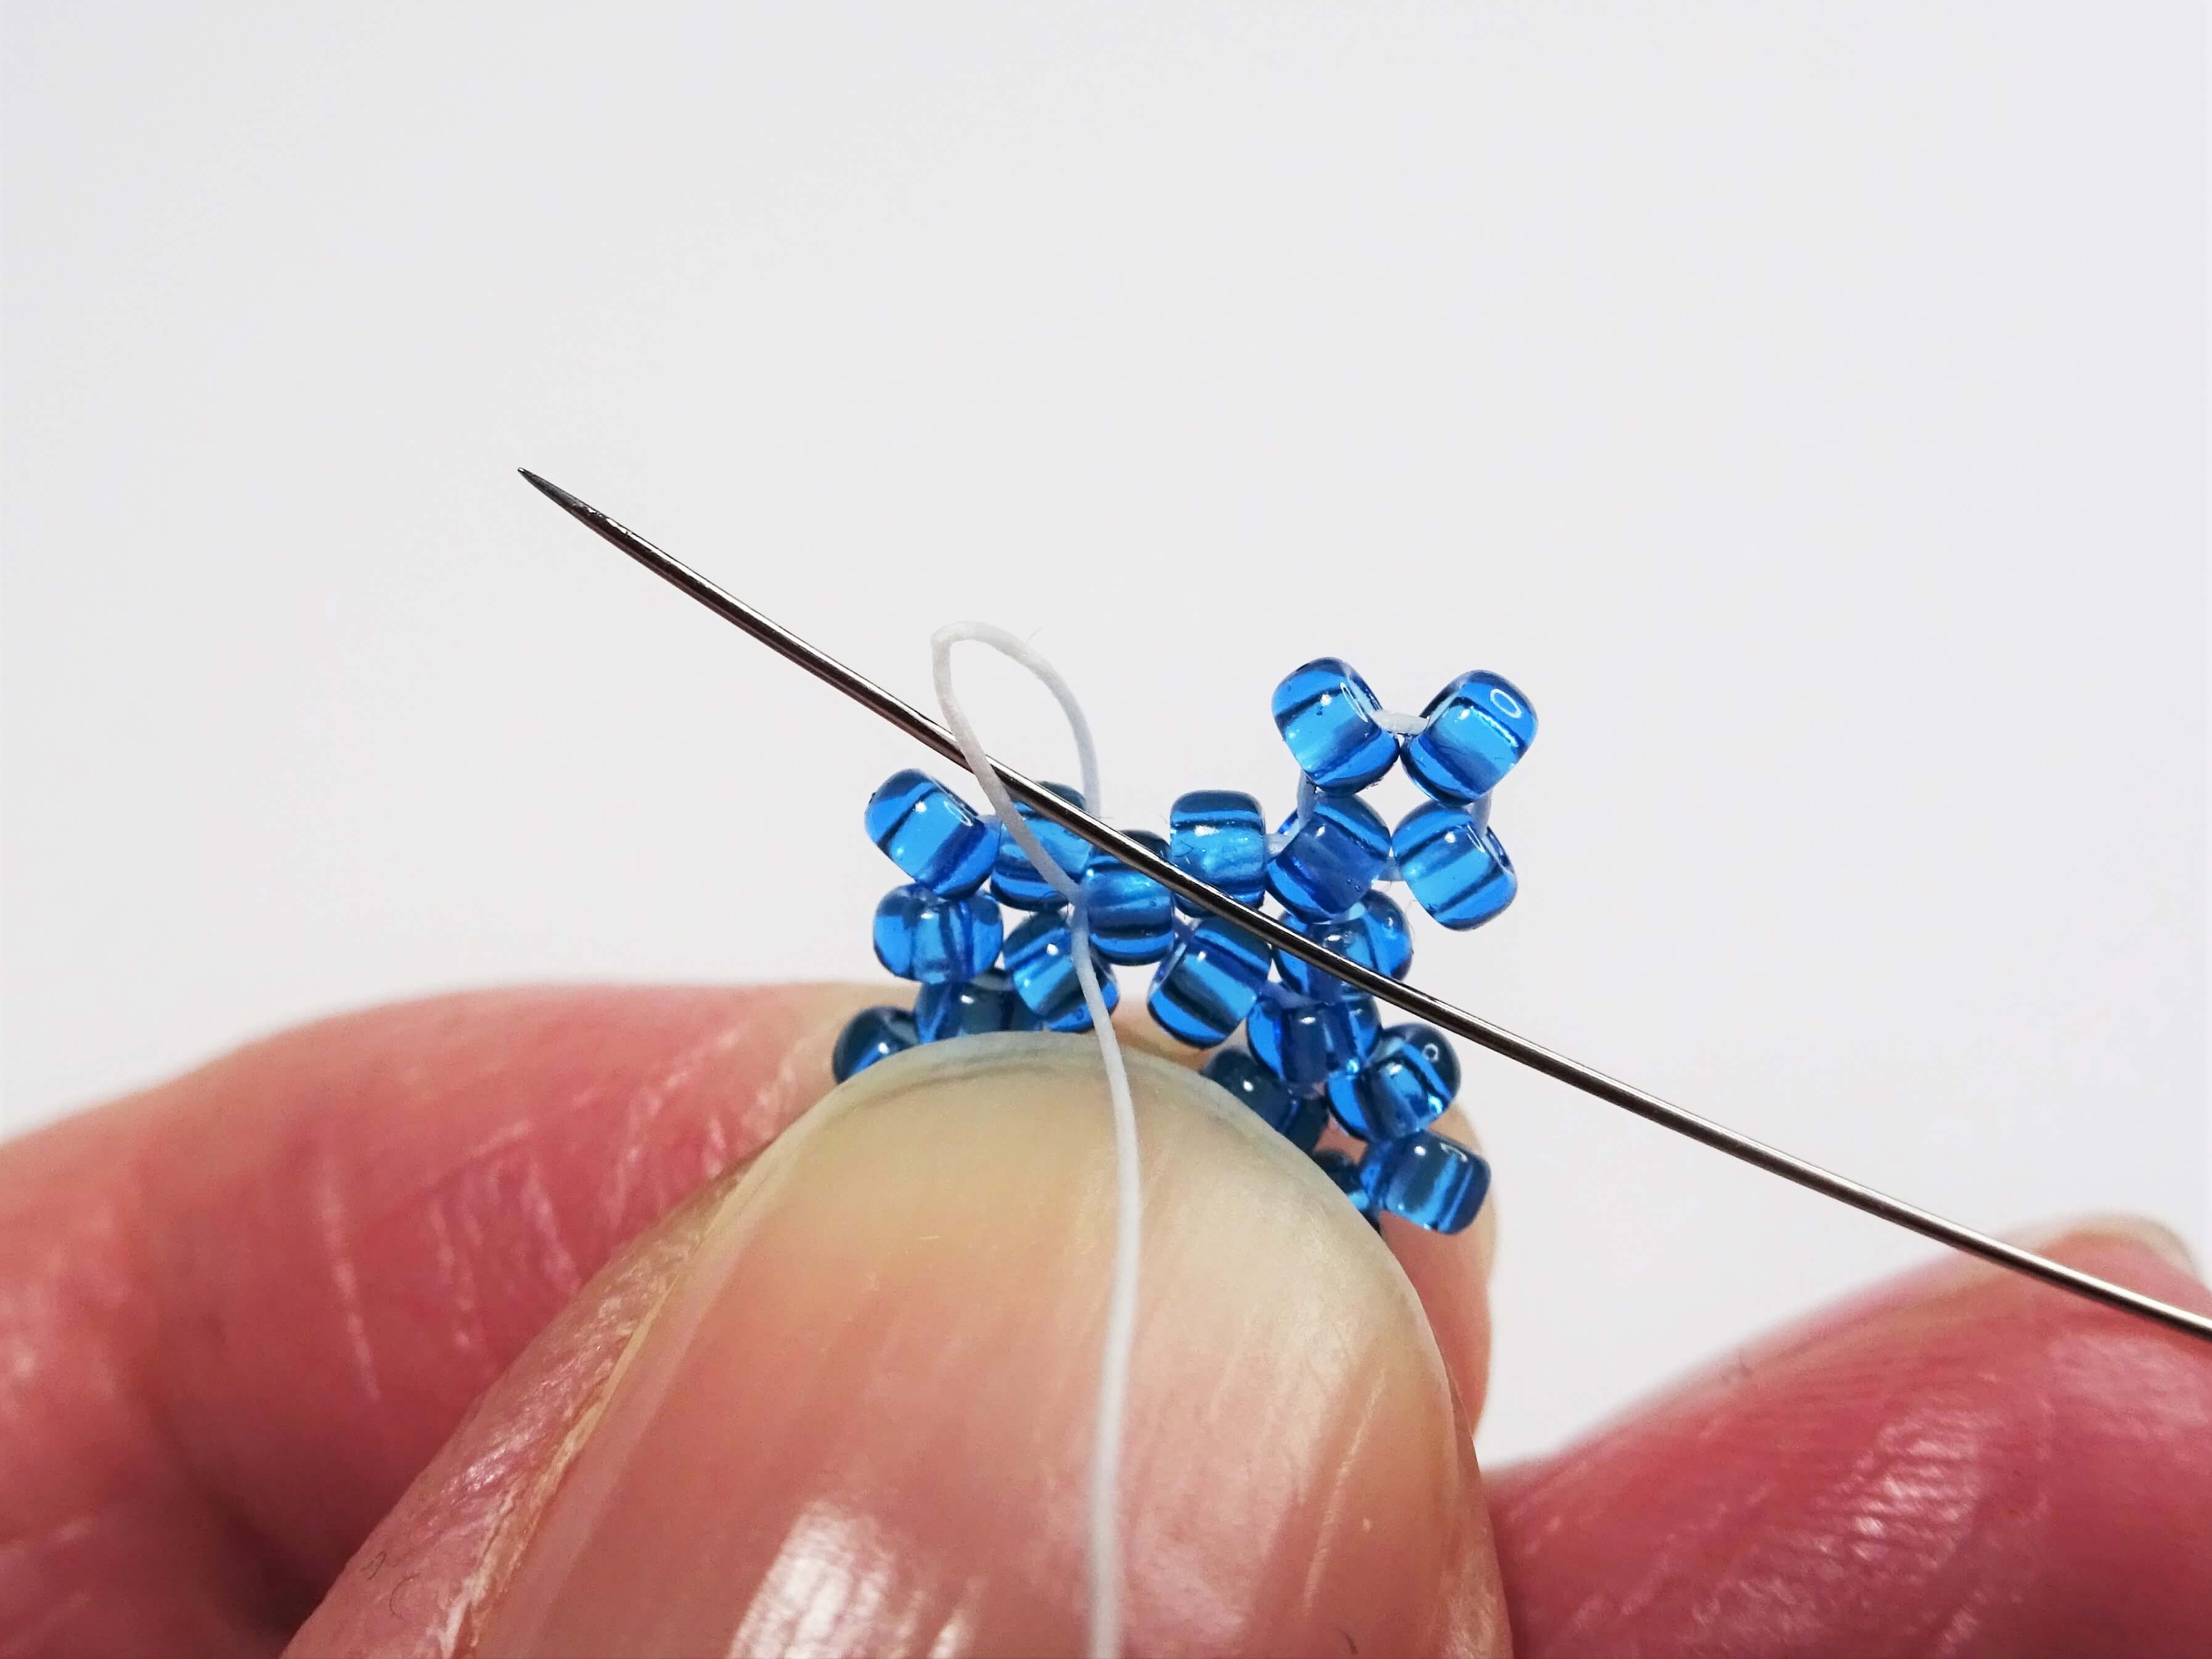
Knot your thread by taking the needle back down into the bead work and taking the needle under the thread that sits between the beads. Pull the thread so that it forms a small loop and take the needle through it. Pull to form a knot and continue into the beads to pull the knot into a bead. Do this several times for this thread and then again for the tail thread.
To avoid the beads getting too tight to move through, knot your main working thread in the star points and the tail thread in the inner circle of beading.
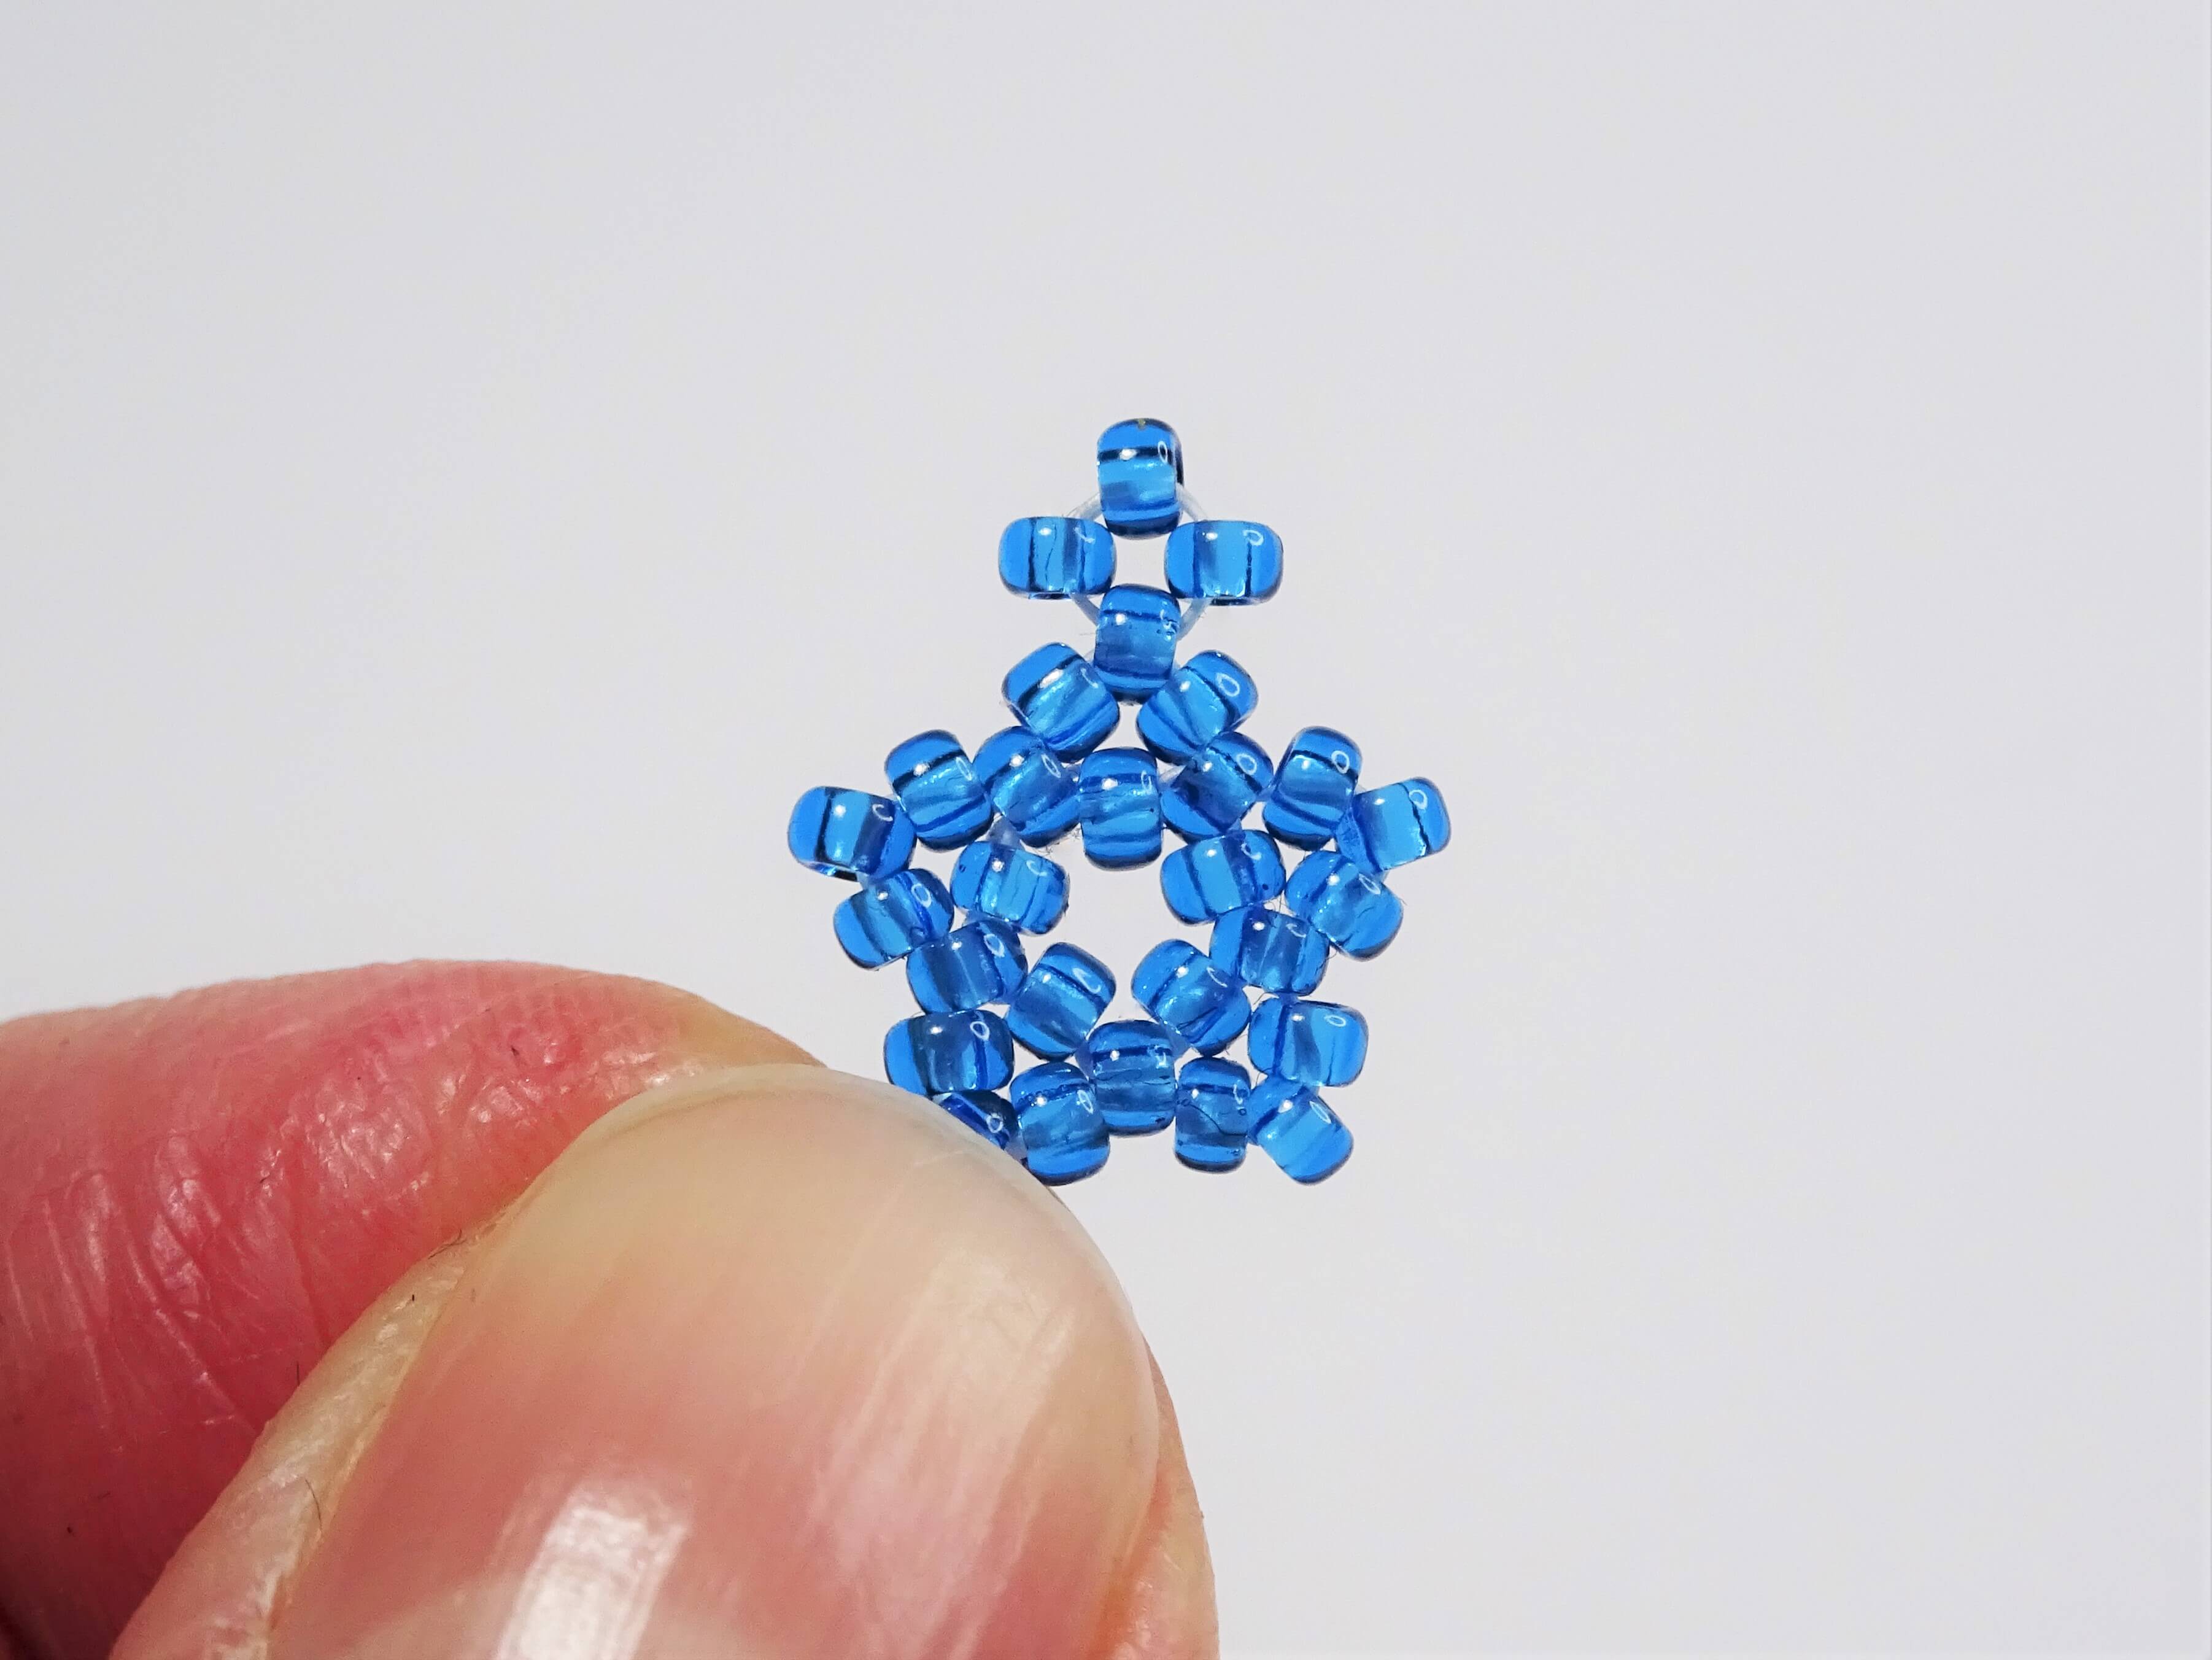
Cut off any excess thread.
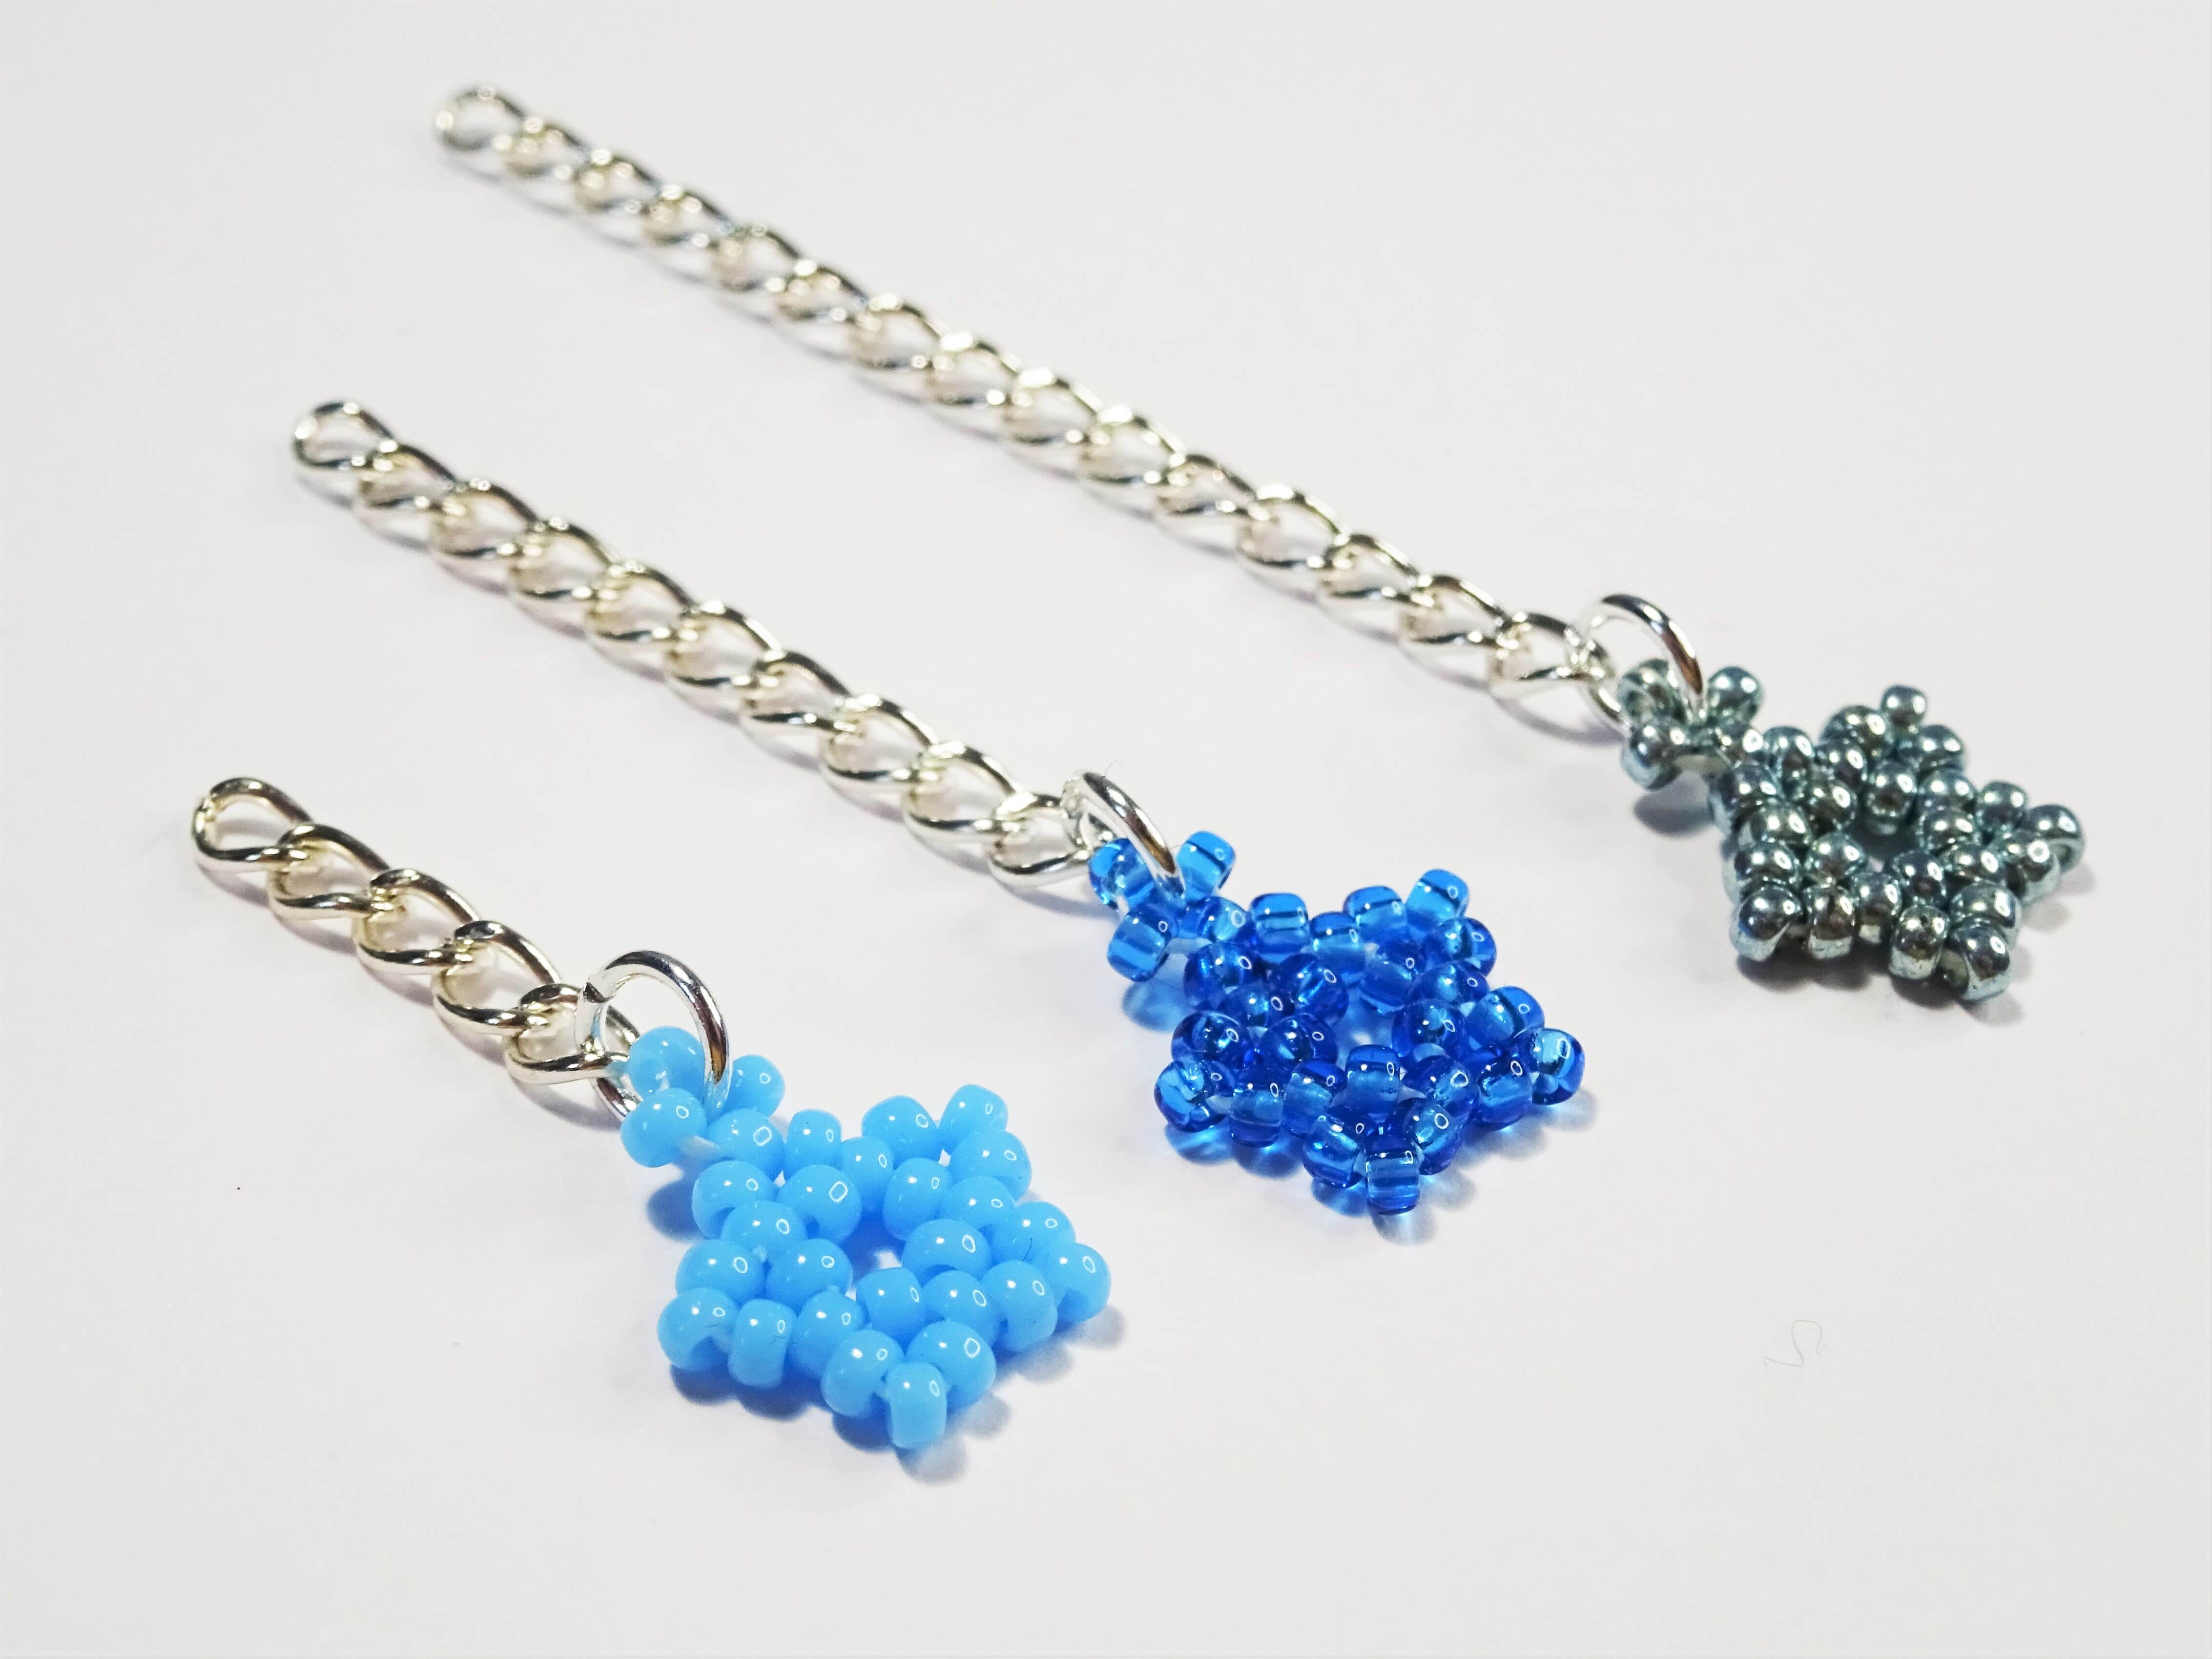
Cut yourself three lengths of chain, one at 1/2″, another at just over 1″ and another at 1 3/4″. Use jump rings to attach the stars to one end of the chain.
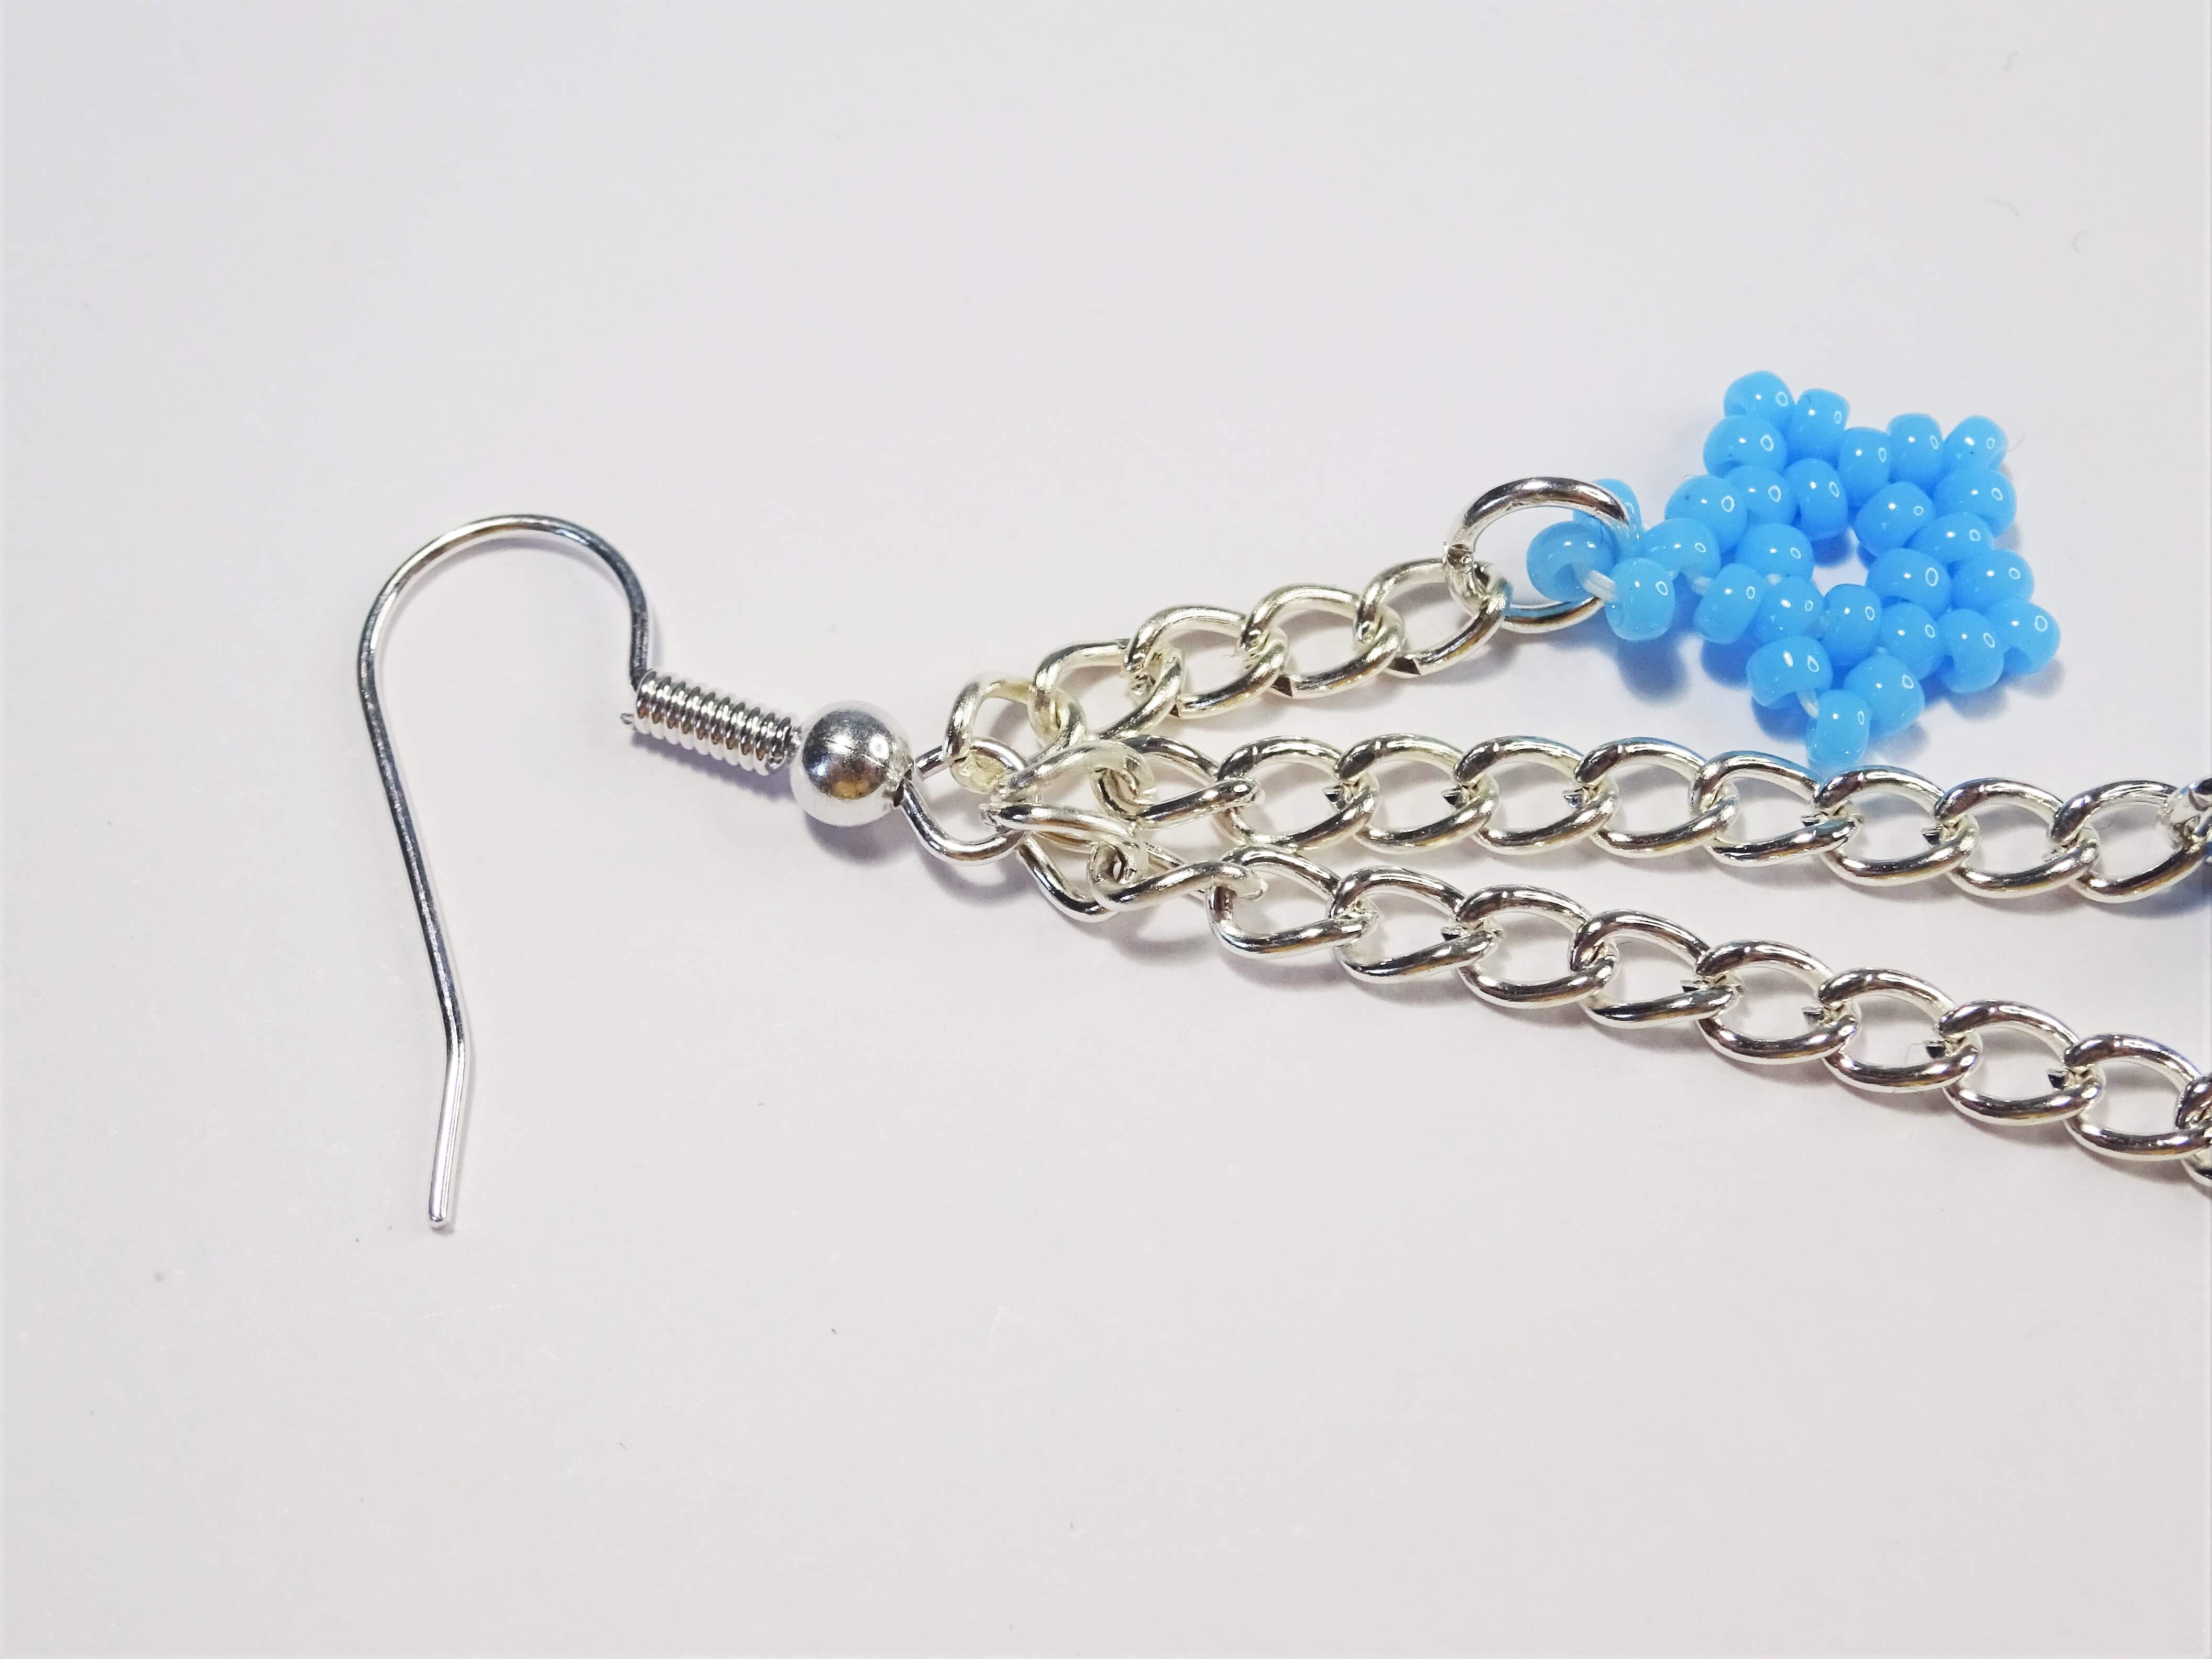

Add your chain onto your earring wire so that the longest chain is at the back and the shortest at the front.

Voila, your finished earrings!
If you have enjoyed this then check out my other free bead weaving tutorials.
I hope you enjoy making your own beaded stars.
Hannah x


Leave a comment