

I’m back with another tutorial but this time it is a super simple beadweaving one.

This tutorial will make one pair of earrings and will teach an easy way to make a beaded bezel for a bead (as opposed to a rivoli). The beauty of this is that because the thread runs through the hole in the bead there is no chance of the bead slipping out or having to beadweave down so far that a lot of the bead facets are hidden.
I have made a list below of the supplies I have used but this is a guide only. The project will work with the bead sizes I have stated but go through your bead stash first to see if you have these size beads but in different colours. The 6mm faceted beads could be replaced with a 6mm pearl for example.
I have added a YouTube video at the end of the written tutorial if that is easier to follow. It’s my first attempt at recording myself so it’s not perfect!
You will need –
- 2 x 6mm Glass faceted beads in green
- Matsuno Size 8 Glass seed beads in Salmon Lined Pink
- Matsuno size 11 Glass seed beads in White Lined Amber
- Beading thread (I used Black Wildfire in 0.15mm)
- A beading needle
- 2 x Gold plated earring hooks
Let’s Get Beading!
1 – Count out 18 Size 8 Salmon Lined Pink seed beads and put them in a pile. We are going to work from these. Thread one arm span length of beading thread on a beading needle and pick up 4 of the size 8 seed beads.

2 – Knot the ends together, leaving a length of thread (tail thread) at the end without the needle as this will be weaved in later. Pass the needle through a few beads so that in moves away from the knot and exit out of one of the size 8 seed beads.
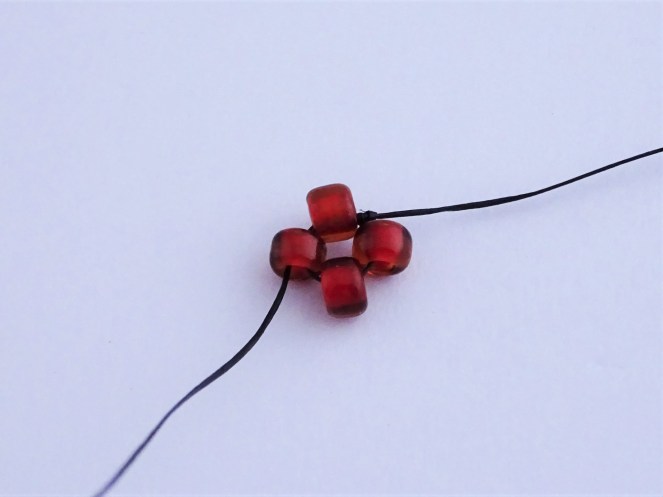
3 – Pick up 3 x size 8 beads and sew back though the bead you just exited from but in the opposite direction.
4 – Pull the thread to tighten and sew through 2 of the seed beads just added so that the thread exits out of the top of the new bead work. Pick up 3 x size 8 seed beads and repeat steps 3 – 4 until there are only 2 of the original seed beads are left.

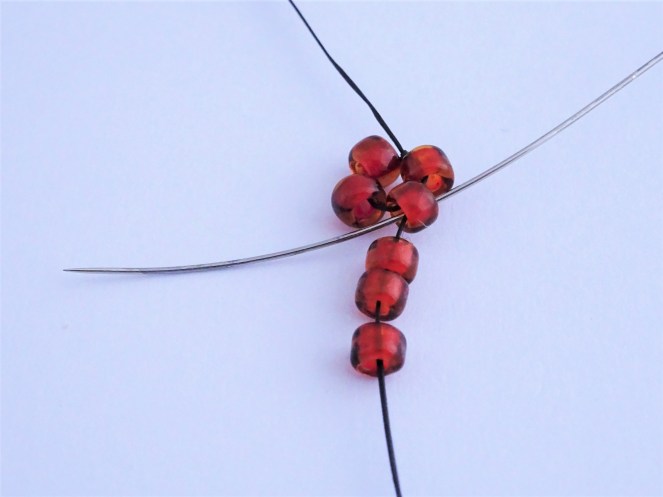
5 – Exiting out of the top of the bead work pick up 1 x size 8 and sew needle the first bead on the opposite end of the bead work (we are going to sew the beads to form a circle).

6 – Pick up 1 x size 8 and sew needle through the size 8 on the original side. Pull the thread to close the circle up.
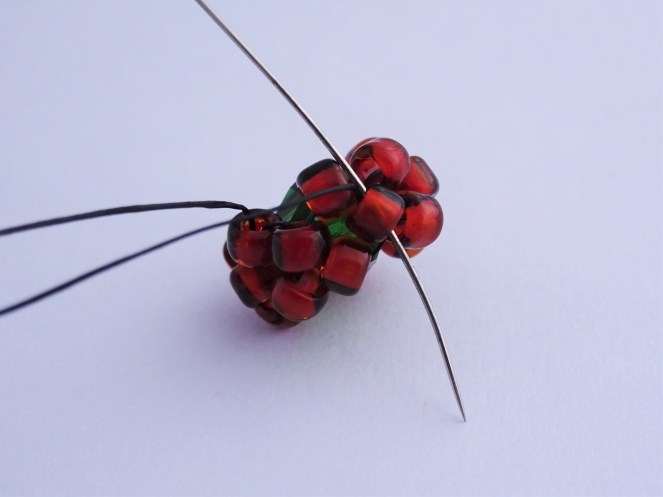
7 – Pick up 1 x 6mm faceted bead, slide it down the thread and push it into the centre of the bead work (ignore the tail thread in the photos as it confuses things!)
8 – Sew the needle into one of the connecting size 8 seed beads in the beaded circle. It will be the most logical bead, opposite to where it came out of the size 8 before adding the faceted bead. This will securely add the faceted bead to the centre.
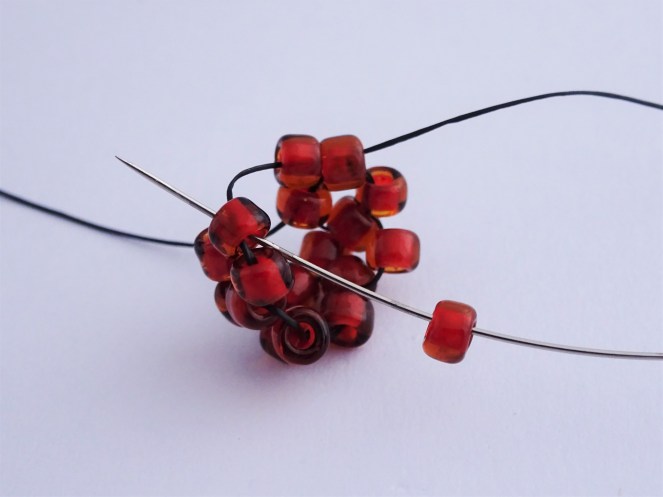
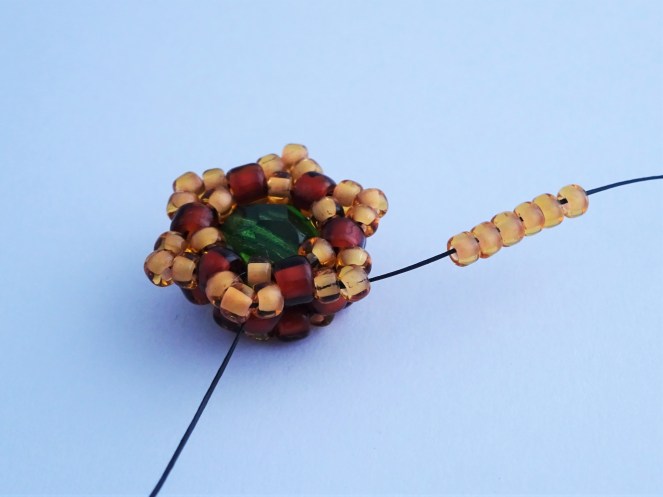
9 – Sew the needle through to the next size 8 bead along – this will take you to a bead on the outer edge of the circle – and pick up 1 x Size 11 White Lined Amber seed bead.

10 – Sew the needle into the next size 8 seed bead along.
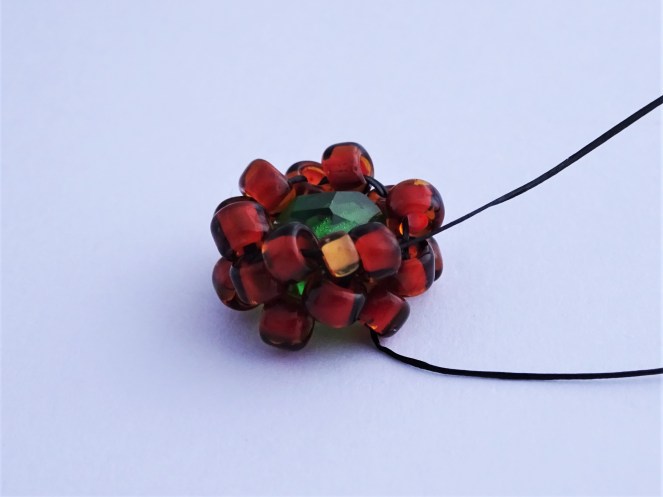
11 – Repeat this step all the way around.
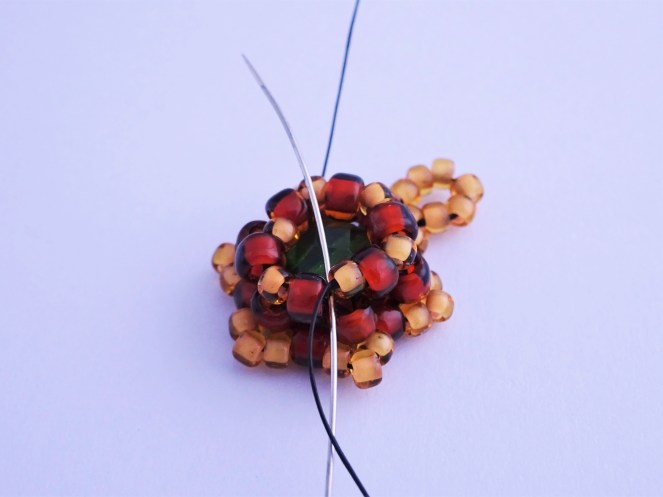
12 – With the needle exiting out of a size 8 seed bead, sew through the nearest size 8 connecting bead to move the needle to the other side of the bead work.

13 – Again, sew into a size 8 seed bead on the outer edge of the beaded circle (ignore the tail thread again).

14 – Pick up 1 x size 11 seed bead and repeat steps 10 – 11 all the way round (both sides of the bead work will now match).
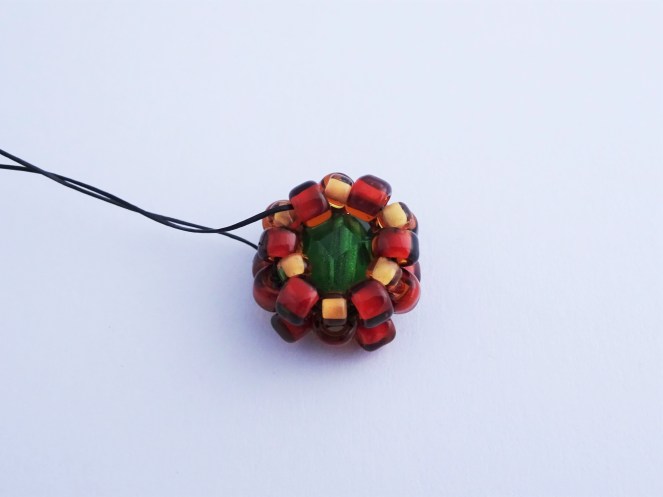
15 – With the needle exiting out of a size 8 seed bead pick up 3 x size 11 seed beads and sew into the next size 8 along. Pull the thread to tighten.

16 – Repeat step 15 all the way round.
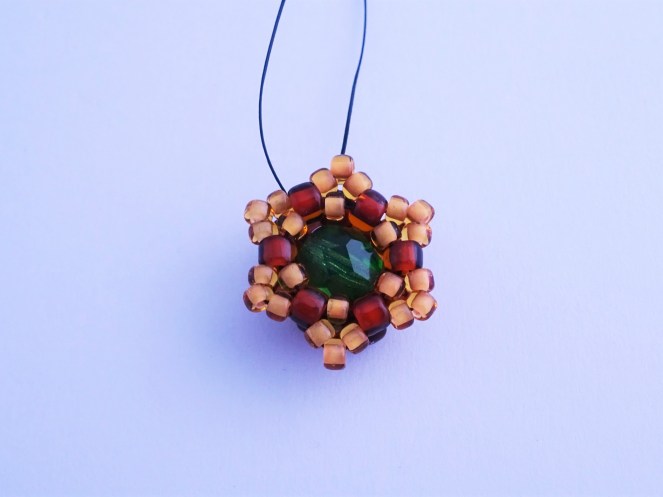
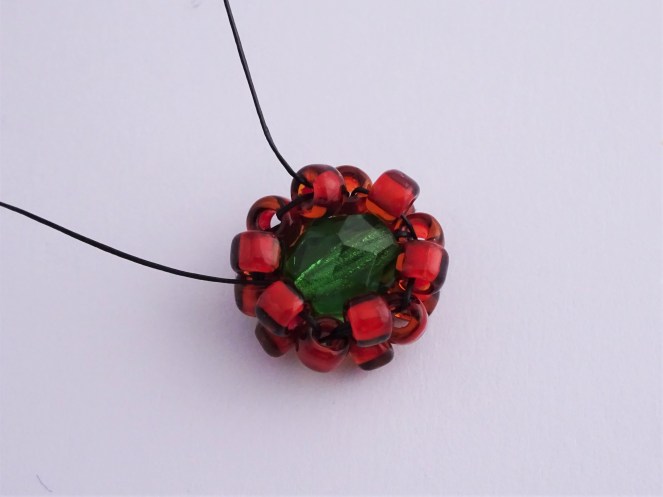
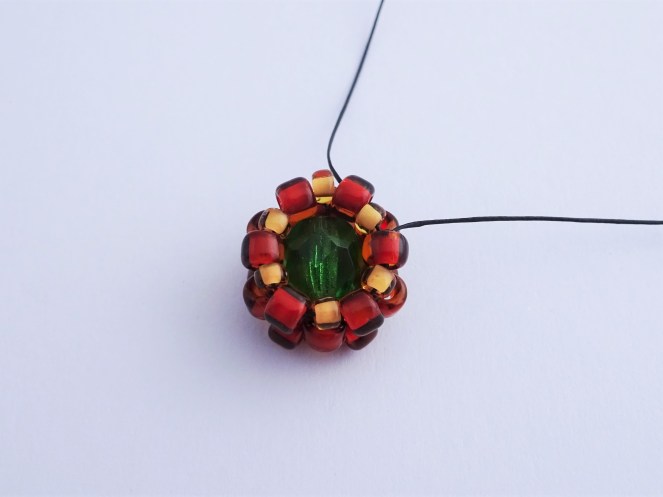
17 – Move the needle though the bead work so that it is exiting out of the middle bead of one of the set of 3 seed beads just added – for a neater finish and because my faceted beads are translucent I lined this up with the hole on my bead. Pick up 6 x size 11 seed beads.
18 – Sew back into the same size 11 that you exited from but from the opposite direction. The new size 11 seed beads will form a loop.

19 – Sew though the bead work knotting as you go, repeating the knotting steps for the tail thread too – See below for instructions on how to knot your beading threads. Attach the earring hook and repeat all these steps again for the second earring.

How to securely knot threads in Beadweaving projects
1 – When you exit out of a bead push the needle vertically under the horizontal threads.
2 – Start to pull the thread through slowly until a little loop in left. Sew the needle through this loop and then continue to pull the thread tight so that the knot is formed. Sew through several beads repeating this step and repeat for the tail thread.

Top Tips for beginners to beadweaving –
- A good quality beading thread – I cannot stress how much harder it can be with a ‘soft’ thread. It is difficult to keep the tension right as it slips around and doesn’t hold it’s shape. The Wild fire that I choose to use is very strong and holds the shapes much better
- Good tension – Again this is partly down to the thread but also tighten that bead work as you go. It is near impossible to tighten once you are so far into a project.
- Start with an easier project if you are a beginner – following these instructions can be daunting and smaller projects gives quicker results and more confidence to go on.
- Don’t forget that it is only thread and beads – It can be taken apart and started again.
If you would rather watch this is video form then here it is –
I hope you have enjoyed this tutorial. Don’t forget that if you do make these earrings and share on Instagram or Facebook to tag me @theartisanduck
Hannah x


You make it read simple enough but….maybe some day I will give it a try.
It really isn’t too hard once you get the tension right. The beads tend to fall into place in the end even it looks an awful mess to begin with.
I actually recorded a video of myself making these earrings yesterday. If I ever figure out how to edit it and put it up I’ll let you know!
Thanks.
I’ve plucked up the courage to publish the Beadweaving video on my blog post. No pressure but if you fancy seeing just how easy these earring are then you can 🙂
That was a great tutorial! I appreciated the clear instructions and close-up pictures.
Thank you so much Anita. So glad that the photos are good – it’s can be tricky to get a clear shot!