
This post contains affiliate links. All links are clearly marked as affiliate and are at the end of this tutorial.
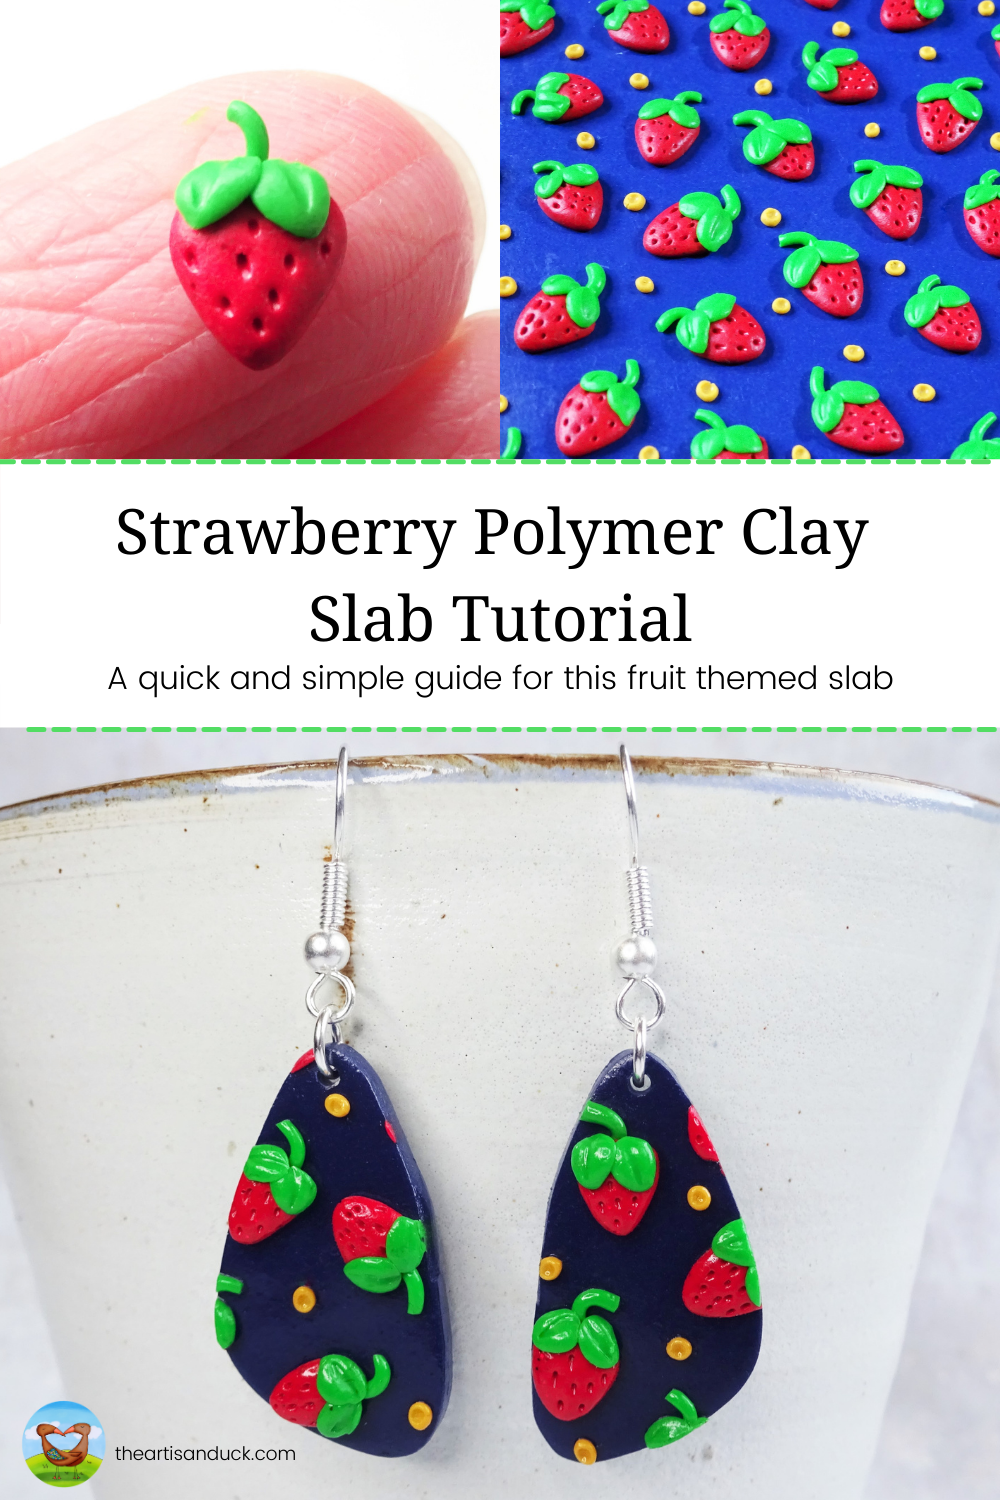
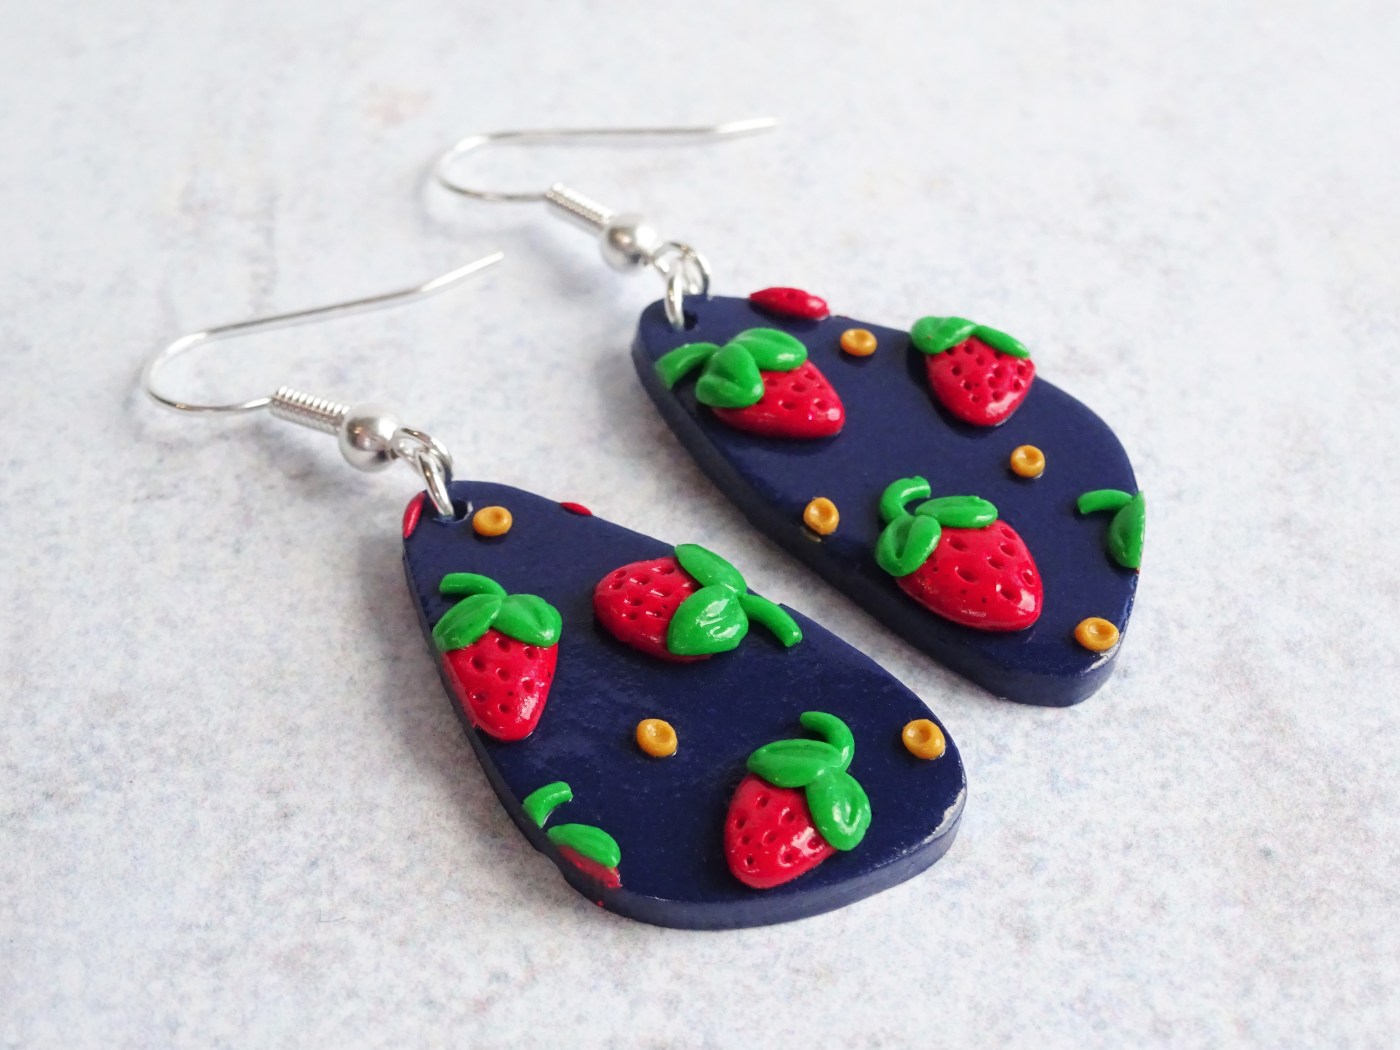
I was recently asked for some fruity earrings. I ran through the possible options in my head but settled with strawberries. There have been some brighter days here in the UK, the temperature is definitely improving and strawberries, to me, are just the best summer fruit – what better way to celebrate them then to wear them on your ears! I could have gone a little more tropical, and I still may head that way in a future post, but I thought the colours in strawberries teamed with a navy blue background to make them pop would make for versatile earrings.
The shaping and texture needed for this slab are really easy and you can make your strawberries as big or as small as you wish depending on the result you want. I added a splash of yellow with some dots at the end to tie the colour scheme together.
If you prefer video tutorials then scroll to the bottom for a YouTube video.
How To Make A Strawberry Polymer Clay Slab
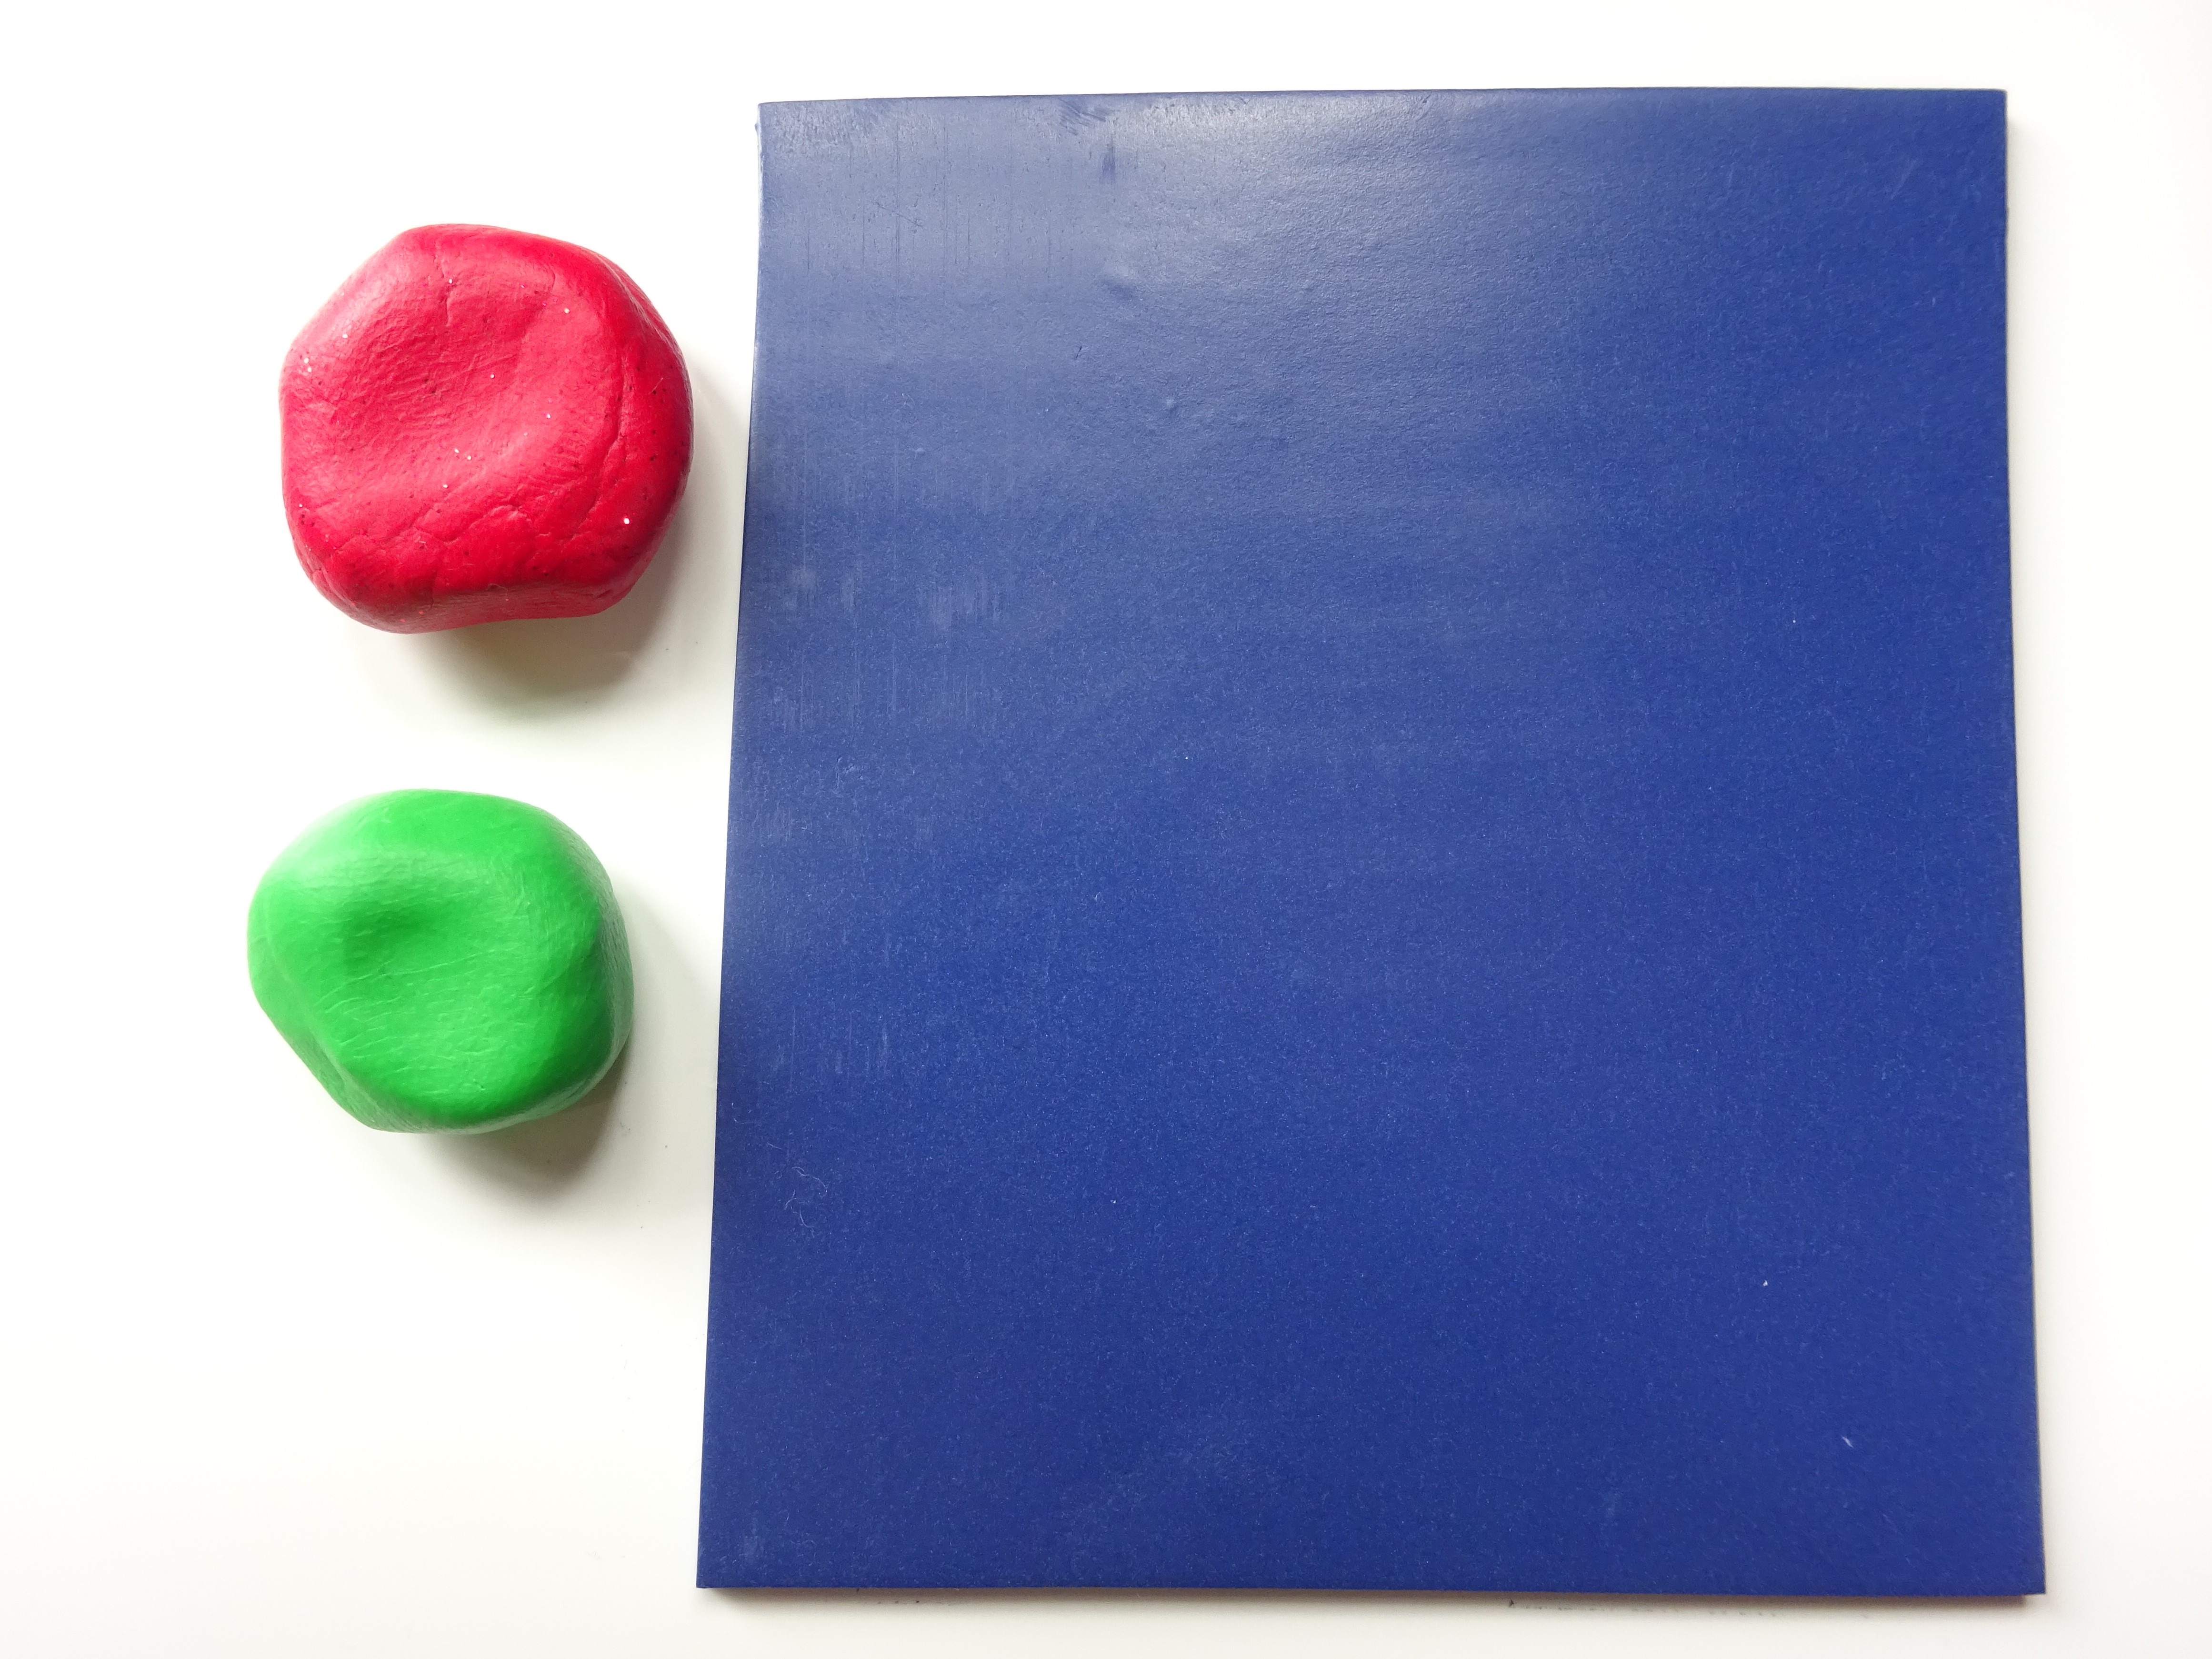
- Begin by conditioning your clay. I have used a glitter red for the strawberries with a green mix for the leaves and stalk. The green in mainly Fimo Professional sap green but seeing as it was so bright I mixed a little leaf green just to make a slight more muted colour. The navy blue base sheet was conditioned and rolled out on a number 3 on my clay machine.
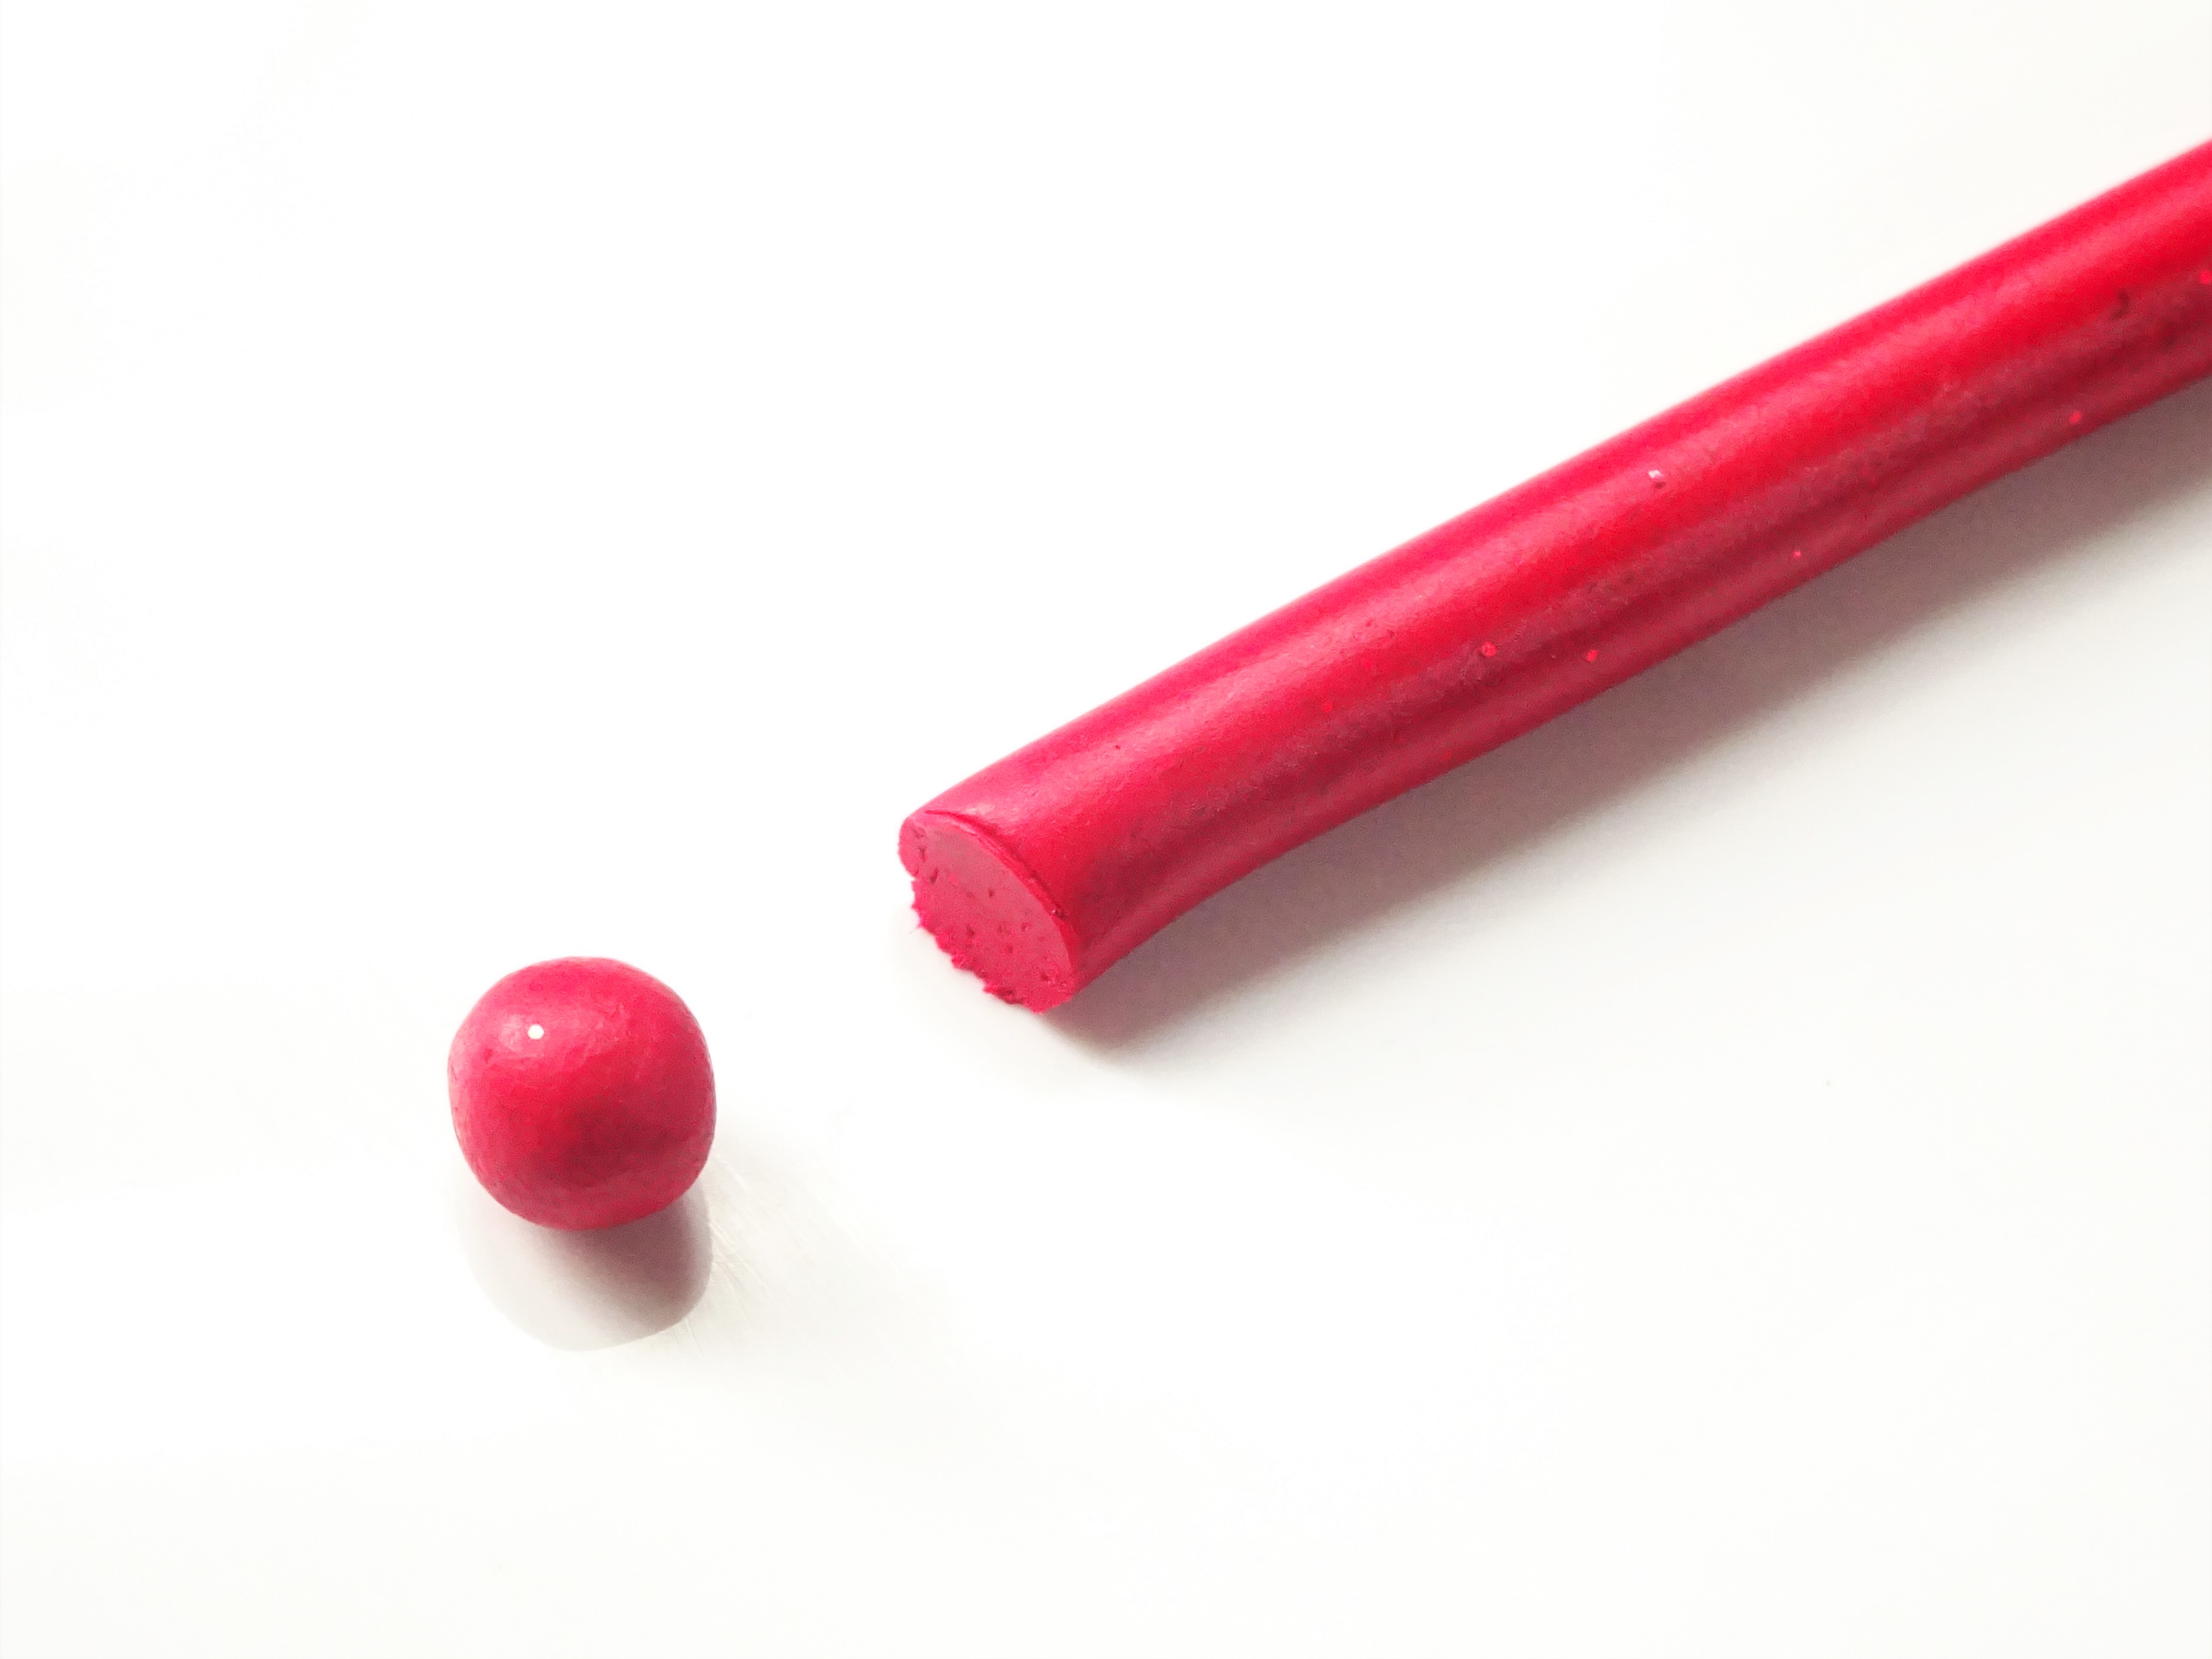
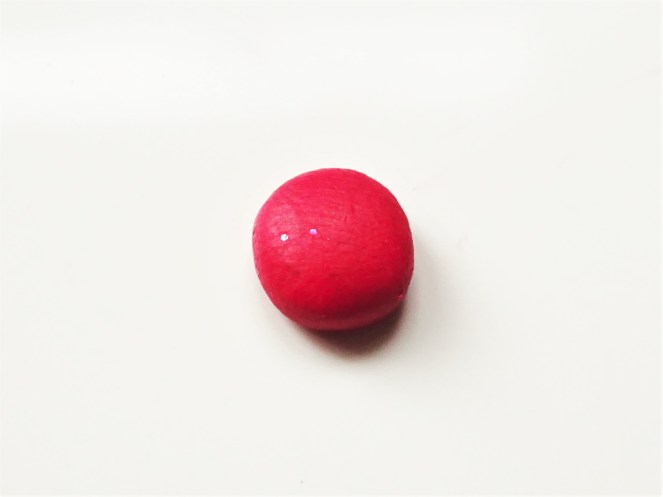
2. Take some of the red clay and roll it into a snake. Cut some off and roll it into a ball. You will have to test how much clay you need depending on the desired size of strawberry and the size of your snake of clay.
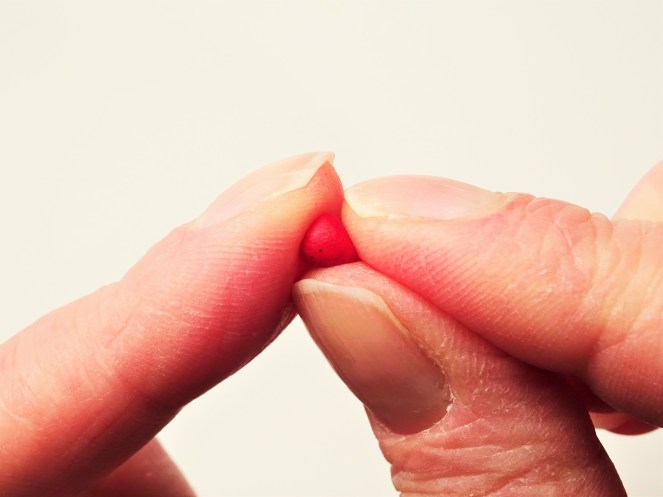
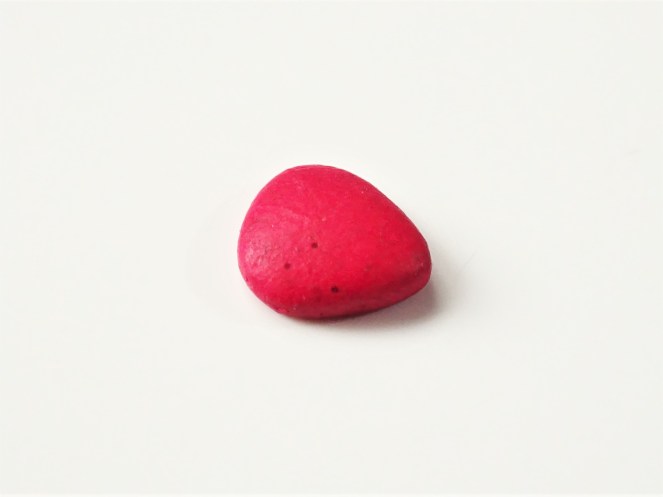
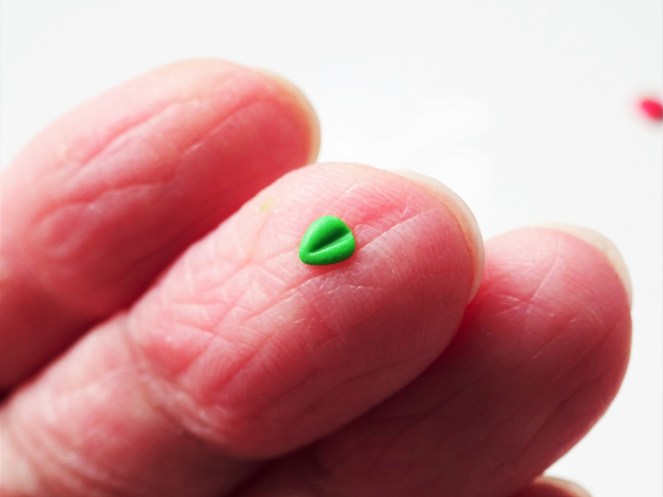
3. Once you clay is rolled into a ball flatten it against your work surface. Then carefully pick it up and, with one hand pinch one side to form a point and, with the other hand, use a finger to flatten the top. Put it back down on the surface again and press it so it isn’t too bulky. This is the basic strawberry shape.
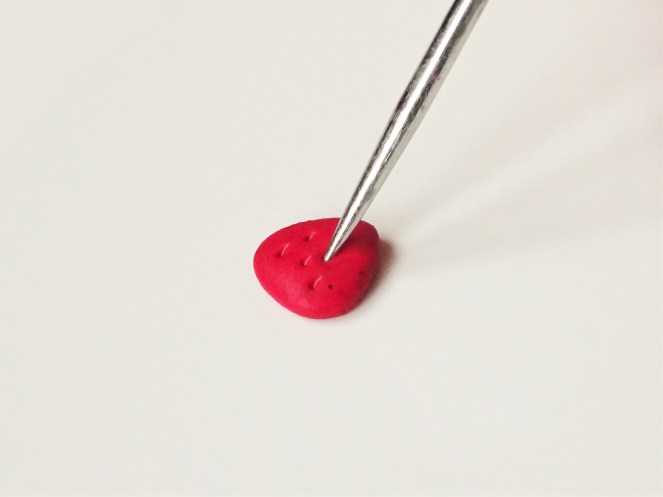
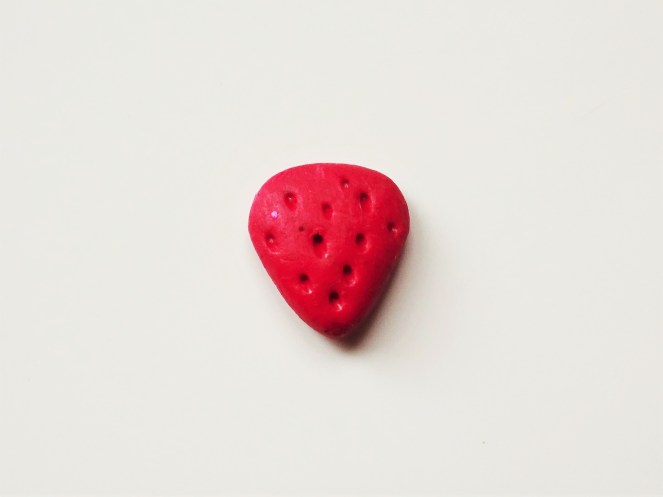
4. Using some sort of pointed tool, dot into the red clay so that the dots resemble seeds.
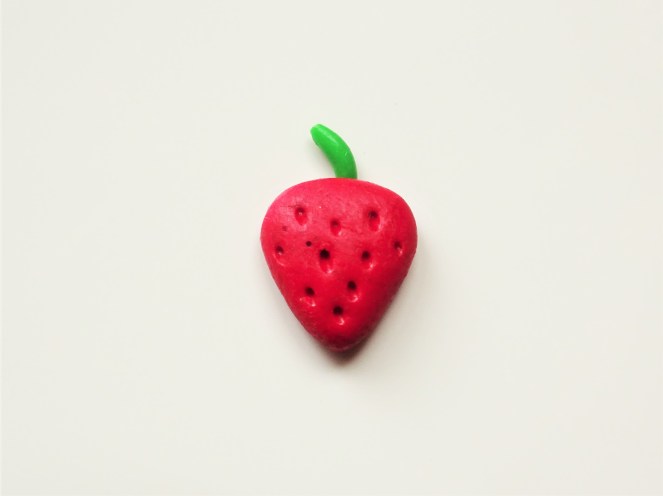
5. Roll the green into a clay snake. Take a tiny piece off the end to make the strawberry stalk. To do this simply roll the piece of clay and press the strawberry on top so that there is some green clay under the strawberry with the rest of the length at the top.
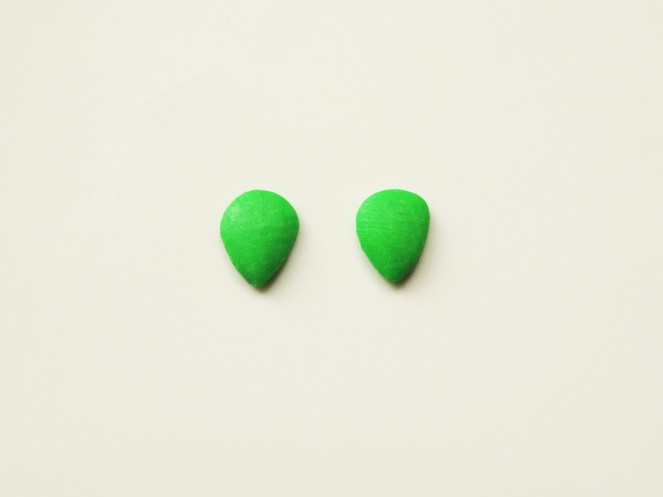
6. Cut two more pieces of green clay, larger than needed for the stalk, and shape these just as you did for the strawberry with the exception of leaving the top rounded instead of flattening it.
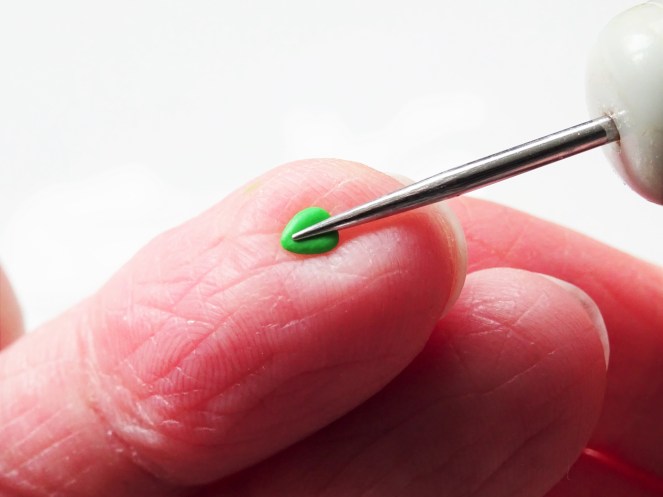
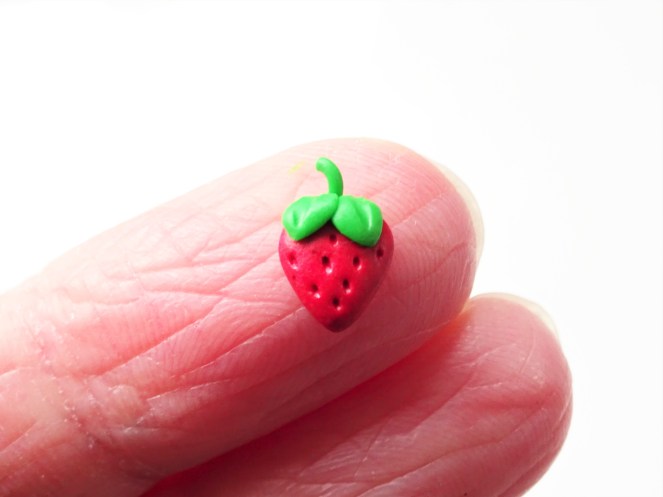
7. Carefully pick up the leaves and use a pointed tool again to add an indentation to the centre of the leaf. Once both have been done position them on the top of the strawberry.
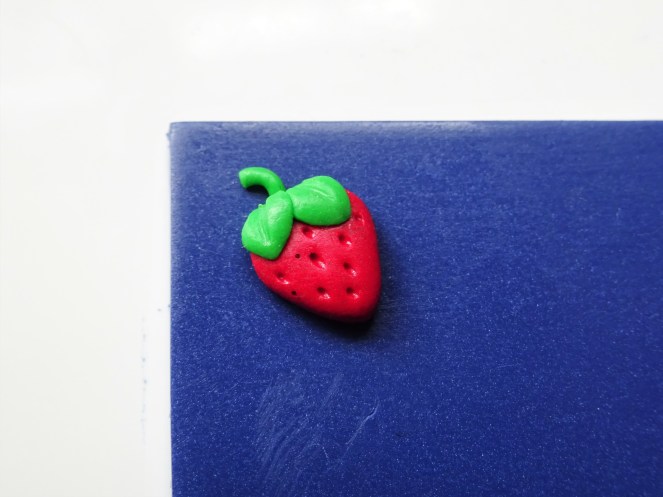
8. Position your strawberry on your navy blue clay and gently press down. Repeat these steps several more times until you have filled your base clay. Don’t worry the more you make them, the quicker you get.
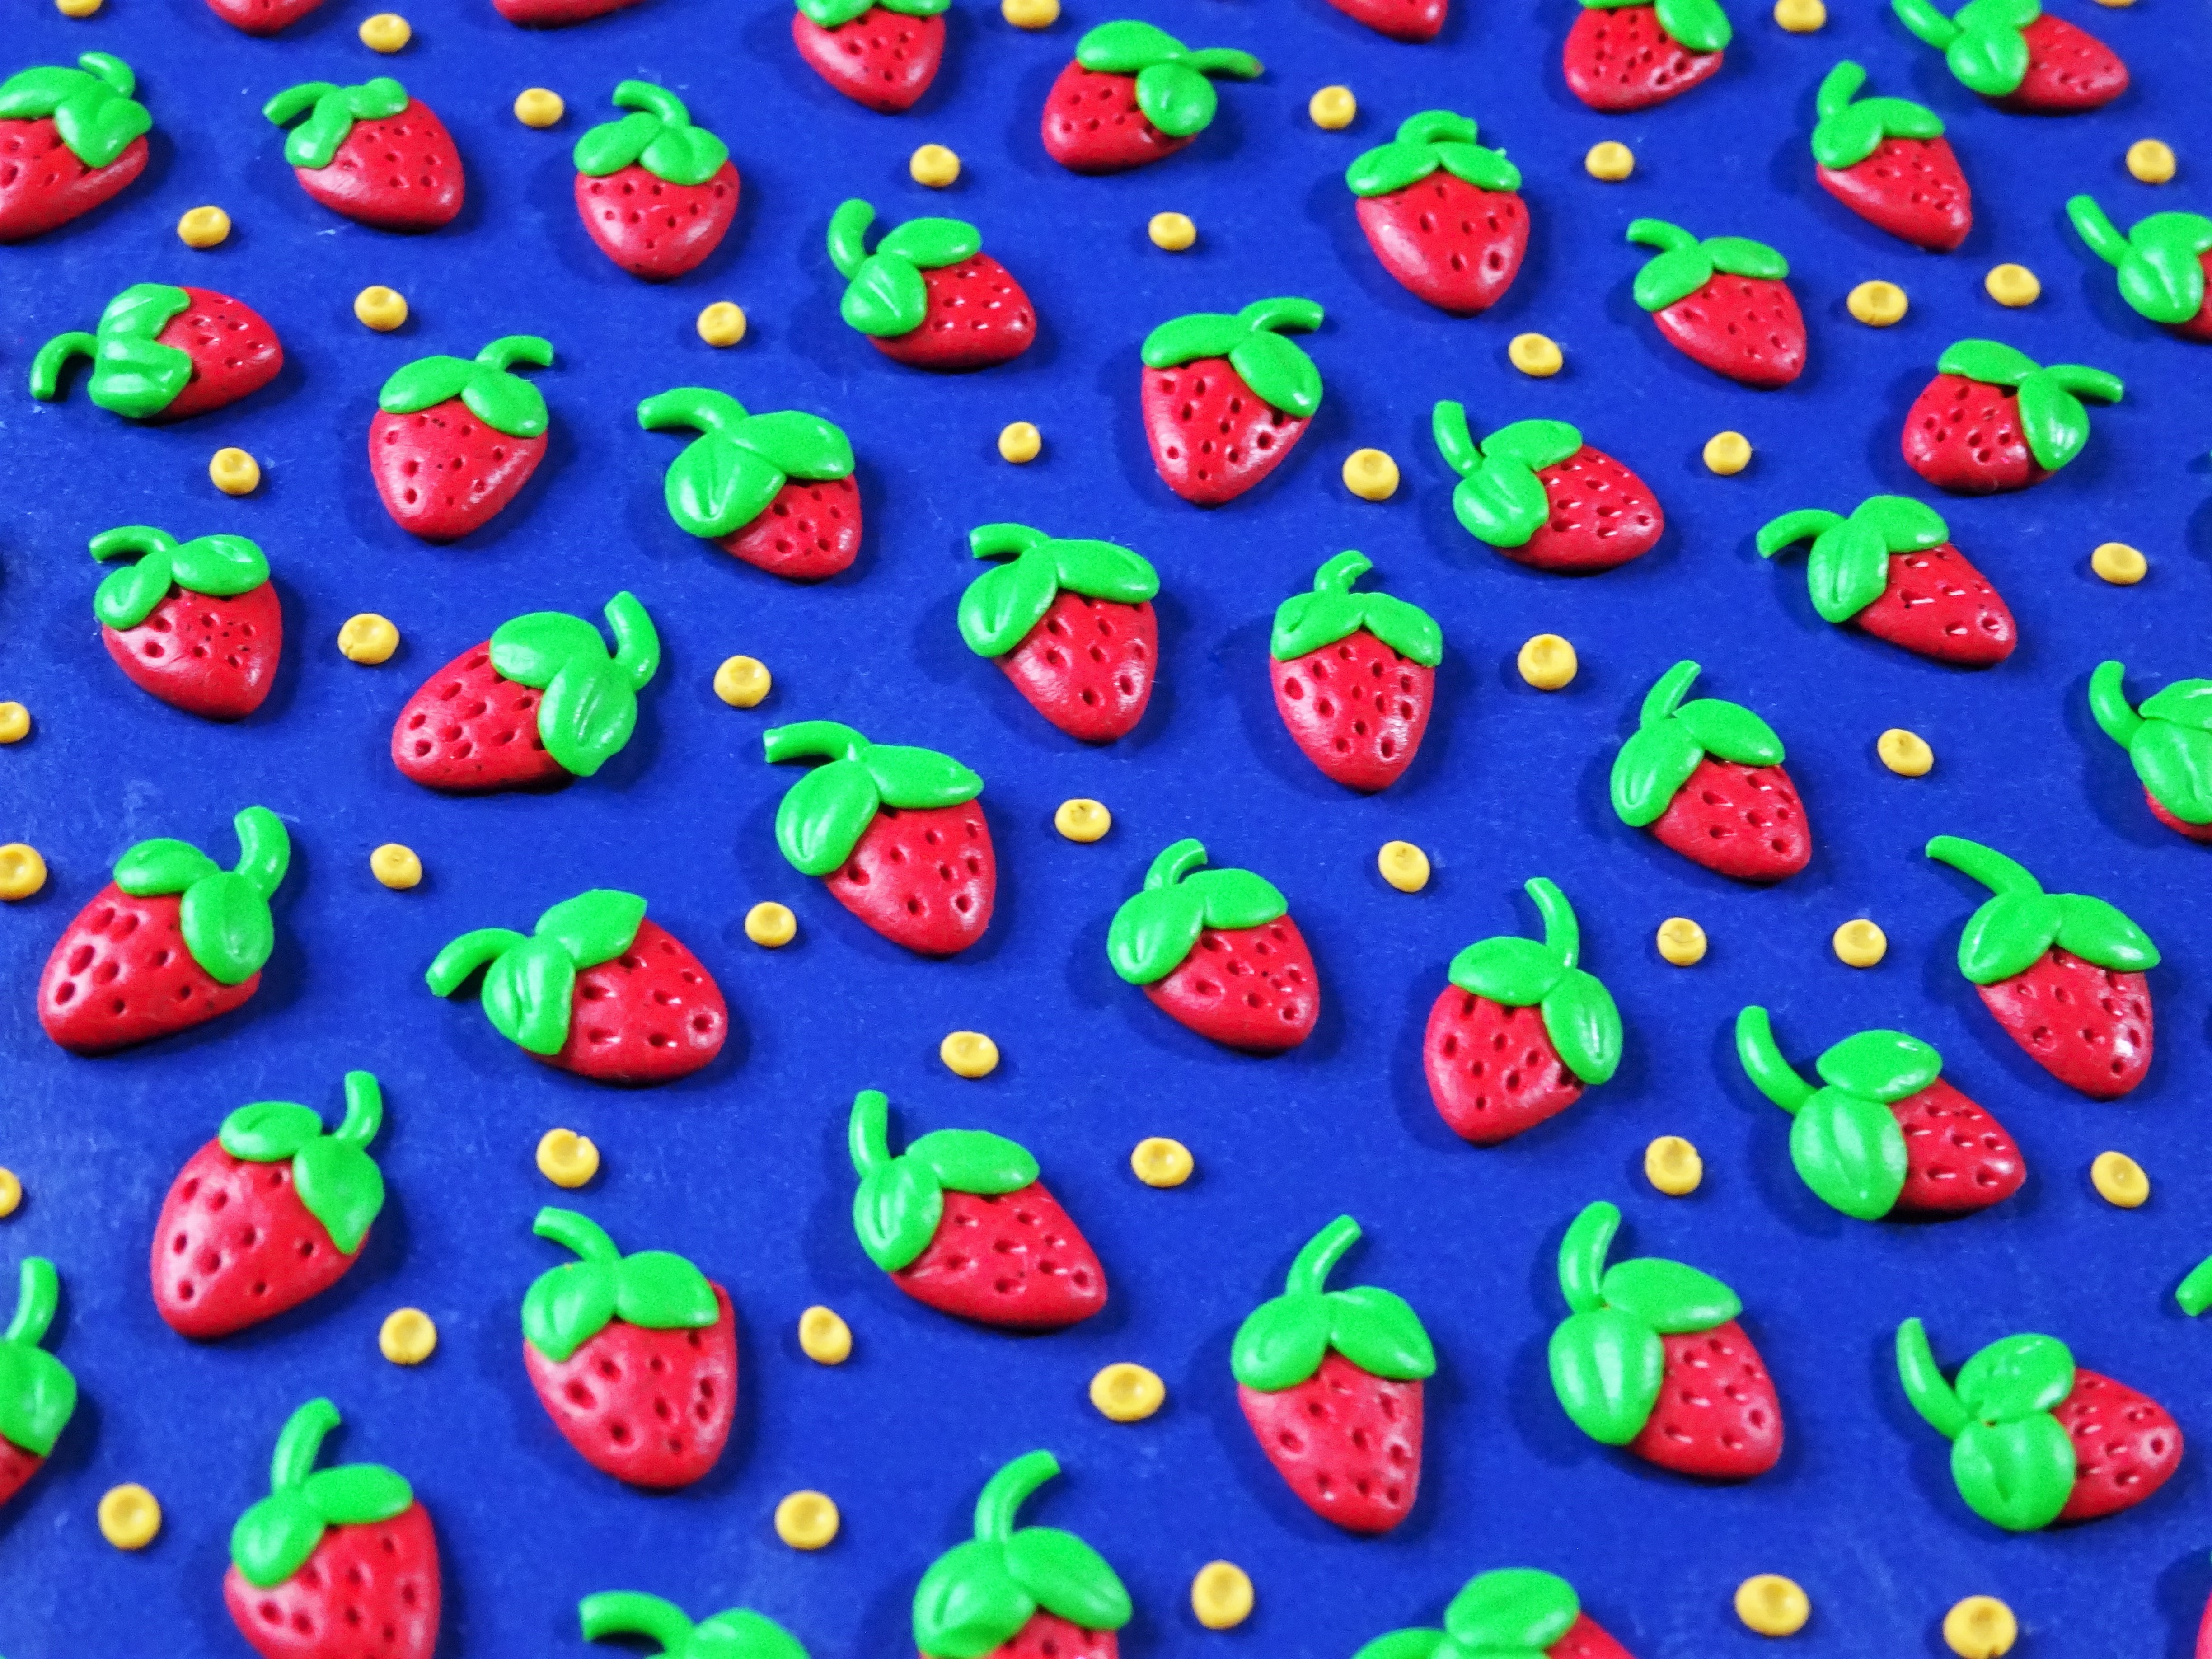
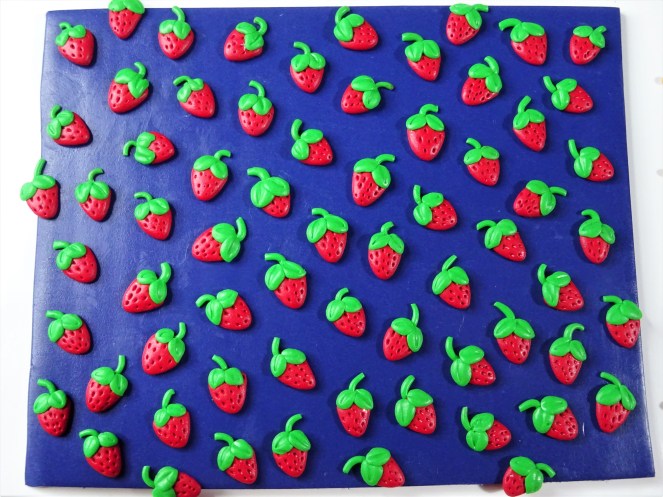
9. I make another clay snake from a light yellow clay and added small dots of it between the strawberries. Use a small ball tool to press them down. The idea here is that I wanted to make sure that when the clay was cut into shapes there was enough pattern on each shape.

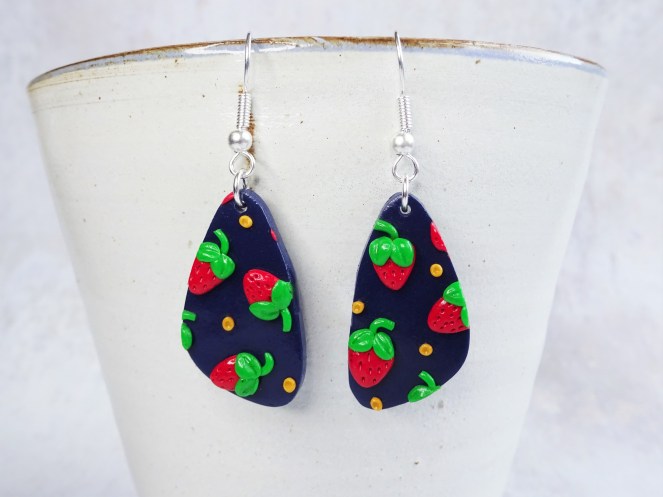
10. Pop your clay into the oven as specified on your packet of clay. Once the clay has cooled give two coats of gloss varnish and wear your strawberries with pride.
Before you go don’t forget to have a peek and my other polymer clay tutorials. If you are in the mood for another summery polymer clay slab then I have a really cute bee and flower slab tutorial but if you are all about that spooky Halloween vibe then check out my easy ghost slab tutorial maybe even a cute reindeer slab whilst you are here.
Links below for products used are Affiliate links for Amazon. This just means that if you use my link to buy a product I earn a very small commission, at no extra expense to you (you pay the same regardless how you find the item). Every little extra helps me to offer free tutorials.
Amazon UK
Fimo in Navy Blue, Red Glitter, Sap Green, Leaf Green and Ochre
Amazon US
Fimo in Navy Blue, Red Glitter, Sap Green, Leaf Green and Ochre
Anyway, I hope I have inspired you to make your own fruity jewellery. Let me know if you have any cool fruit jewellery you would like to see me make.
Thanks for reading.
Hannah x

